- Create an unencrypted EBS volume.
- Create a snapshot of the unencrypted volume.
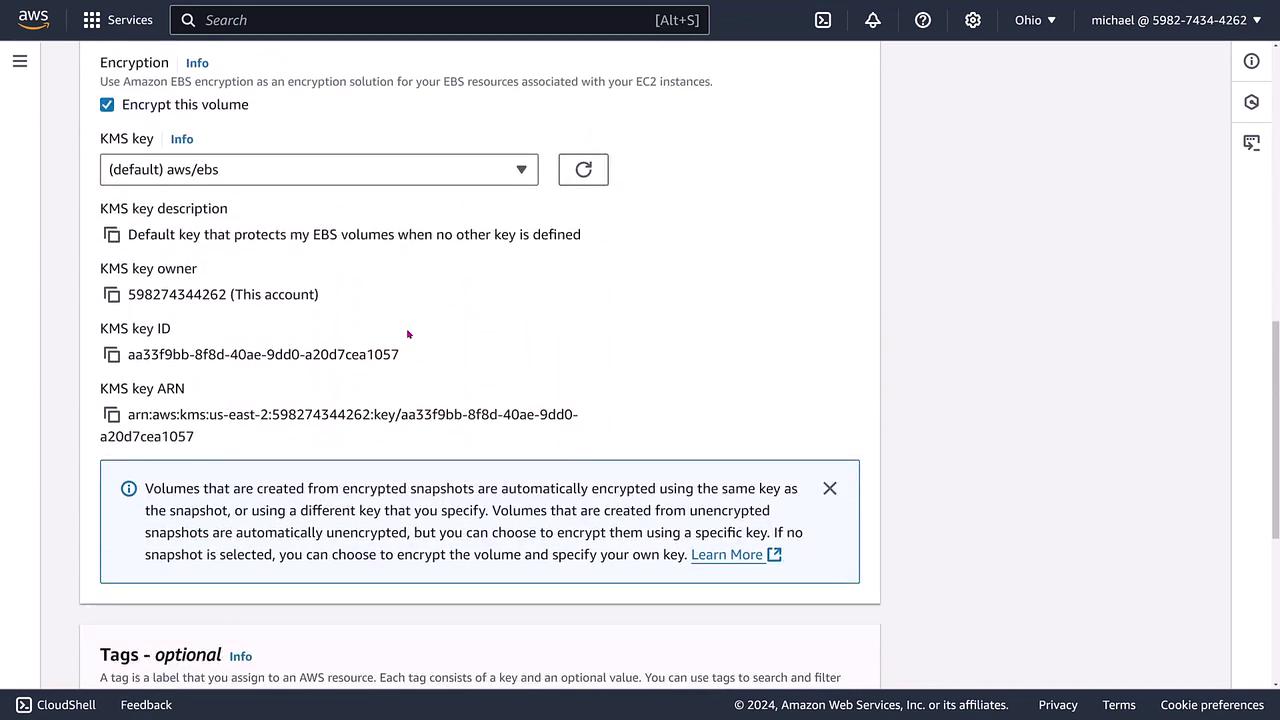
- Create a new volume from this snapshot with encryption enabled.
- Verify the new encrypted volume.
- Create an encrypted snapshot from the encrypted volume for future use.
Step 1: Creating an Unencrypted EBS Volume
Begin by creating a simple, general-purpose 100 GB EBS volume without encryption. At this stage, no tags are applied, and the volume remains unencrypted. The AWS console below shows the configuration options for this volume: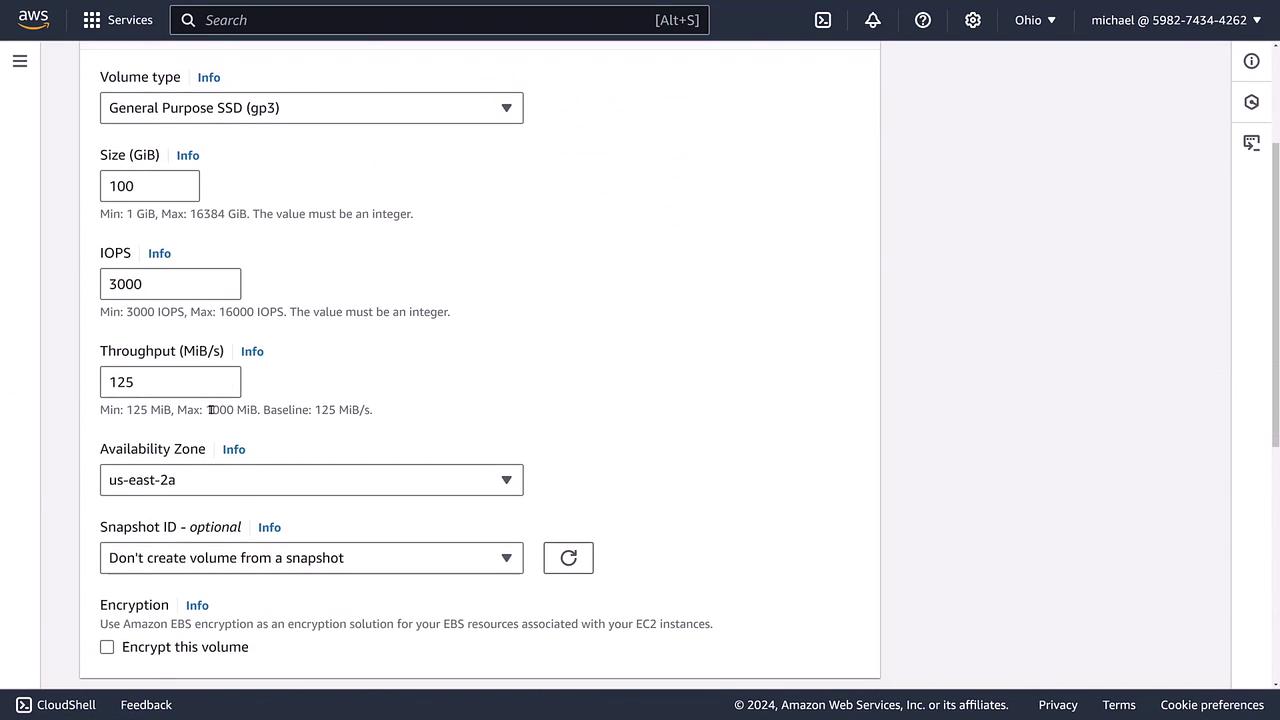
Step 2: Creating a Snapshot of the Unencrypted Volume
Since AWS does not provide a direct mechanism for converting an unencrypted volume to an encrypted one, the solution is to create a snapshot from the unencrypted volume. Remember that the snapshot will inherit the encryption state of the original volume, meaning it will also be unencrypted.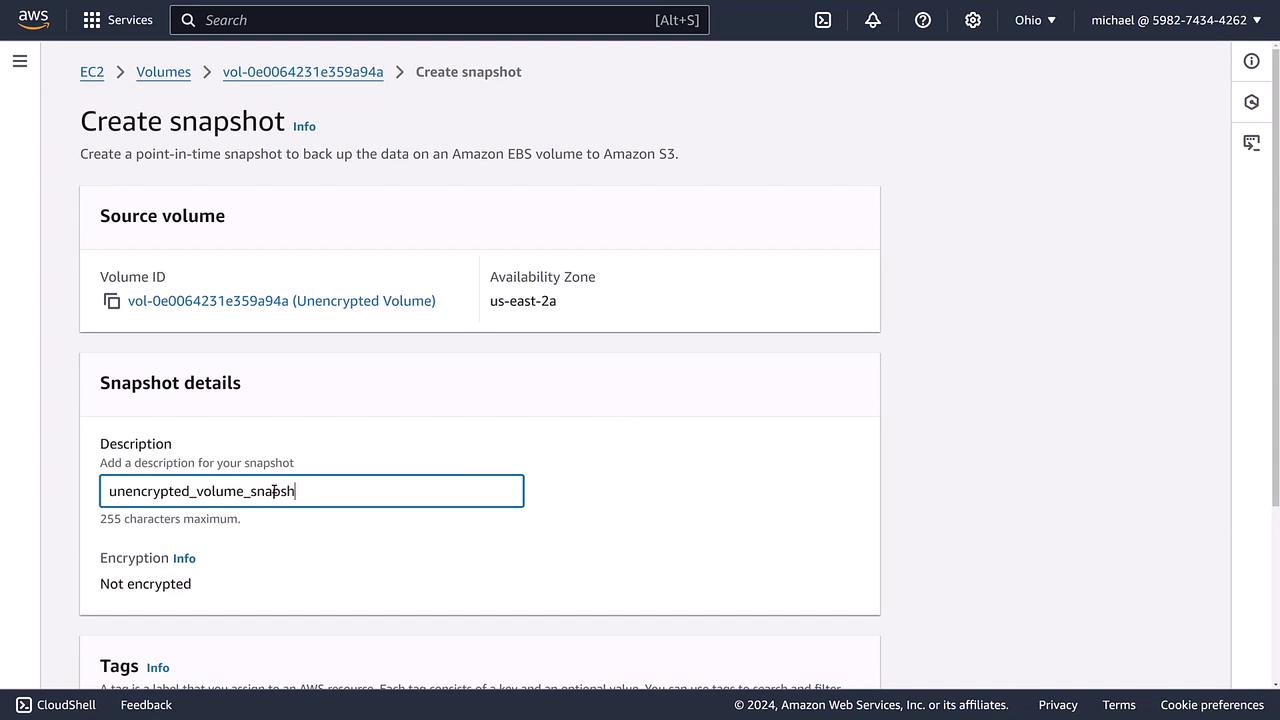
Step 3: Creating a New Encrypted Volume from the Snapshot
Navigate back to the volumes section and choose the option to create a new volume based on the snapshot you just created. Here are the key points during configuration:- The new volume is created from the unencrypted snapshot.
- Enable the encryption option by selecting the default EBS encryption key (typically, the account default).
- Ensure that other volume settings (e.g., size, IOPS) remain unchanged.
Step 4: Verifying the Encrypted Volume
To confirm the successful migration, check the volume details on the EC2 dashboard. The dashboard should display the encrypted volume along with its unique attributes (volume ID, type, size, IOPS, and more).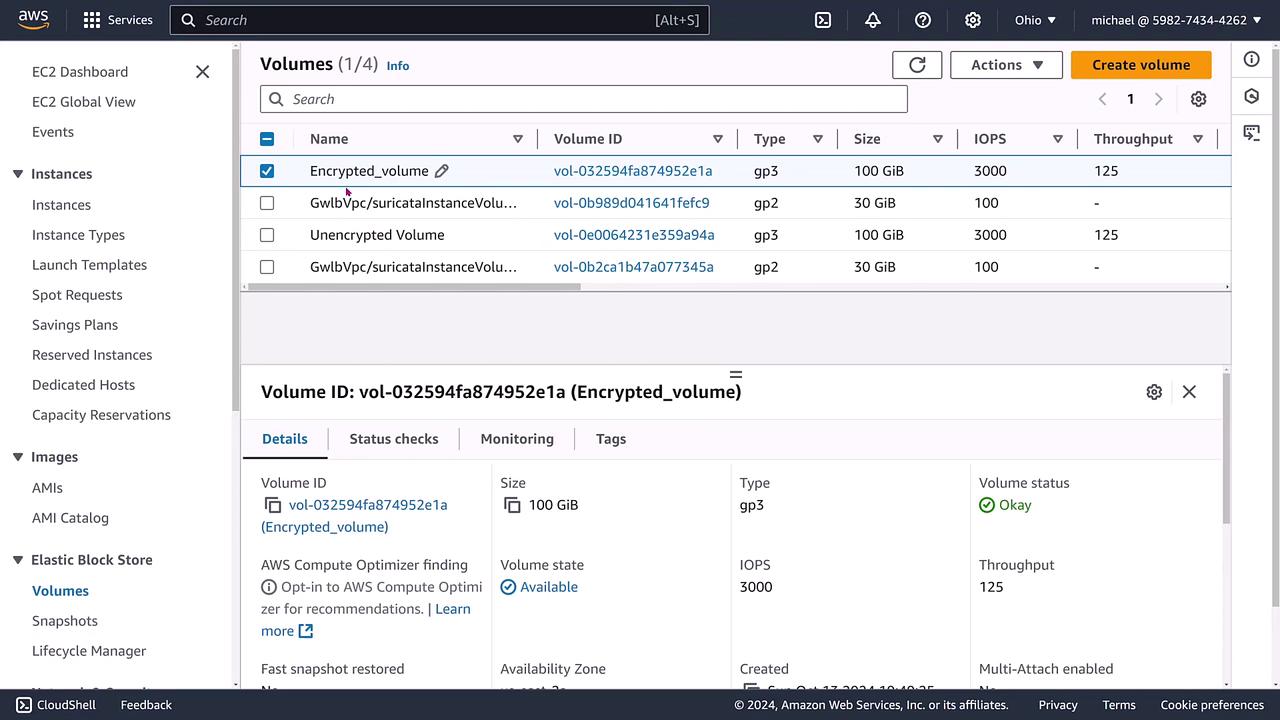
Step 5: Creating an Encrypted Snapshot for Future Use
With the encrypted volume in place, the next step is to create an encrypted snapshot. This snapshot, by virtue of inheriting the volume’s encryption state, will be encrypted. Verify its presence in the snapshots console and, if necessary, update its details for consistency.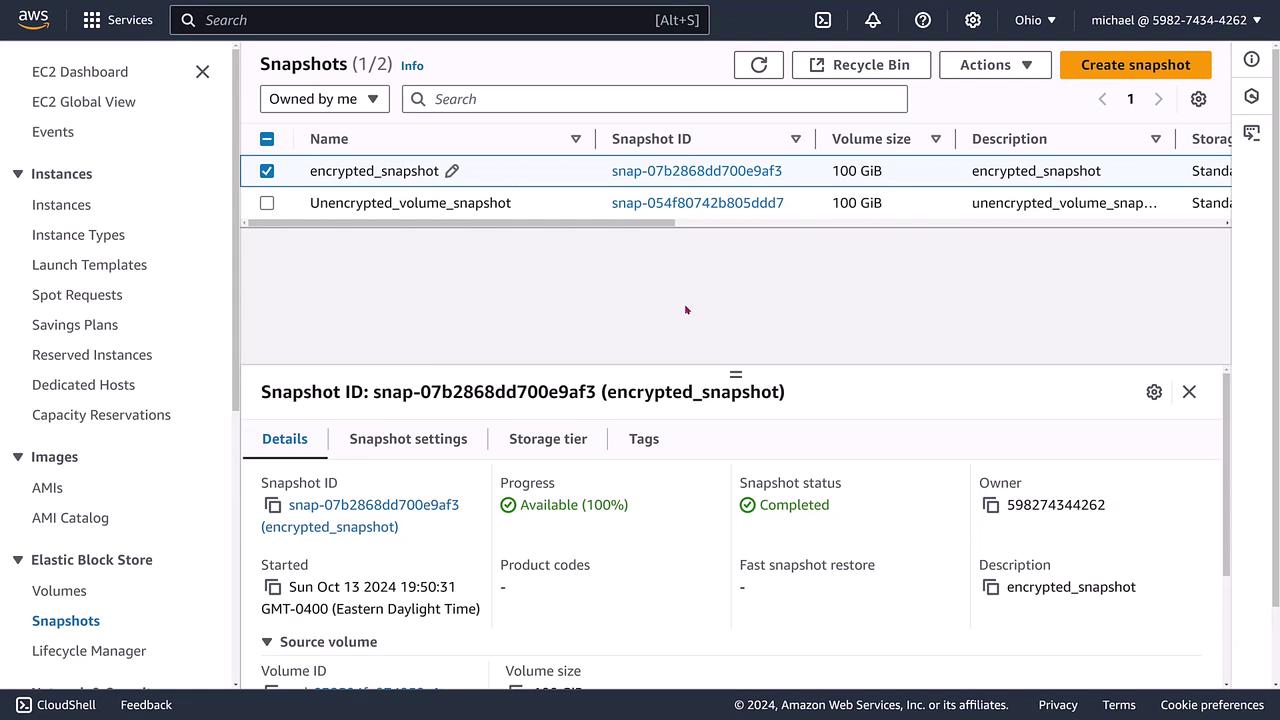
If you ever need to create a volume from an encrypted snapshot, the resulting volume will automatically be encrypted.
It is not possible to directly convert an encrypted volume back to an unencrypted volume. To revert to an unencrypted state, a data migration process must be performed.
Process Summary
The migration process can be summarized in three simple steps:| Step | Description | Key Activity |
|---|---|---|
| 1 | Create an unencrypted EBS volume | Initial volume configuration without encryption |
| 2 | Create a snapshot of the unencrypted volume | Snapshot inherits unencrypted state |
| 3 | Create a new volume from the snapshot with encryption enabled | New volume is secured by enabling encryption |