Learn to create your first AWS Lambda function and explore configuration options like triggers, permissions, dependencies, and layers.
In this article, you’ll learn how to create your first AWS Lambda function and explore various configuration options, including triggers, permissions, third-party dependencies, and layers.
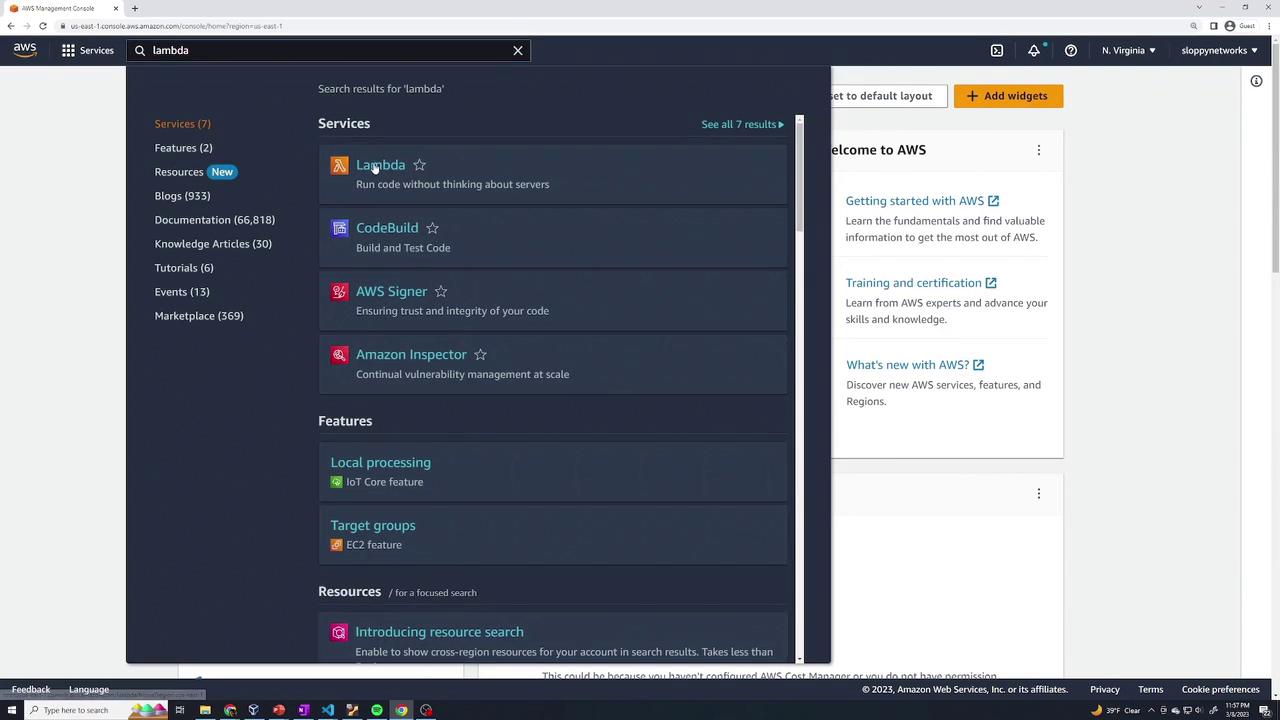
To get started, log in to the AWS Management Console, search for the Lambda service, and click on Create a Function.
When creating your function, you will see these options:
Author from scratch – Create your Lambda function and code from the ground up.
Blueprints – Use a pre-configured template for common tasks (e.g., triggering an action on an S3 object upload or setting up an API Gateway).
Container image – Deploy your application as a containerized Lambda function.
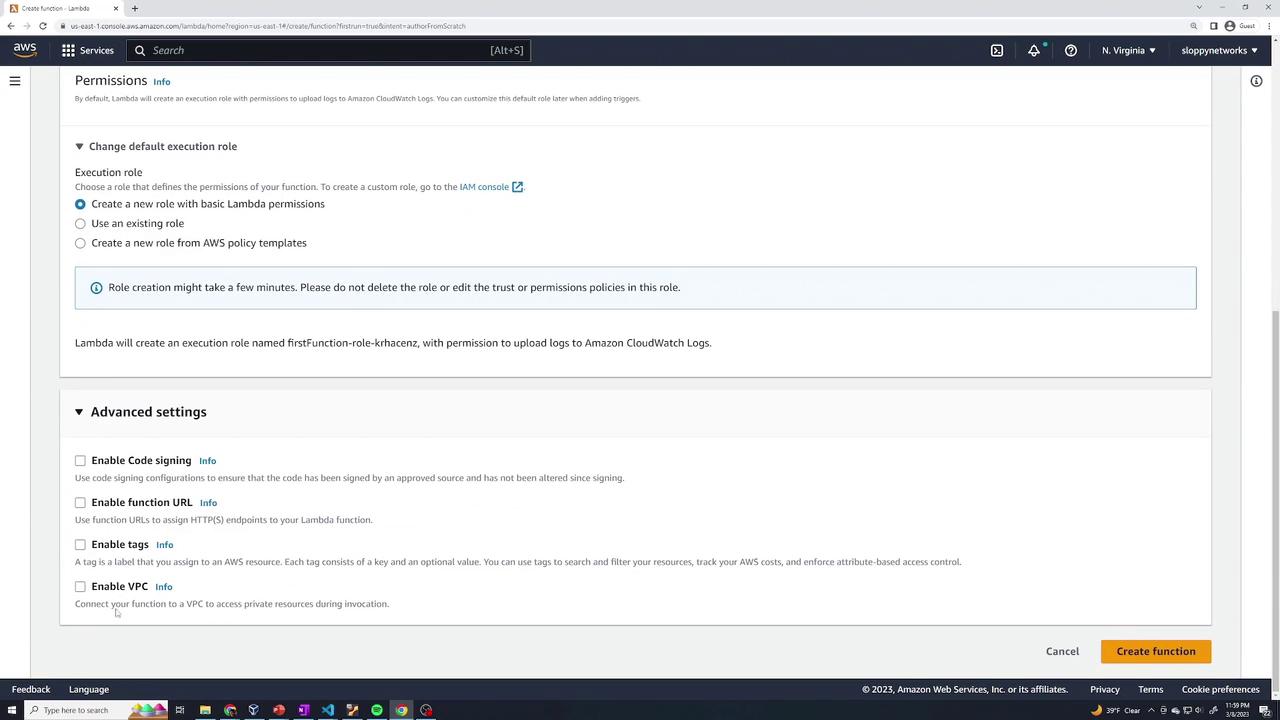
For this demo, select Author from scratch.Provide a function name (for example, “my first function”) and choose the runtime. The runtime specifies the programming language and version (such as .NET, Go, Java, Node.js, Python, or Ruby). In this example, we’ll use Node.js.Configure the architecture and permissions as needed. By default, Lambda creates an execution role with basic permissions to upload logs to CloudWatch Logs. You can choose to use an existing role or customize the policy, but for this demo, simply leave it as “Create a new role with basic Lambda permissions.”
Advanced options like VPC connections are available, but you can ignore them for this simple demonstration.
Finally, click Create function.
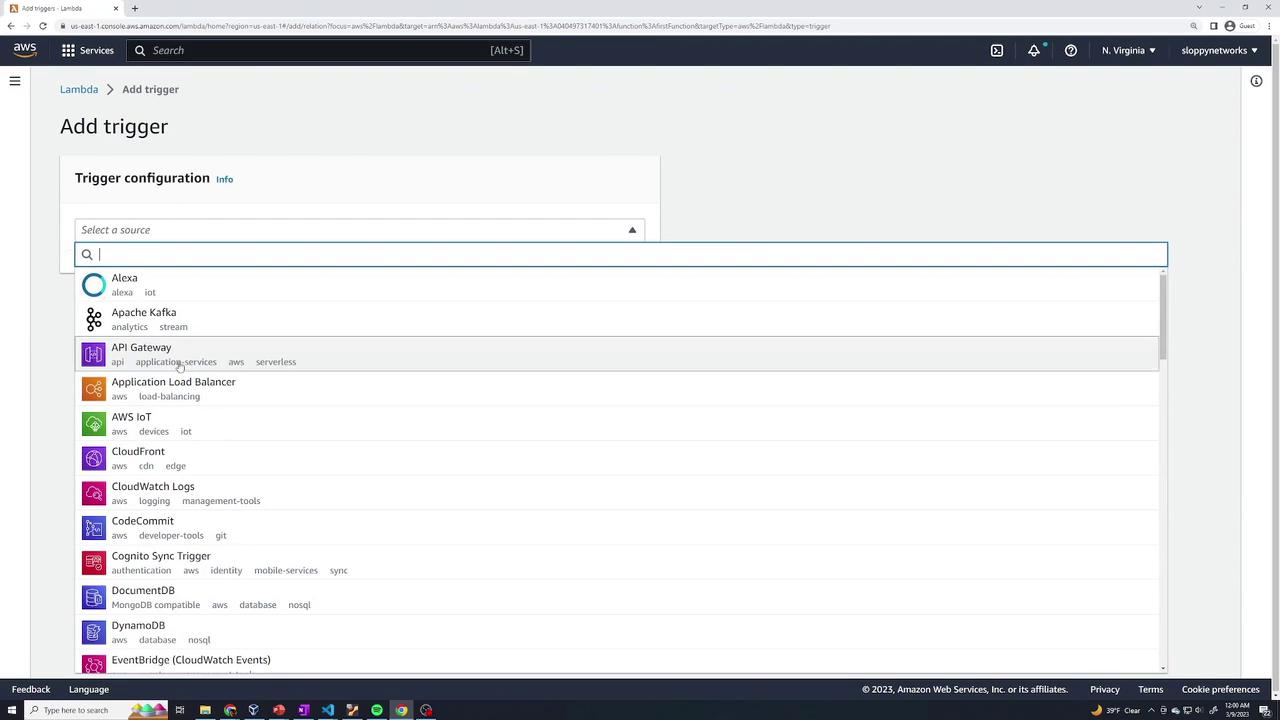
After creating the function, you will see its configuration details, including the Triggers section, which specifies when your function executes. Triggers can be set up for API Gateway requests, S3 uploads, SNS/SQS messages, Alexa interactions, and more.
Each time your function is invoked, the handler receives an event object containing the request data (for instance, parameters from an API Gateway request or metadata when a file is uploaded to S3).
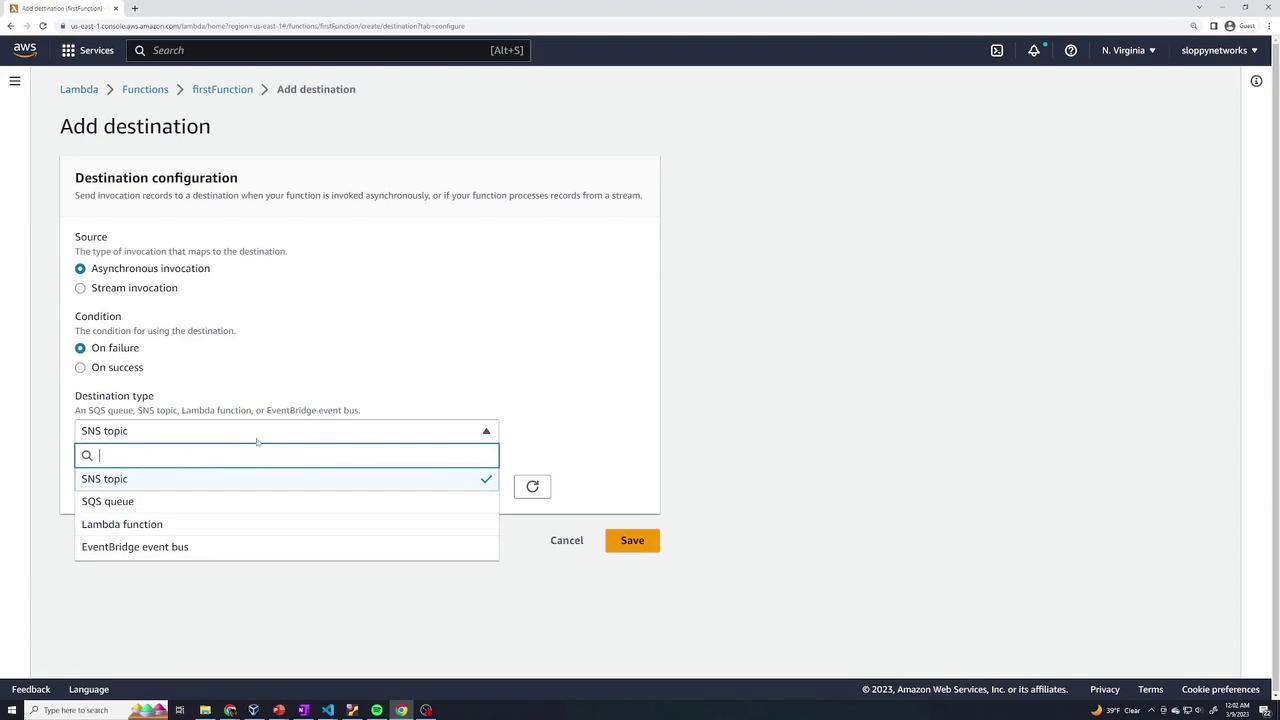
Below the code editor, you’ll notice a section for Layers. Layers enable you to incorporate third-party dependencies or custom libraries separately from your main code. This is especially useful when multiple functions share common dependencies.Additionally, you can configure a Destination to send asynchronous invocation records to an SNS topic, SQS queue, or other supported destinations.
Once you scroll down, you will see the basic configuration details for your Lambda function, which for now returns a status code 200 along with a stringified message.
AWS Lambda includes a built-in testing mechanism. Click the Test button to open the test event configuration panel. You can create a new event or modify the default JSON event. For example:
Assign a name to your test event (such as “test one”) and adjust the JSON as needed. This event mimics the data provided during an actual trigger, such as file information if triggered on an S3 upload.After configuring your test event, click Test. The console will display the response and accompanying log data, similar to the following examples:
Copy
{ "statusCode": 200, "body": "\"my first lambda function\""}
Copy
START RequestId: 109f761e-0afa-46c0-b036-099bacar7320 Version: $LATESTEND RequestId: 109f761e-0afa-46c0-b036-099bacar7320REPORT RequestId: 109f761e-0afa-46c0-b036-099bacar7320 Duration: 10.68 ms Billed Duration: 11 ms Memory Size: 128 MB Max Memory Used: 67 MB Init Duration: 228.37 ms
Adjust your function to extract properties from the incoming event. For example, to process an event property named products, update your code as follows:
The response body will include the product information extracted from the event. Remember to click Deploy after editing your code before testing again. The updated logs will reflect your changes.
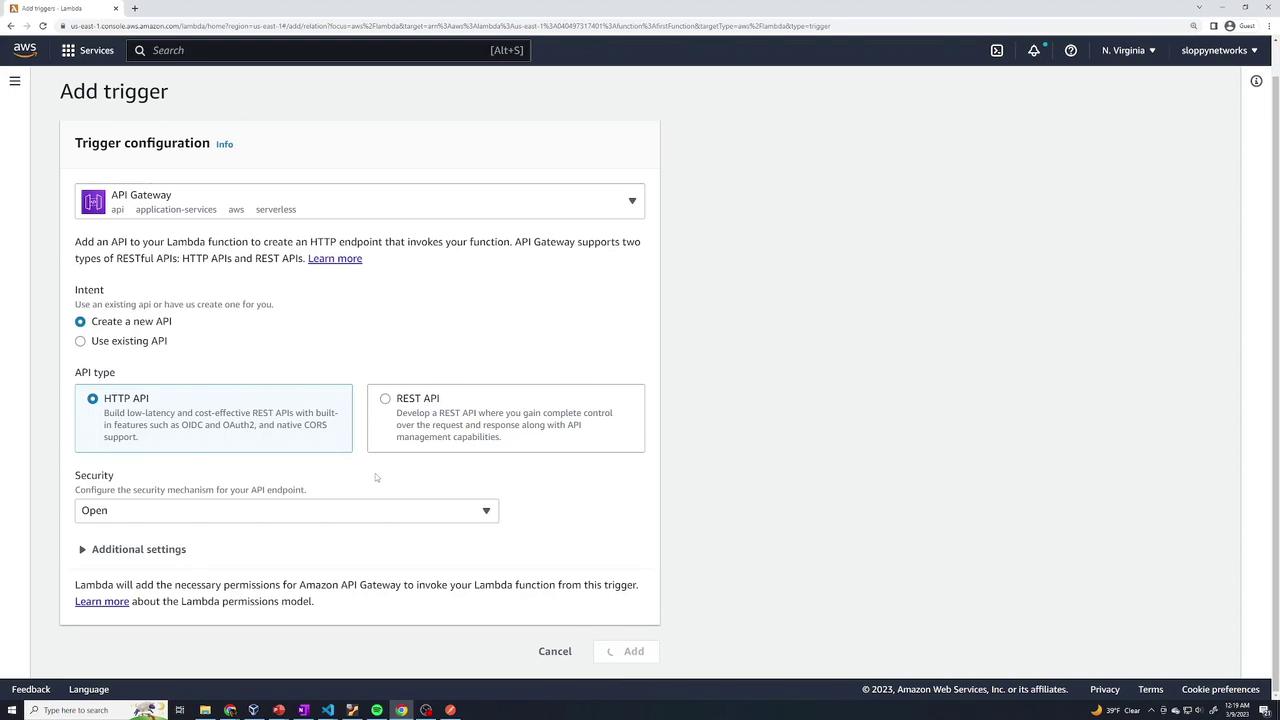
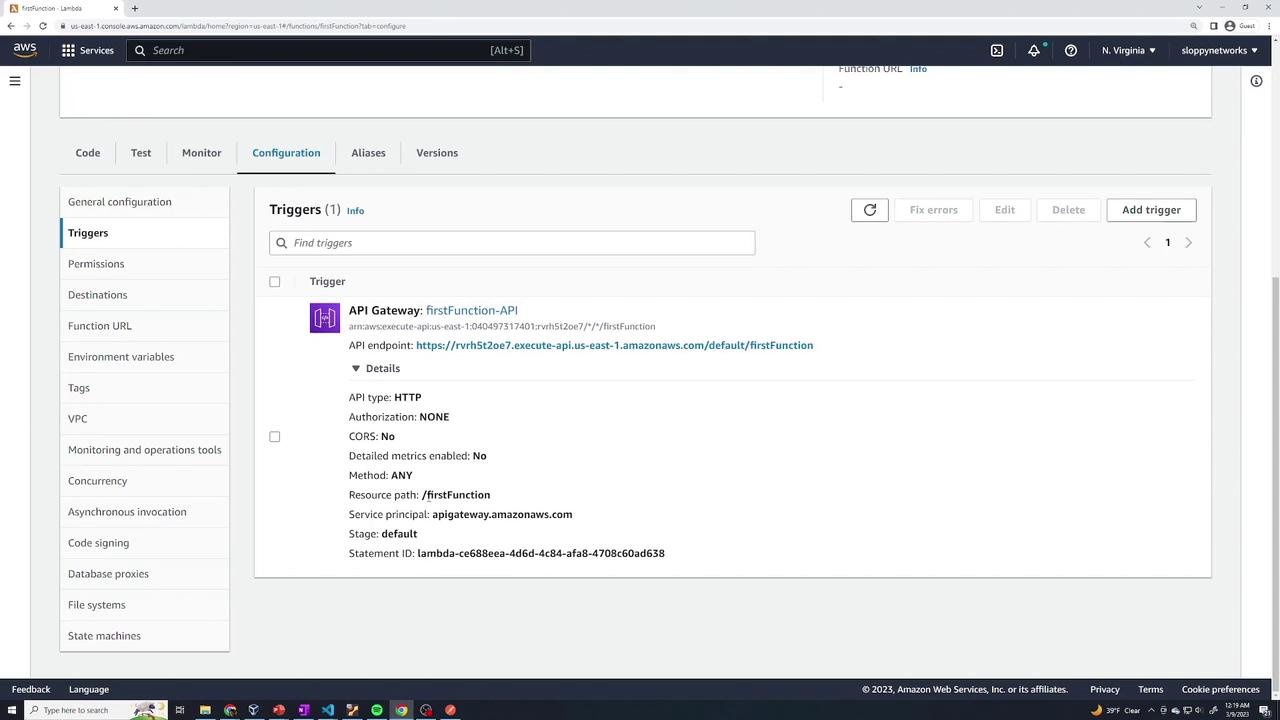
To simulate a real-world scenario, you can add an API Gateway trigger that invokes your Lambda function via an HTTP request. In the Lambda console, navigate to the Triggers section, click Add trigger, and select API Gateway. Choose Create a new API and set the security as required (for this demo, leaving it open is acceptable).
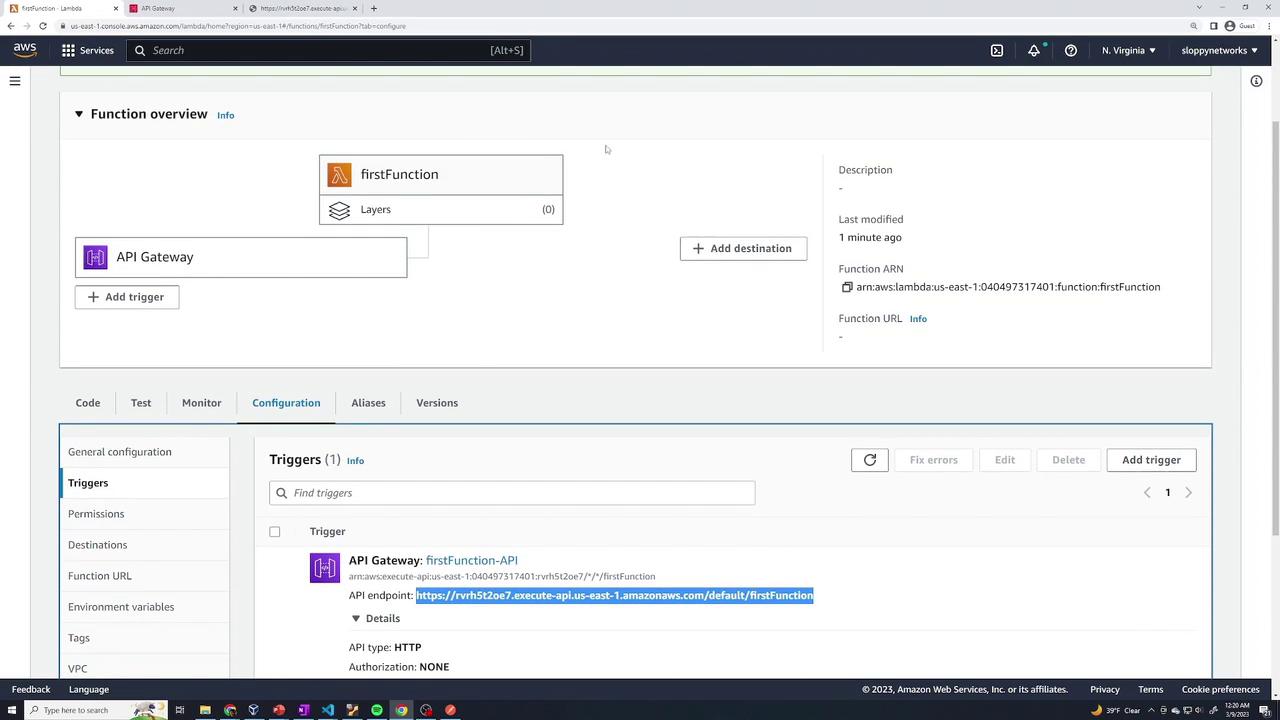
After adding the trigger, the console will display the API endpoint (such as /first/function) along with details for supported HTTP methods (GET, POST, etc.). You can click through to the API Gateway page for further details.
To test the integration, copy the API endpoint URL and make a GET request using your browser, curl, Postman, or any HTTP client. A successful request returns a message (e.g., “lambda trigger example”) that confirms the function has been invoked correctly.
Deploying a Function with Third-Party Dependencies – A Hashing Demo
In this section, you’ll build a more complex Lambda function that incorporates a third-party library. For this Node.js demo, we’ll use bcrypt.js to hash a password supplied in the event.First, install the dependency locally by running the following command in your project directory:
Copy
npm install bcryptjs
This command creates a new folder named node_modules that includes the required bcrypt.js files.Below is the complete code for the Lambda function:
After pasting the code into the Lambda console, deploy your changes and create a test event as shown below:
Copy
{ "password": "123"}
If you encounter an error indicating that the “bcryptjs” package cannot be found, it means your Lambda function hasn’t bundled the node_modules folder.
To resolve this, bundle your Lambda function code along with the node_modules folder. Zip the following:
Your handler file (e.g., index.mjs)
The node_modules folder
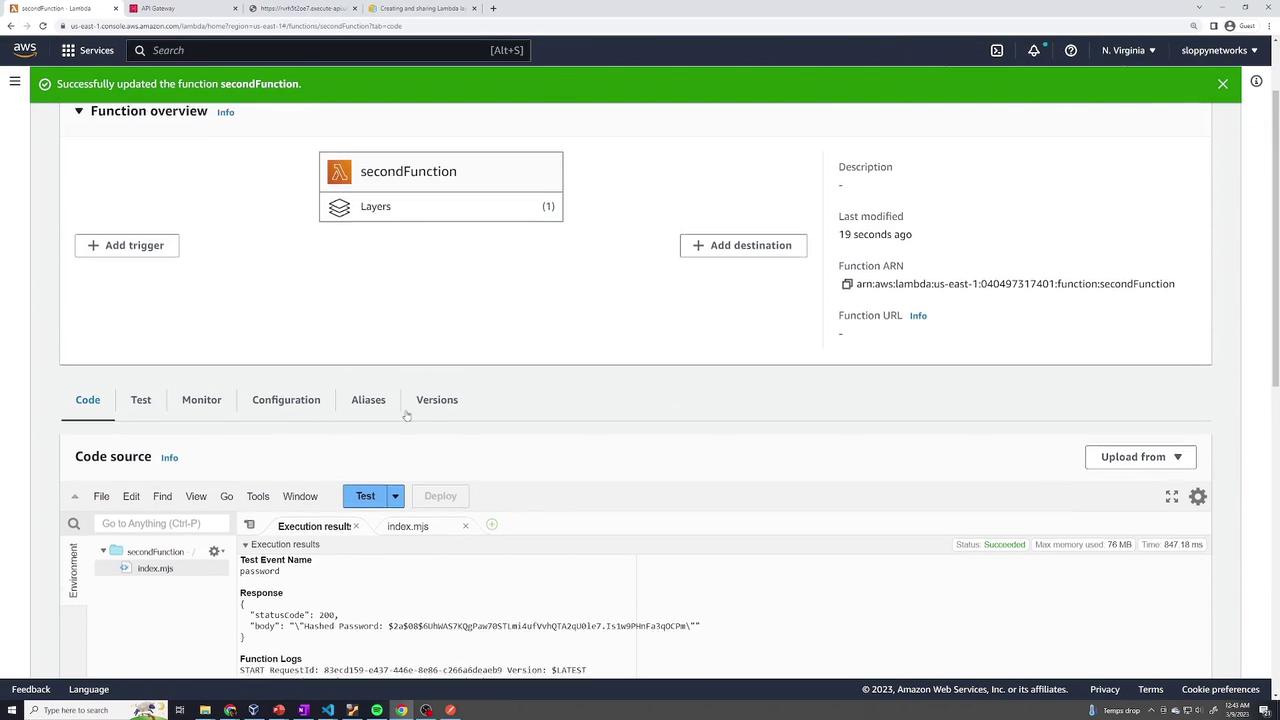
Upload the resulting ZIP file using the Upload from .zip file option in the Lambda console. Once deployed, you should see the hashed password in the response and function logs reflecting a successful execution.
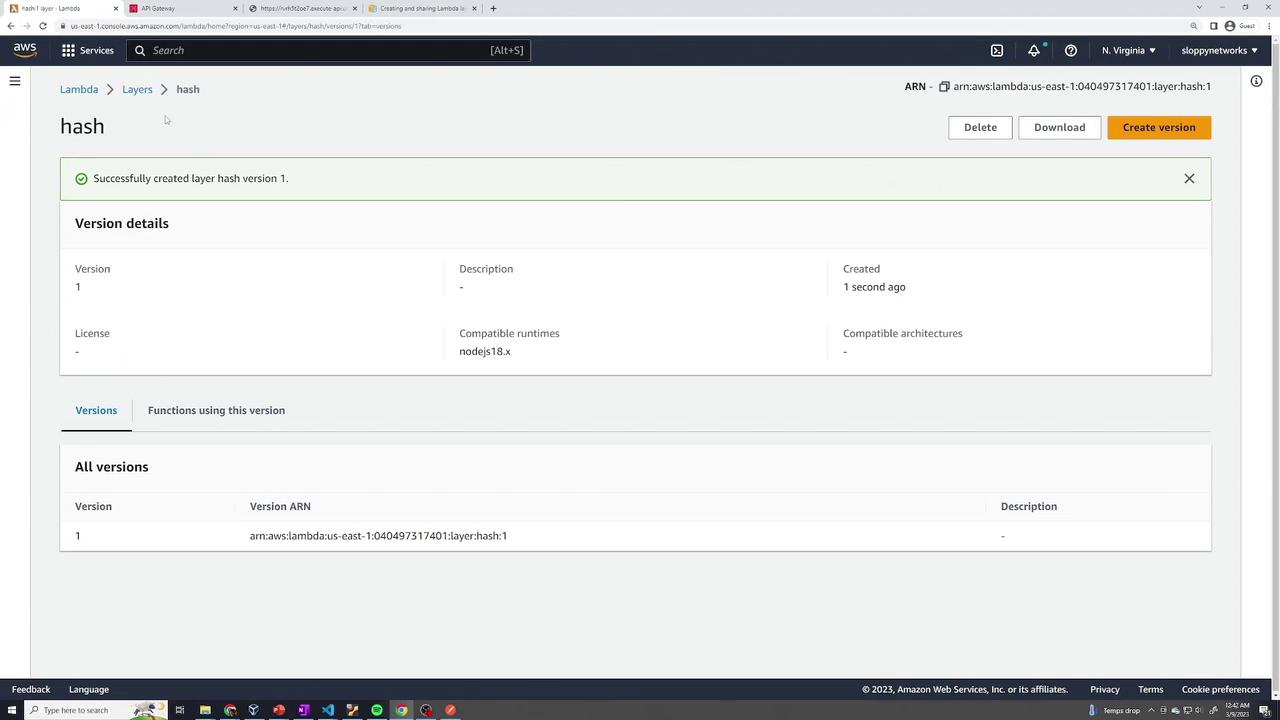
Instead of bundling the node_modules folder with every function, you can create a Lambda Layer to share common dependencies among multiple functions.To create a layer for bcrypt.js, follow these steps:
Create a folder named Node.js.
Move the node_modules folder inside the Node.js folder.
Zip the Node.js folder and name the archive (for example, my-hash-layer.zip).
Upload this ZIP file as a new custom layer in the Lambda Layers section and select the appropriate runtime (e.g., Node.js) when creating the layer.
After creating the layer, return to your Lambda function, scroll to the Layers section, click Add a layer, choose Custom layers, and select your newly created hash layer (default version). Deploy the changes and retest your function to confirm it loads bcrypt.js from the layer instead of a bundled node_modules folder.
Monitoring is an essential part of ensuring your Lambda function performs as expected. In the Lambda console, the Monitoring tab offers insights into:
Number of invocations
Execution duration (minimum, average, and maximum)
Error counts and success rates
Throttling metrics (if applicable)
You can also view detailed CloudWatch logs for each invocation. The logs include information like the request ID, execution duration, billed duration, memory usage, and initialization duration.Example log entry: