AWS - IAM
Introduction to AWS Identity and Access Management
Demo IAM Groups
In this tutorial, you'll learn how to create IAM groups in the AWS Management Console, attach policies, and add existing users. We’ll set up two groups:
- HR: Grants access to a specific S3 bucket.
- IT: Provides full administrative privileges.
Best Practice
Always follow the principle of least privilege when assigning permissions. Create custom policies scoped to the resources your team actually needs.
Prerequisites
- An AWS account with sufficient privileges to manage IAM resources.
- Existing IAM users (e.g., John, Sarah).
Step 1: Open the IAM Console
- Sign in to the AWS Management Console.
- Navigate to Services > Security, Identity, & Compliance > IAM.
- In the left pane, select User groups.
You should see a list of your current IAM user groups (if any).
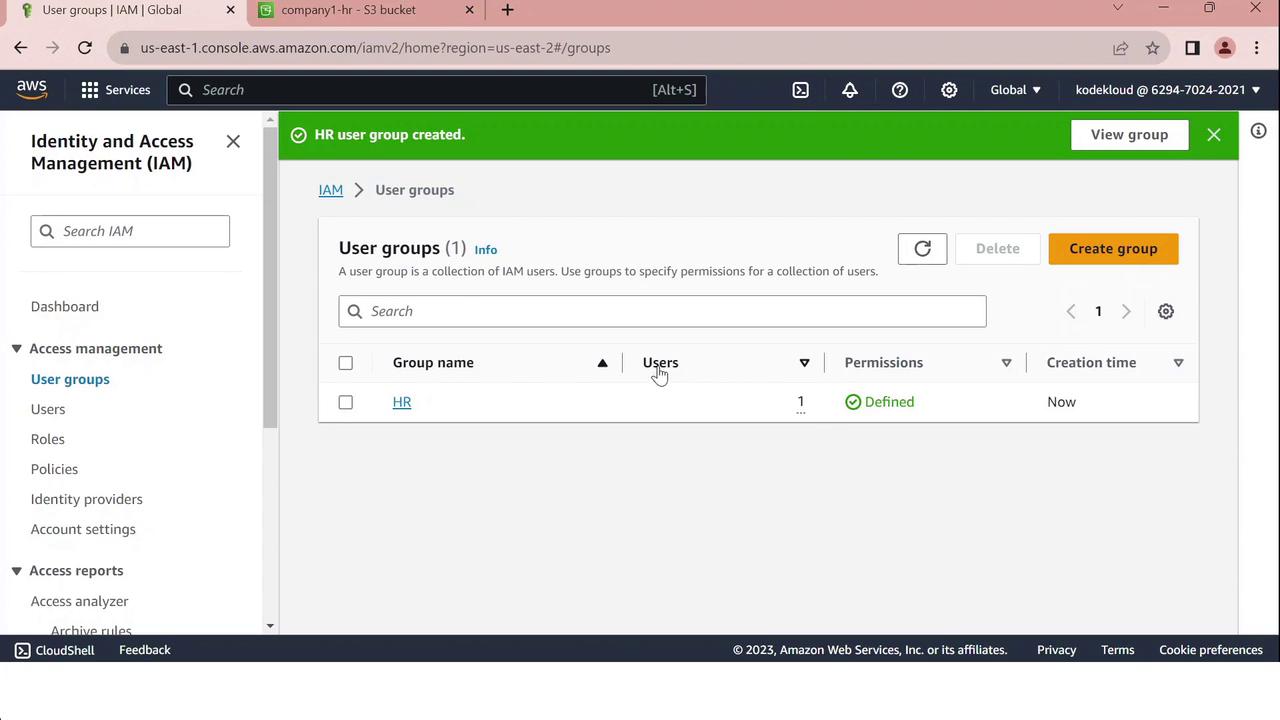
Step 2: Create the “HR” Group
Click Create group.
Enter
HRas the Group name.Under Add users to group, select John.
In Attach managed policies, click Create policy, then paste the JSON below:
{
  "Version": "2012-10-17",
  "Statement": [
    {
      "Sid": "HRPolicy",
      "Effect": "Allow",
      "Action": "s3:*",
      "Resource": [
        "arn:aws:s3:::company1-hr-bucket",
        "arn:aws:s3:::company1-hr-bucket/*"
      ]
    }
  ]
}
Review the policy, give it a name like
HRPolicy, and attach it to the group.Click Create group to finalize.
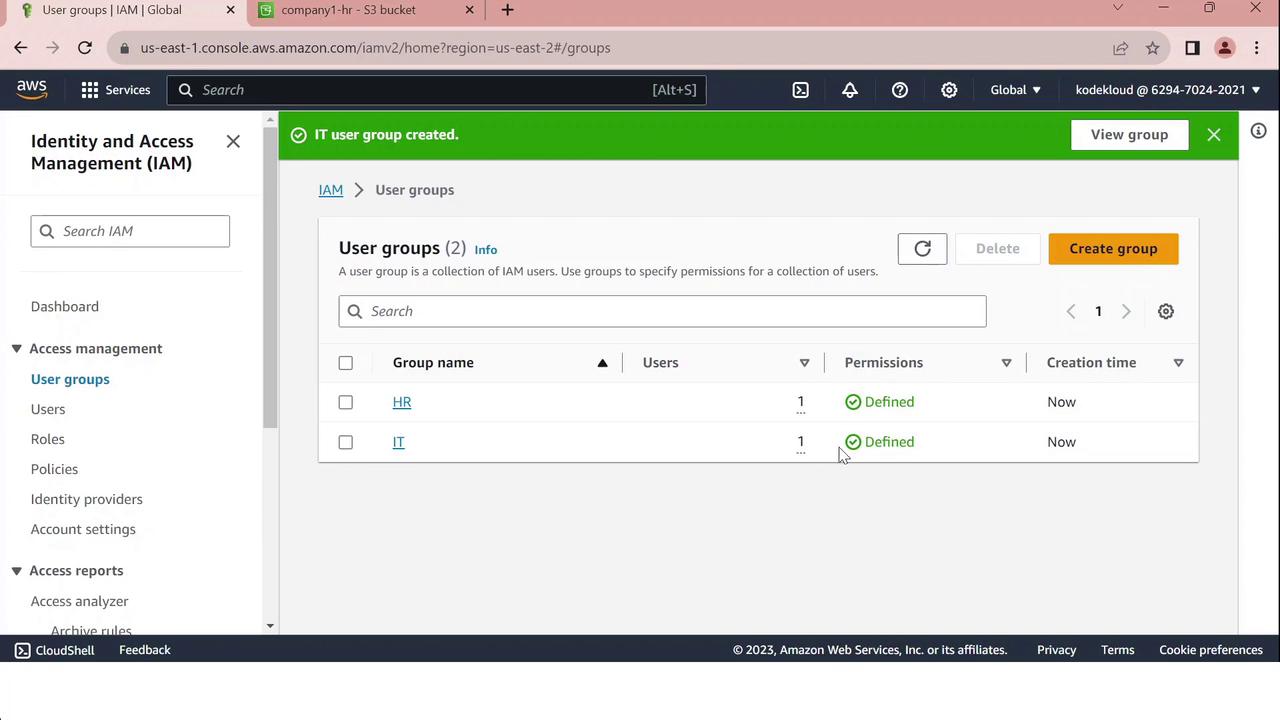
Step 3: Create the “IT” Group
- Click Create group again.
- Enter
ITas the Group name. - Select Sarah under Add users to group.
- In Attach managed policies, search for and select AdministratorAccess.
- Click Create group.
The IT group will now have full AWS administrative access.
Summary of IAM Groups
| Group | User | Policy | Access Scope |
|---|---|---|---|
| HR | John | HRPolicy | company1-hr-bucket S3 bucket |
| IT | Sarah | AdministratorAccess | Full AWS services and resource control |
Links and References
Warning
Review and regularly audit your IAM policies to ensure compliance and security.
Watch Video
Watch video content
Practice Lab
Practice lab