AWS - IAM

Introduction to AWS Identity and Access Management

Demo Identity Policy

In this tutorial, you’ll learn how to create a custom IAM identity policy in AWS, attach it to a user group, and then refine its permissions using both the Visual editor and the JSON editor. By the end, you’ll have a policy that grants S3 read access, full EC2 permissions, and explicitly denies the ability to stop EC2 instances.


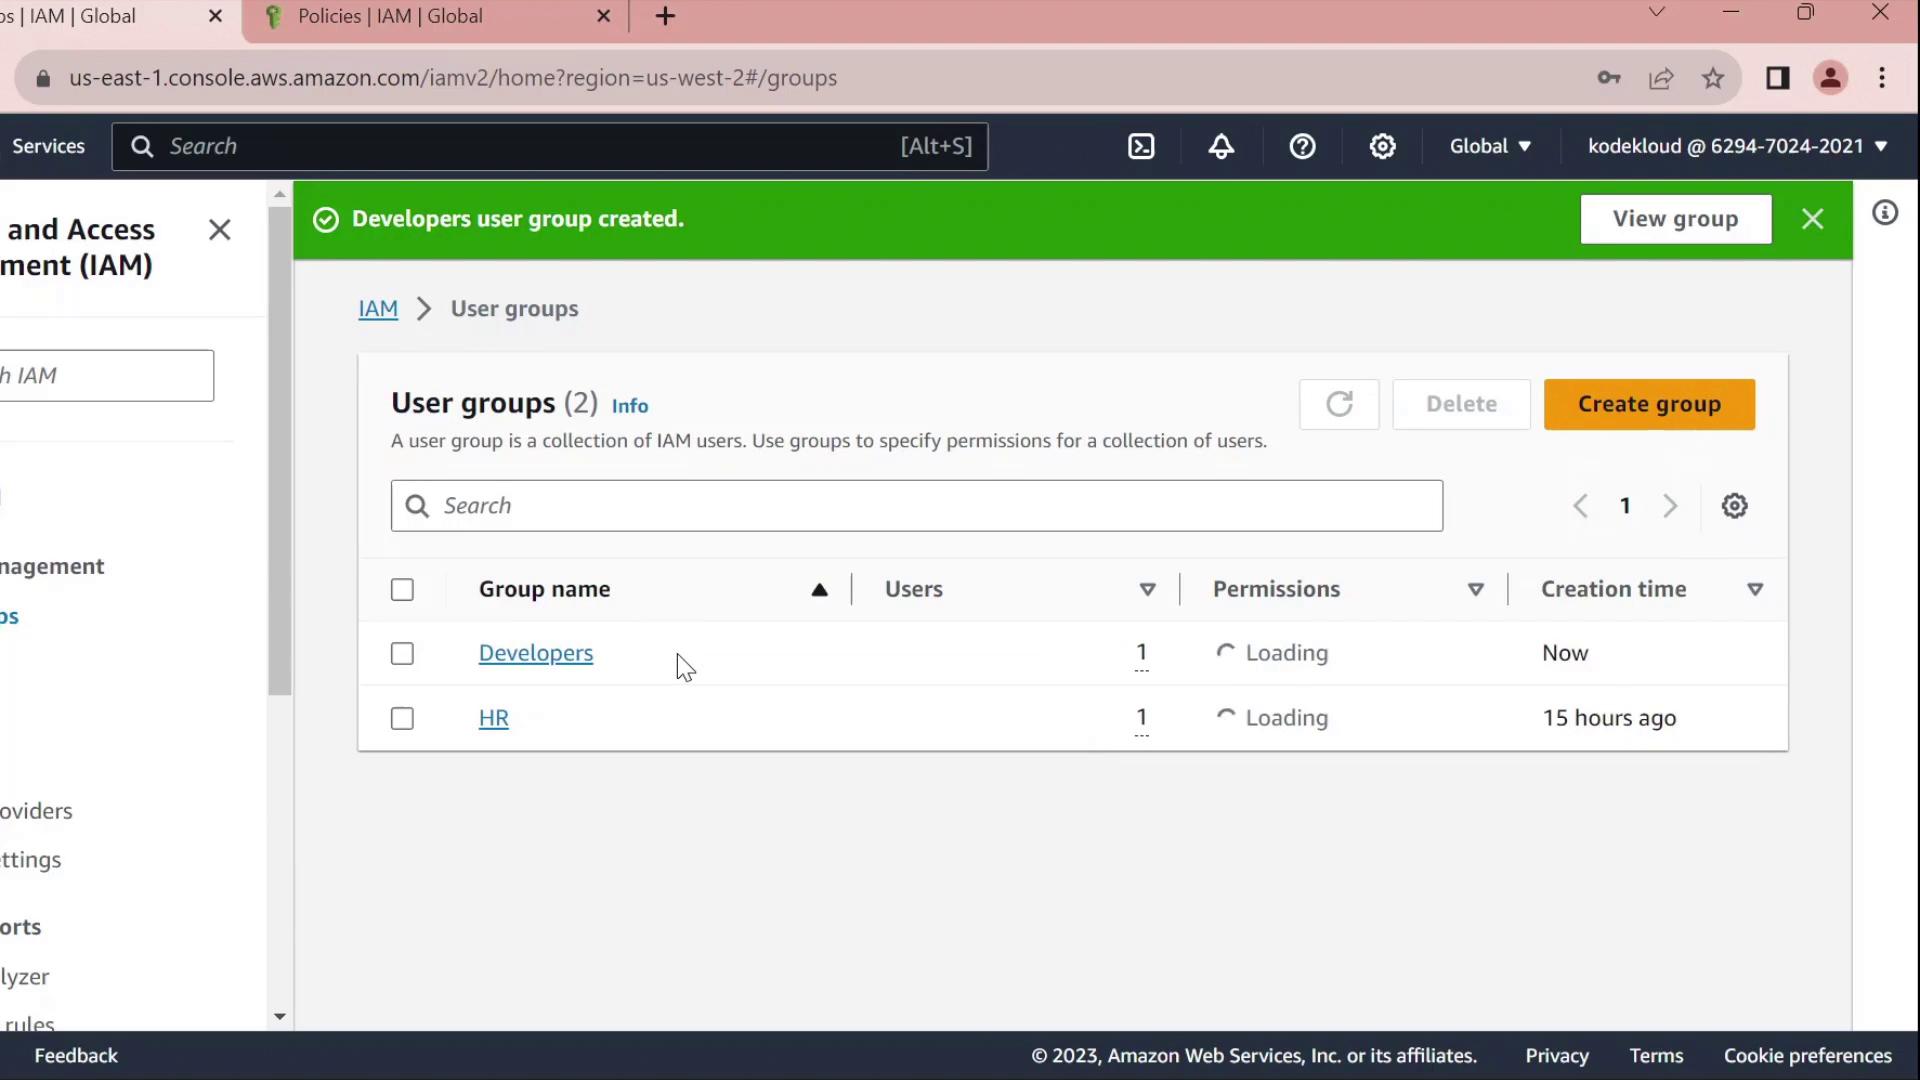
1. Create a Developers Group

  1. In the AWS Management Console, navigate to IAMUser groups.
  2. Click Create group, name it Developers, and add the user John to the group.
  3. Skip attaching any policies for now and finish the wizard.

The image shows an AWS Identity and Access Management (IAM) console screen where users can be added to a group, with a list of users and their details such as groups, last activity, and creation time.

Once created, you’ll see Developers listed without any permissions:

The image shows an AWS IAM (Identity and Access Management) console with a list of user groups, including "Developers" and "HR," along with their user counts and creation times. A notification indicates that the "Developers" user group was created.


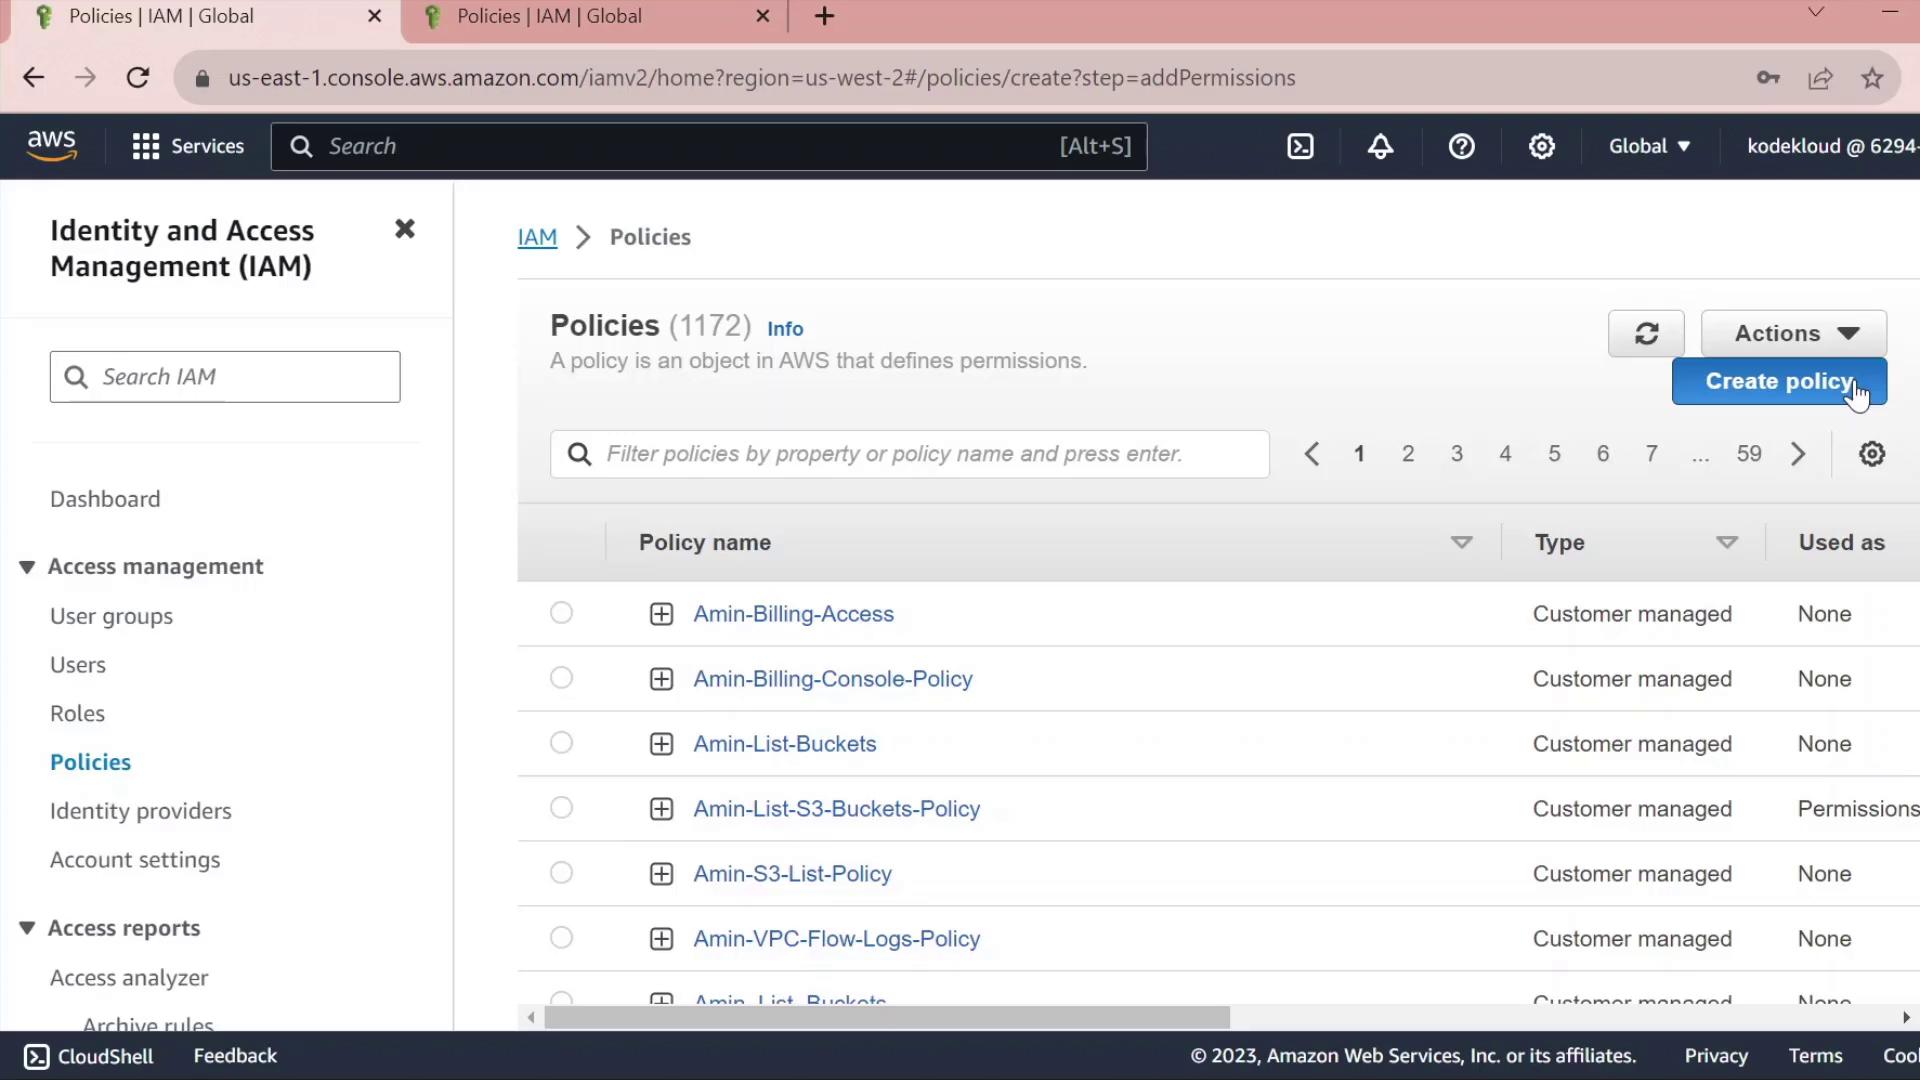
2. Create a Custom Policy

  1. In the IAM sidebar, select Policies.
  2. Click Create policy.

The image shows the AWS Identity and Access Management (IAM) console, specifically the Policies section, listing various customer-managed policies with options to filter, create, and manage them.

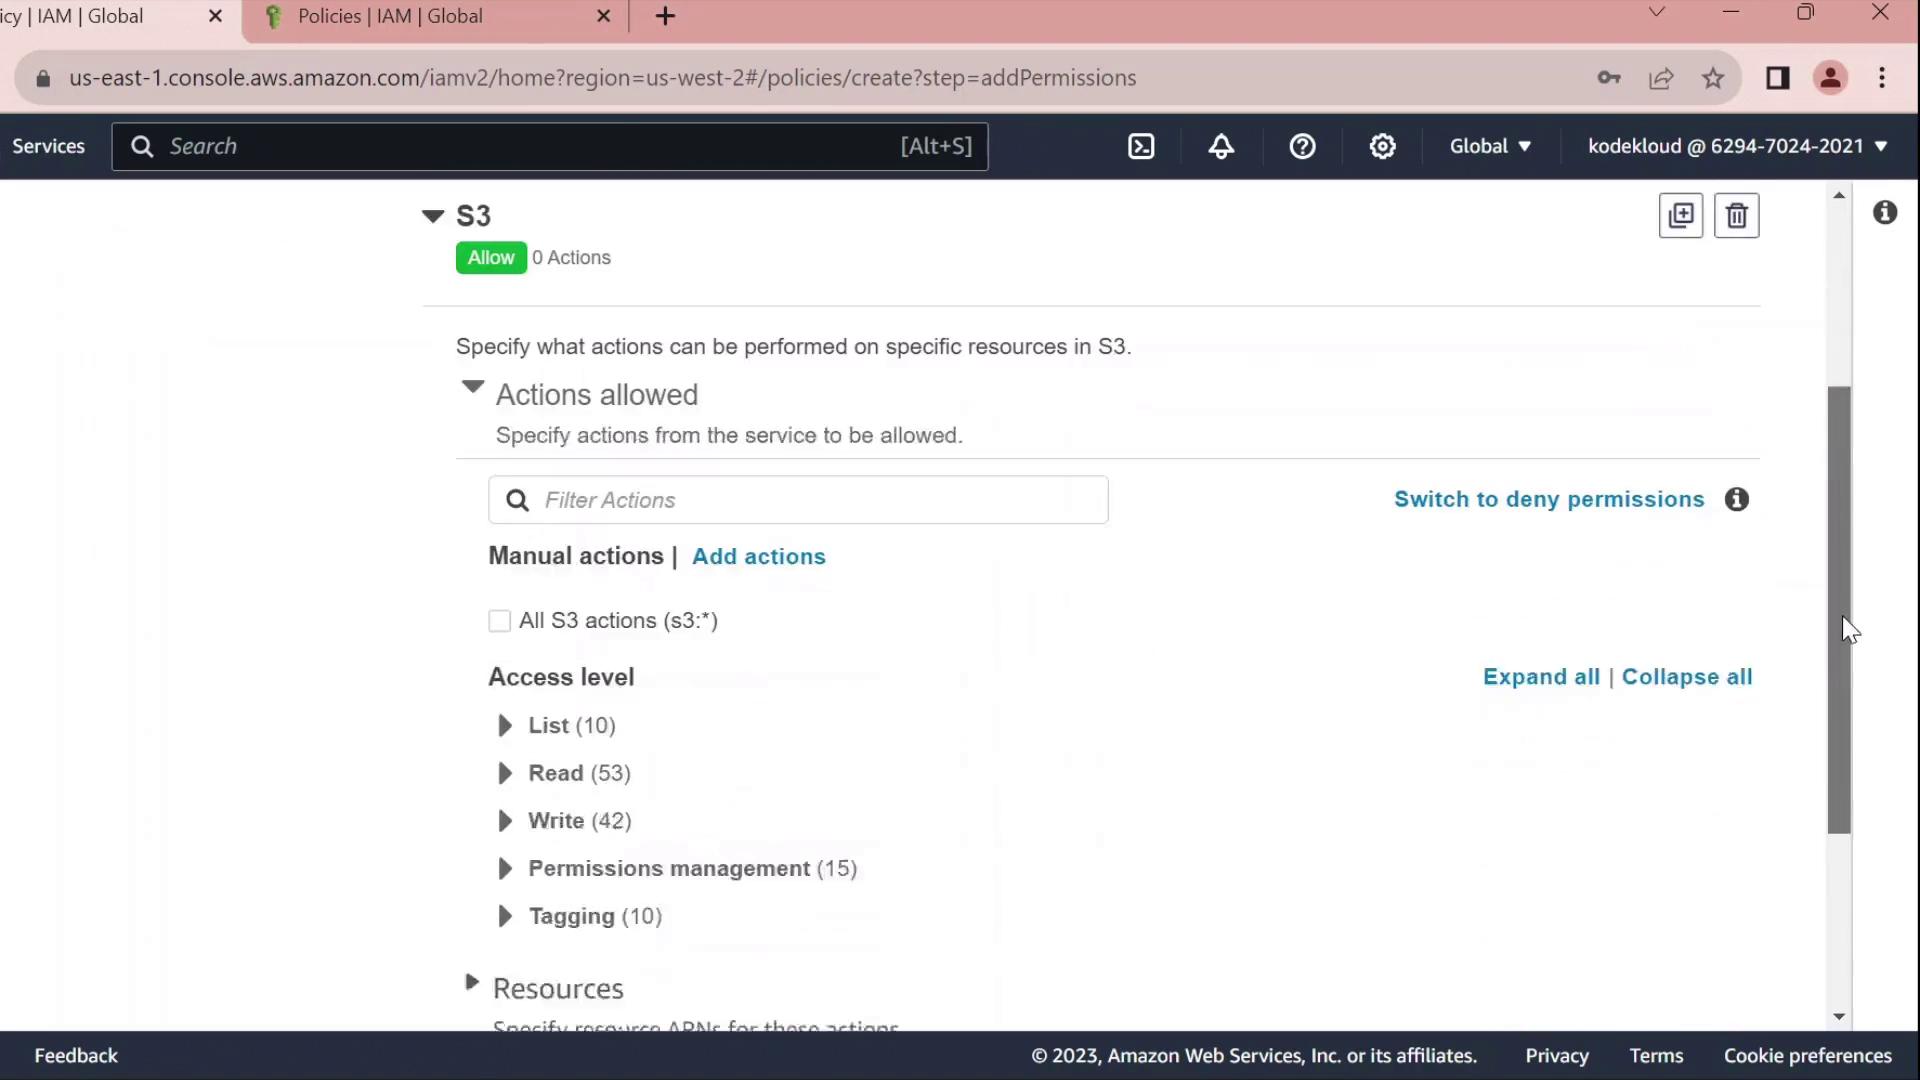
2.1 Grant S3 Read Access

  • Under Service, choose S3.
  • In Actions, expand Read and check GetObject.
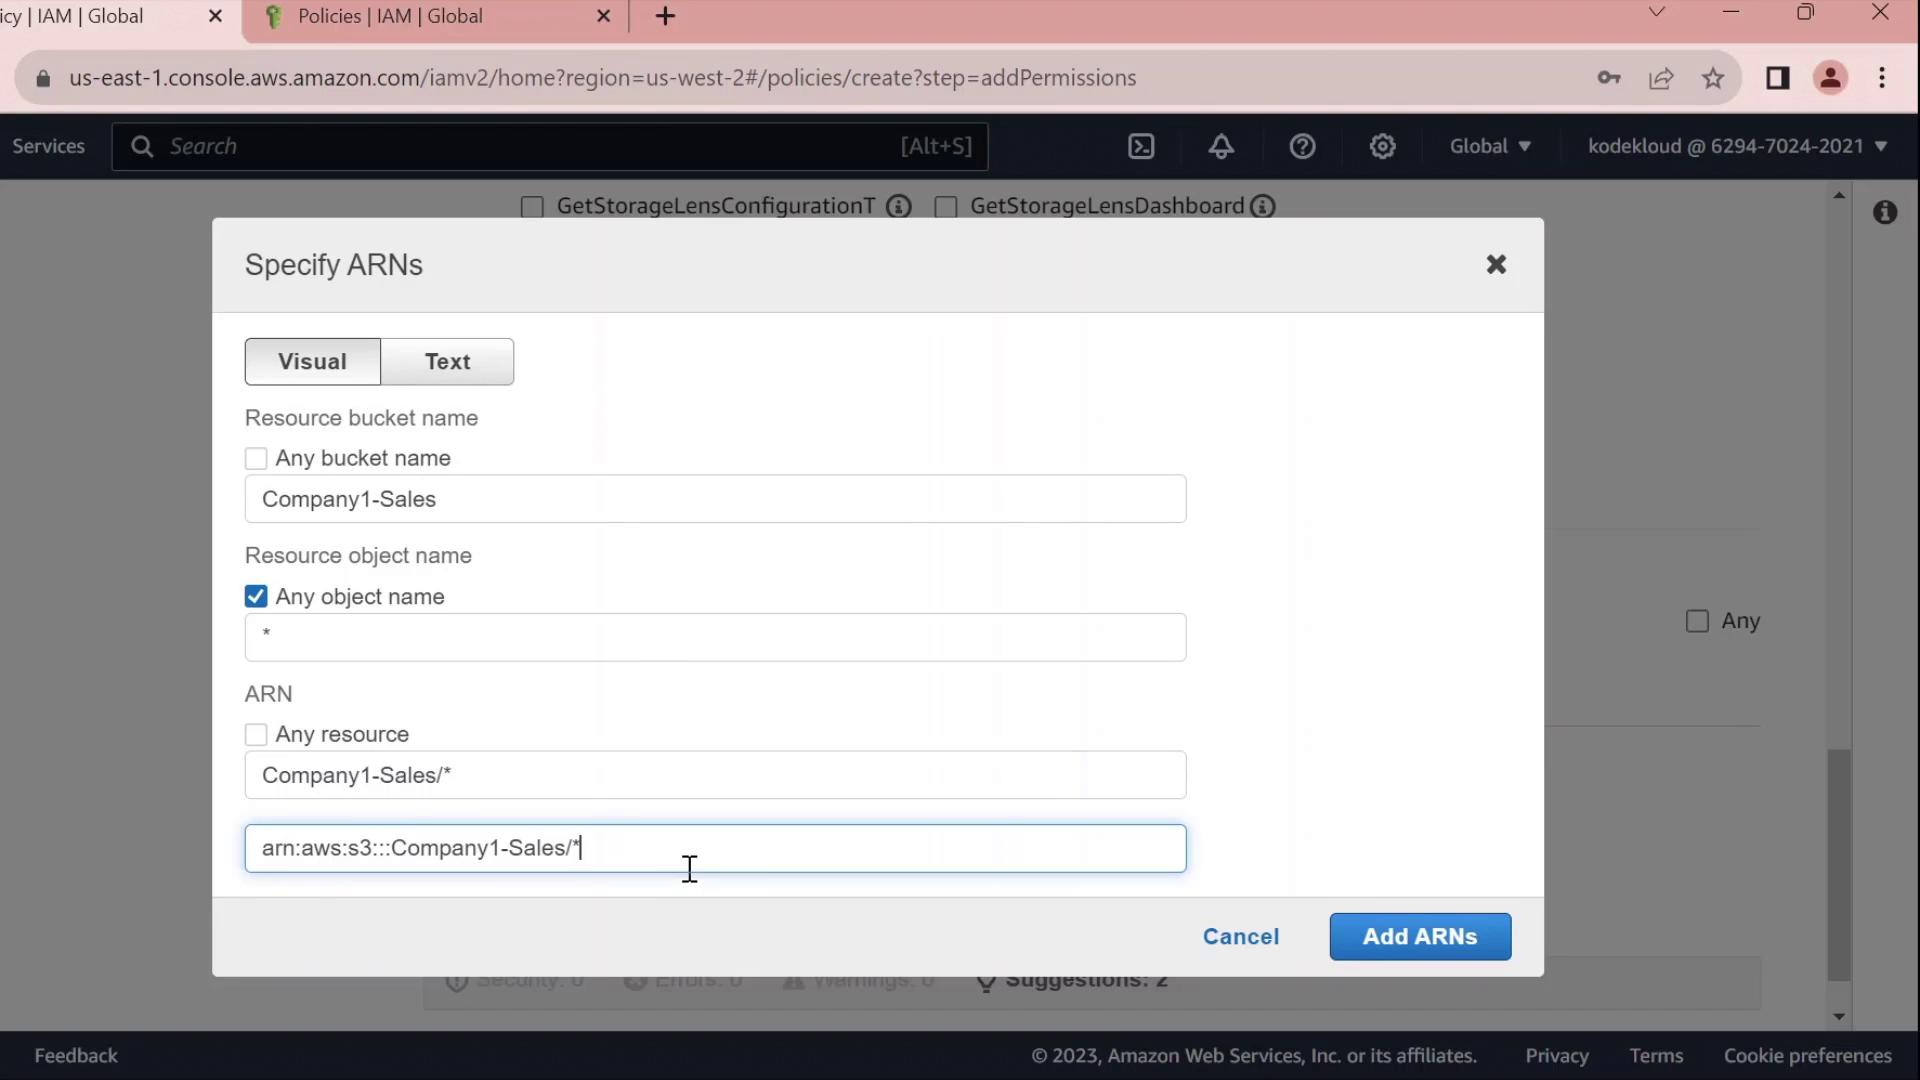
  • Under ResourcesAdd ARN, enter:
    • Bucket: company1-sales
    • Object: *
      The console will build the ARN for you.

The image shows an AWS IAM policy creation interface for S3, where actions and access levels can be specified. Options include listing, reading, writing, permissions management, and tagging.

The image shows a dialog box in the AWS IAM console for specifying ARNs, with fields for resource bucket and object names, and an ARN being entered.

2.2 Grant EC2 Full Access

  • Click Add permissionsEC2.
  • Select All EC2 actions under Actions.
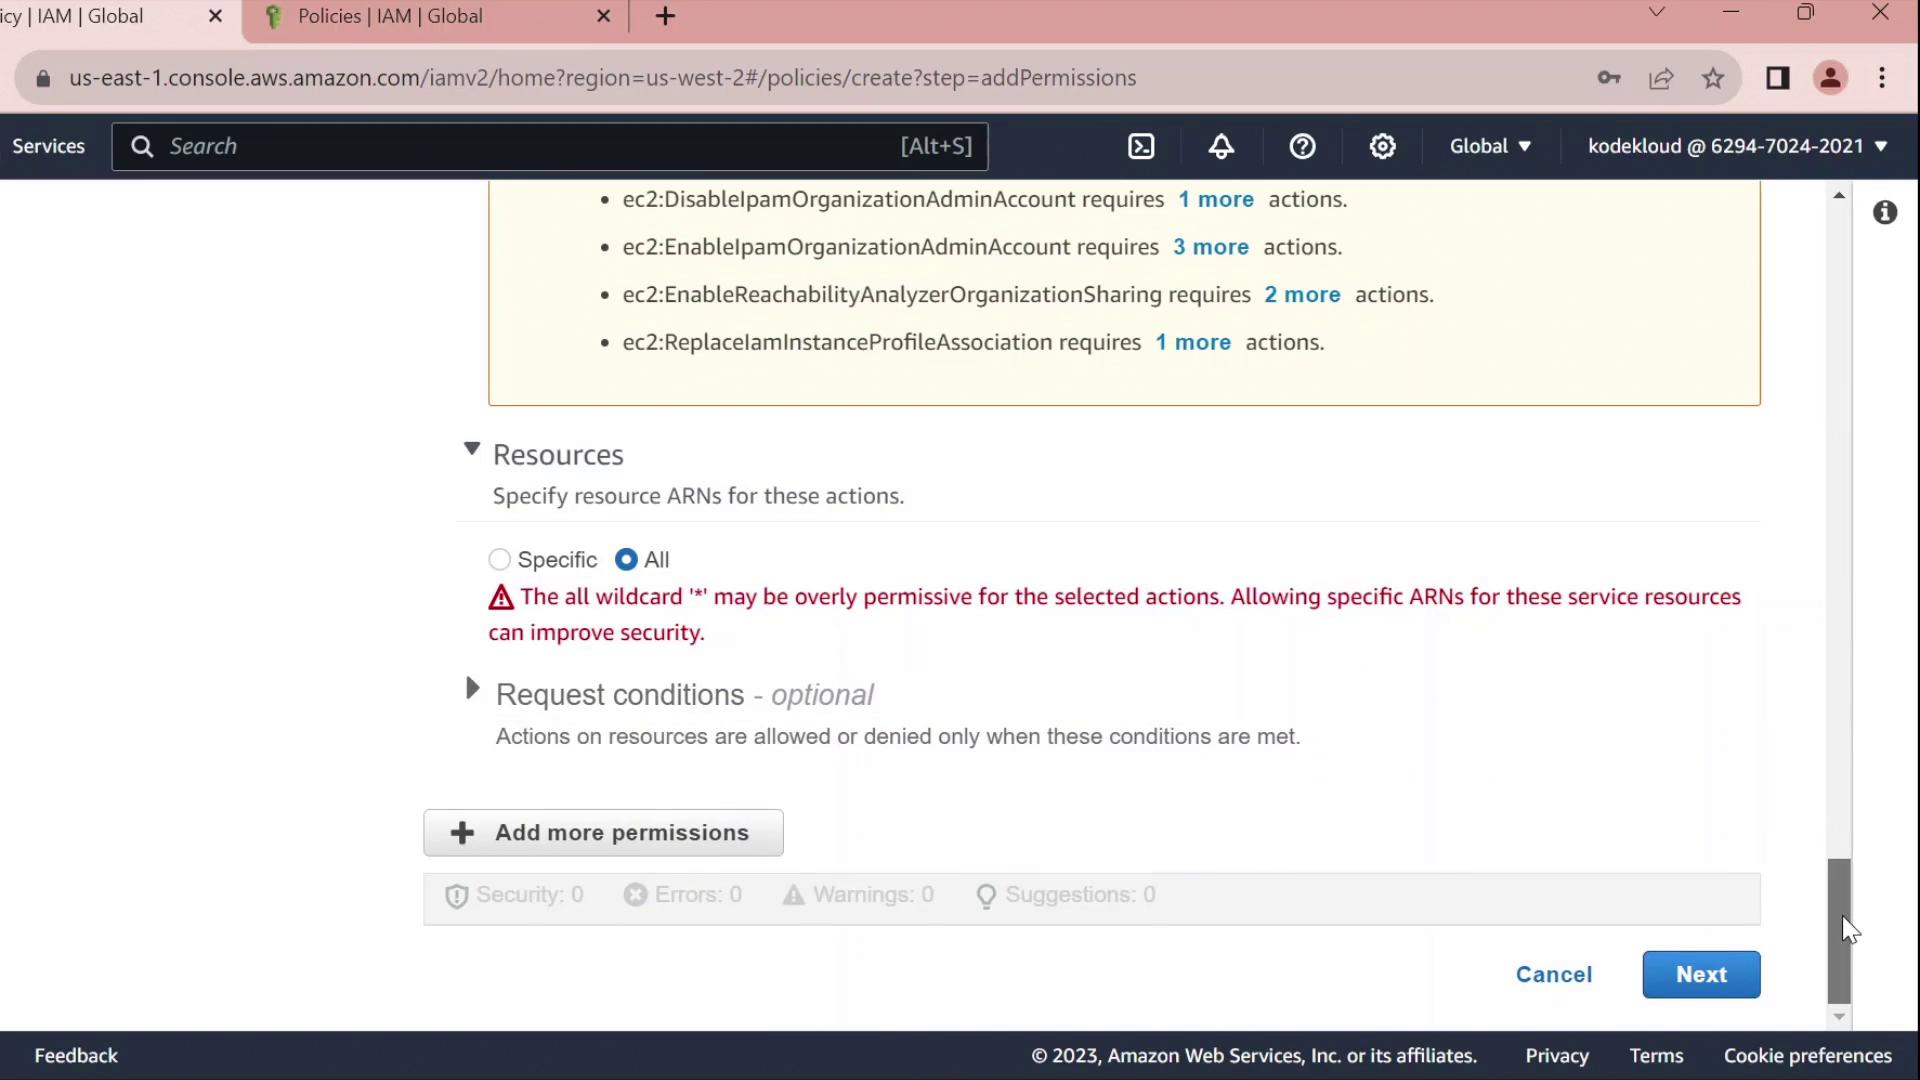
  • Leave the resource set to * for all instances.

Warning

Using * for resources grants full access to all EC2 instances. In production, scope this down by specifying ARNs for specific instances or regions.

The image shows an Amazon Web Services (AWS) IAM policy creation interface, specifically for setting permissions related to EC2 actions. It includes options to allow or deny actions, with categories like List, Read, Write, Permissions management, and Tagging.

The image shows an AWS IAM policy creation interface, highlighting a warning about using the wildcard '*' for resource permissions, suggesting that specifying ARNs can improve security.

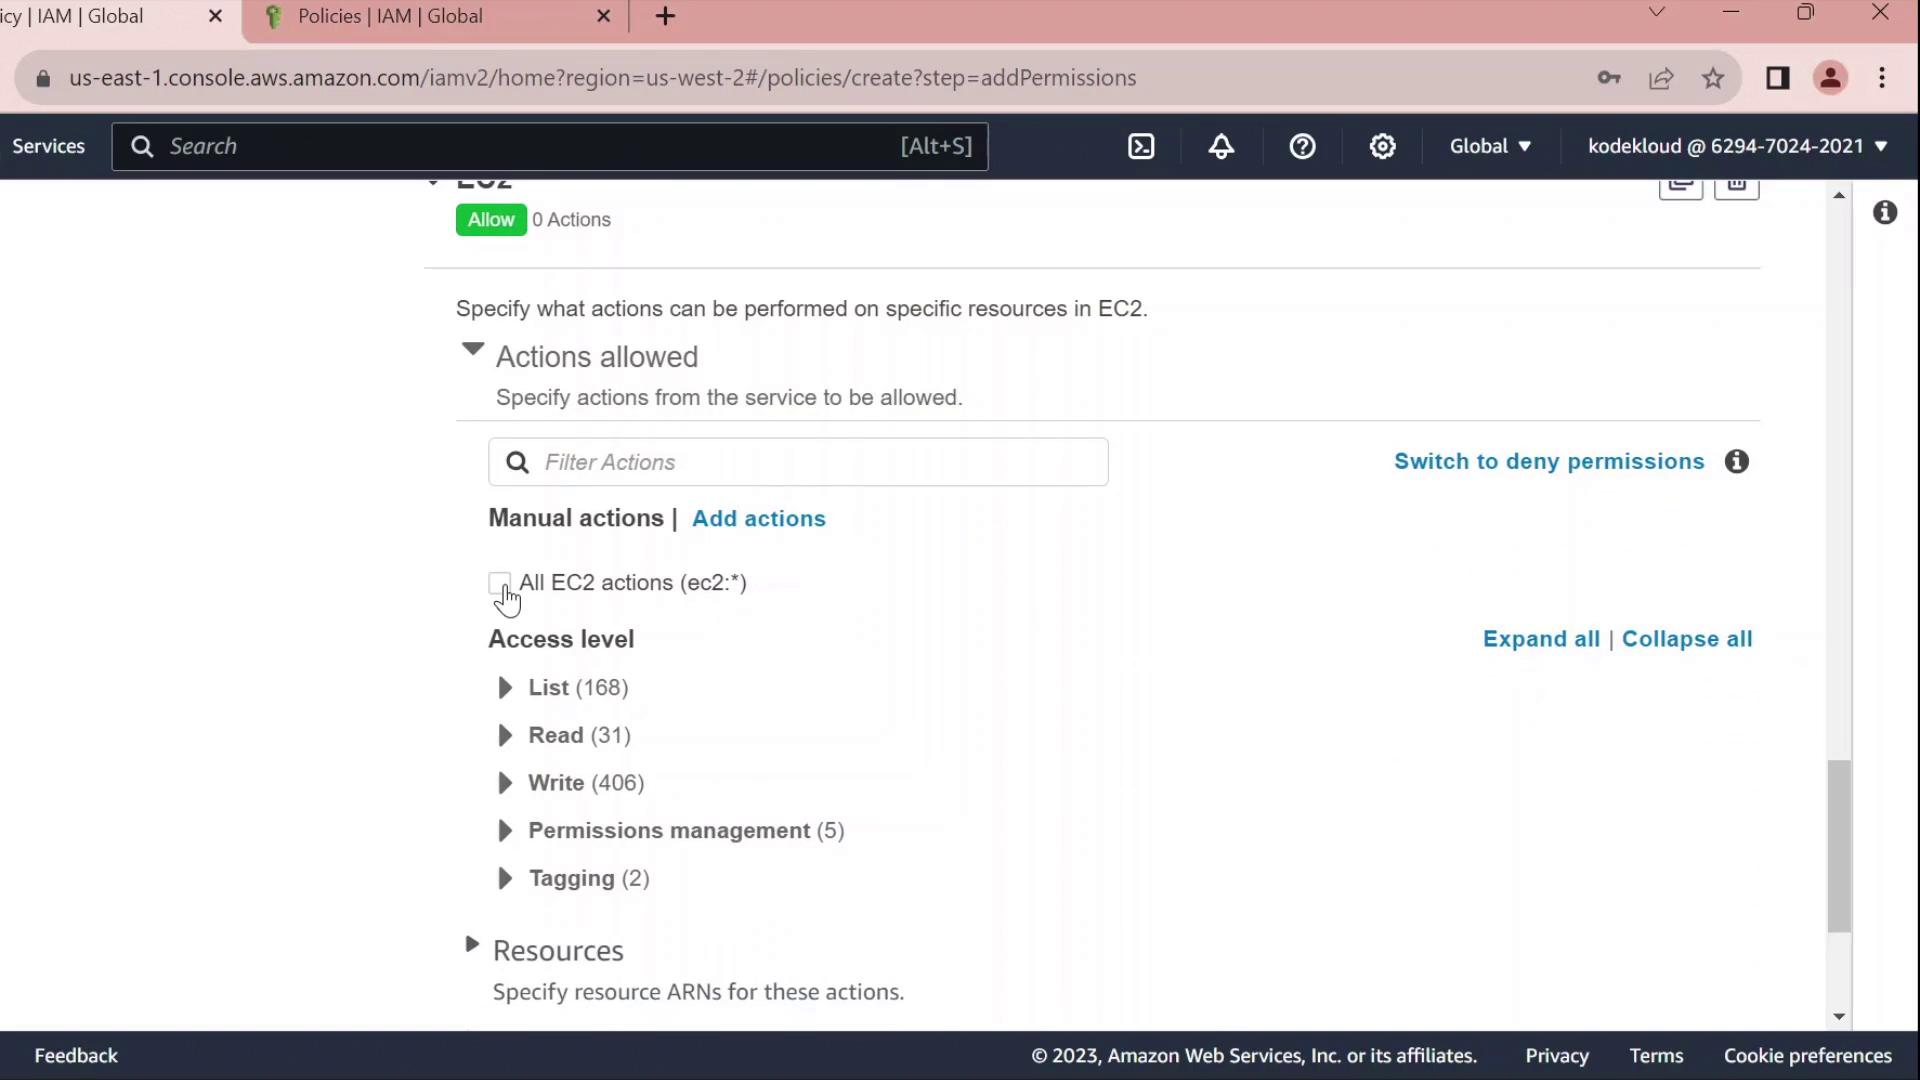
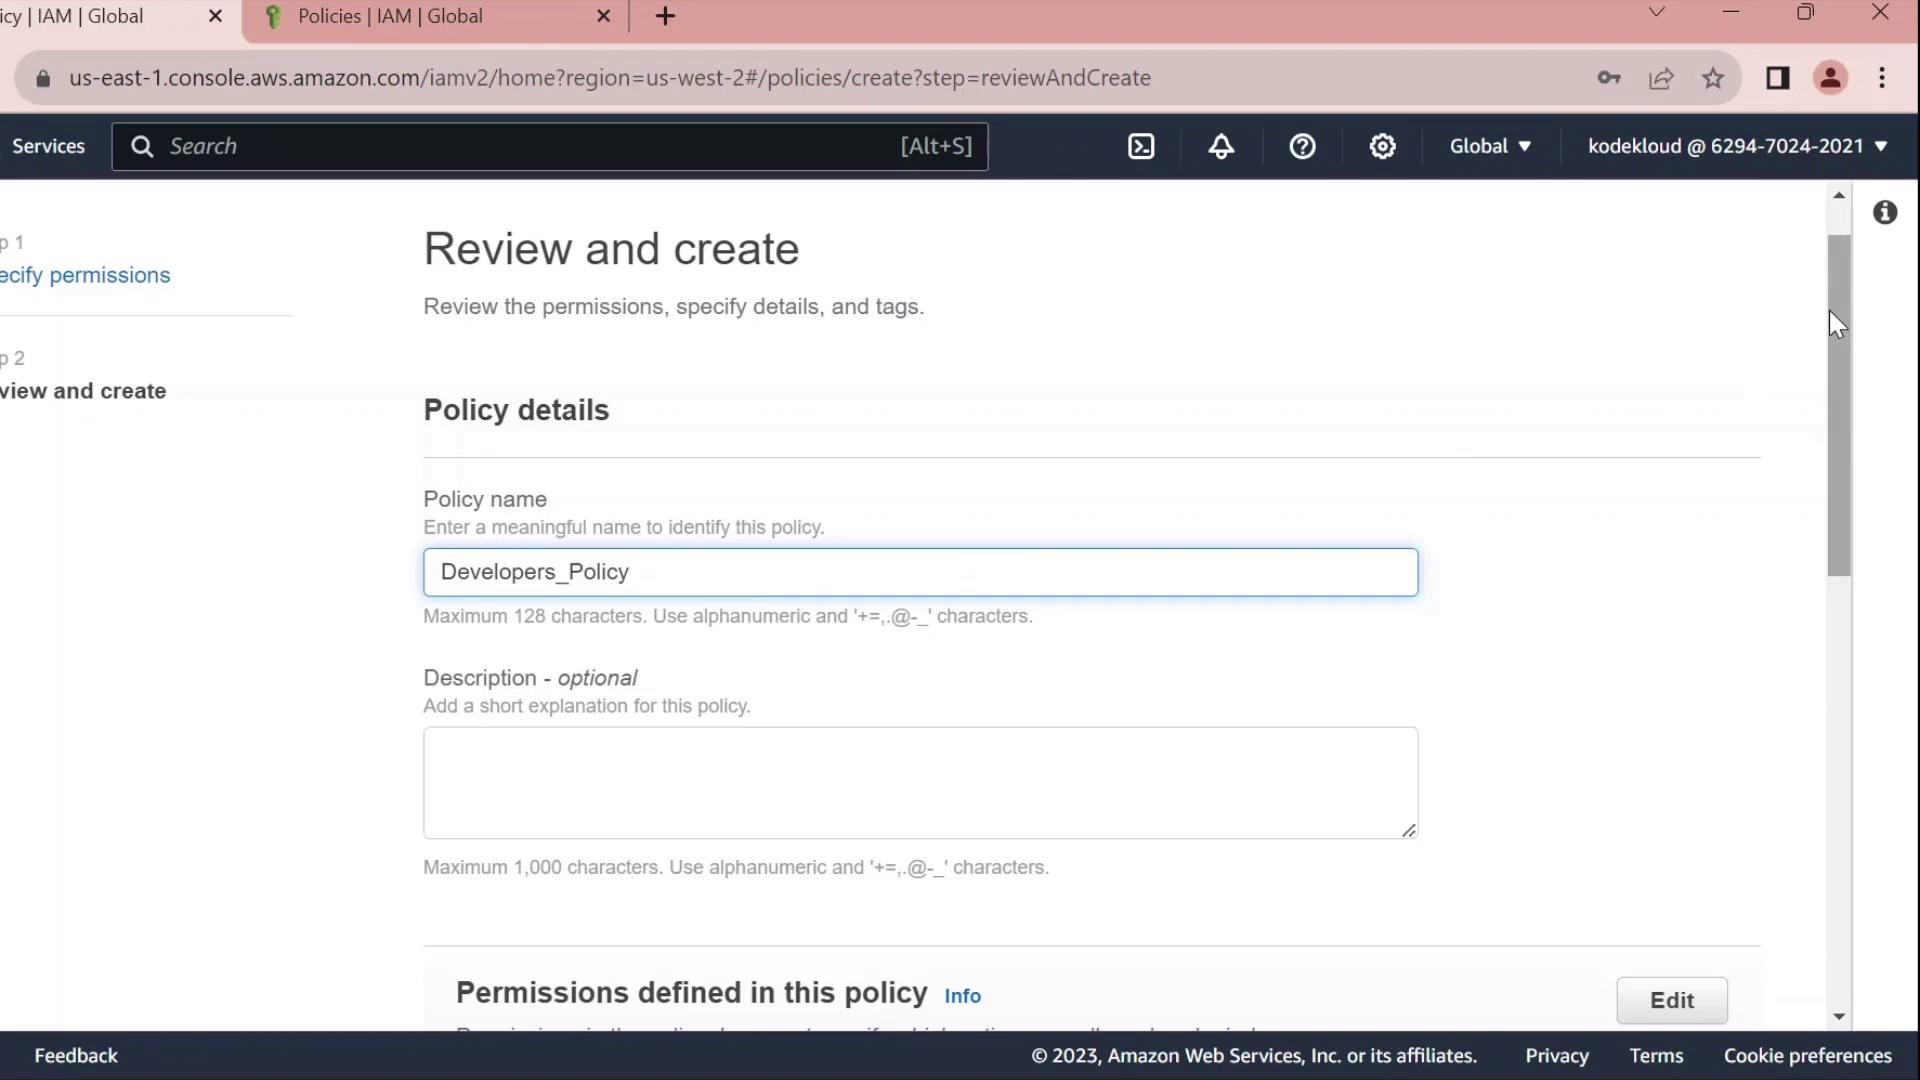
2.3 Review, Name, and Create

  1. Click Next until you reach Review policy.
  2. Set Name to Developers_Policy and add an optional description.
  3. Click Create policy.

The image shows a web page from the AWS IAM console where a user is creating a policy named "Developers_Policy." The page includes fields for policy details and an optional description.


3. Attach Policy to the Developers Group

  1. Return to IAMUser groups.
  2. Select Developers.
  3. Under the Permissions tab, click Attach policies.
  4. Search for and select Developers_Policy, then click Attach policy.
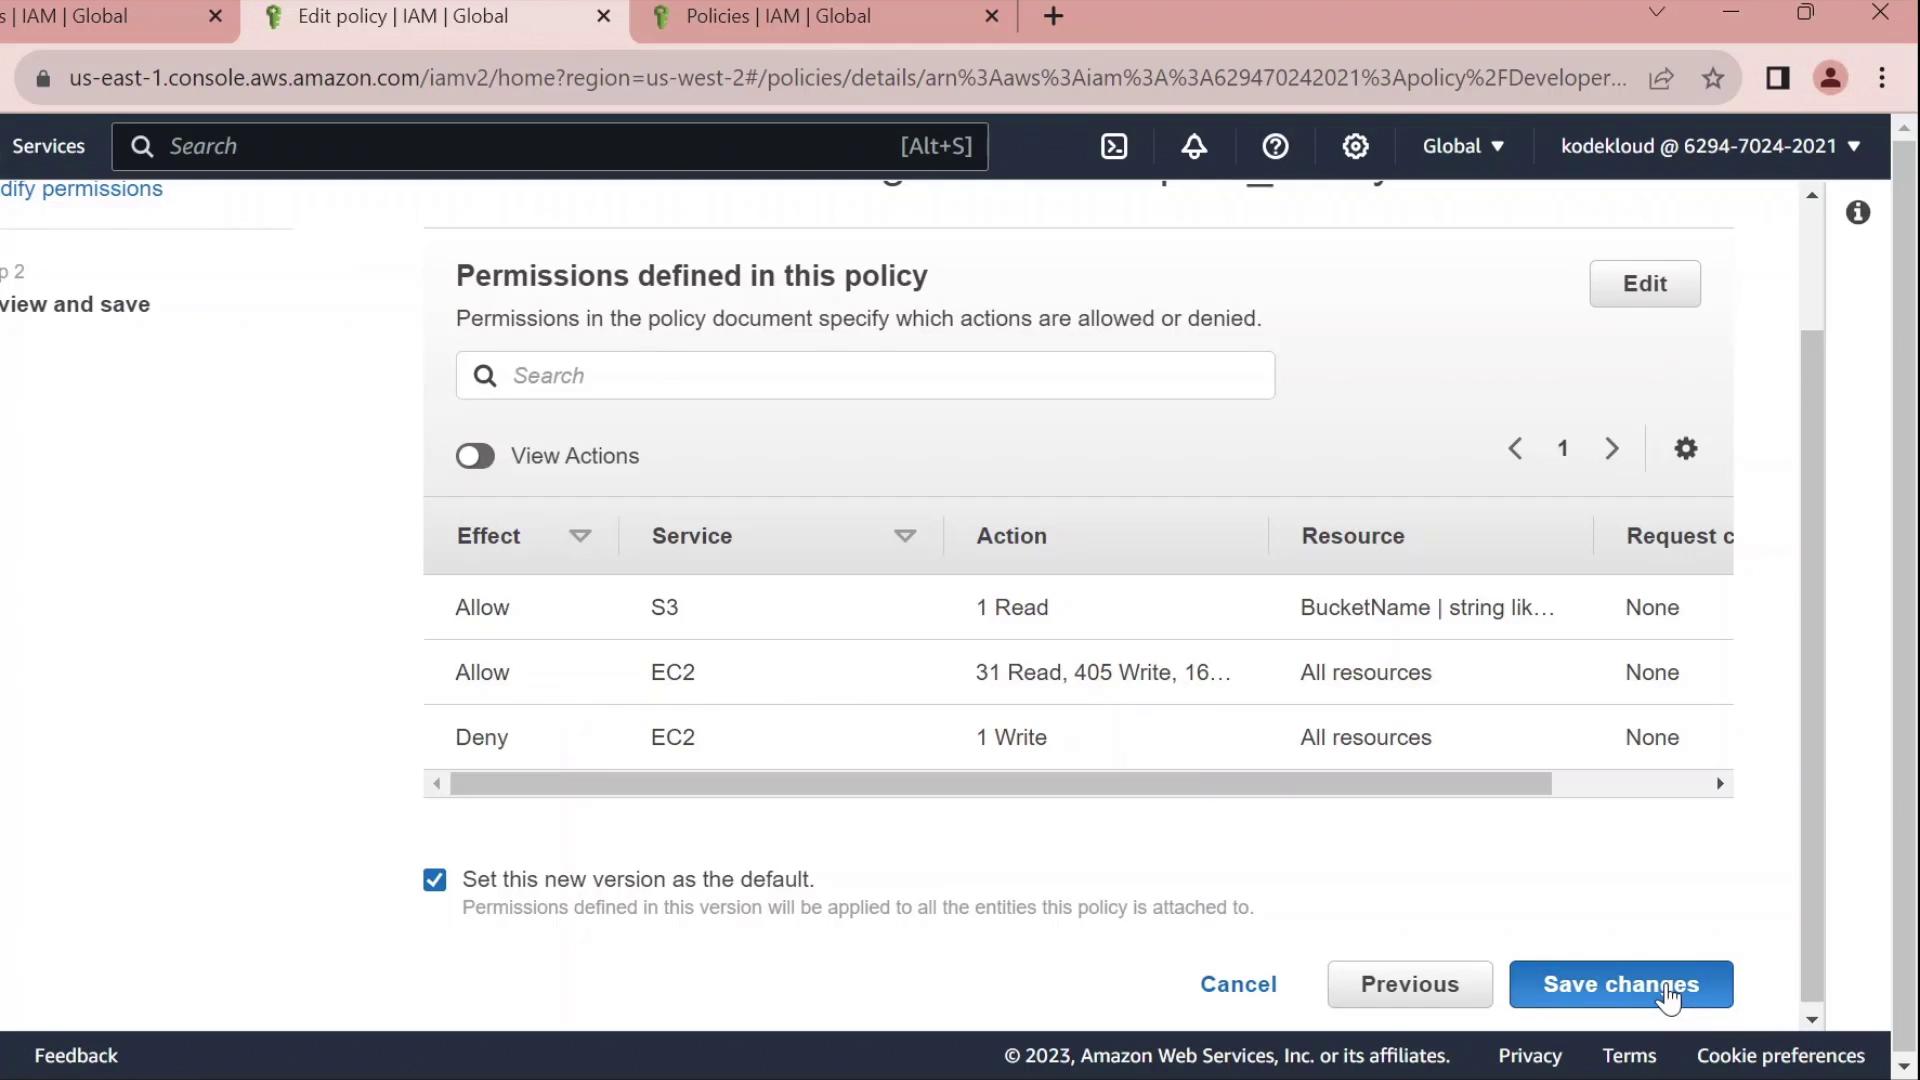
Once attached, you can click the JSON icon to inspect the policy:

{
  "Version": "2012-10-17",
  "Statement": [
    {
      "Sid": "VisualEditor0",
      "Effect": "Allow",
      "Action": "ec2:*",
      "Resource": "*"
    },
    {
      "Sid": "VisualEditor1",
      "Effect": "Allow",
      "Action": "s3:GetObject",
      "Resource": "arn:aws:s3:::company1-sales/*"
    }
  ]
}

4. Edit the Policy

Click Edit policy on the Permissions tab to open the policy editor. You can switch between the Visual editor and the JSON tab.

4.1 Rename Statement IDs

Replace autogenerated Sid values with clear identifiers:

{
  "Version": "2012-10-17",
  "Statement": [
    {
      "Sid": "AllowAllEC2Actions",
      "Effect": "Allow",
      "Action": "ec2:*",
      "Resource": "*"
    },
    {
      "Sid": "AllowS3GetObject",
      "Effect": "Allow",
      "Action": "s3:GetObject",
      "Resource": "arn:aws:s3:::company1-sales/*"
    }
  ]
}

4.2 Deny Stopping EC2 Instances

Add a statement to prevent developers from stopping instances:

{
  "Sid": "DenyStopInstances",
  "Effect": "Deny",
  "Action": "ec2:StopInstances",
  "Resource": "*"
}

4.3 Final Policy JSON

Combine all statements into your final policy:

{
  "Version": "2012-10-17",
  "Statement": [
    {
      "Sid": "AllowAllEC2Actions",
      "Effect": "Allow",
      "Action": "ec2:*",
      "Resource": "*"
    },
    {
      "Sid": "AllowS3GetObject",
      "Effect": "Allow",
      "Action": "s3:GetObject",
      "Resource": "arn:aws:s3:::company1-sales/*"
    },
    {
      "Sid": "DenyStopInstances",
      "Effect": "Deny",
      "Action": "ec2:StopInstances",
      "Resource": "*"
    }
  ]
}
SidEffectActionResource
AllowAllEC2ActionsAllowec2:**
AllowS3GetObjectAllows3:GetObjectarn:aws:s3:::company1-sales/*
DenyStopInstancesDenyec2:StopInstances*

Click Save changes to apply the updated policy.

The image shows an AWS IAM policy editor screen, detailing permissions for S3 and EC2 services with options to allow or deny actions. There is a button to save changes at the bottom.


References

Watch Video

Watch video content

Previous
IAM Policies and Permissions