AWS Networking Fundamentals

Core Networking Services

Security Groups Demo

In this lesson, we’ll explore how to secure AWS resources using Security Groups and Network ACLs (NACLs). You’ll learn to:

  • Launch an EC2 instance
  • Configure Security Groups to control inbound/outbound traffic
  • Demonstrate stateful behavior
  • Split and reuse groups for modular access control
  • Reference Security Groups in other rules

By the end, you’ll have hands-on experience with AWS best practices for network security.

Launching the EC2 Instance

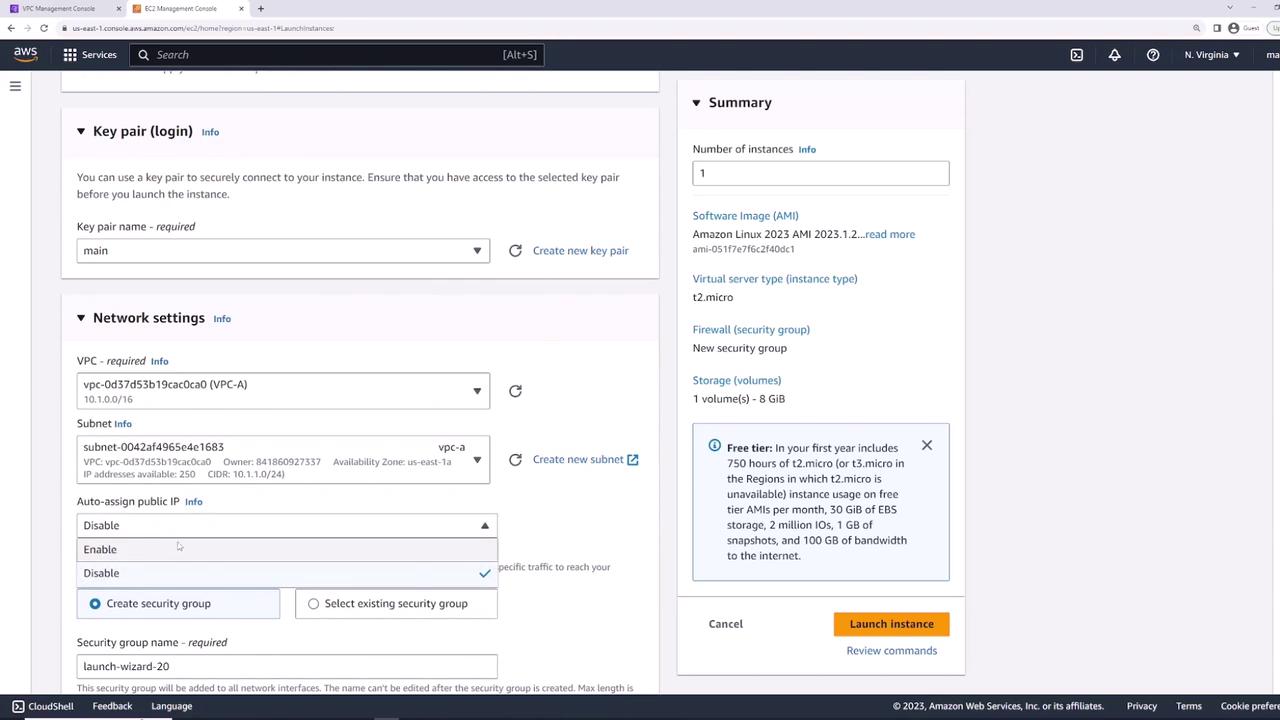
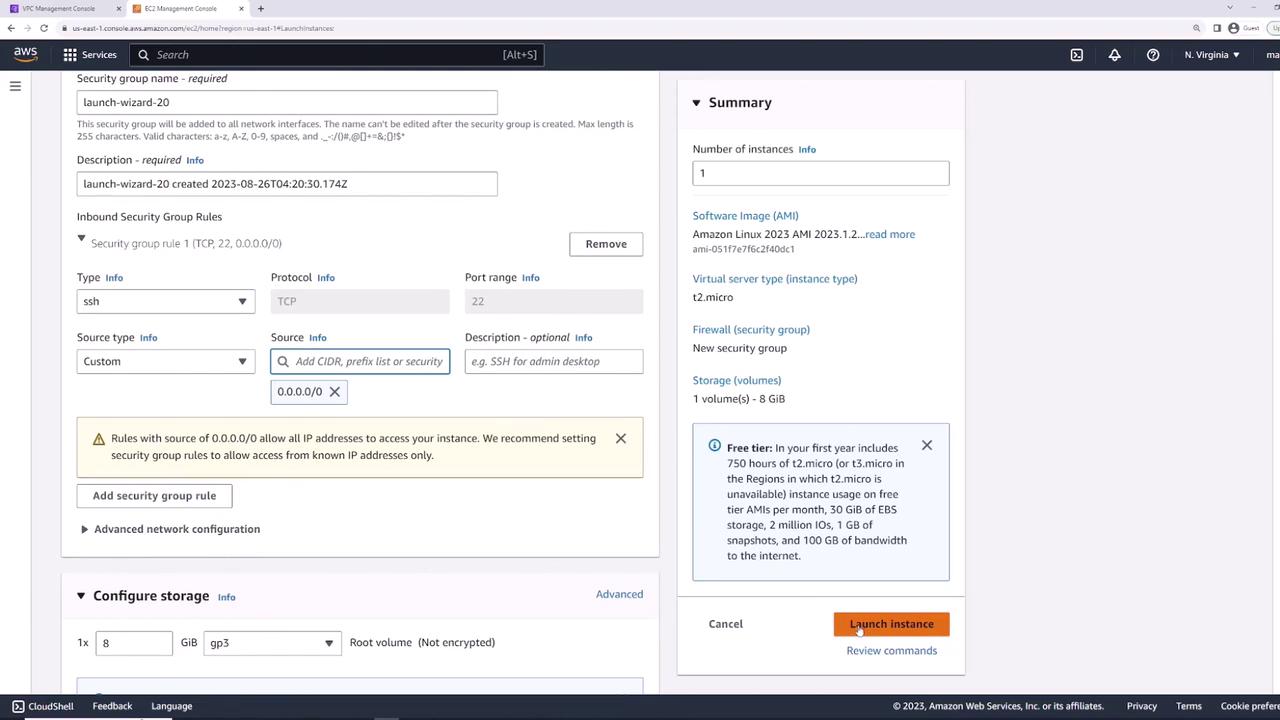
Start by launching an EC2 instance named server-one with the default Amazon Linux 2 AMI.

The image shows the AWS EC2 Management Console interface for launching an instance. It includes options for naming the instance, selecting an Amazon Machine Image (AMI), and configuring instance details like type and storage.

On the Networking page, choose your VPC. AWS automatically creates a default Security Group allowing inbound SSH (TCP 22) from 0.0.0.0/0. You can restrict this later.

The image shows the AWS EC2 Management Console interface, where a user is configuring settings for launching an EC2 instance, including key pair, network settings, and instance details.

Review your settings and click Launch.

The image shows an AWS EC2 instance launch configuration screen, detailing security group settings, storage configuration, and a summary of the instance details. The "Launch instance" button is highlighted at the bottom.

Verifying Initial Connectivity

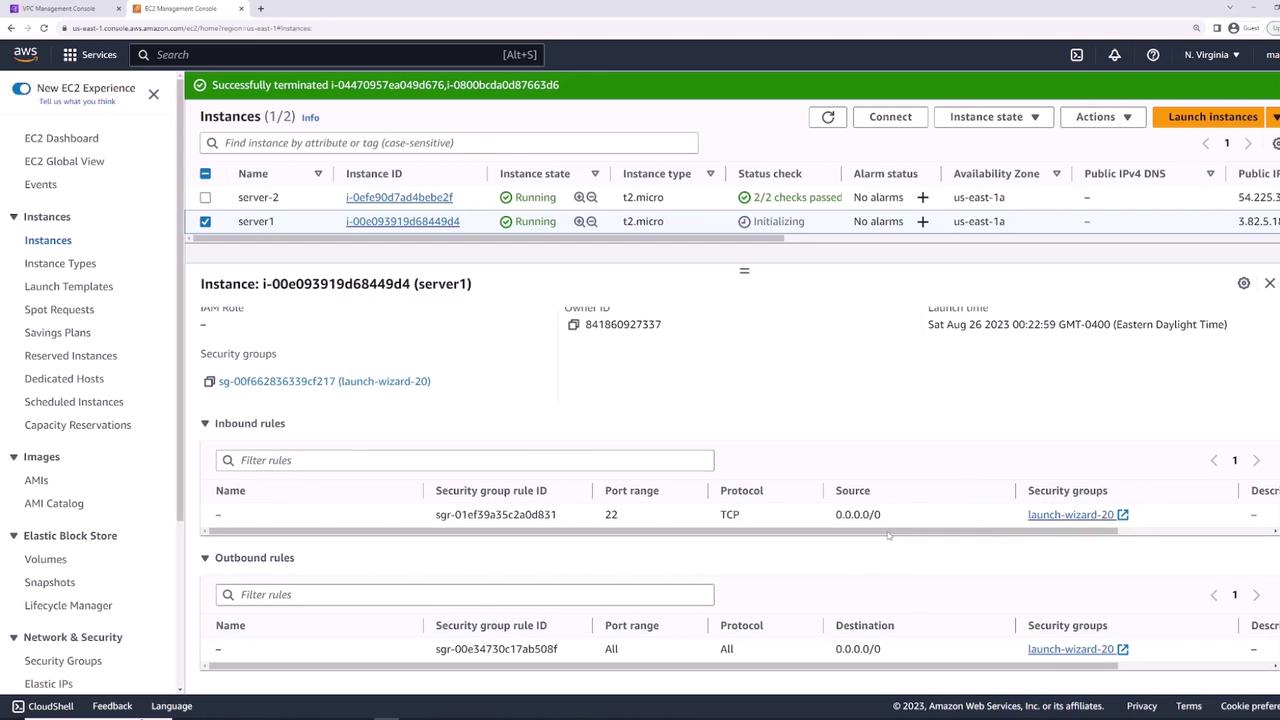
Once server-one is in the running state, select it and open the Security tab. You should see:

  • Inbound: SSH (TCP 22) from 0.0.0.0/0
  • Outbound: All traffic to 0.0.0.0/0

The image shows an AWS EC2 Management Console with two instances listed, both in the "Running" state, and details of one instance, including security group rules.

Connect via SSH to confirm:

ssh -i main.pem ec2-user@<Public-IP>

If you see the EC2 prompt, SSH is working.

Blocking All Inbound Traffic

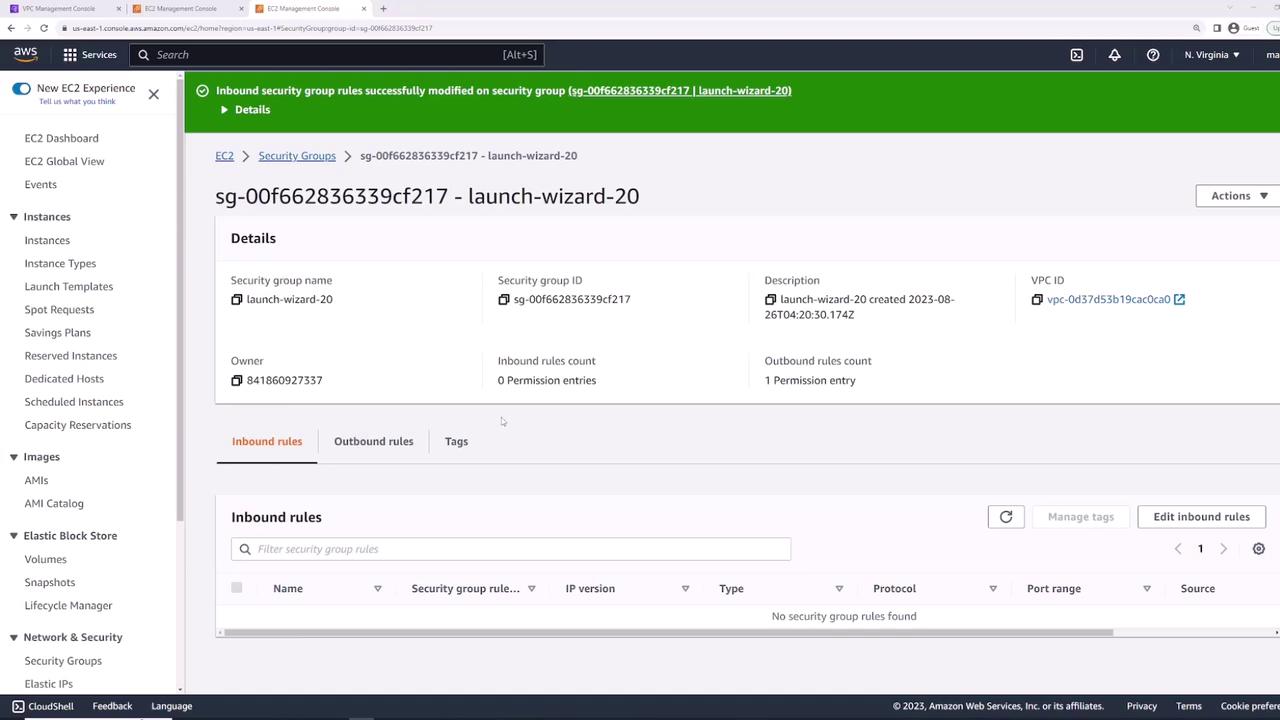
To illustrate rule enforcement, remove SSH access:

  1. Go to Security Groups → select the default group.
  2. Click Edit inbound rules.
  3. Delete the SSH (22) rule and Save.

The image shows the AWS EC2 Management Console, specifically the "Edit inbound rules" section for a security group, with an SSH rule allowing traffic from any IP address.

Warning

By removing all inbound rules, you will lose SSH access to your instance. Be prepared to re-attach a group that allows SSH.

Now SSH attempts will time out:

ssh -i main.pem ec2-user@<Public-IP>
# (connection times out)

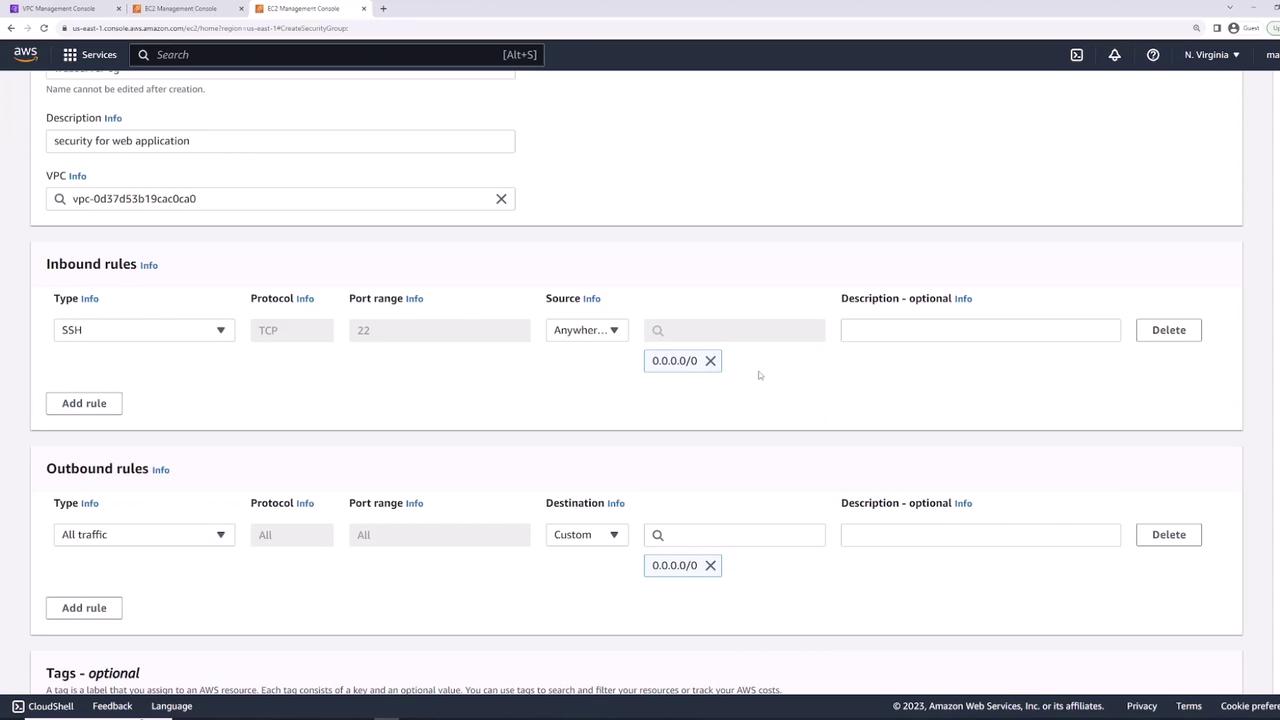
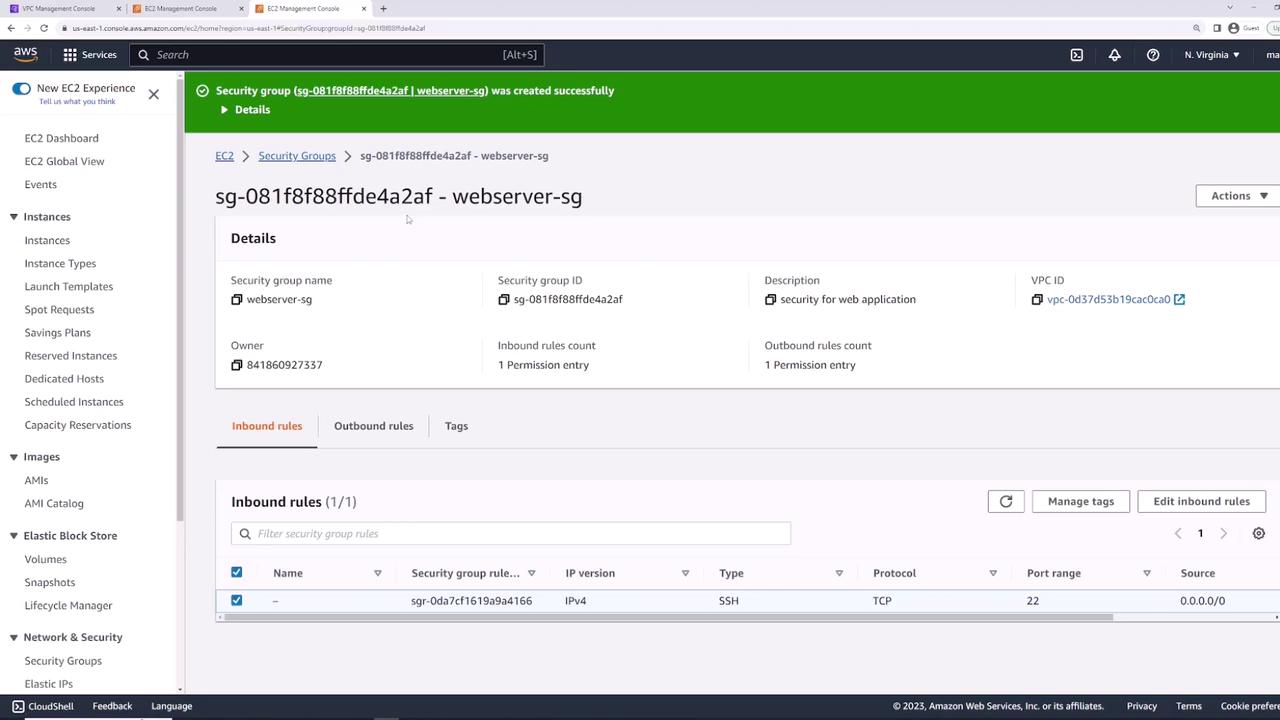
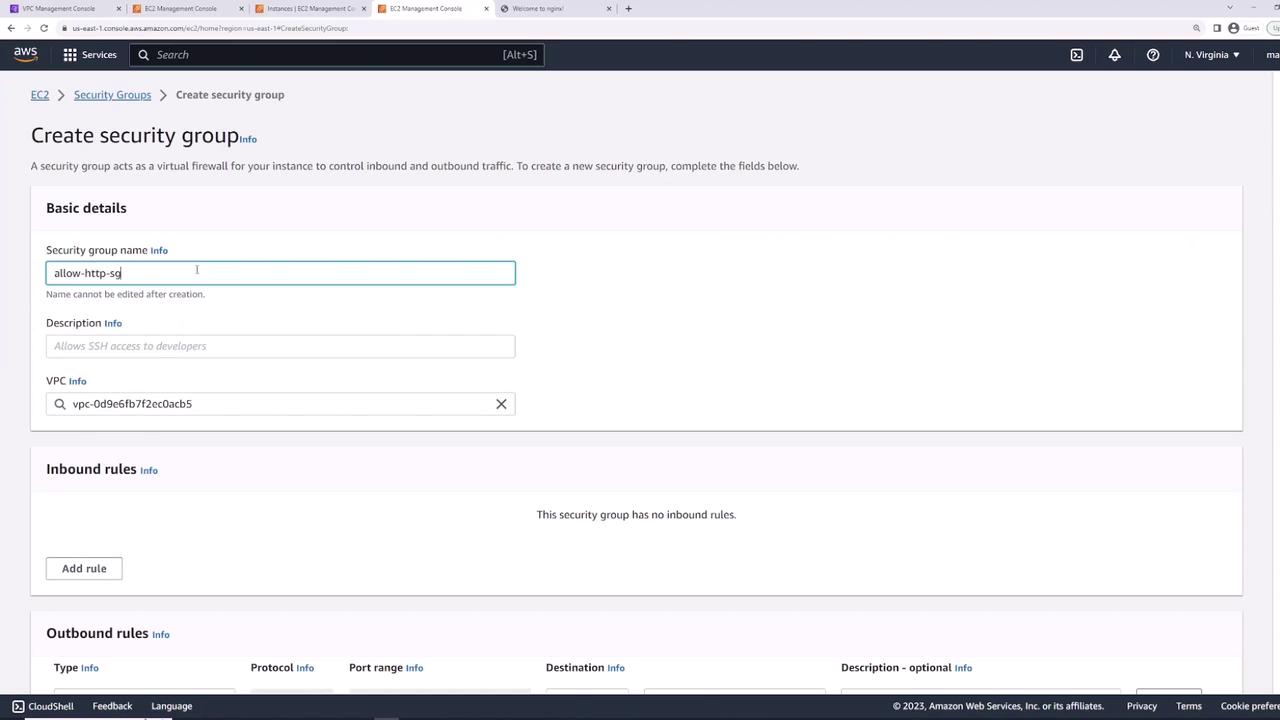
Creating a Web Server Security Group

Next, create web-server-sg in the same VPC (Description: “Security group for web applications”):

  • Inbound:
    • SSH (TCP 22) from 0.0.0.0/0
  • Outbound: All traffic to 0.0.0.0/0

The image shows an AWS EC2 Management Console screen displaying details of a security group named "launch-wizard-20," with no inbound rules and one outbound rule. The image shows an AWS EC2 security group configuration screen with inbound and outbound rules. The inbound rule allows SSH traffic from any IP, and the outbound rule allows all traffic to any destination.

Attaching the Security Group

Attach web-server-sg to server-one:

  1. Select the instance.
  2. Actions → Security → Change security groups.
  3. Remove the old group and add web-server-sg.
  4. Save.

The image shows an AWS EC2 Management Console screen displaying details of a security group named "webserver-sg," including its inbound rules for SSH access. The image shows an AWS Management Console screen for changing security groups of an EC2 instance, displaying instance details and associated security groups.

Now SSH will succeed again.

Installing and Testing Nginx

SSH into server-one and run:

sudo yum install nginx -y
sudo systemctl start nginx

Verify locally:

curl localhost

You should see the Nginx welcome page HTML.

Allowing HTTP and HTTPS Access

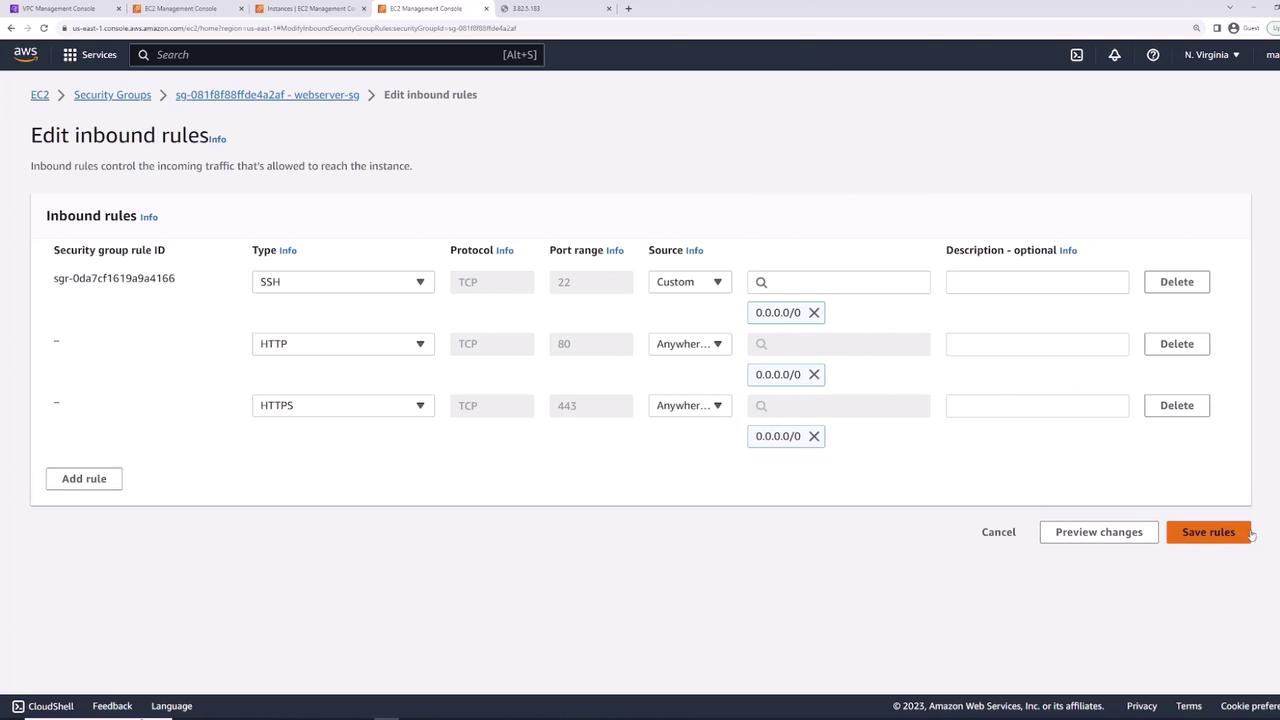
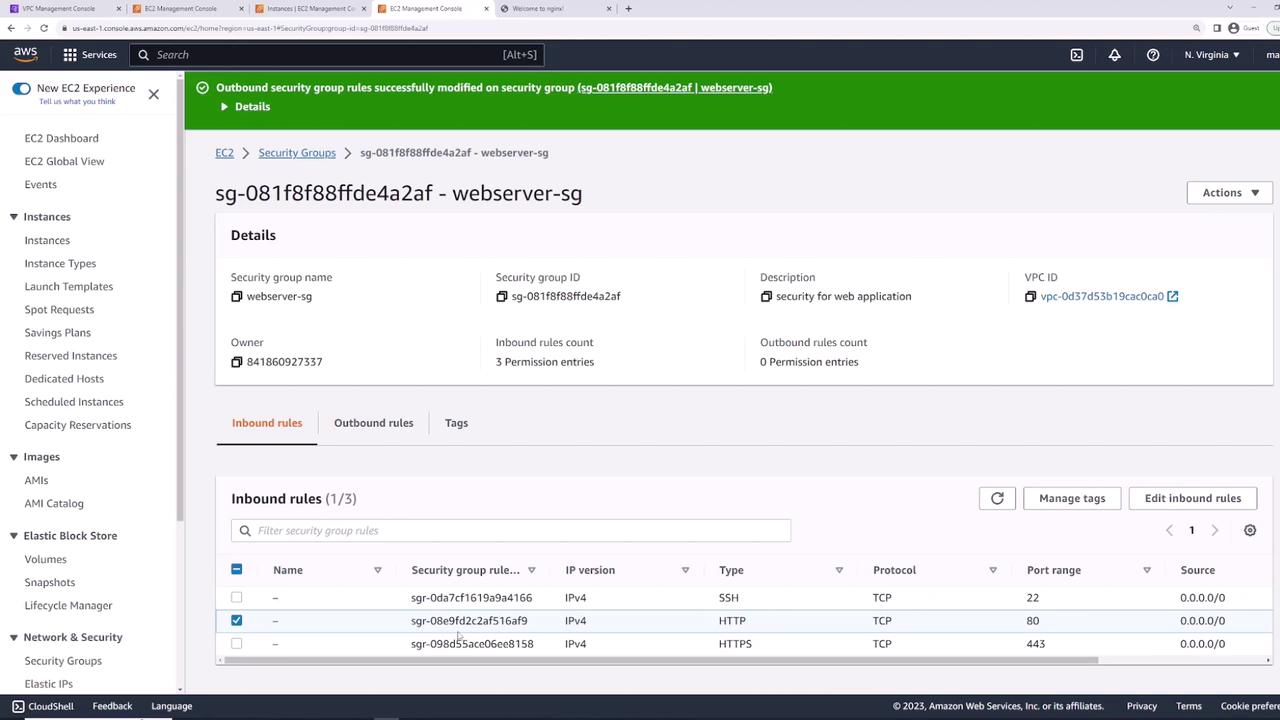
By default, HTTP (80) and HTTPS (443) are blocked. Update web-server-sg:

  1. Edit inbound rules.
  2. Add:
    • HTTP (TCP 80) from 0.0.0.0/0
    • HTTPS (TCP 443) from 0.0.0.0/0
  3. Save.

The image shows an AWS EC2 security group settings page where inbound rules for SSH, HTTP, and HTTPS are being edited. Each rule specifies the protocol, port range, and source IP address.

Visiting the instance’s public IP in a browser now displays the Nginx welcome page.

Demonstrating Stateful Behavior

Security Groups are stateful: return traffic is automatically allowed, even if outbound rules are removed.

The image shows the AWS EC2 Management Console, specifically the "Edit outbound rules" section for a security group, with settings for allowing all traffic to a custom destination.

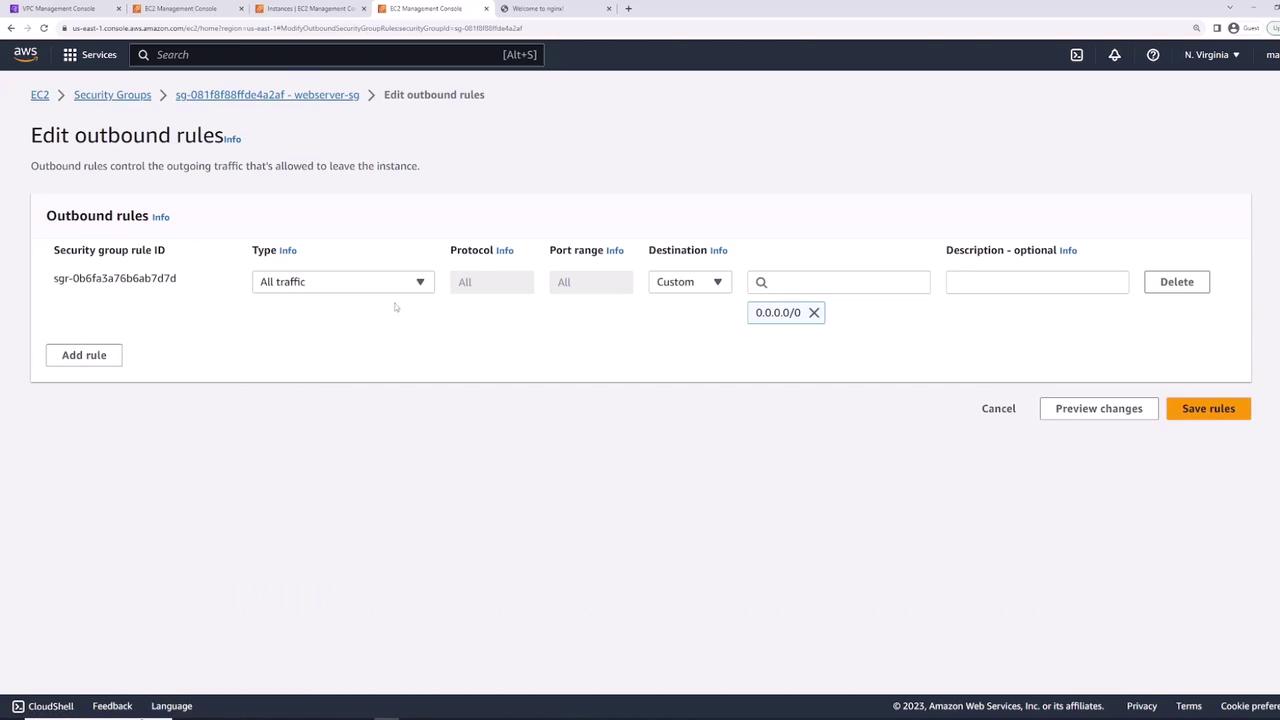
  1. Remove all outbound rules.
  2. Refresh the Nginx page in your browser—it still loads.
  3. From the instance, try an outbound ping:
ping 8.8.8.8
# 100% packet loss
  1. Re-add “All traffic” outbound rule and retry:
ping 8.8.8.8
64 bytes from 8.8.8.8: icmp_seq=1 ttl=53 time=1.58 ms

The image shows an AWS EC2 Management Console screen displaying the details of a security group named "webserver-sg," including its inbound rules for SSH, HTTP, and HTTPS protocols.

Splitting Rules into Multiple Security Groups

For modularity, create two groups:

  • allow-ssh-sg
    • Inbound: SSH (TCP 22) from 0.0.0.0/0
  • allow-http-sg
    • Inbound: HTTP (TCP 80) from 0.0.0.0/0

The image shows the AWS Management Console interface for creating a security group, with fields for entering the security group name, description, and VPC, along with sections for inbound and outbound rules.

Detach web-server-sg and attach both allow-ssh-sg and allow-http-sg to server-one. You now have combined SSH + HTTP access.

The image shows an AWS EC2 Management Console with details of running instances, including security settings for a specific instance. It displays security group rules for HTTP and SSH access.

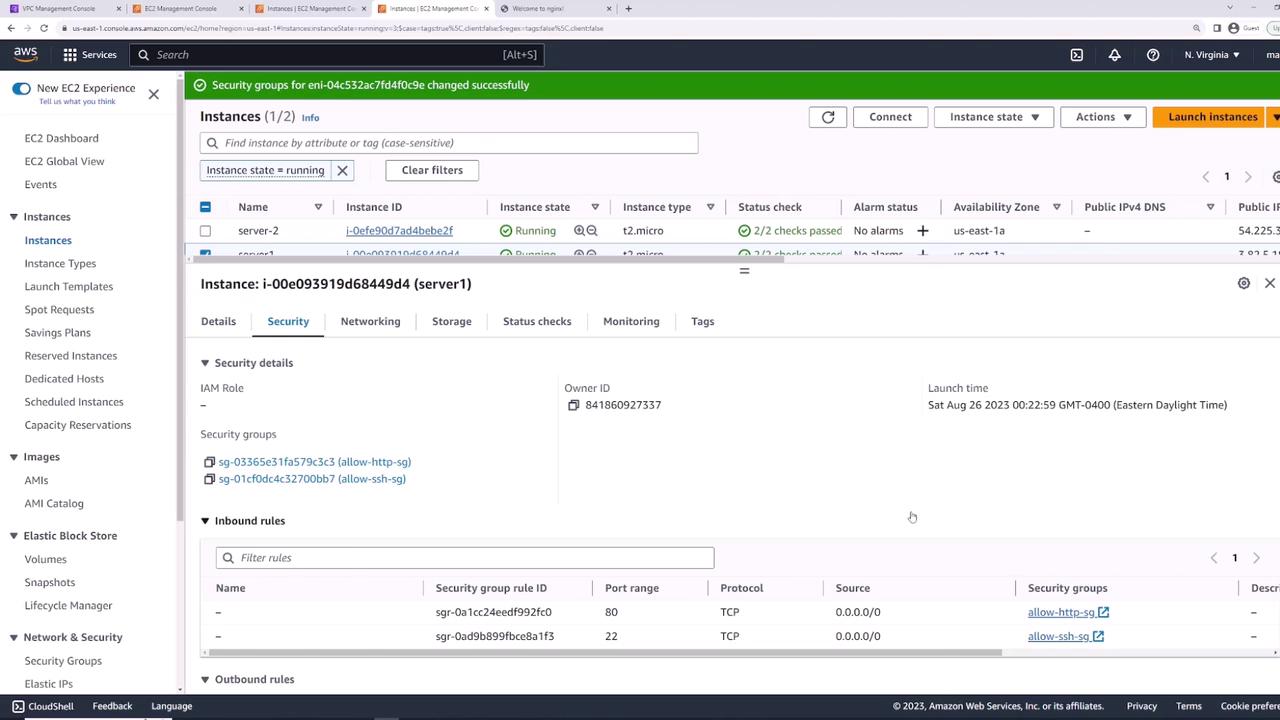
Reusing Security Groups Across Instances

Apply allow-ssh-sg and allow-http-sg to server-two to grant identical access controls.

The image shows an AWS EC2 Management Console with details of two running instances, both of type t2.micro, including their instance IDs, public IP addresses, and status checks.

Referencing Security Groups as Rule Sources

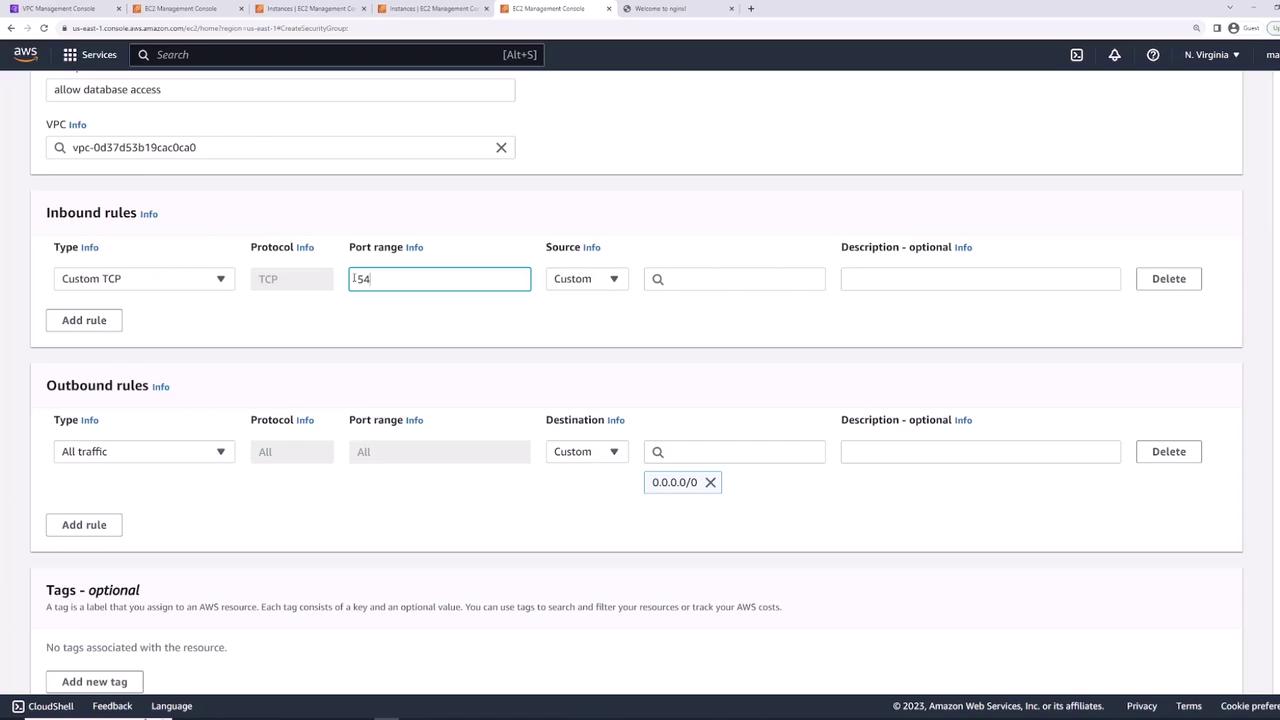
For database connectivity, create db-sg:

  • Inbound: PostgreSQL (TCP 5432)
    • Source: allow-http-sg

This ensures any instance with allow-http-sg can connect on port 5432.

The image shows an AWS EC2 Management Console screen with security group settings, including inbound and outbound rules for network traffic. The inbound rule specifies a custom TCP protocol on port 5432, and the outbound rule allows all traffic.

By referencing another group, new web servers automatically gain DB access as soon as they attach allow-http-sg.

Subnet-level filtering with NACLs provides an additional control layer for stateless, rule-based traffic filtering.

Summary of Security Groups

Security GroupDescriptionInbound RulesOutbound Rules
web-server-sgWeb application serversSSH (22), HTTP (80), HTTPS (443)All traffic
allow-ssh-sgModular SSH accessSSH (22)All traffic
allow-http-sgModular HTTP accessHTTP (80)All traffic
db-sgDatabase access from web serversPostgreSQL (5432) from allow-http-sgAll traffic

Watch Video

Watch video content

Previous
Security Groups NACLs