p (print) script to display lines selectively, control automatic output, and integrate sed into complex pipelines. Whether you’re filtering log files or extracting specific records, mastering sed’s I/O model is essential for efficient command-line workflows.
Unix I/O Model
| I/O Type | Description | Example | ||
|---|---|---|---|---|
| Default Output | Commands write to the terminal by default | ls | ||
| Default Input | Commands read from files or stdin when unspecified | grep "pattern" file.txt | ||
| Pipes (` | `) | Passes one command’s output as another’s input | `echo “data” | sed ‘p’` |
| Interactive Input | Reads from keyboard until EOF or termination | sed 'p' |
sed’s Default Behavior
By default, sed processes text from stdin or listed files and writes each line to stdout, applying any provided scripts. Typing:p (print) script to every line.
Example:
- sed reads each line into the pattern space.
- The
pscript prints it immediately. - Without disabling automatic printing, sed outputs the line again after processing.
Syntax Overview
Using sed with Pipes and Files
Piping Input
Reading from a File
sample.txt replaces stdin as sed’s input source.
Selecting Specific Lines
sed supports addresses (such as line numbers) to target scripts.- Line 2 matches
2p, so it’s printed by the script and then automatically once more.
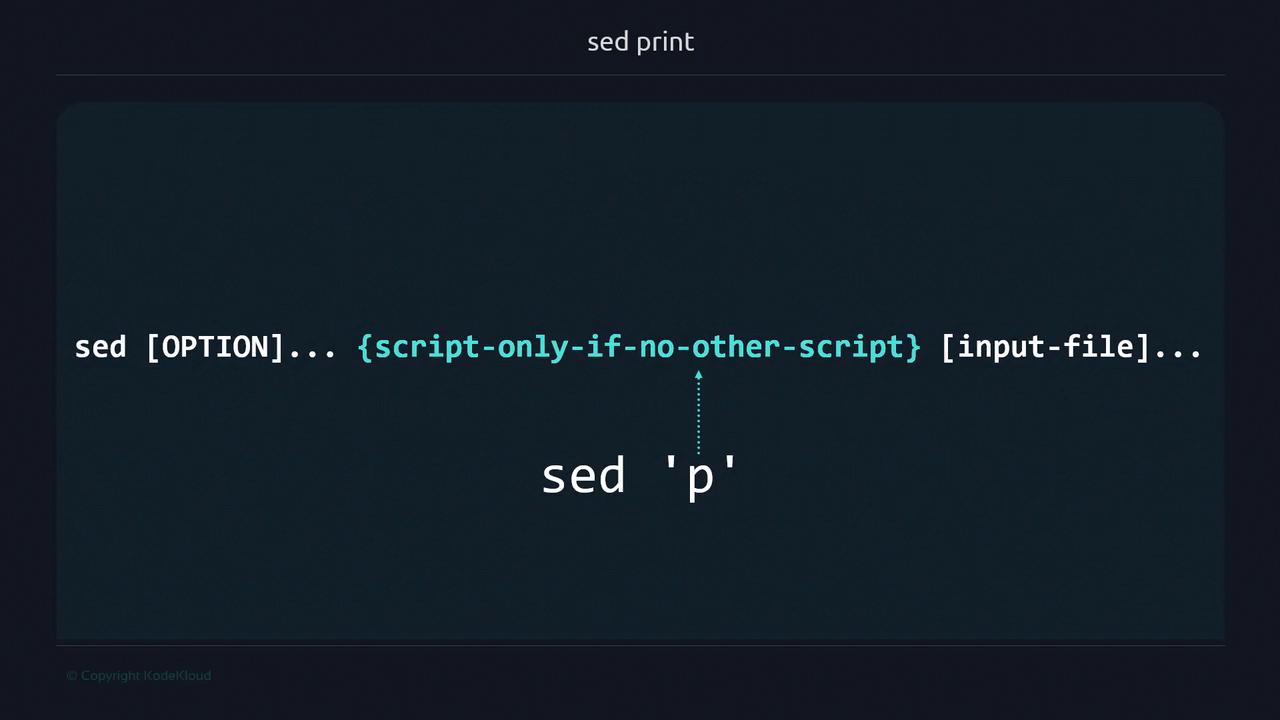
Use single quotes (
') around sed scripts to prevent the shell from interpreting special characters.Suppressing Automatic Printing
To output only the lines you explicitly match, use the-n option.
Forgetting
-n can lead to duplicate lines when using print scripts.Real-World Example: Filtering Command Output
Extract the third line from thedf -h display:
Working with a Data File
Consider anemployees.txt file with pipe-delimited records:
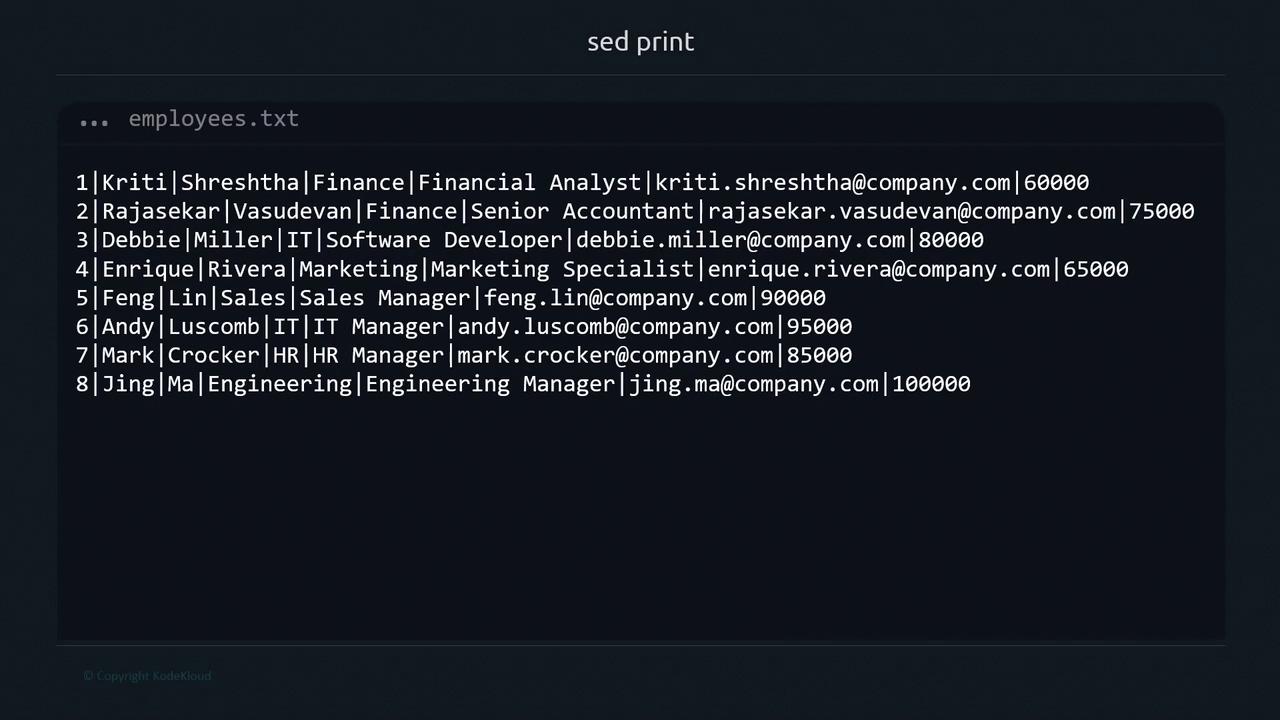
| Field No. | Field Name | Description |
|---|---|---|
| 1 | Record Number | Unique employee ID |
| 2 | First Name | Employee’s first name |
| 3 | Last Name | Employee’s last name |
| 4 | Department | Department name |
| 5 | Job Title | Position held |
| 6 | Company email address | |
| 7 | Salary | Annual salary in USD |
Summary
- sed reads from stdin or listed files by default.
- Enclose scripts in single quotes to avoid shell expansion.
- Use addresses (e.g.,
2p) to target specific lines. - The
-noption disables automatic printing for precise control. - Place input files after the script.
ddelete linesssubstitute textiinsert text
References
- GNU sed Manual: https://www.gnu.org/software/sed/manual/
- Bash Reference Manual: https://www.gnu.org/software/bash/manual/