Advanced Jenkins

Jenkins Administration and Monitoring

Migrating Jenkins to Another Node

In this guide, you will learn how to migrate a Jenkins controller from one virtual machine (Node) to another. We’ll walk through stopping the service, backing up the Jenkins home directory, transferring it to the new Node, and bringing Jenkins back online—preserving all jobs, plugins, and configurations.

1. Scenario

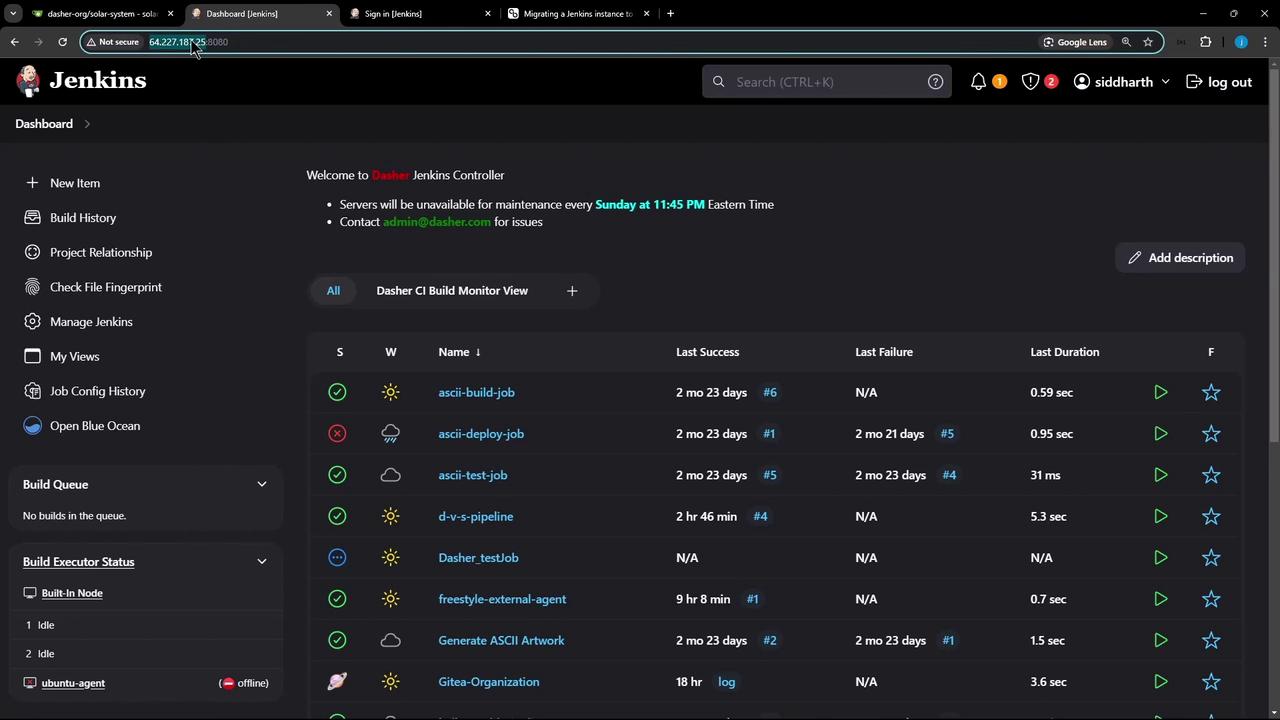
  • Source Jenkins controller
    IP: 64.227.x.x
    Fully configured and running jobs.

  • Target VM
    IP: 165.232.x.x
    Fresh Jenkins install on Ubuntu with Docker & JDK 17.

The image shows a Jenkins dashboard with a list of build jobs, their statuses, last success and failure times, and durations. The interface includes navigation options on the left and a notification about server maintenance.

2. Pre-migration Checklist

Before you begin, make sure both Nodes meet these requirements:

RequirementSource NodeTarget Node
Jenkins versionMatch source & targetMatch source & target
JDK version1717
SSH connectivityEnabledEnabled

Note

Ensure both Nodes run the same Jenkins and JDK versions. Version mismatches can lead to plugin or configuration issues.


3. Back Up Jenkins Home on Source Node

On the source Node, $JENKINS_HOME is typically /var/lib/jenkins. Follow these steps:

  1. Stop and disable Jenkins:
    sudo systemctl stop jenkins
    sudo systemctl disable jenkins
    
  2. Verify it’s inactive:
    sudo systemctl status jenkins
    # Should show: Active: inactive (dead)
    
  3. Create a compressed backup:
    cd /var/lib
    sudo tar -zcvf jenkins-backup.tar.gz jenkins
    

The image shows a terminal window in Visual Studio Code displaying a directory listing with file permissions, ownership, and timestamps. A specific file or directory is highlighted in pink.

Once jenkins-backup.tar.gz is ready, transfer it to the target Node.

4. Transfer Backup to Target Node

From the source Node, use scp to copy the archive:

scp /var/lib/jenkins-backup.tar.gz [email protected]:/tmp/

Enter the root password when prompted. Then SSH into the target Node to proceed.

5. Prepare the Target Node

  1. Stop and disable the existing Jenkins service:
    sudo systemctl stop jenkins
    sudo systemctl disable jenkins
    
  2. Confirm it’s stopped:
    sudo systemctl status jenkins
    # Active: inactive (dead)
    

If you browse to Jenkins now, you may see the setup screen:

The image shows a Jenkins setup screen prompting for an administrator password to unlock Jenkins. The background displays a terminal with directory listings.

Optional: Backup Current Jenkins on Target

If you want to keep the default install:

cd /var/lib
sudo tar -zcvf jenkins-original-backup.tar.gz jenkins
sudo rm -rf jenkins

6. Restore Backup on Target Node

  1. Move and extract the backup:
    sudo mv /tmp/jenkins-backup.tar.gz /var/lib/
    cd /var/lib
    sudo tar -zxvf jenkins-backup.tar.gz
    
  2. Fix ownership:
    sudo chown -R jenkins:jenkins jenkins
    

7. Start Jenkins on Target Node

Re-enable and launch Jenkins:

sudo systemctl enable jenkins
sudo systemctl start jenkins
sudo systemctl status jenkins
# Should show: Active: active (running)

Refresh your browser on http://165.232.x.x:8080/. All your jobs, plugins, and settings will appear exactly as before.

Warning

Do not run the same Jenkins instance on two Nodes at once. Always stop the source Jenkins before bringing up the target.


Watch Video

Watch video content

Previous
Forward Audit Logs to External Server