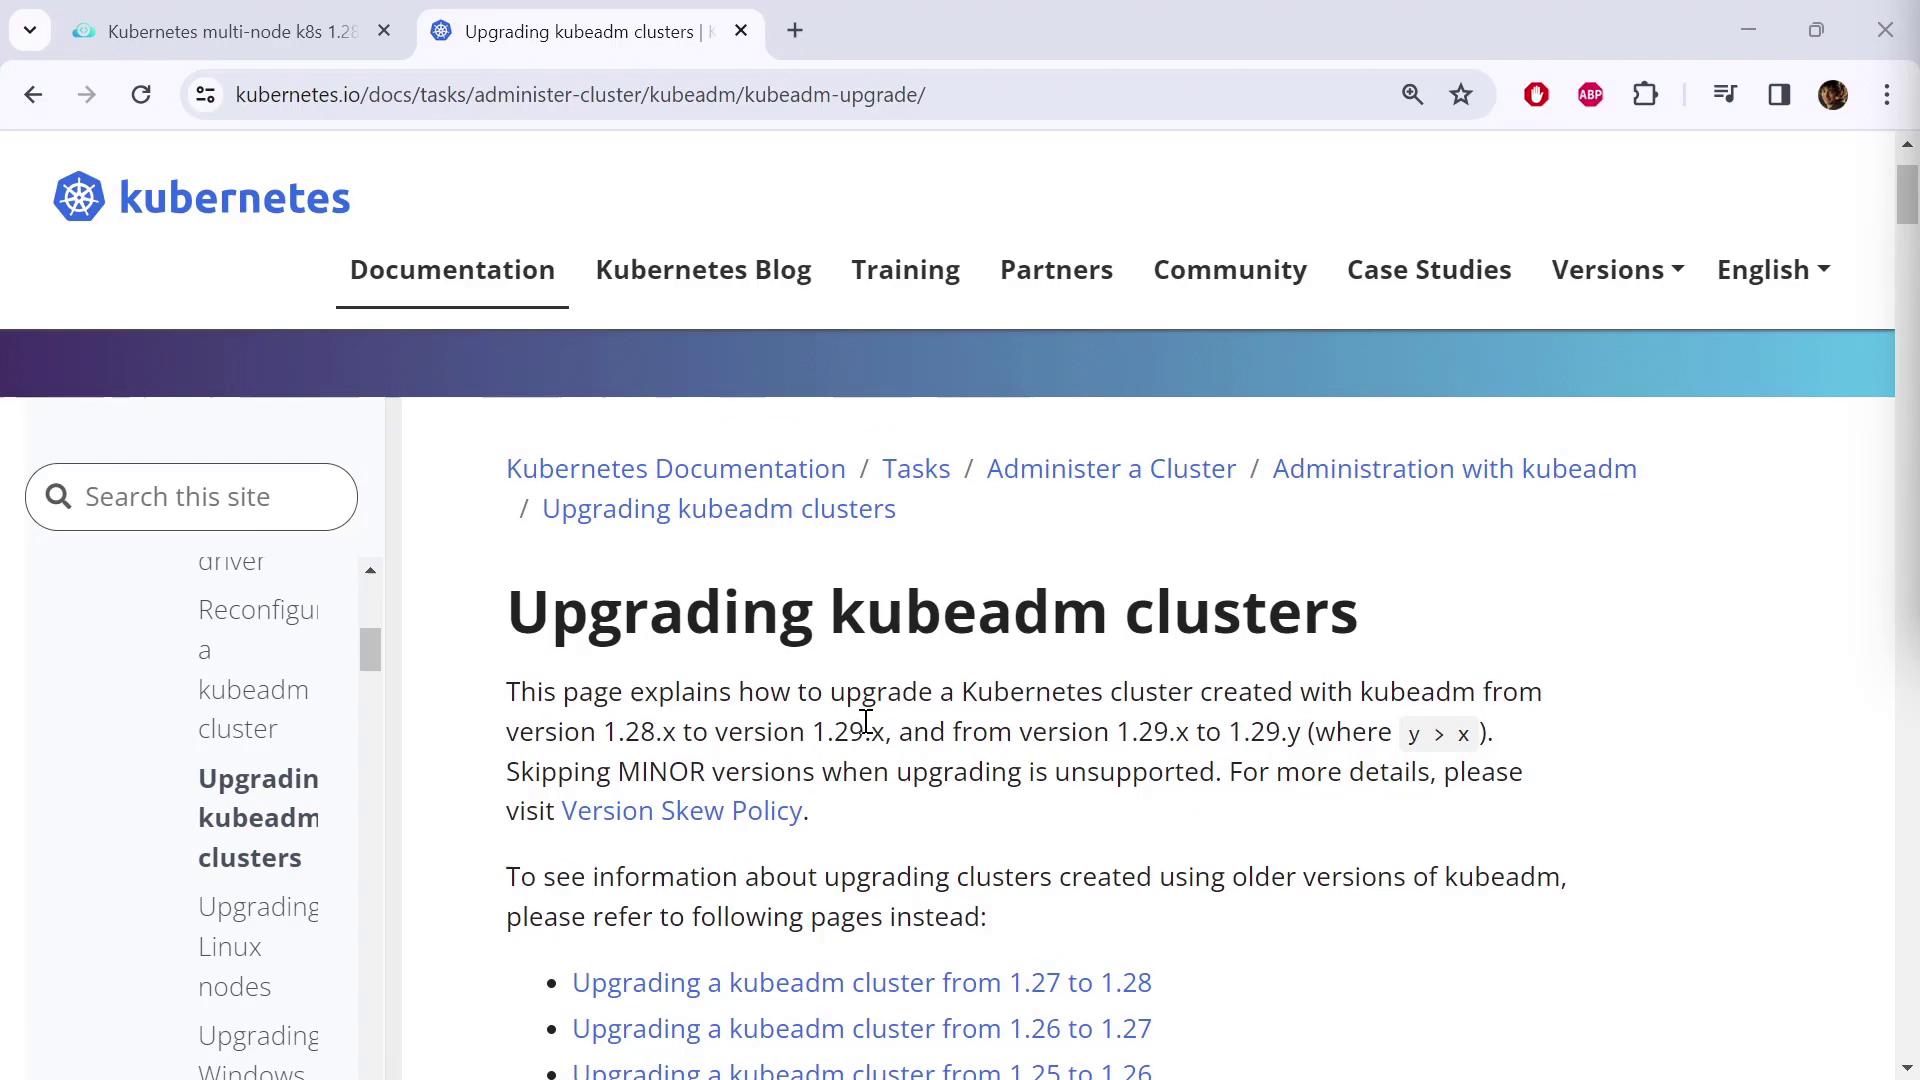
CKA Certification Course - Certified Kubernetes Administrator

Cluster Maintenance

Demo Cluster upgrade

In this guide, we demonstrate how to upgrade a Kubernetes cluster from version 1.28 to 1.29 using kubeadm. We follow the official "Upgrading a Kubeadm Cluster" instructions from the Kubernetes documentation. For further details, refer to the "Upgrading a Kubeadm Cluster" section in the Kubernetes Documentation.

The image shows a webpage from Kubernetes documentation about upgrading kubeadm clusters, detailing version updates and providing links for further information.

The documentation provides dedicated instructions for each upgrade path. In this case, we are upgrading from 1.28 to 1.29 (the latest release). Similar procedures exist for other upgrade paths (e.g., 1.27 to 1.28, 1.26 to 1.27, etc.). Simply select the correct upgrade path and follow the detailed steps accordingly.


Updating Package Repositories

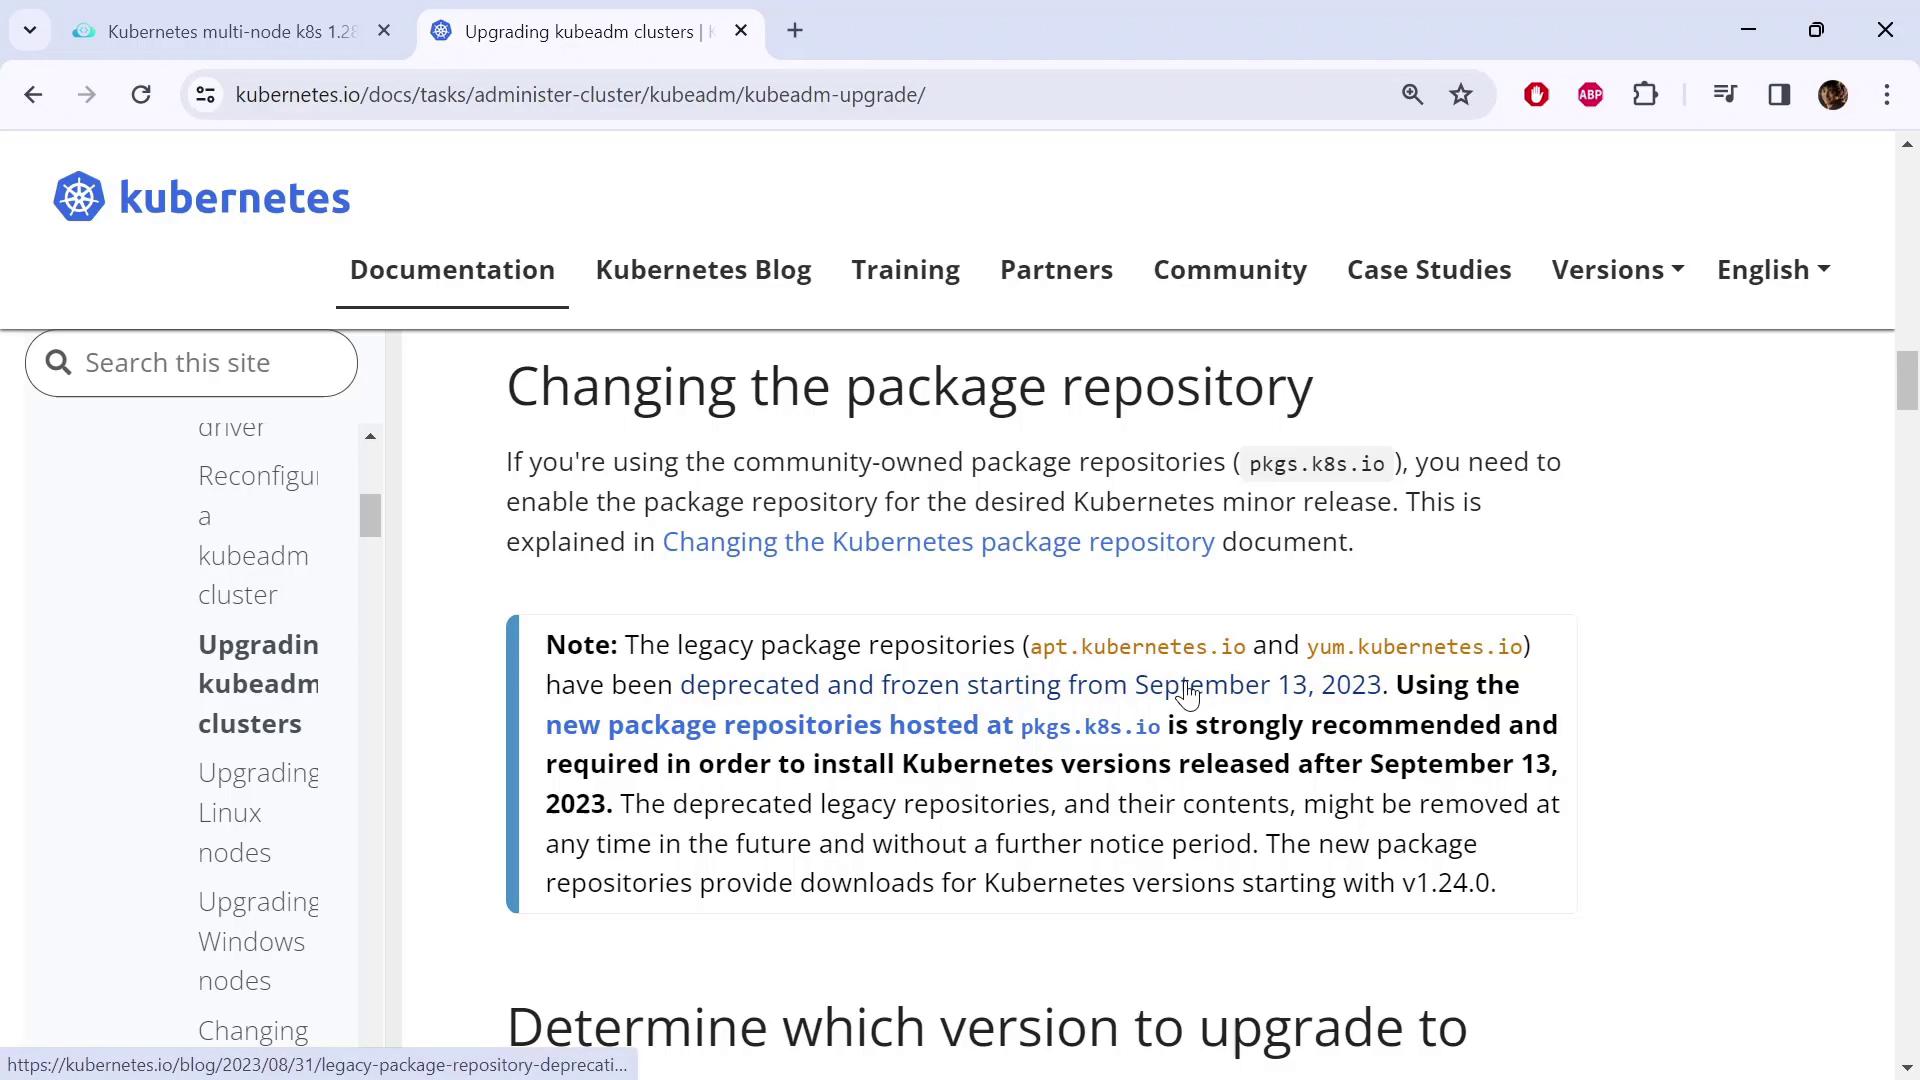
Before beginning the upgrade, review the updated package repository information. The legacy repositories (app.kubernetes.io and yum.kubernetes.io) have been deprecated. Moving forward, packages are available at packages.k8s.io. This repository now hosts the latest versions of essential tools such as kubectl and kubeadm.

The image shows a Kubernetes documentation page about changing package repositories, highlighting the deprecation of legacy repositories and recommending new ones from September 13, 2023.

Note

Before proceeding, confirm that you are using the new package repositories. Check the documentation and click the provided link for the latest instructions.

Verify Your Node OS and Repository Setup

First, determine your node distribution because the commands differ slightly by operating system. For example, on a two-node cluster, run:

kubectl get nodes

An example output may be:

NAME           STATUS        ROLES          AGE   VERSION
controlplane   Ready         control-plane  98m   v1.28.0
node01         Ready         <none>         98m   v1.28.0

To check your OS distribution, use:

cat /etc/*release*

Example output for Ubuntu 20.04.6 LTS (Debian-based):

DISTRIB_ID=Ubuntu
DISTRIB_RELEASE=20.04
DISTRIB_CODENAME=focal
DISTRIB_DESCRIPTION="Ubuntu 20.04.6 LTS"
NAME="Ubuntu"
VERSION="20.04.6 LTS (Focal Fossa)"
ID=ubuntu
ID_LIKE=debian
PRETTY_NAME="Ubuntu 20.04"
VERSION_ID="20.04"
...

For Debian/Ubuntu systems, update the repository to the new endpoint. First, switch to the new URL for your version upgrade. For version 1.29, execute:

echo "deb [signed-by=/etc/apt/keyrings/kubernetes-apt-keyring.gpg] https://pkgs.k8s.io/core:/stable:/v1.29/deb/ /" | sudo tee /etc/apt/sources.list.d/kubernetes.list

Next, download the public signing key:

curl -fsSL https://pkgs.k8s.io/core/stable/v1.28/deb/Release.key | sudo gpg --dearmor -o /etc/apt/keyrings/kubernetes-apt-keyring.gpg

Version Adjustment

Remember to adjust the version numbers (e.g., change to 1.29) in both commands as needed during the upgrade process.

After making these updates on the control plane and worker nodes, run:

sudo apt-get update

Upgrading the Control Plane

Step 1: Upgrade kubeadm

On the control plane node, list the available kubeadm versions:

sudo apt update
sudo apt-cache madison kubeadm

A typical output may appear as follows:

kubeadm | 1.29.3-1.1 | https://pkgs.k8s.io/core/stable/v1.29/deb Packages
kubeadm | 1.29.2-1.1 | https://pkgs.k8s.io/core/stable/v1.29/deb Packages
kubeadm | 1.29.1-1.1 | https://pkgs.k8s.io/core/stable/v1.29/deb Packages
kubeadm | 1.29.0-1.1 | https://pkgs.k8s.io/core/stable/v1.29/deb Packages

Select the latest version (in this example, 1.29.3-1.1) and upgrade kubeadm with:

sudo apt-mark unhold kubeadm && \
sudo apt-get update && \
sudo apt-get install -y kubeadm='1.29.3-1.1' && \
sudo apt-mark hold kubeadm

Verify that the kubeadm upgrade is successful by checking the version:

kubeadm version

Expected output:

kubeadm version: &version.Info{Major:"1", Minor:"29", GitVersion:"v1.29.3", ...}

Step 2: Run the Upgrade Plan

Before applying the upgrade, conduct a dry run to ensure compatibility:

sudo kubeadm upgrade plan

This command displays the upgrade details, including the components automatically upgraded and those requiring manual intervention (e.g., kubelet). A sample output might look like:

[upgrade/versions] Cluster version: v1.28.0
[upgrade/versions] kubeadm version: v1.29.3
[upgrade/versions] Target version: v1.29.3
...
Components that must be upgraded manually after you upgrade the control plane:
COMPONENT            CURRENT     TARGET
kubelet              2 x v1.28.0 v1.28.8
...

Kubeadm upgrades most of the control plane components automatically but leaves the kubelet for manual upgrade.

Step 3: Apply the Control Plane Upgrade

Upgrade your control plane with:

sudo kubeadm upgrade apply v1.29.3

Monitor the process as it renews certificates, updates static Pod manifests, and applies configuration changes. Once complete, you should see a success message such as:

[upgrade/successful] SUCCESS! Your cluster was upgraded to "v1.29.3". Enjoy!
[upgrade/kubelet] Now that your control plane is upgraded, please proceed with upgrading your kubelets.

Note: Until kubelet is upgraded, kubectl get nodes will still display version v1.28.0 for the kubelet.


Upgrading kubelet and kubectl on the Control Plane

Step 1: Drain the Control Plane Node

Before updating kubelet and kubectl, drain the control plane node:

kubectl drain controlplane --ignore-daemonsets

Step 2: Upgrade Packages

Next, upgrade kubelet and kubectl to version 1.29.3-1.1:

sudo apt-mark unhold kubelet kubectl && \
sudo apt-get update && \
sudo apt-get install -y kubelet='1.29.3-1.1' kubectl='1.29.3-1.1' && \
sudo apt-mark hold kubelet kubectl

Reload the systemd configuration and restart the kubelet service:

sudo systemctl daemon-reload
sudo systemctl restart kubelet

Finally, uncordon the control plane node to allow pods to be scheduled:

kubectl uncordon controlplane

Verify the upgrade by checking the node versions:

kubectl get nodes

The control plane should now reflect version v1.29.3.


Upgrading Worker Nodes

For each worker node, perform the following steps:

  1. Upgrade kubeadm:

    sudo apt-mark unhold kubeadm && \
    sudo apt-get update && \
    sudo apt-get install -y kubeadm='1.29.3-1.1' && \
    sudo apt-mark hold kubeadm
    
  2. Update Node Configuration:

    Run the command on the control plane to update the node configuration:

    sudo kubeadm upgrade node
    

    This command refreshes the node configuration without upgrading the kubelet package.

  3. Drain the Worker Node:

    Use the node name (e.g., node01) to drain it:

    kubectl drain node01 --ignore-daemonsets
    
  4. Upgrade kubelet and kubectl:

    Execute the following commands on the worker node:

    sudo apt-mark unhold kubelet kubectl && \
    sudo apt-get update && \
    sudo apt-get install -y kubelet='1.29.3-1.1' kubectl='1.29.3-1.1' && \
    sudo apt-mark hold kubelet kubectl
    

    Reload and restart kubelet:

    sudo systemctl daemon-reload
    sudo systemctl restart kubelet
    
  5. Uncordon the Worker Node:

    kubectl uncordon node01
    

After upgrading all worker nodes, verify that every node in the cluster is running version v1.29.3:

kubectl get nodes

Summary

This guide detailed the process of upgrading a Kubernetes cluster using kubeadm by:

  1. Updating package repositories to the new packages.k8s.io.
  2. Upgrading kubeadm on the control plane and verifying the available versions.
  3. Running a dry-run upgrade plan to check compatibility.
  4. Applying the control plane upgrade.
  5. Upgrading kubelet and kubectl on both the control plane and worker nodes while minimizing downtime by draining and uncordoning nodes.

Following these steps will ensure that your cluster components run on v1.29.3 securely and efficiently.

Happy upgrading!

Watch Video

Watch video content

Practice Lab

Practice lab

Previous
Cluster Upgrade Introduction