- The basics of networking and namespaces
- Docker networking fundamentals
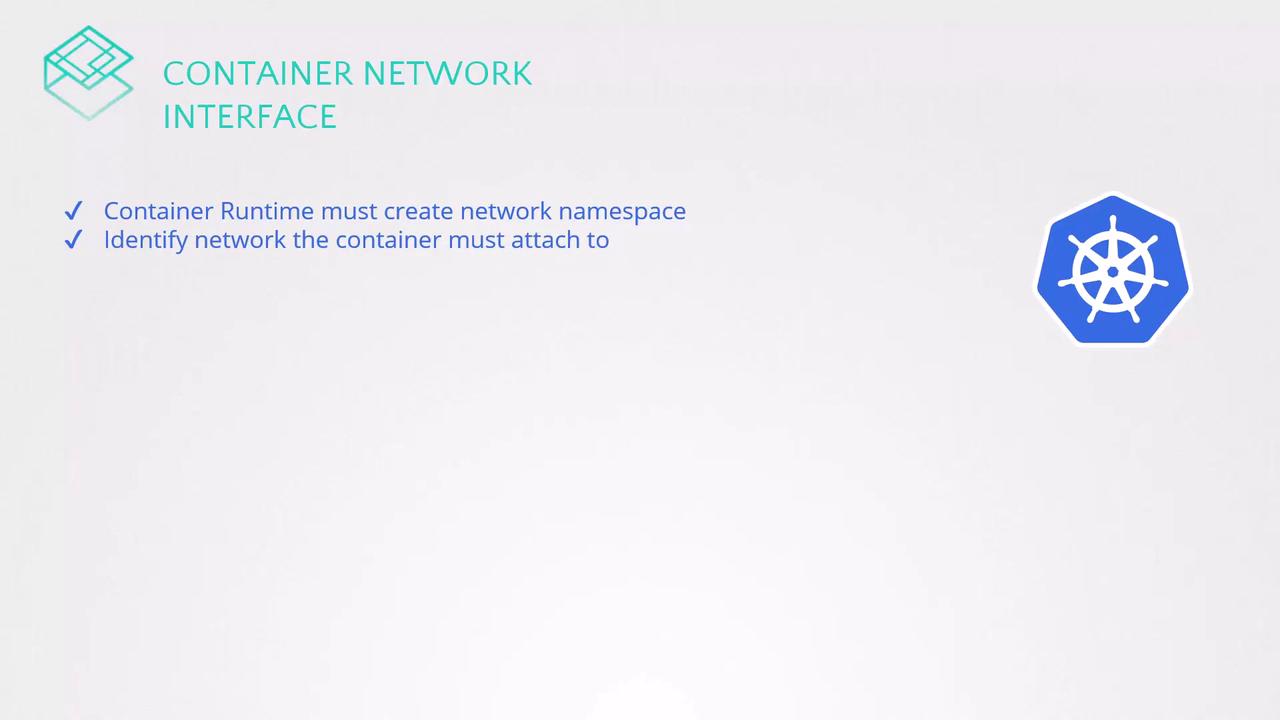
- The evolution and rationale behind CNI
- A list of supported CNI plugins
Configuring CNI Plugins in Kubernetes
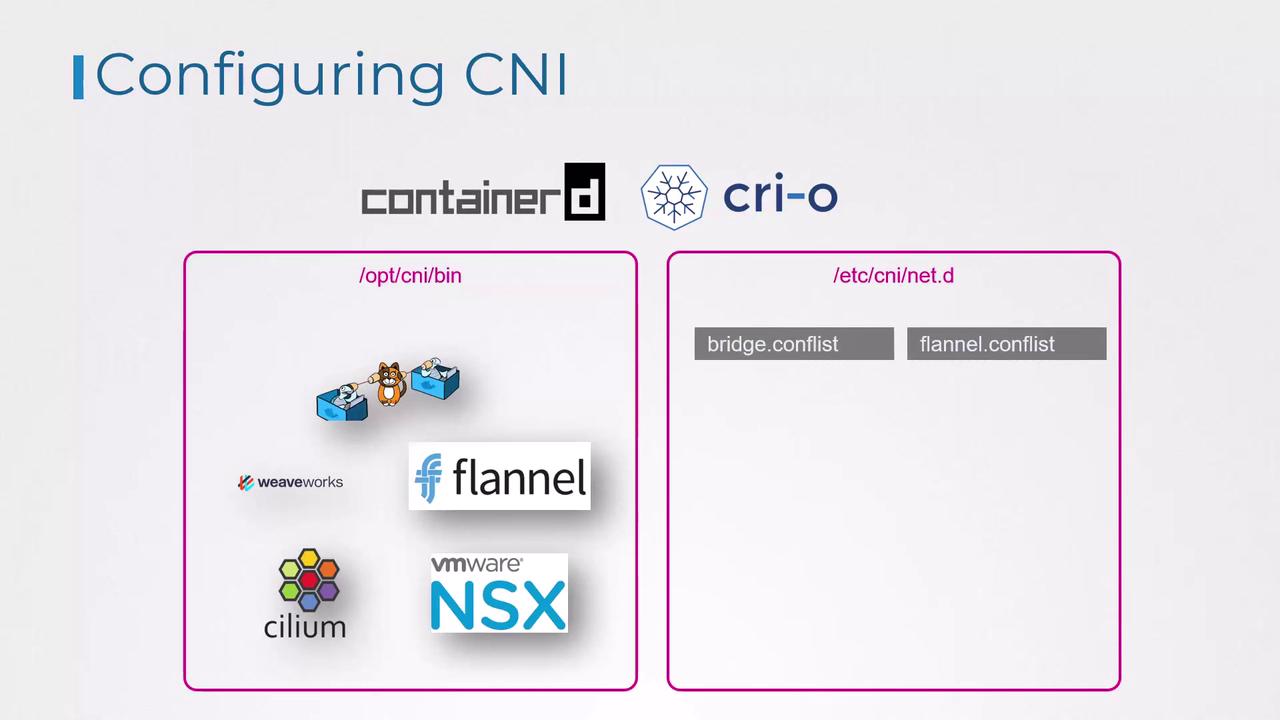
When a container is created, the container runtime invokes the necessary CNI plugin to attach the container to the network. Two common runtimes that demonstrate how this process works are Containerd and CRI-O.Container runtimes look for CNI plugin executables in the
/opt/cni/bin directory, while network configuration files are read from the /etc/cni/net.d directory.Directory Structure for CNI Plugins and Configuration
The network plugins reside in/opt/cni/bin, and the configuration files that dictate which plugin to use are stored in /etc/cni/net.d. Typically, the container runtime selects the configuration file that appears first in alphabetical order.
For example, you might see the following directories:
Understanding a CNI Bridge Configuration File
A typical CNI bridge configuration file, adhering to the CNI standard, might look like this:- The
"name"field (e.g.,"mynet") represents the network name. - The
"type"field set to"bridge"indicates the use of a bridge plugin. - The
"bridge"field (e.g.,"cni0") specifies the network bridge’s name. - The
"isGateway"flag designates whether the bridge interface should have an IP address to function as a gateway. - The
"ipMasq"option enables network address translation (NAT) through IP masquerading. - The
"ipam"(IP Address Management) section uses"host-local"to allocate IP addresses from the specified subnet ("10.22.0.0/16") and defines a default route.
Understanding these configuration fields is crucial for troubleshooting and optimizing Kubernetes networking. The settings in this bridge configuration align with fundamental networking concepts such as bridging, routing, and NAT masquerading.