Explore how to model and link key Backstage entity types—Component, Group, User, System, Domain, and Resource—by defining relationships among them in your catalog.
In this tutorial you will:
Create and register a Component in Backstage
Group components under a team entity
Assign owners at both group and user levels
Build dependency graphs with System, Domain, and Resource entities
Entity Types Overview Entity Type Purpose Example Snippet Component Deployable software (website, service, library, etc.) kind: ComponentGroup A team or collection of users/components kind: GroupUser Individual account with membership metadata kind: UserSystem Logical collection of components kind: SystemDomain Business area grouping systems and components kind: DomainResource Infrastructure backing a system (database, bucket) kind: Resource
1. Create a Component Define a simple e-commerce Component named shopping-cart . Save this YAML in entity.yaml (or anywhere in your catalog):
apiVersion : backstage.io/v1alpha1 kind : Component metadata : name : shopping-cart spec : type : website lifecycle : production owner : guests
Commit and push:
git add entity.yaml
git commit -m "Add shopping-cart component"
git push origin main
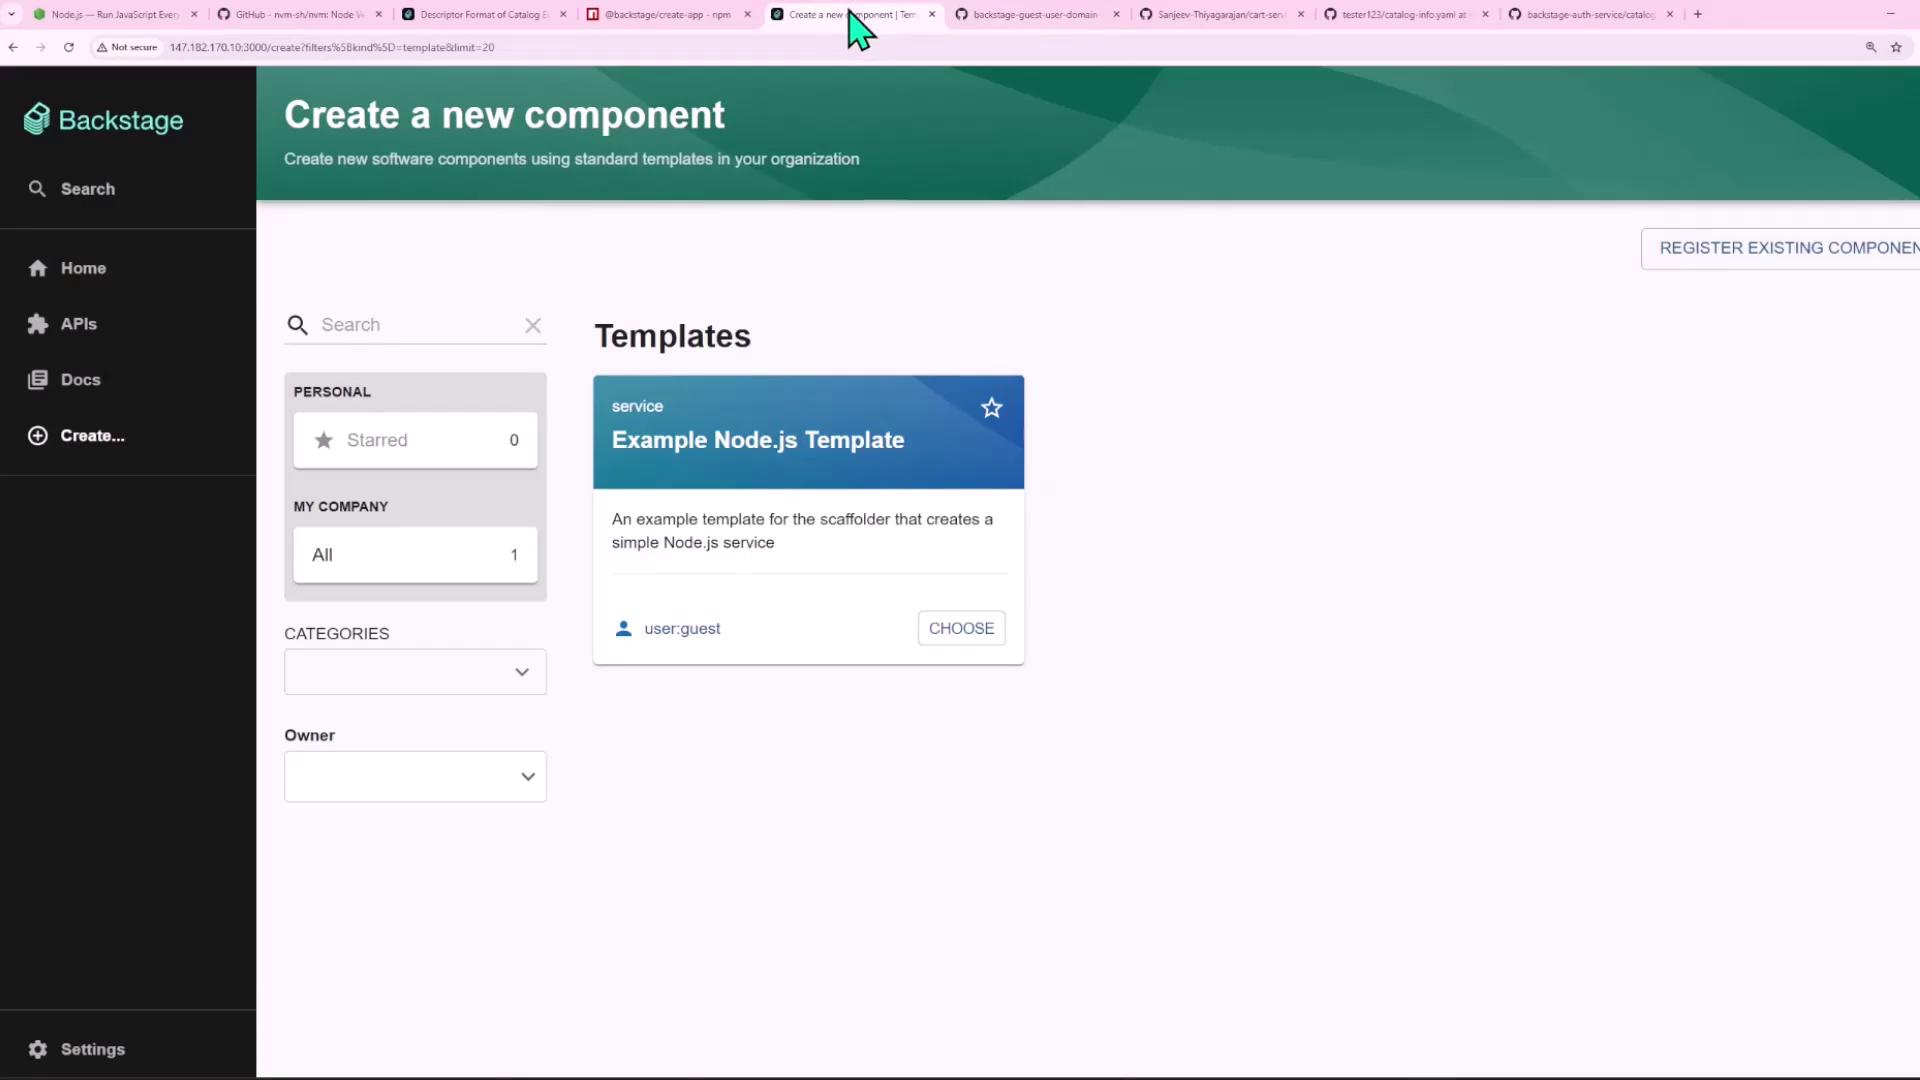
2. Import the Component
In Backstage, navigate to Home → Create → Register Existing Component .
Enter the GitHub URL pointing to your entity.yaml and click Analyze .
If you see an error like: { "name" : "InputError" , "message" : "No processor recognized the entity component:default/shopping-cart..." }
it often means an apiVersion typo. Correct backstag.io to backstage.io, push again, then wait a minute before re-analyzing. Once Analyze succeeds, click Import to register your Component.
3. Create a Group Backstage YAML supports multiple documents per file. Extend entity.yaml to add an ecommerce Group:
apiVersion : backstage.io/v1alpha1 kind : Component metadata : name : shopping-cart spec : type : website lifecycle : production owner : guests --- apiVersion : backstage.io/v1alpha1 kind : Group metadata : name : ecommerce spec : type : team children : []
Commit and push:
git add entity.yaml
git commit -m "Add ecommerce group"
git push origin main
After pushing, go to Catalog → Locations , remove the previous location, and re-register it. This forces Backstage to refresh your entities.
4. Assign Group Ownership Once the catalog updates, open shopping-cart in Backstage to confirm its owner is guests. Then verify the new ecommerce group appears under Owner .
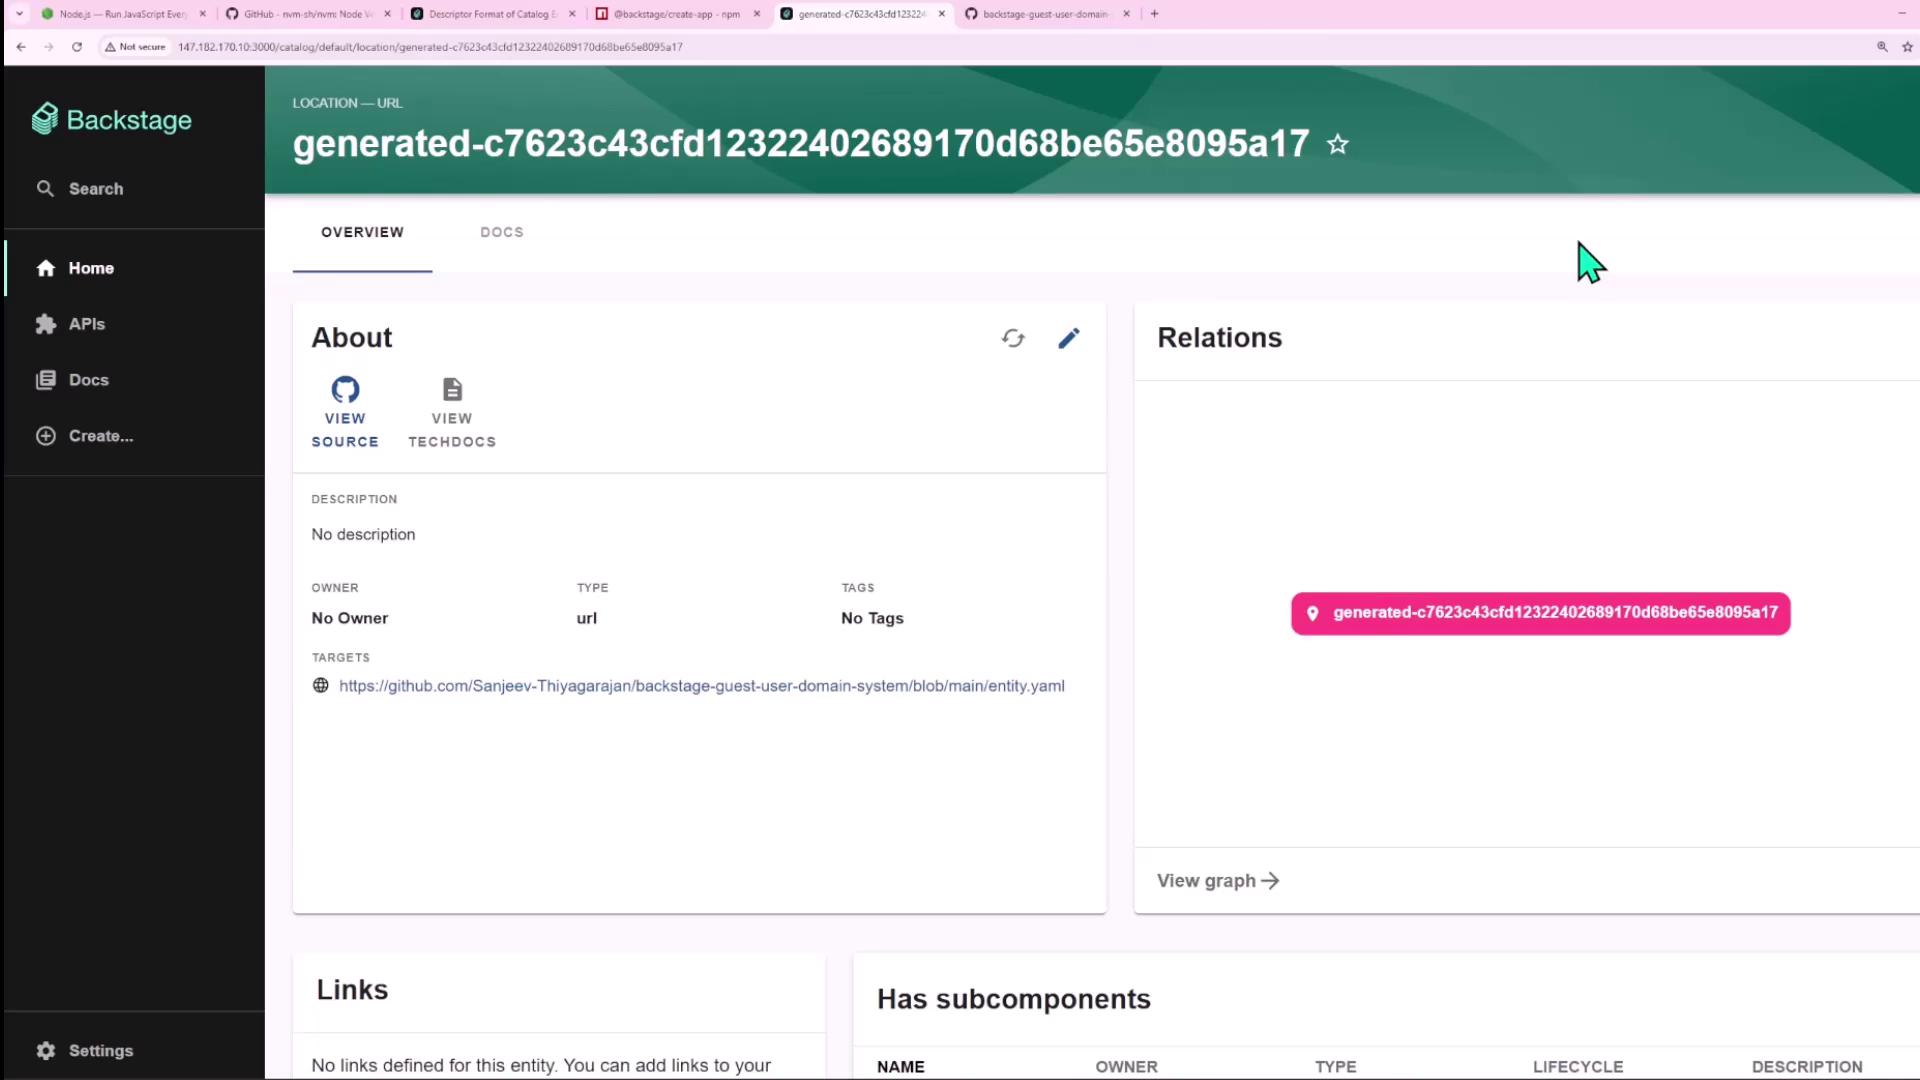
5. Explore a URL Entity Backstage can register non-code resources too. Here’s a URL entity example:
6. Create a User Append a User entry (e.g., john) to entity.yaml:
--- apiVersion : backstage.io/v1alpha1 kind : User metadata : name : john spec : memberOf : [ ecommerce ]
Commit, push, then re-register the location. If you encounter a NotAllowedError for User, update your app-config.yaml:
catalog : import : rules : - allow : [ Component , System , API , Resource , Location , Group , User ]
Restart your dev server (yarn dev), then re-import.
Finally, edit shopping-cart to change its owner:
7. Add a Dependent Component Define a second Component inventory and declare that shopping-cart depends on it:
apiVersion : backstage.io/v1alpha1 kind : Component metadata : name : inventory spec : type : service lifecycle : production owner : ecommerce --- apiVersion : backstage.io/v1alpha1 kind : Component metadata : name : shopping-cart spec : dependsOn : - component : inventory type : website lifecycle : production owner : user:john
Commit, push, re-register, and view the updated dependency graph.
8. Define a System Group shopping-cart and inventory under a purchasing System:
apiVersion : backstage.io/v1alpha1 kind : System metadata : name : purchasing description : System for managing user purchases spec : owner : ecommerce domain : shopping-app --- # (Component entries with `spec.system: purchasing`)
Commit & push. In Systems view, you’ll see both components under purchasing .
9. Define a Domain Create a shopping-app Domain to group related systems:
apiVersion : backstage.io/v1alpha1 kind : Domain metadata : name : shopping-app description : Handles everything in the e-commerce portion of the business spec : owner : ecommerce --- # (System & Component entries)
Enable Domain in your import rules, restart (yarn dev), and re-register:
Click shopping-app to inspect its overview and relationship graph:
10. Define a Resource Model a Resource (e.g., an inventory database) and link it to your System:
apiVersion : backstage.io/v1alpha1 kind : Resource metadata : name : inventory-db description : Stores inventory details spec : type : database owner : ecommerce system : purchasing --- apiVersion : backstage.io/v1alpha1 kind : Component metadata : name : inventory spec : dependsOn : - resource : inventory-db type : service lifecycle : production owner : ecommerce system : purchasing
Commit, push, re-register. The inventory component will now show a dependency on inventory-db :
Congratulations! You’ve successfully created and linked Component, Group, User, System, Domain, and Resource entities in Backstage, complete with ownership and dependency mappings.
Links and References