1. Discovering Community Plugins
- Open your Backstage website and navigate to Plugins.
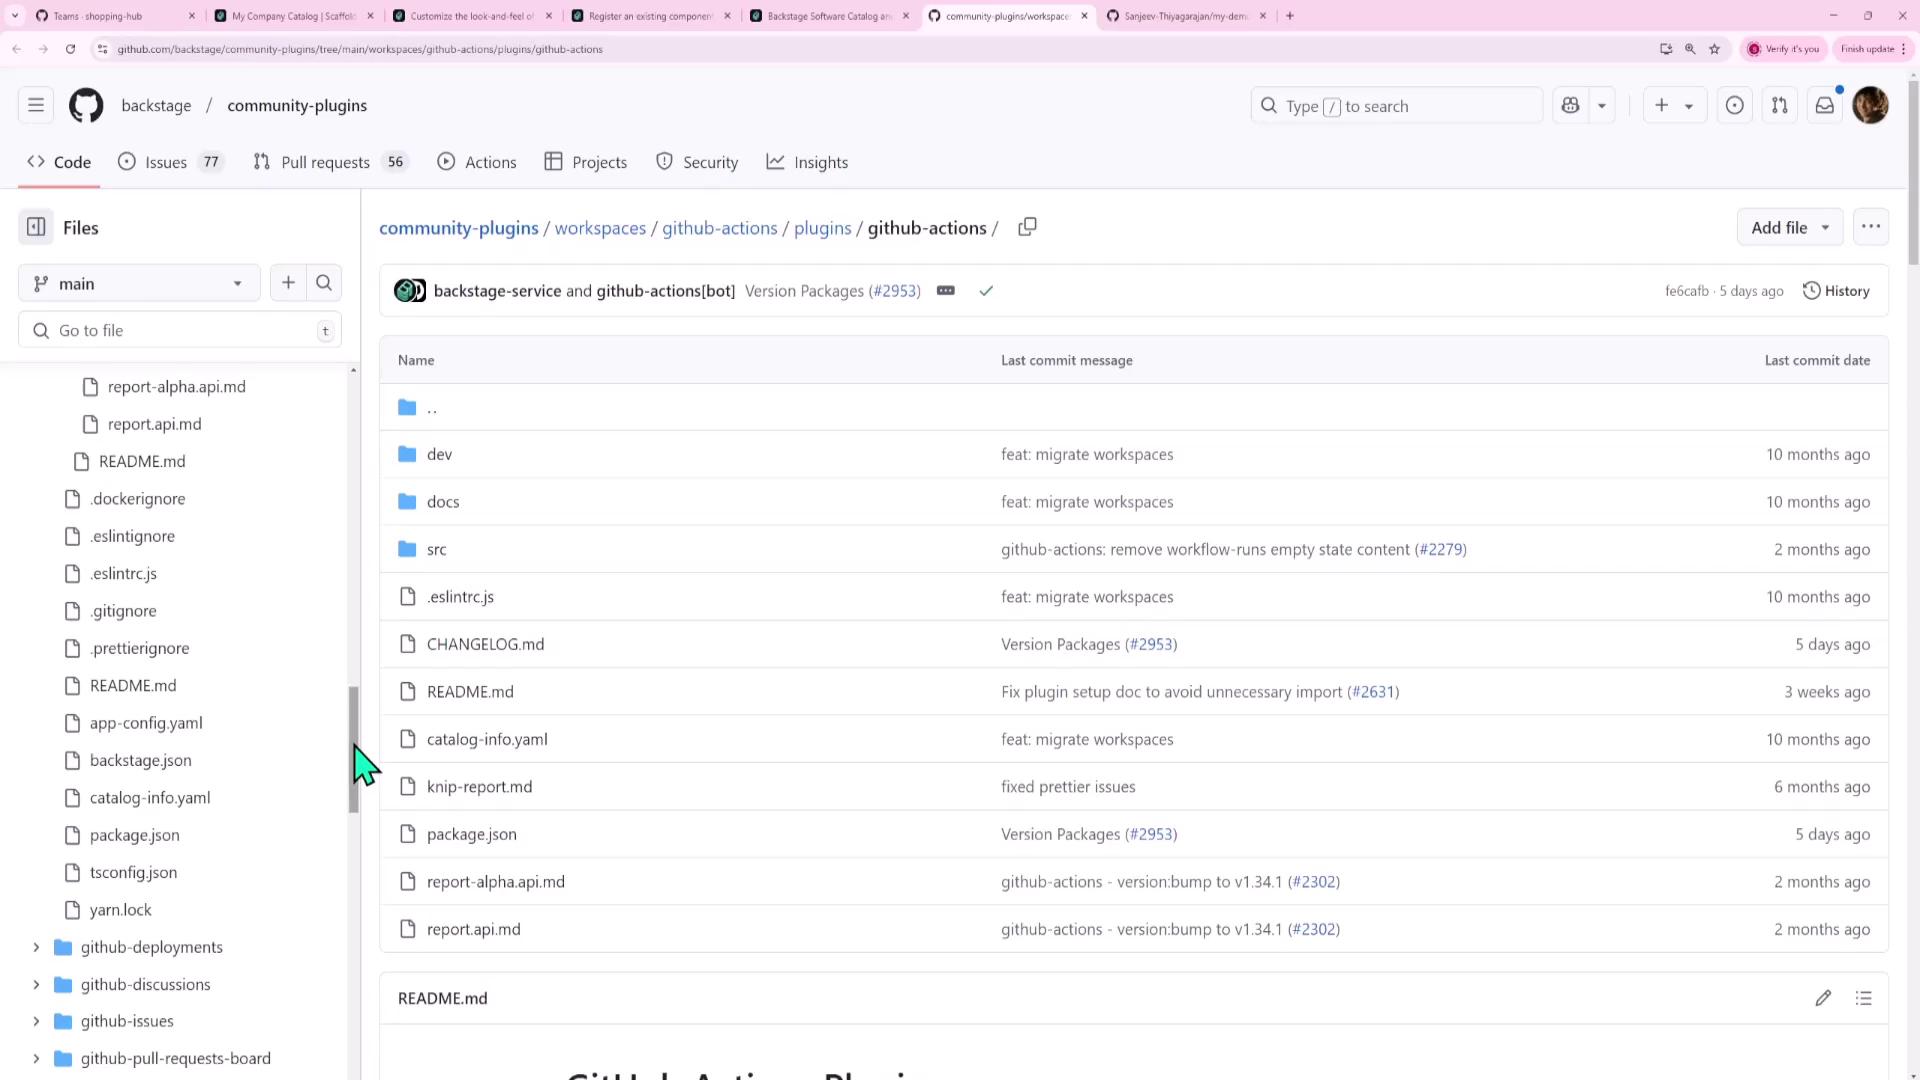
- Browse or search for “GitHub Actions” and click Explore. You’ll land on the Backstage community-plugins GitHub repository:
2. Understanding Plugin Structure
Plugins may include only a frontend, only a backend, or both. Check theplugins/ folder:
| Plugin | Frontend | Backend |
|---|---|---|
| copilot | ✓ | plugins/copilot-backend |
| github-actions | ✓ | (uses generic backend for auth/proxy) |
| dynatrace | ✓ | (requires custom proxy configuration) |
Even if a plugin doesn’t ship a backend folder, it can leverage your Backstage backend for authentication or API proxying.
3. Example: Securing Dynatrace with a Backend Proxy
The Dynatrace plugin provides a UI only. To avoid exposing your API token in the browser, configure a proxy inapp-config.yaml:
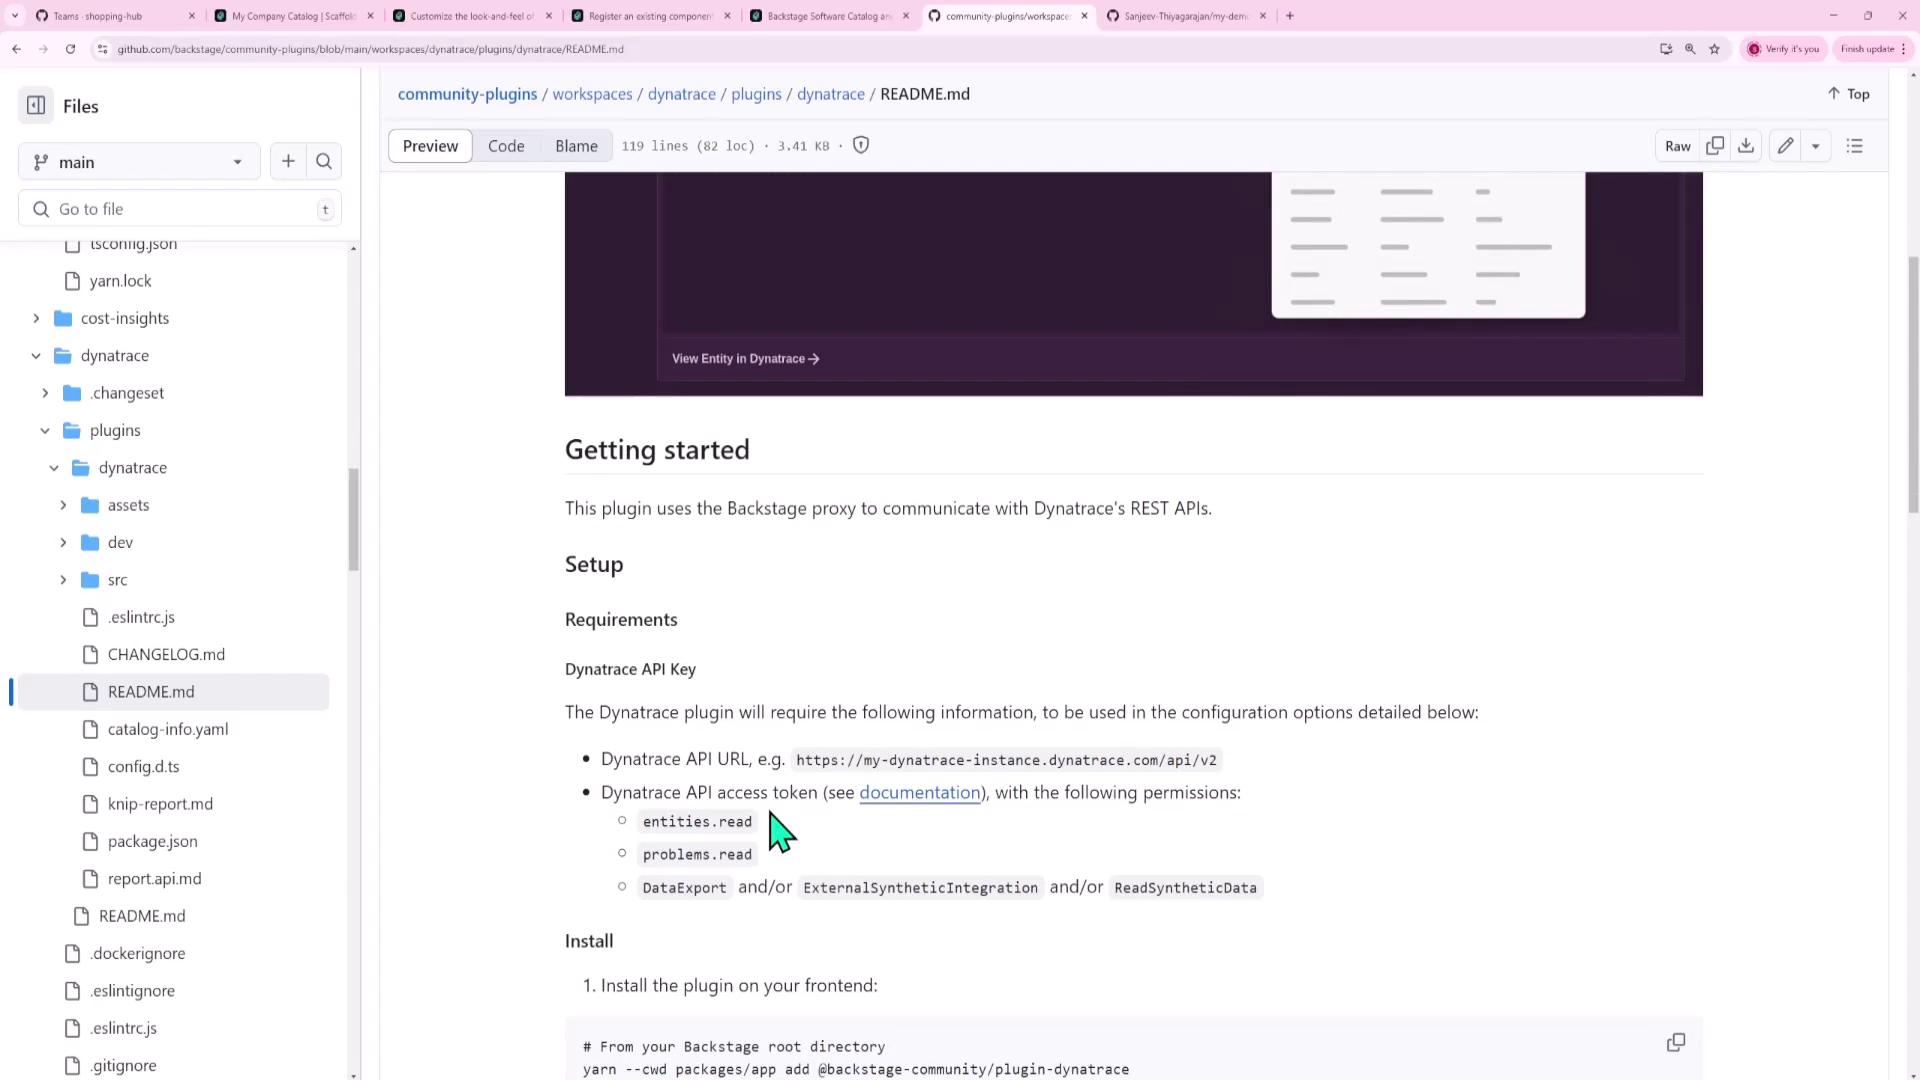
Never embed raw API tokens in the frontend. Always use a backend proxy to inject secrets from environment variables.
4. Integrating the GitHub Actions Plugin
Follow these steps to add GitHub Actions support:-
Install the frontend plugin:
-
Install the GitHub auth provider on the backend:
-
Register the auth module in
packages/backend/src/index.ts: -
Restart your services:
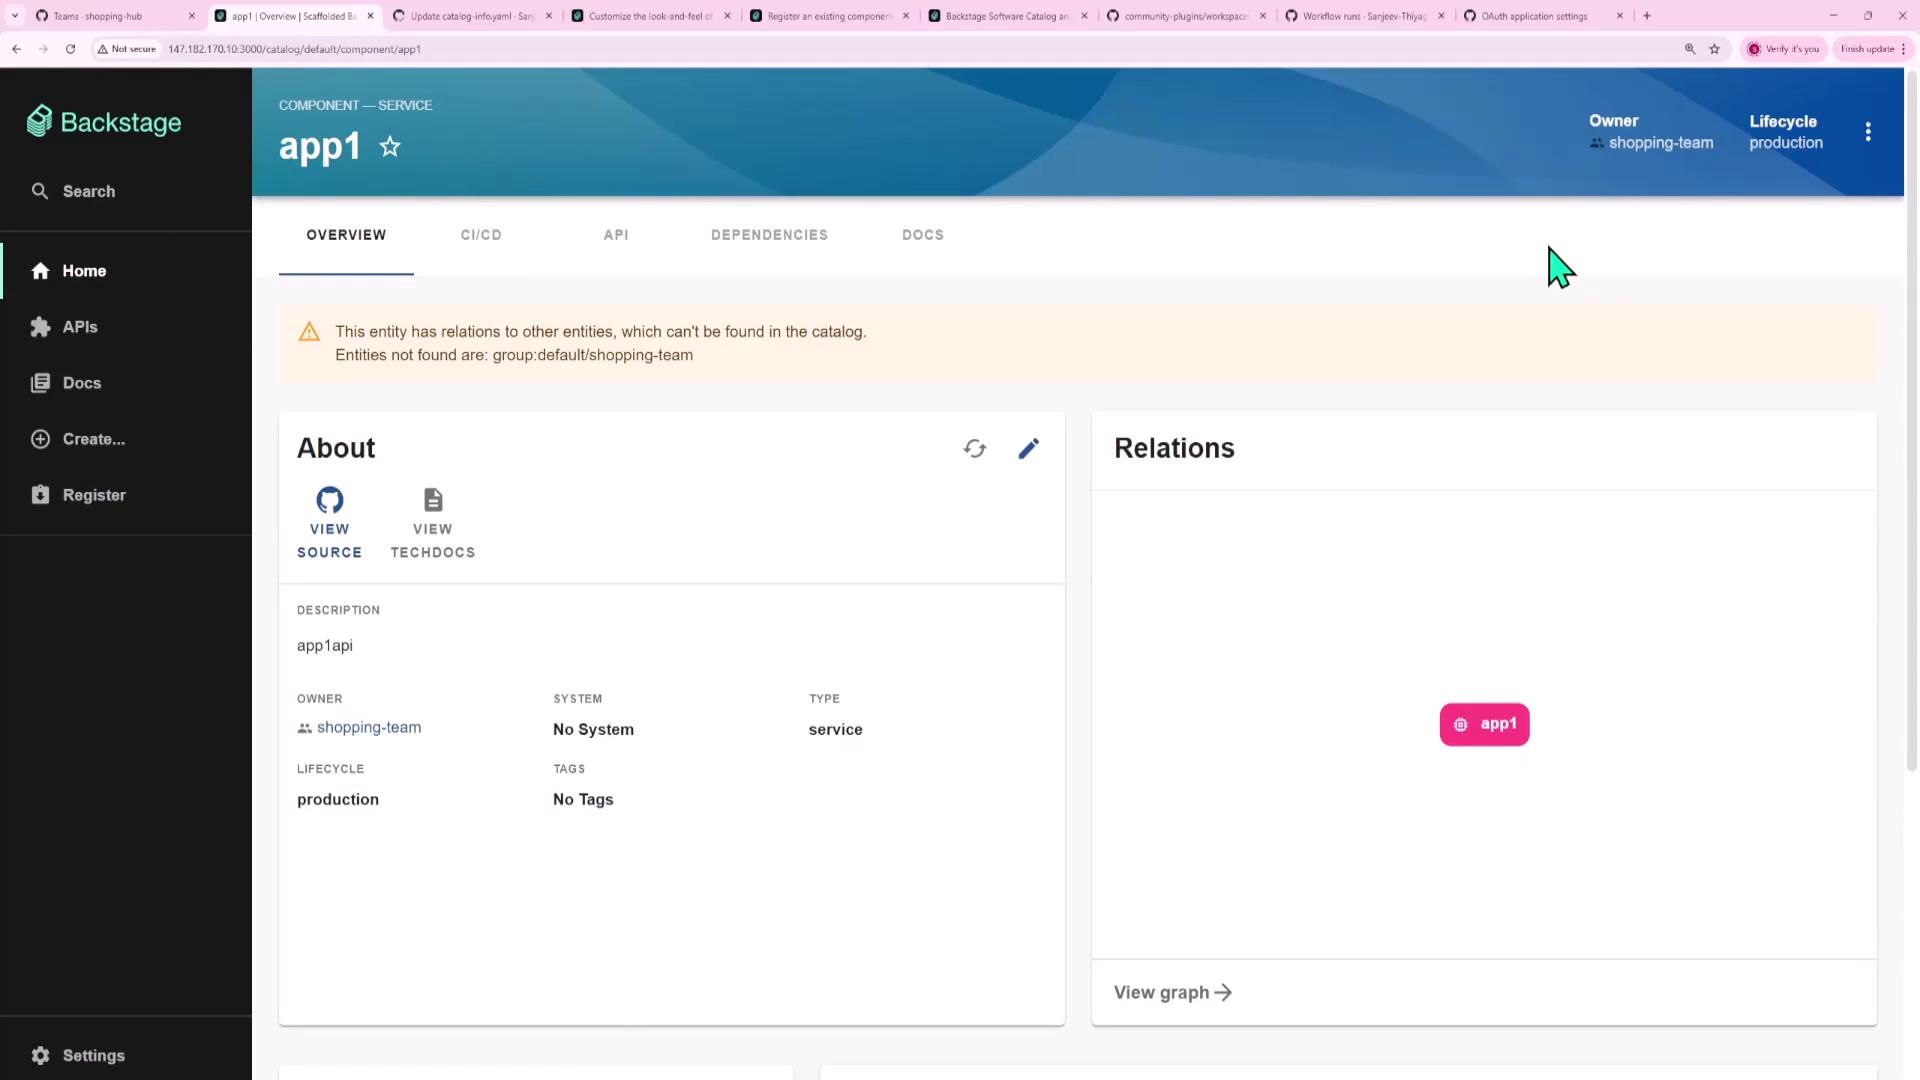
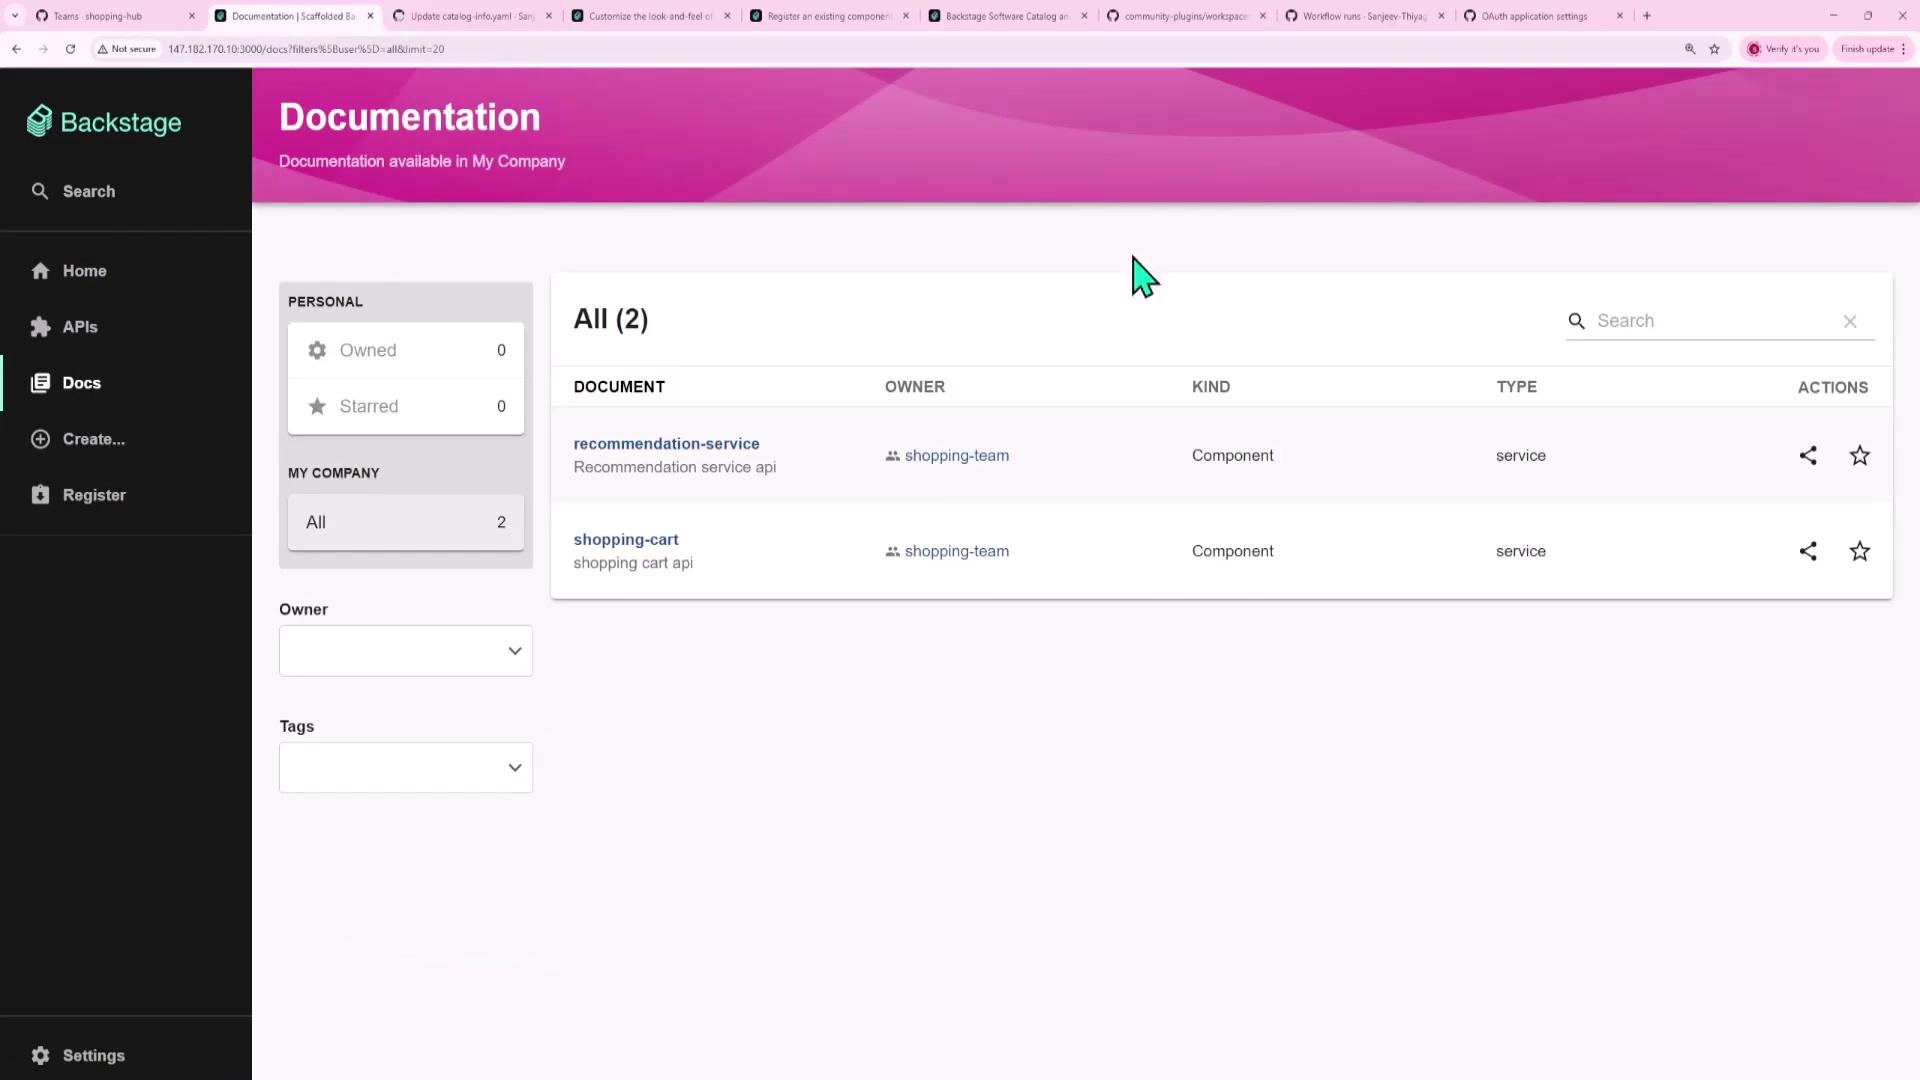
5. Browsing the Software Catalog
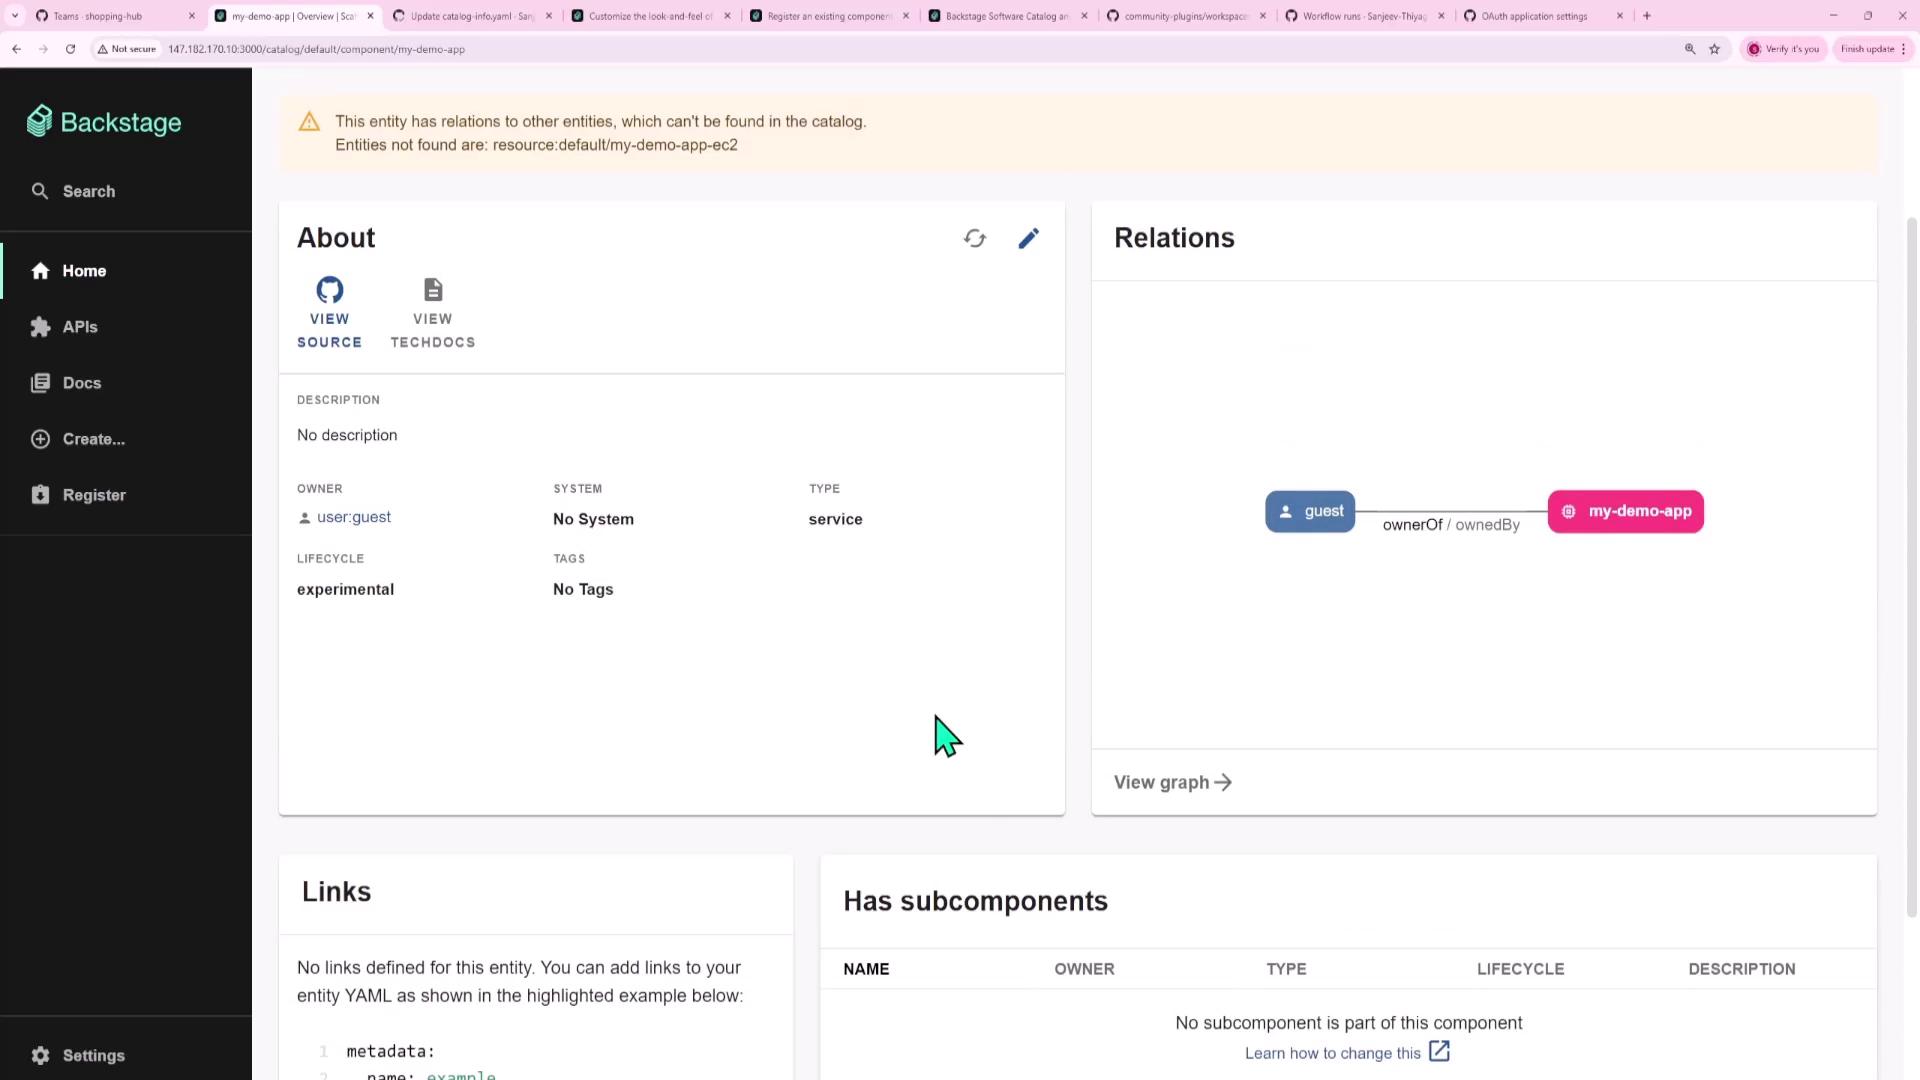
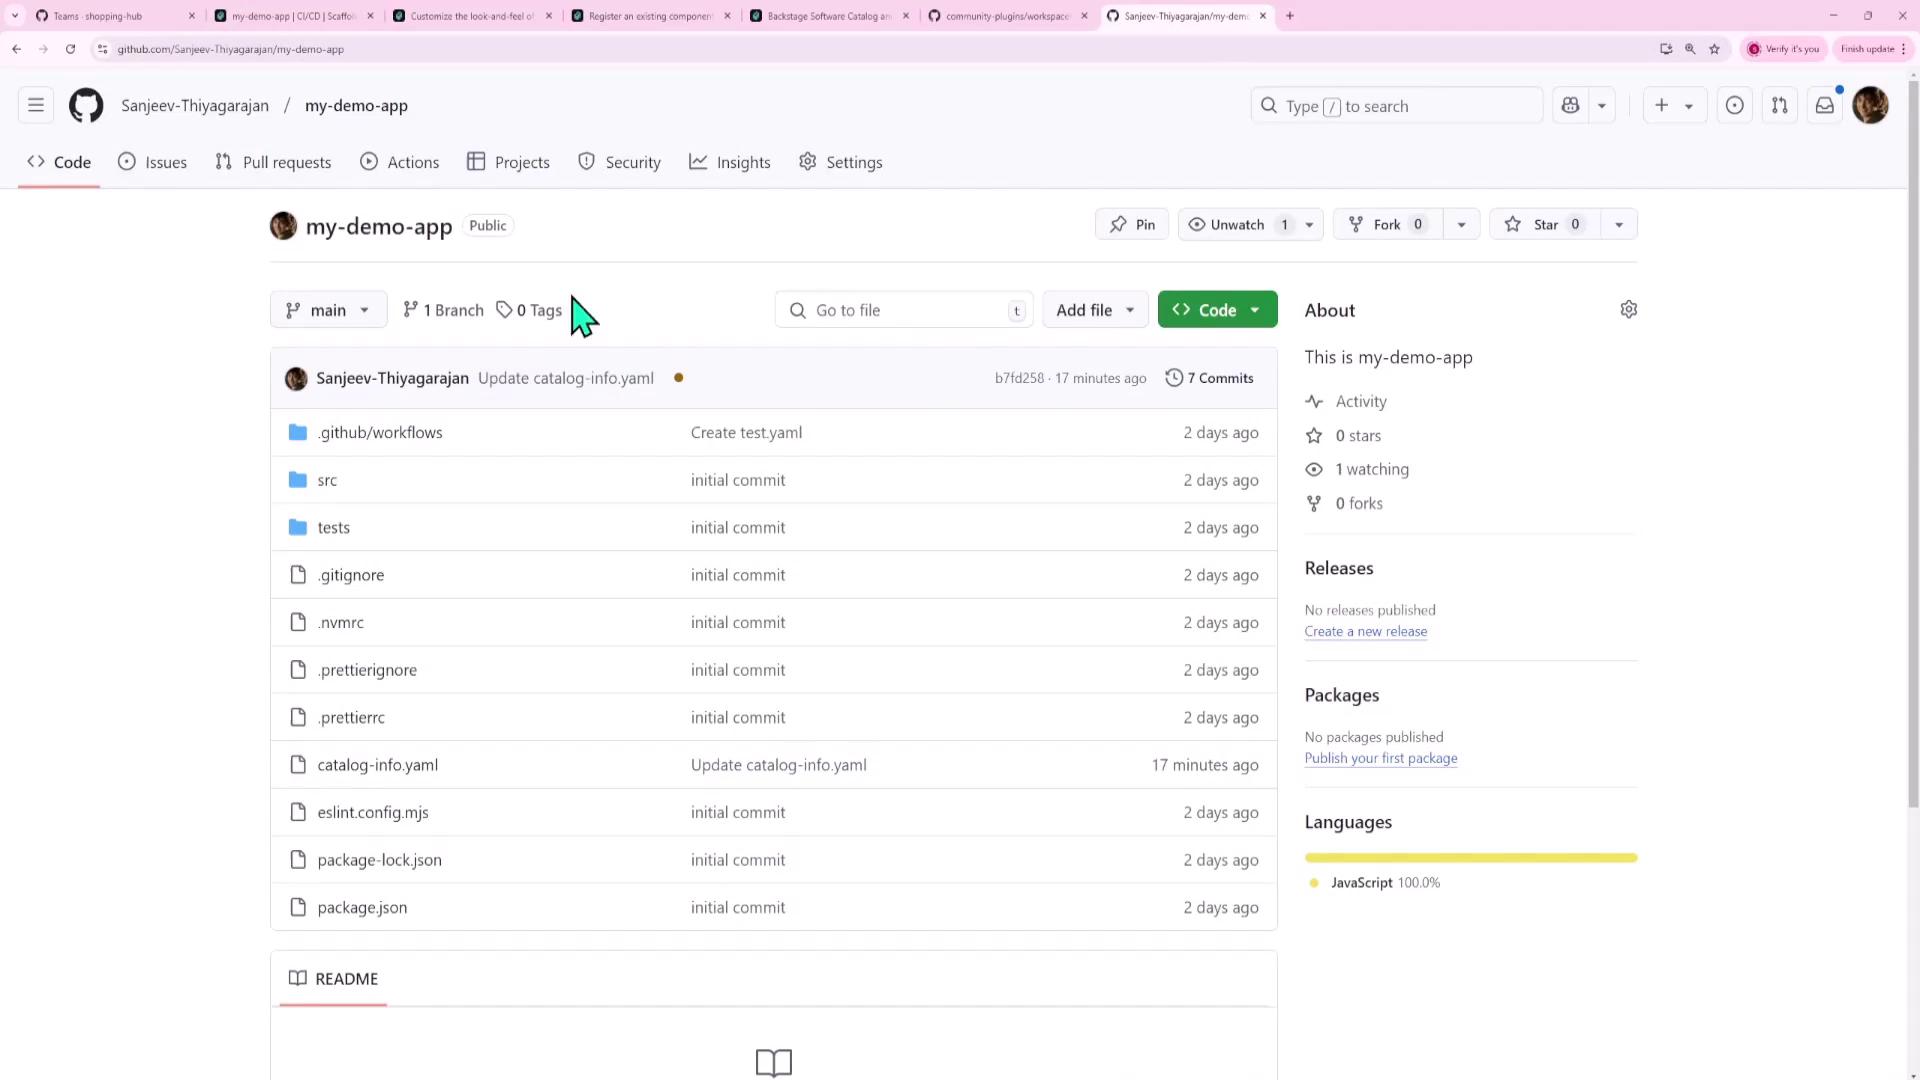
- Open Software Catalog in your Backstage UI:

- Select a component, for example my-demo-app, to view its overview:
6. Verifying Your GitHub Setup
- Confirm your repo has GitHub Actions workflows under
.github/workflows:
- View your workflow runs for confirmation:

7. Configuring GitHub OAuth in Backstage
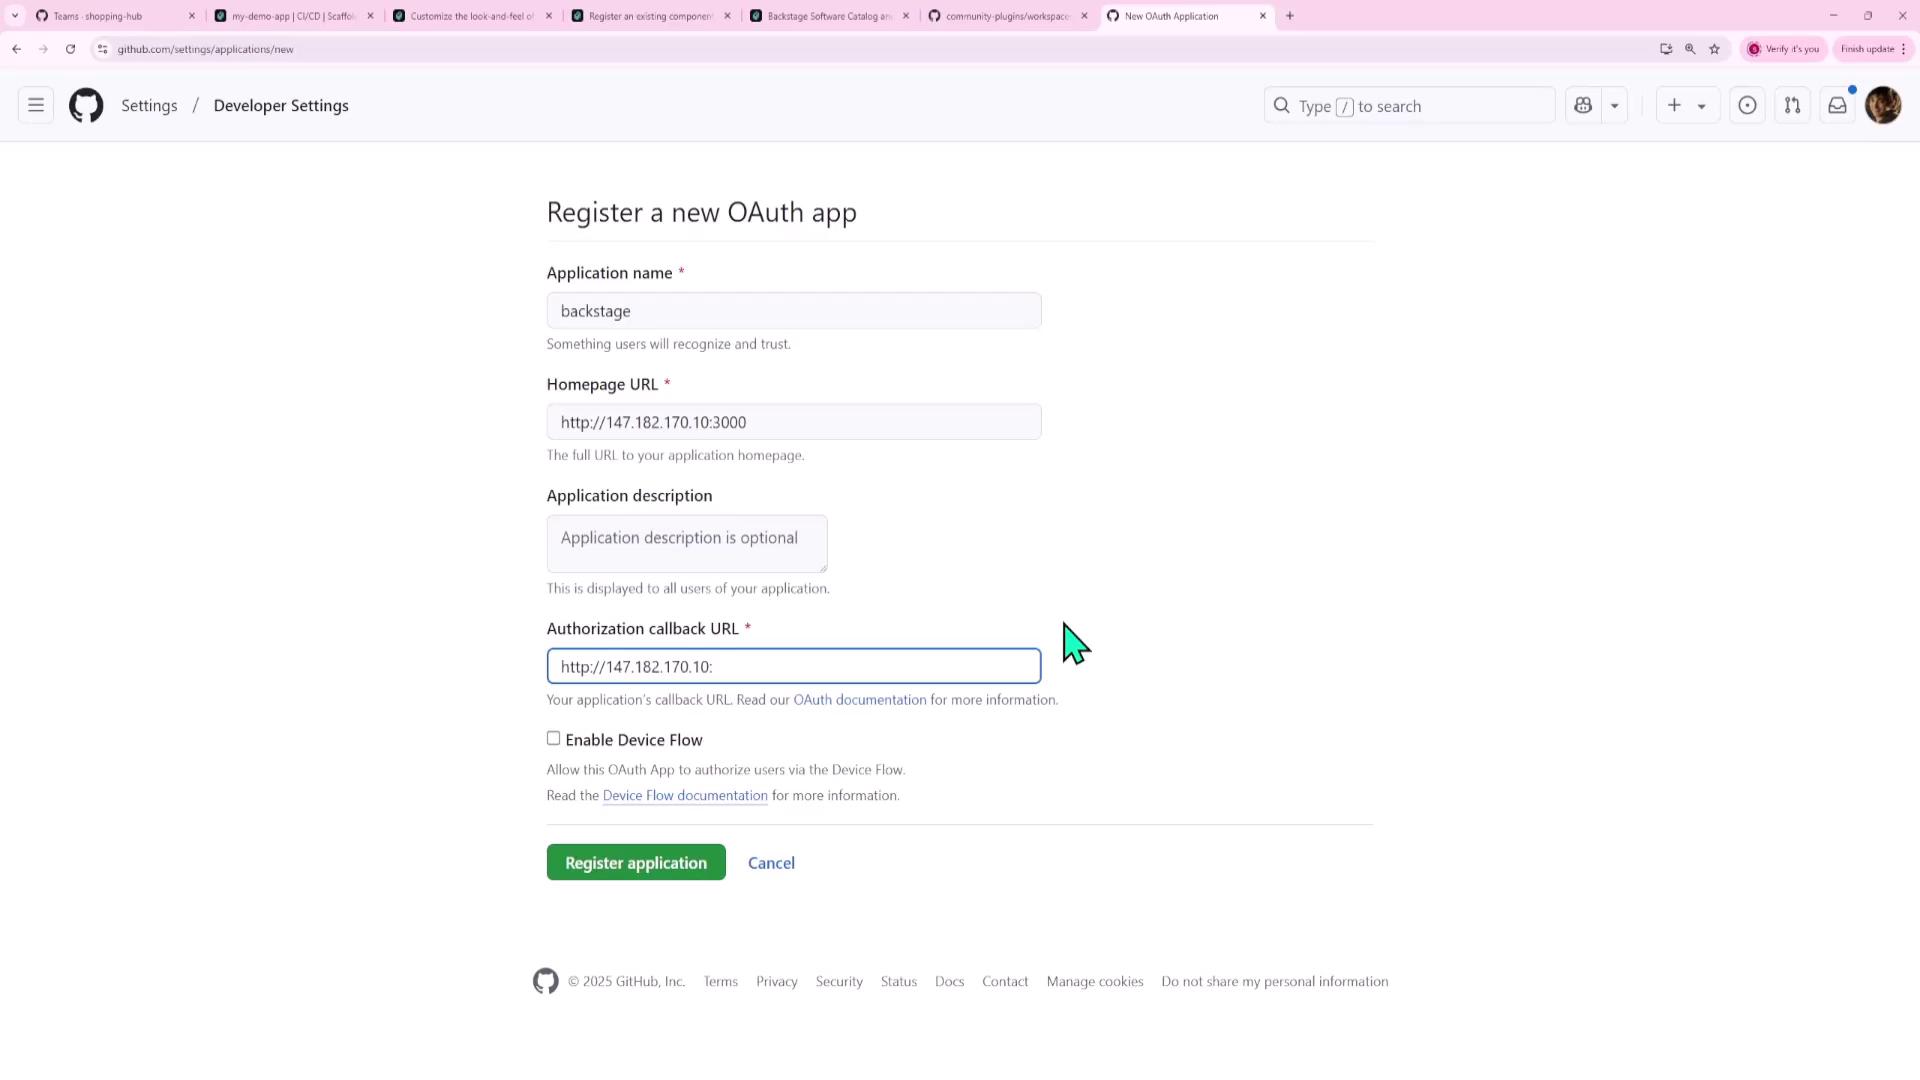
- Register a new OAuth App in GitHub:
- Settings → Developer settings → OAuth Apps → New OAuth App
- Homepage URL: Your Backstage URL
- Authorization callback URL:
http://<HOST>:7007/api/auth/github/handler/frame
- Copy the Client ID and Client Secret:
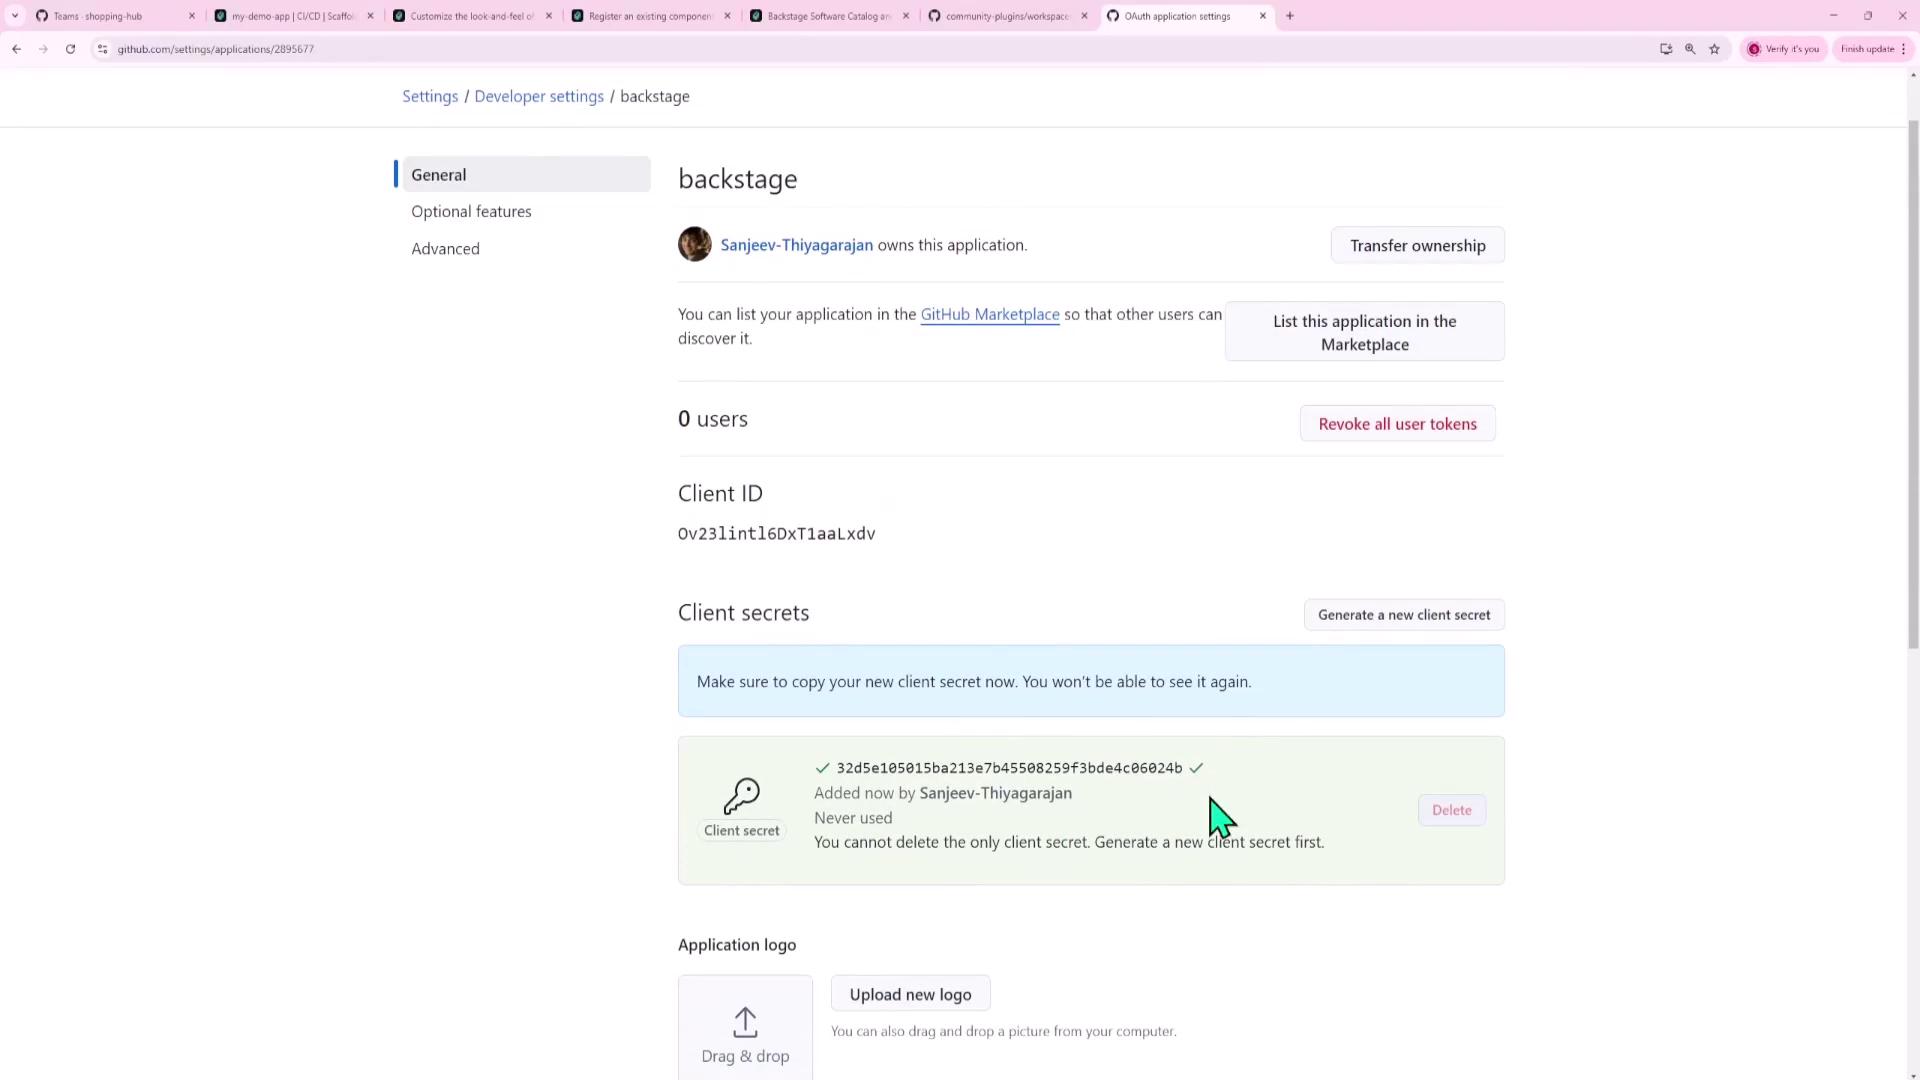
-
Add them to
app-config.yaml:
8. Annotating Your Component for CI/CD
In yourcatalog-info.yaml for my-demo-app, annotate with the GitHub project slug:

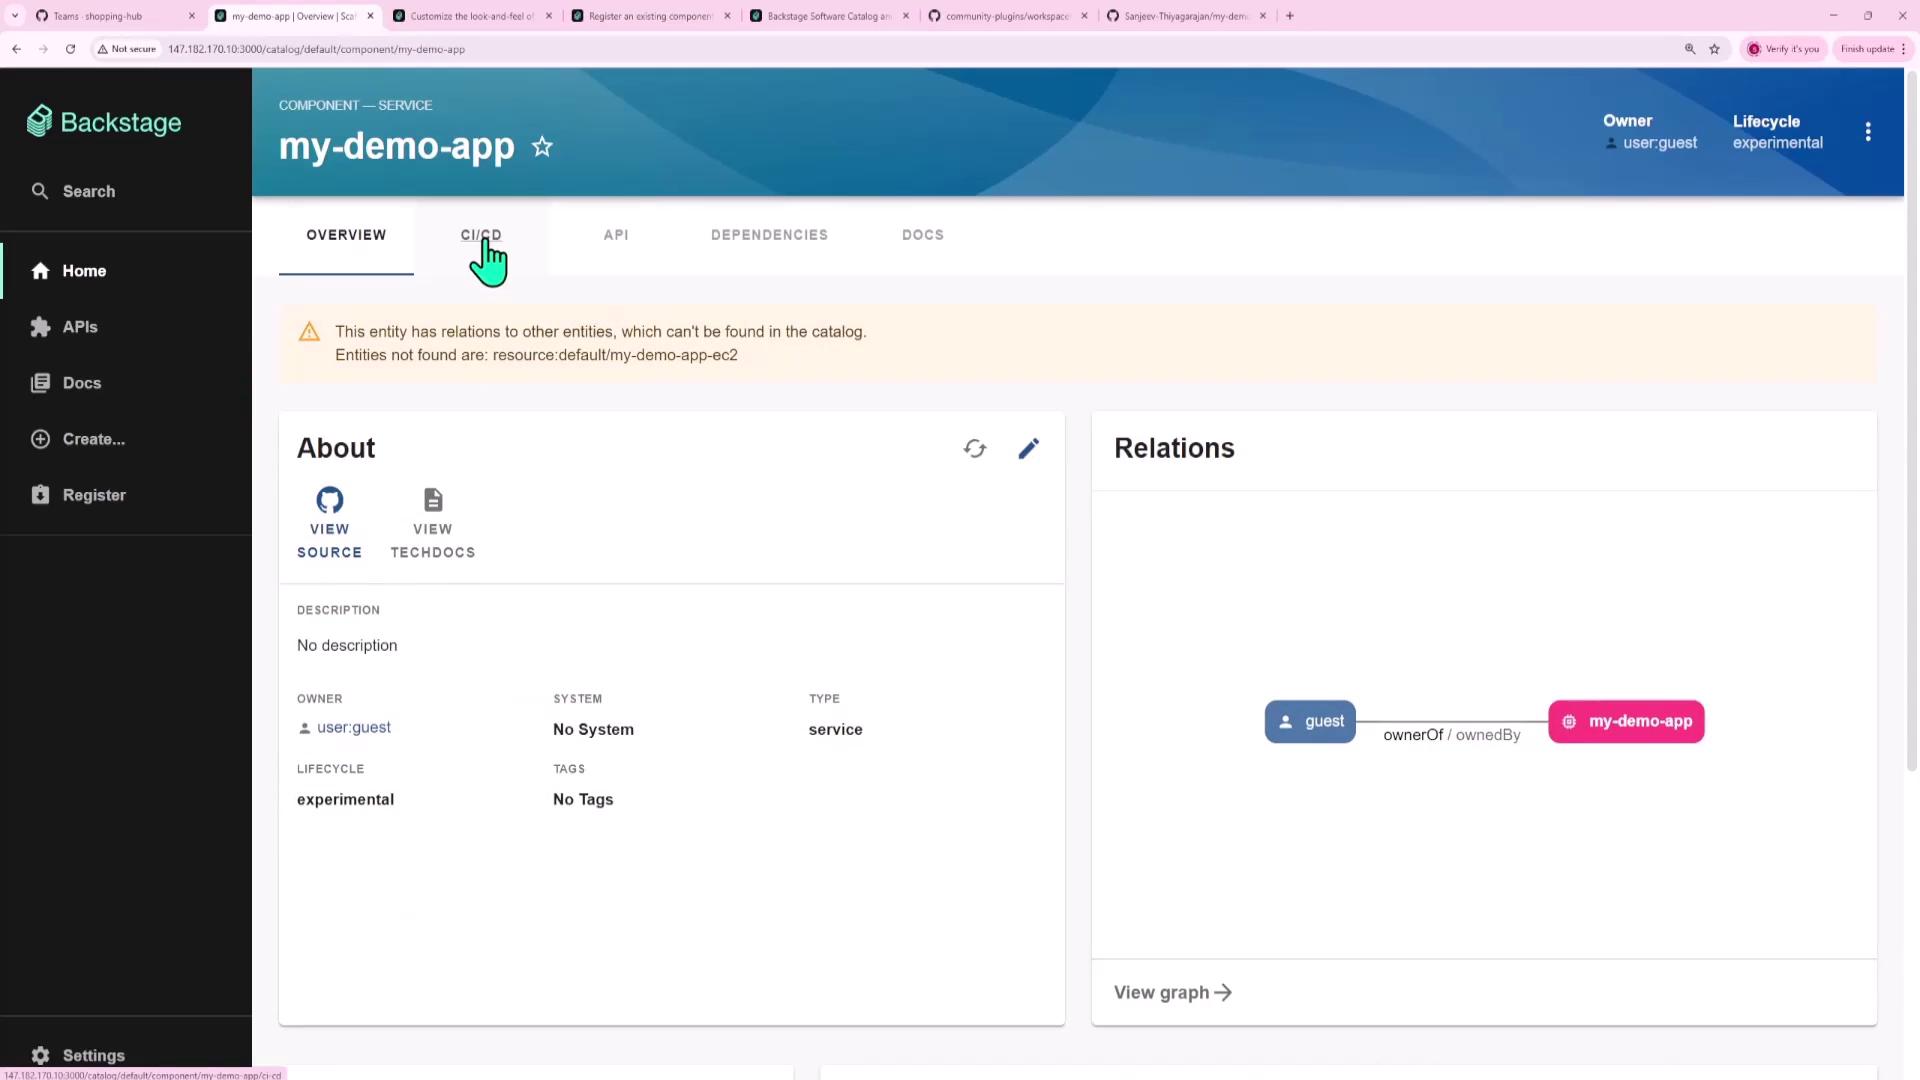
9. Viewing CI/CD in Backstage
- Click the CI/CD tab and sign in via GitHub.
- You’ll see your workflow runs:
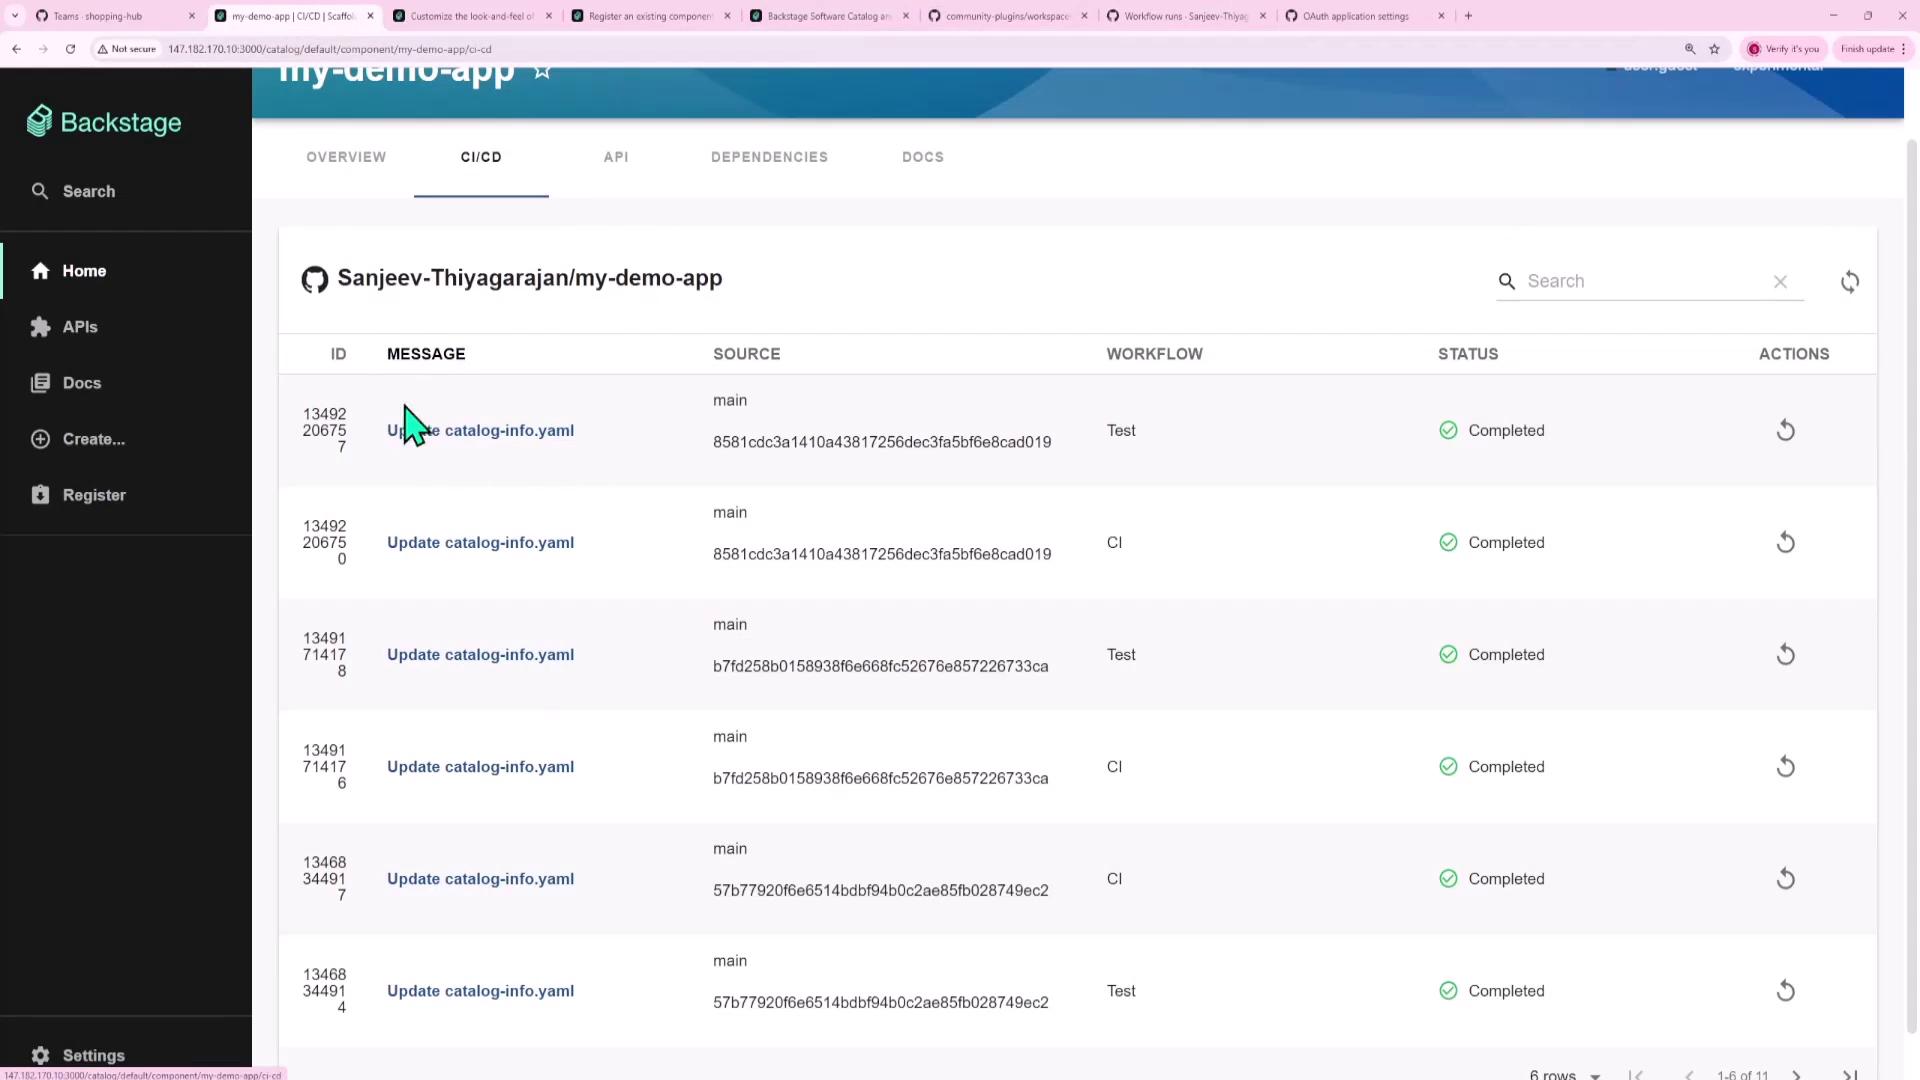
- Select any run for detailed logs:


Key Takeaways
- Community Plugins come in three flavors:
- Frontend only
- Backend only
- Both frontend and backend
- To add a frontend plugin:
- To add a backend plugin:
- Plugin UI components can render as:
- Entire pages
- Tabs
- Cards
- Dedicated sections