In this guide, you’ll learn how to create Backstage software templates using the standard Entity syntax. A template is defined like any other Entity, but its kind is Template . At minimum, a template YAML must include metadata and three key sections under spec: parameters , steps , and output .
apiVersion : scaffolder.backstage.io/v1beta3 kind : Template metadata : name : python-template title : Python Template description : Template for creating a new Python application spec : owner : user:guest type : service parameters : [] # Form definition (see Parameters section) steps : [] # Execution logic (see Steps section) output : [] # Post-run outputs (see Output section)
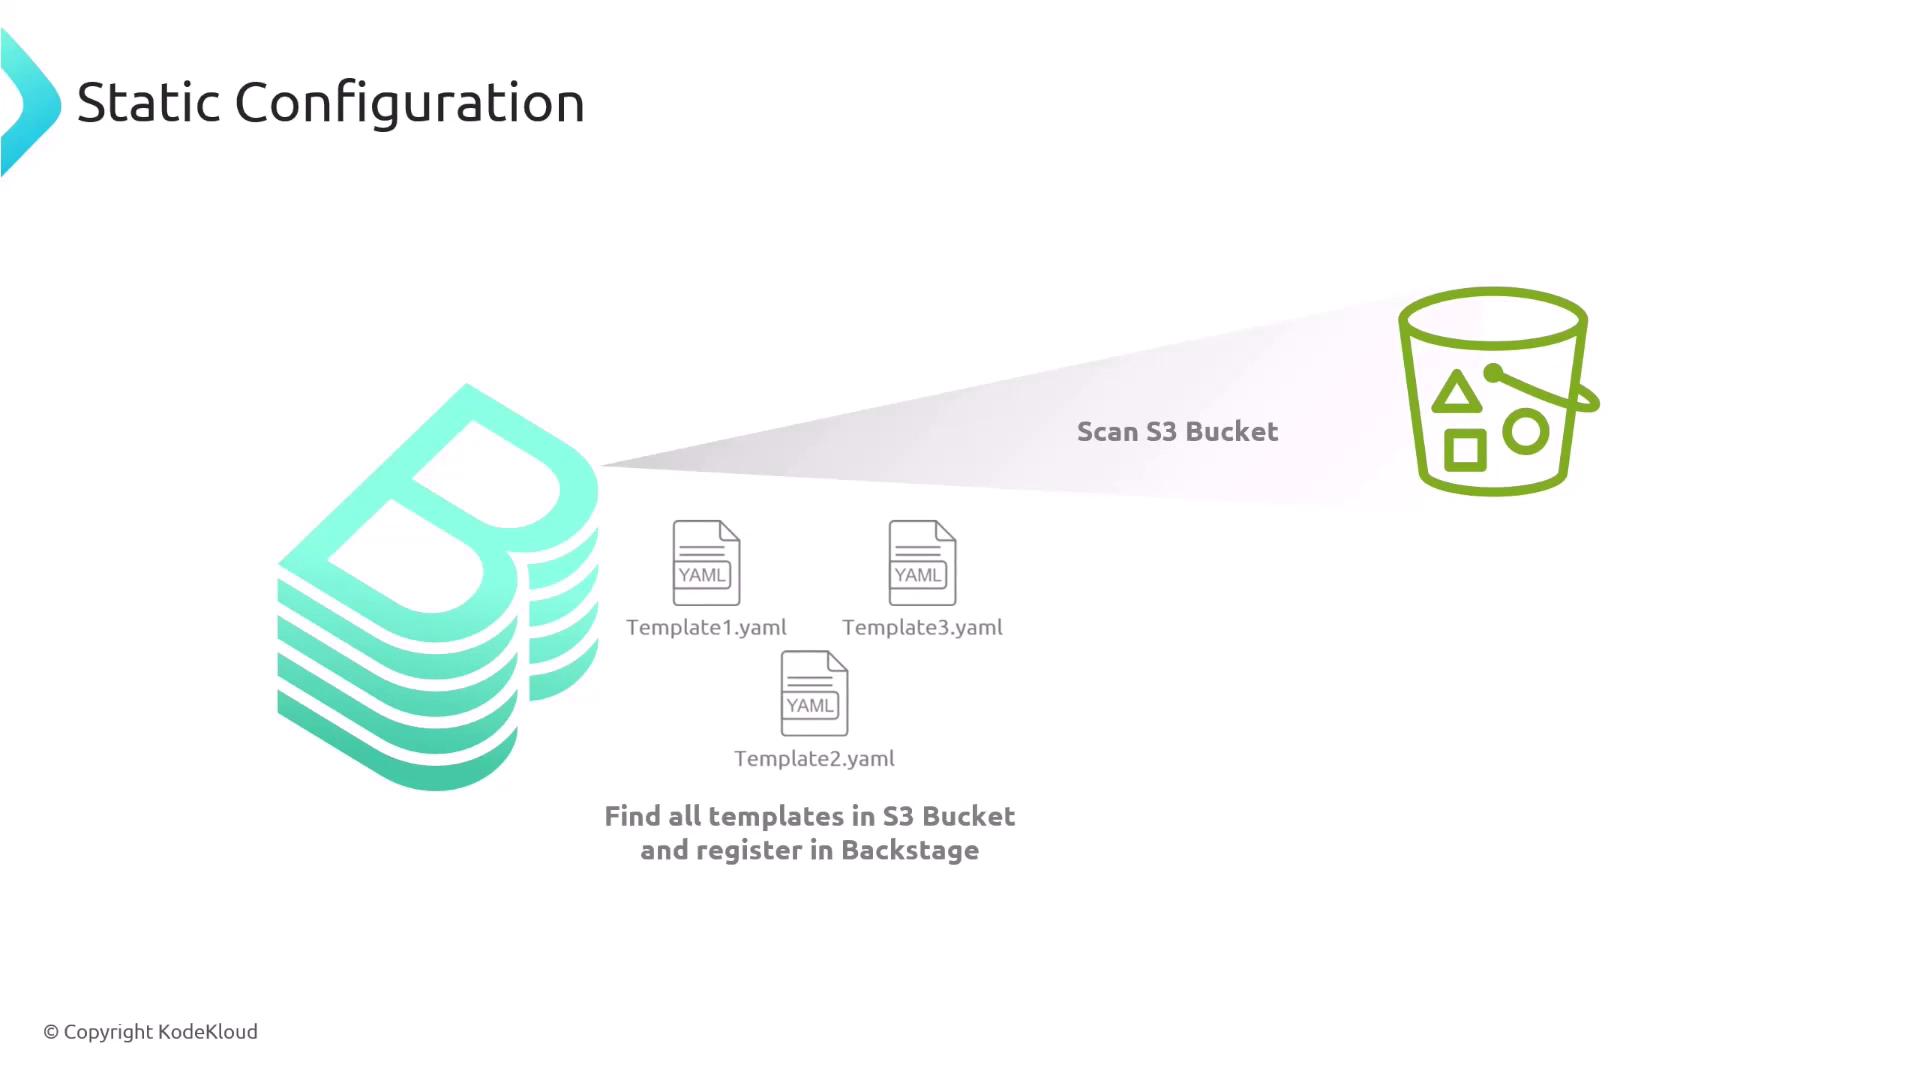
Registering Your Template After authoring your template YAML, register it in the Backstage catalog just like any other Entity. You can point Backstage at a URL, a local file, or let it scan repositories:
catalog : locations : - type : url target : https://github.com/mygithub/my-template.yaml - type : file target : ../../examples/templates/my-template.yaml
Backstage supports multiple location types (GitHub, S3, local). Configure caching and refresh intervals in your app-config for optimal performance.
The parameters section defines the UI form pages and input fields to collect data from the user.
Form Pages Each entry under parameters represents a page or step in the multi-page form:
spec : parameters : - title : Fill in details - title : Choose deployment - title : Review & Create
Field Definitions Within each page, declare properties for user inputs. These follow JSON Schema syntax:
spec : parameters : - title : Fill in details properties : username : title : Name type : string description : The username to log in as ui : placeholder : my-username autoFocus : true password : title : Password type : string description : Your super secret password email : title : Email type : string description : Your email address ui : widget : email placeholder : example@domain.com age : title : Age type : number description : Enter your age minimum : 0 maximum : 120 relationshipStatus : title : Relationship Status type : string enum : - Single - Married - Divorced gender : title : Gender type : string enum : - Male - Female - N/A ui : widget : radio options : inline : true interests : title : Select Interests type : array items : type : string enum : - Hiking - Movies - Dancing uniqueItems : true ui : widget : checkboxes acceptTerms : title : Accept Terms and Conditions type : boolean description : Please accept the terms and conditions
Use JSON Schema validation (minimum, maximum, enum) to enforce input constraints right in the form.
Conditional UI Show or hide fields based on previous answers using dependencies:
spec : parameters : - title : Deployment Options properties : deployApp : title : Deploy application? type : boolean default : true platform : title : Deployment Platform type : string dependencies : deployApp : allOf : - if : properties : deployApp : const : true then : required : [ platform ]
Built-in Pickers Backstage includes specialized UI widgets for common selections:
Picker Purpose Configuration snippet EntityPicker Select any catalog entity ui.field: EntityPickerOwnerPicker Choose a user or group ui.field: OwnerPickerRepoUrlPicker Pick or create a Git repo ui.field: RepoUrlPicker
spec : parameters : - title : Select References properties : componentEntity : title : Component type : string ui : field : EntityPicker options : allowArbitraryValues : false owner : title : Owner type : string ui : field : OwnerPicker options : catalogFilter : kind : - User - Group repoUrl : title : Repository Location type : string ui : field : RepoUrlPicker options : allowedHosts : - github.com allowedOrganizations : - my_organization
2. Steps: Executing Actions Under steps , define the backend actions your template will perform. Steps consume parameter values and run tasks like fetching skeletons, publishing code, or registering the component.
spec : steps : - id : fetch-base name : Fetch Base action : fetch:template input : url : ./skeleton values : projectName : ${{ parameters.name }} owner : ${{ parameters.owner }} - id : publish name : Publish to GitHub action : publish:github input : allowedHosts : [ 'github.com' ] description : "Service ${{ parameters.name }}" repoUrl : ${{ parameters.repoUrl }} - id : register name : Register in Catalog action : catalog:register input : repoContentsUrl : ${{ steps.publish.output.repoContentsUrl }} catalogInfoPath : /catalog-info.yaml
Step ID Action Description fetch-base fetch:template Download skeleton folder with injected values publish publish:github Push generated code to GitHub register catalog:register Add the new component to the Backstage catalog
Templating Files Files in your skeleton folder can use Handlebars-like syntax to inject values:
// skeleton/package.json { "name" : "${{ values.projectName }}" , "version" : "1.0.0" , "description" : "" , "main" : "index.js" , "scripts" : { "test" : "echo \" Error: no test specified \" && exit 1" } }
Backstage replaces ${{ values.projectName }} with the user-provided parameters.name.
Example catalog-info.yaml in skeleton: apiVersion : backstage.io/v1alpha1 kind : Component metadata : name : ${{ values.projectName | dump }} spec : type : service owner : ${{ values.owner }} lifecycle : experimental
3. Output: Presenting Results After a successful run, use the output section to display links or information back to the user:
spec : output : links : - title : Repository url : ${{ steps.publish.output.remoteUrl }} - title : Open in catalog icon : catalog entityRef : ${{ steps.register.output.entityRef }}
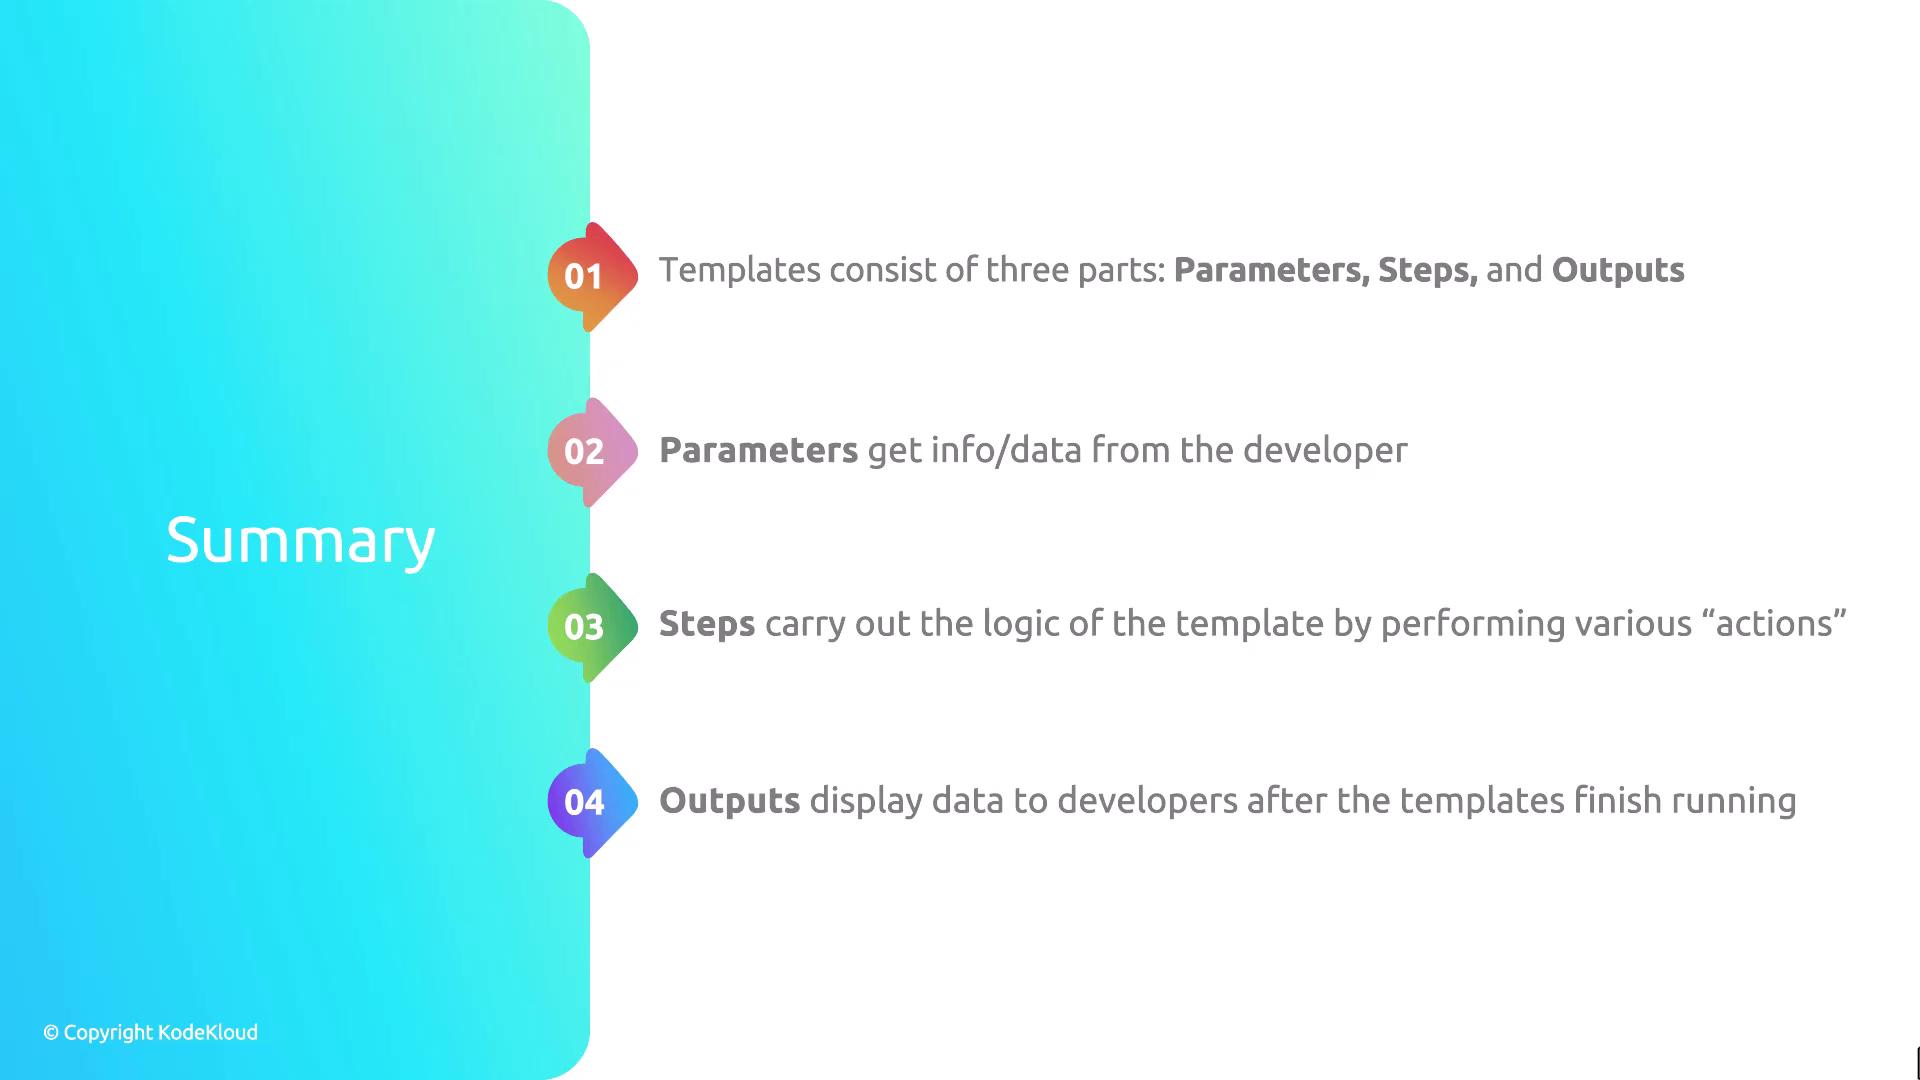
Summary Backstage templates are composed of three core sections:
Parameters : Build a multi-page form with JSON Schema fields.Steps : Execute backend actions using the collected data.Output : Surface useful links and information after template execution.
Links and References