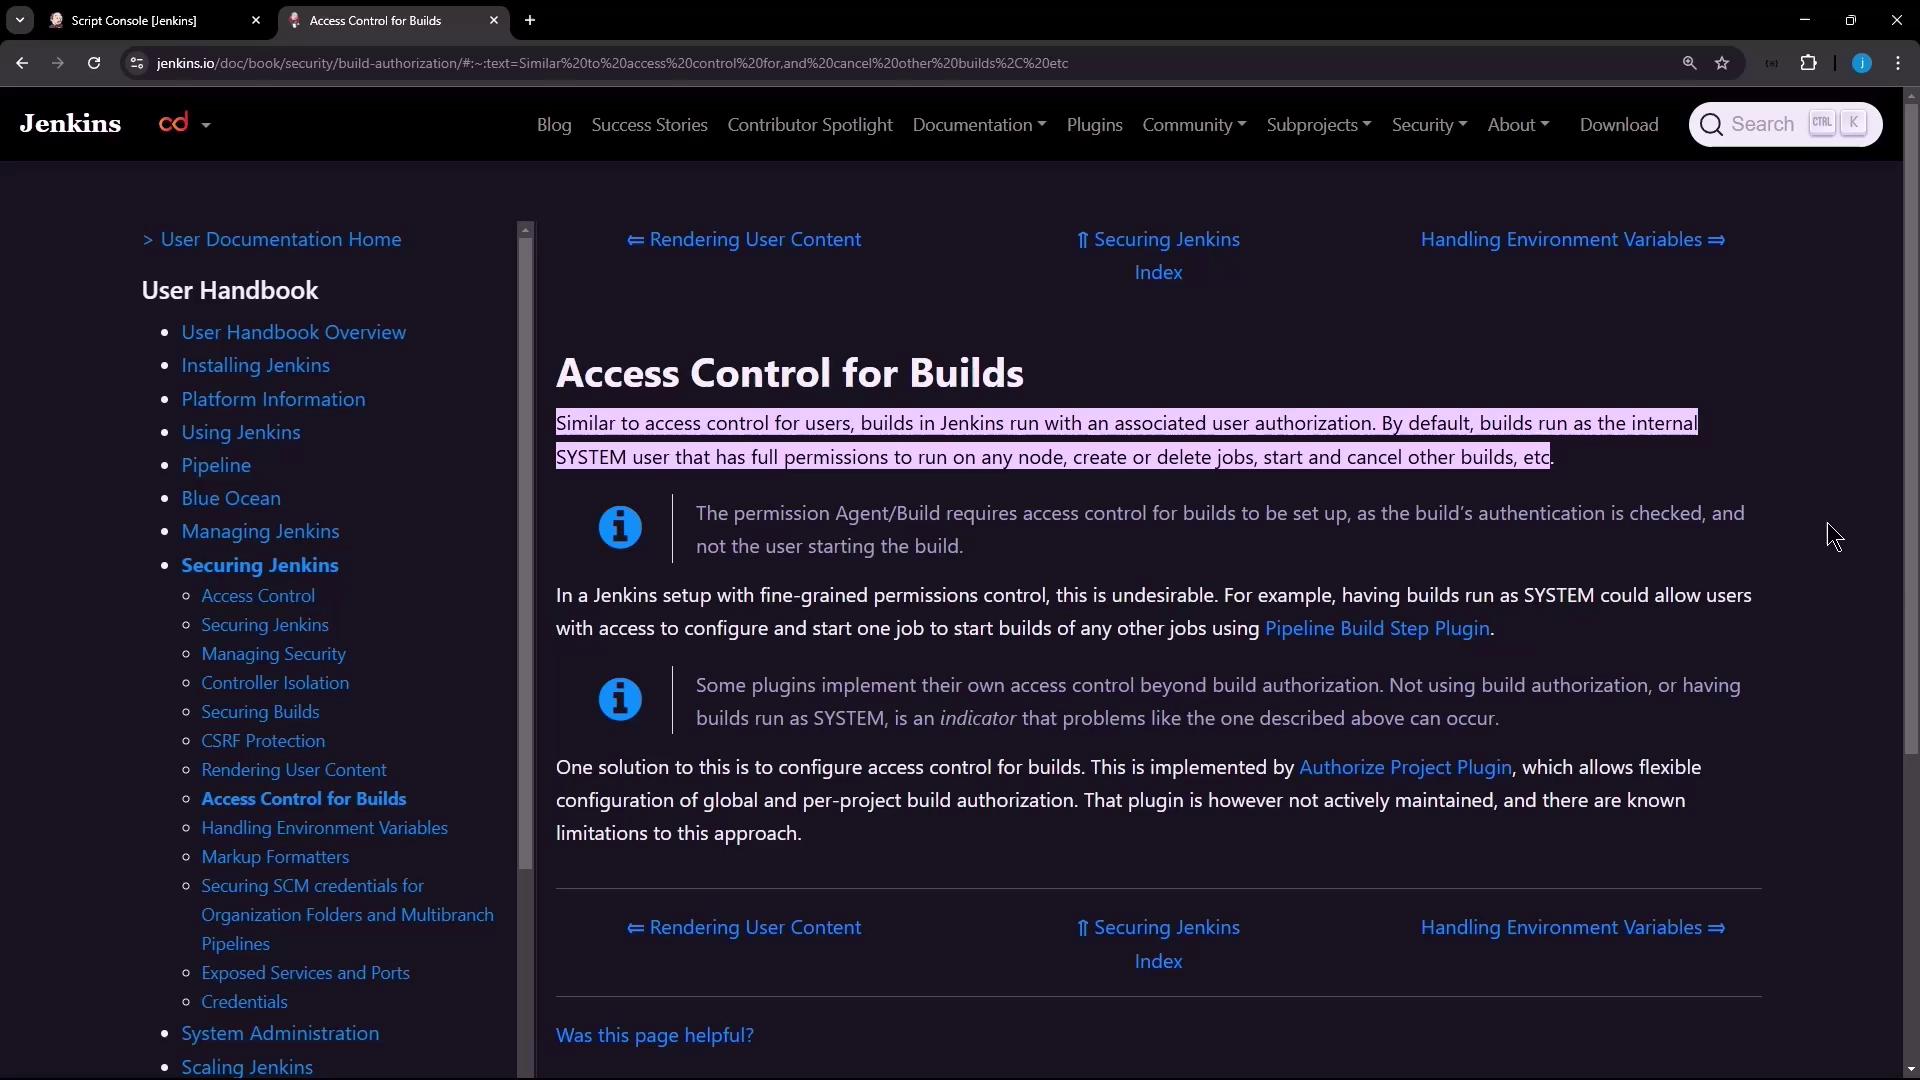
In this guide, we’ll dive into configuring access control for Jenkins builds. By default, every build runs as the internalDocumentation Index
Fetch the complete documentation index at: https://notes.kodekloud.com/llms.txt
Use this file to discover all available pages before exploring further.
SYSTEM user, granting it full rights across all nodes and jobs. Using the Authorize Project plugin, you can enforce least-privilege principles by specifying which user context a build should run under.
1. Installing the Authorize Project Plugin
The Authorize Project plugin enables builds to inherit an authenticated user’s permissions. You can install it globally to apply default strategies or enable it per job.- Navigate to Manage Jenkins → Manage Plugins.
- In the Available tab, search for Authorize Project.
- Select and install the plugin.
- Restart Jenkins if prompted.
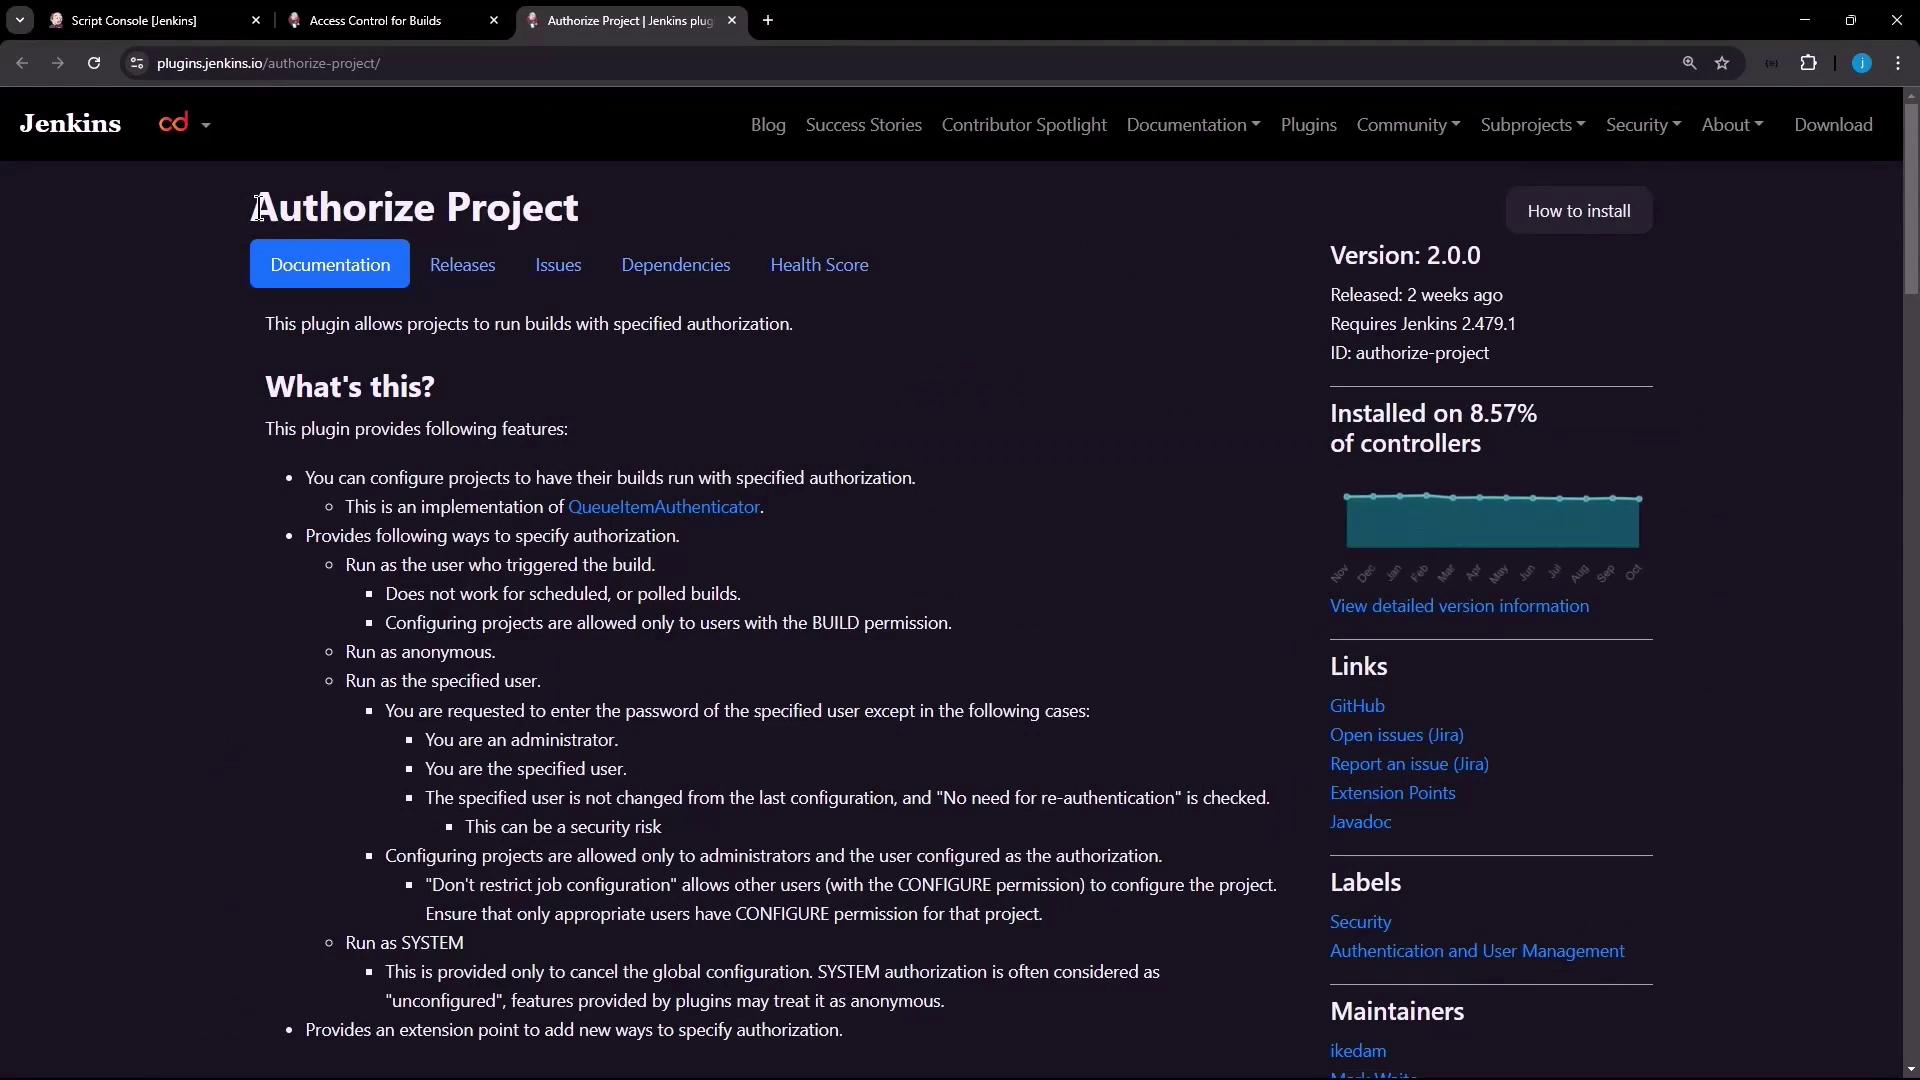
After installation, verify compatibility with your Jenkins LTS version under Manage Plugins → Installed.
2. Verifying Default Behavior
Create a freestyle job namednpm-version-test with a shell build step:
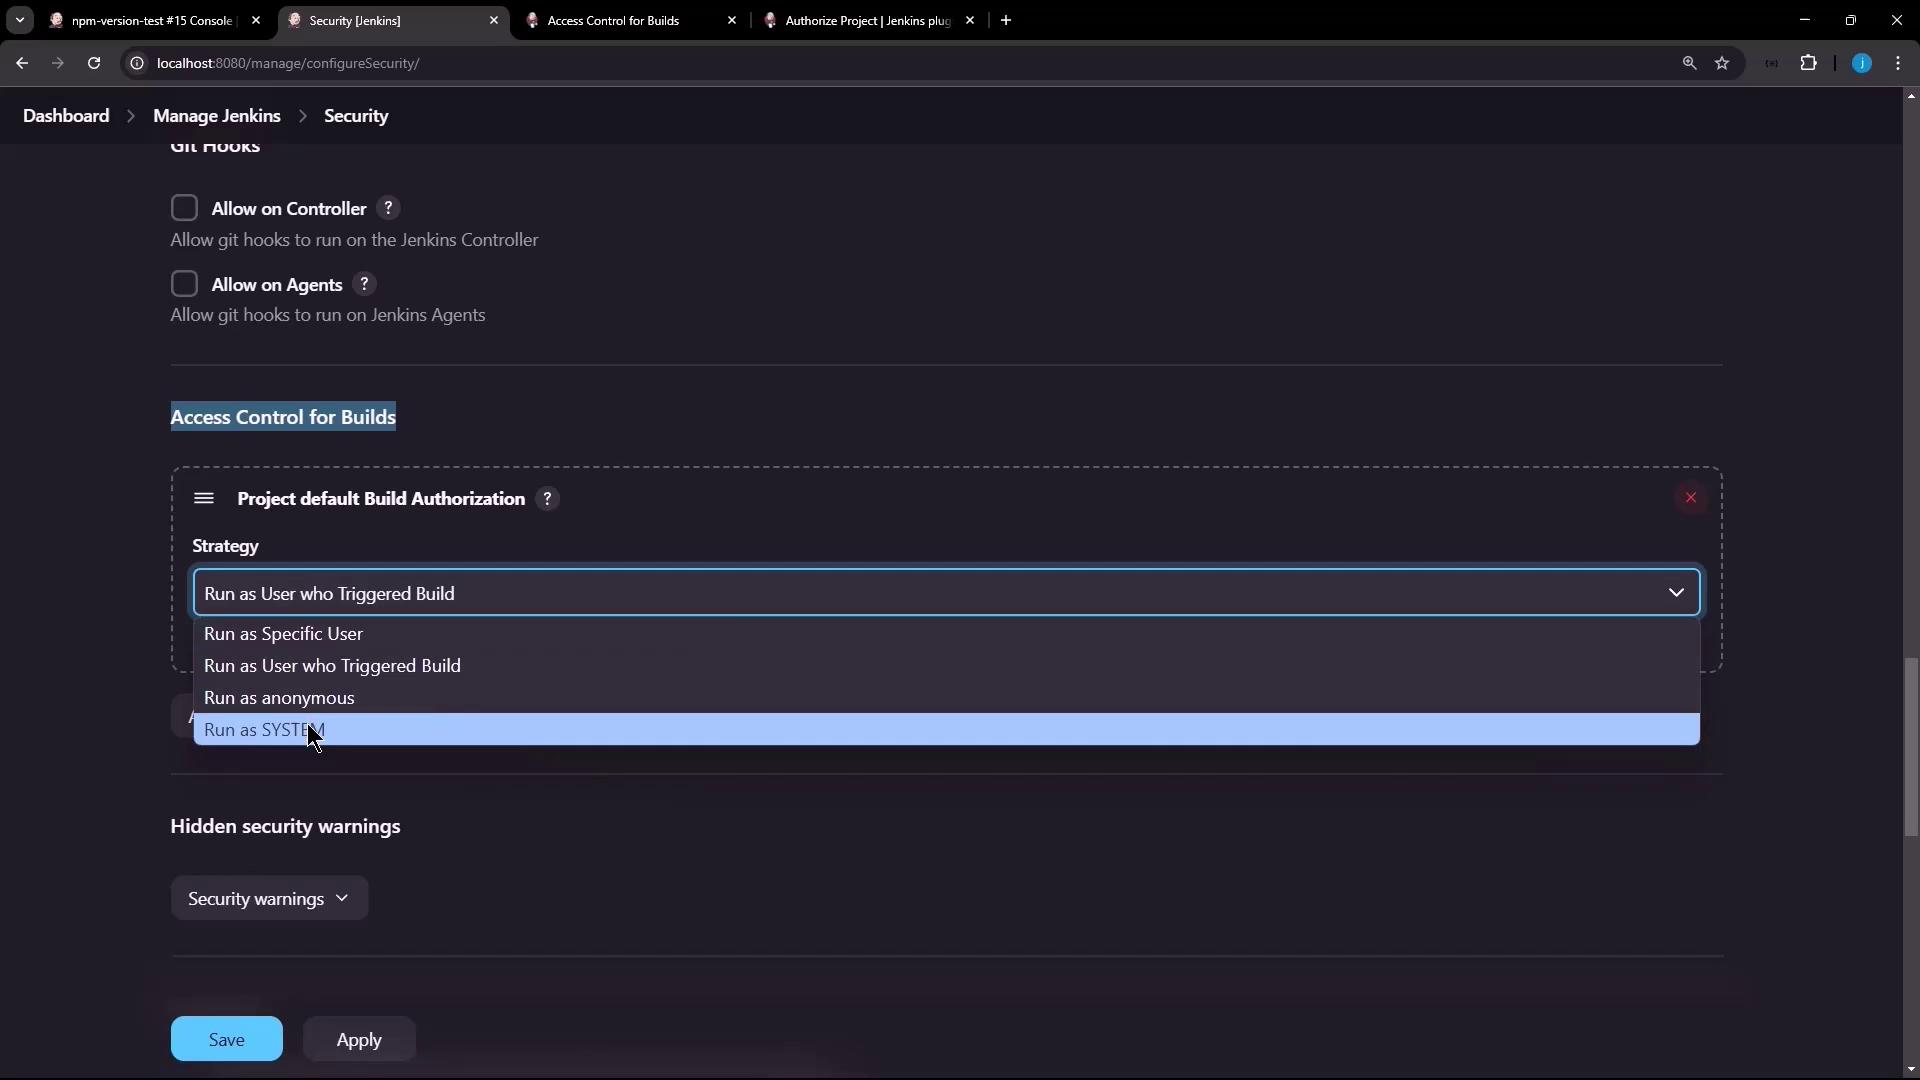
3. Configuring Global Build Authorization
You can define a default authorization strategy for all jobs in Jenkins’ global security settings.- Go to Manage Jenkins → Configure Global Security.
- Scroll to Access Control for Builds and click Add.
- Select Project Default Build Authorization.
- Choose a default strategy (e.g., Run as Anonymous).
- Click Apply and Save.

npm-version-test job again:
SYSTEM. To change this, configure the project itself.
4. Configuring Project-Level Authorization
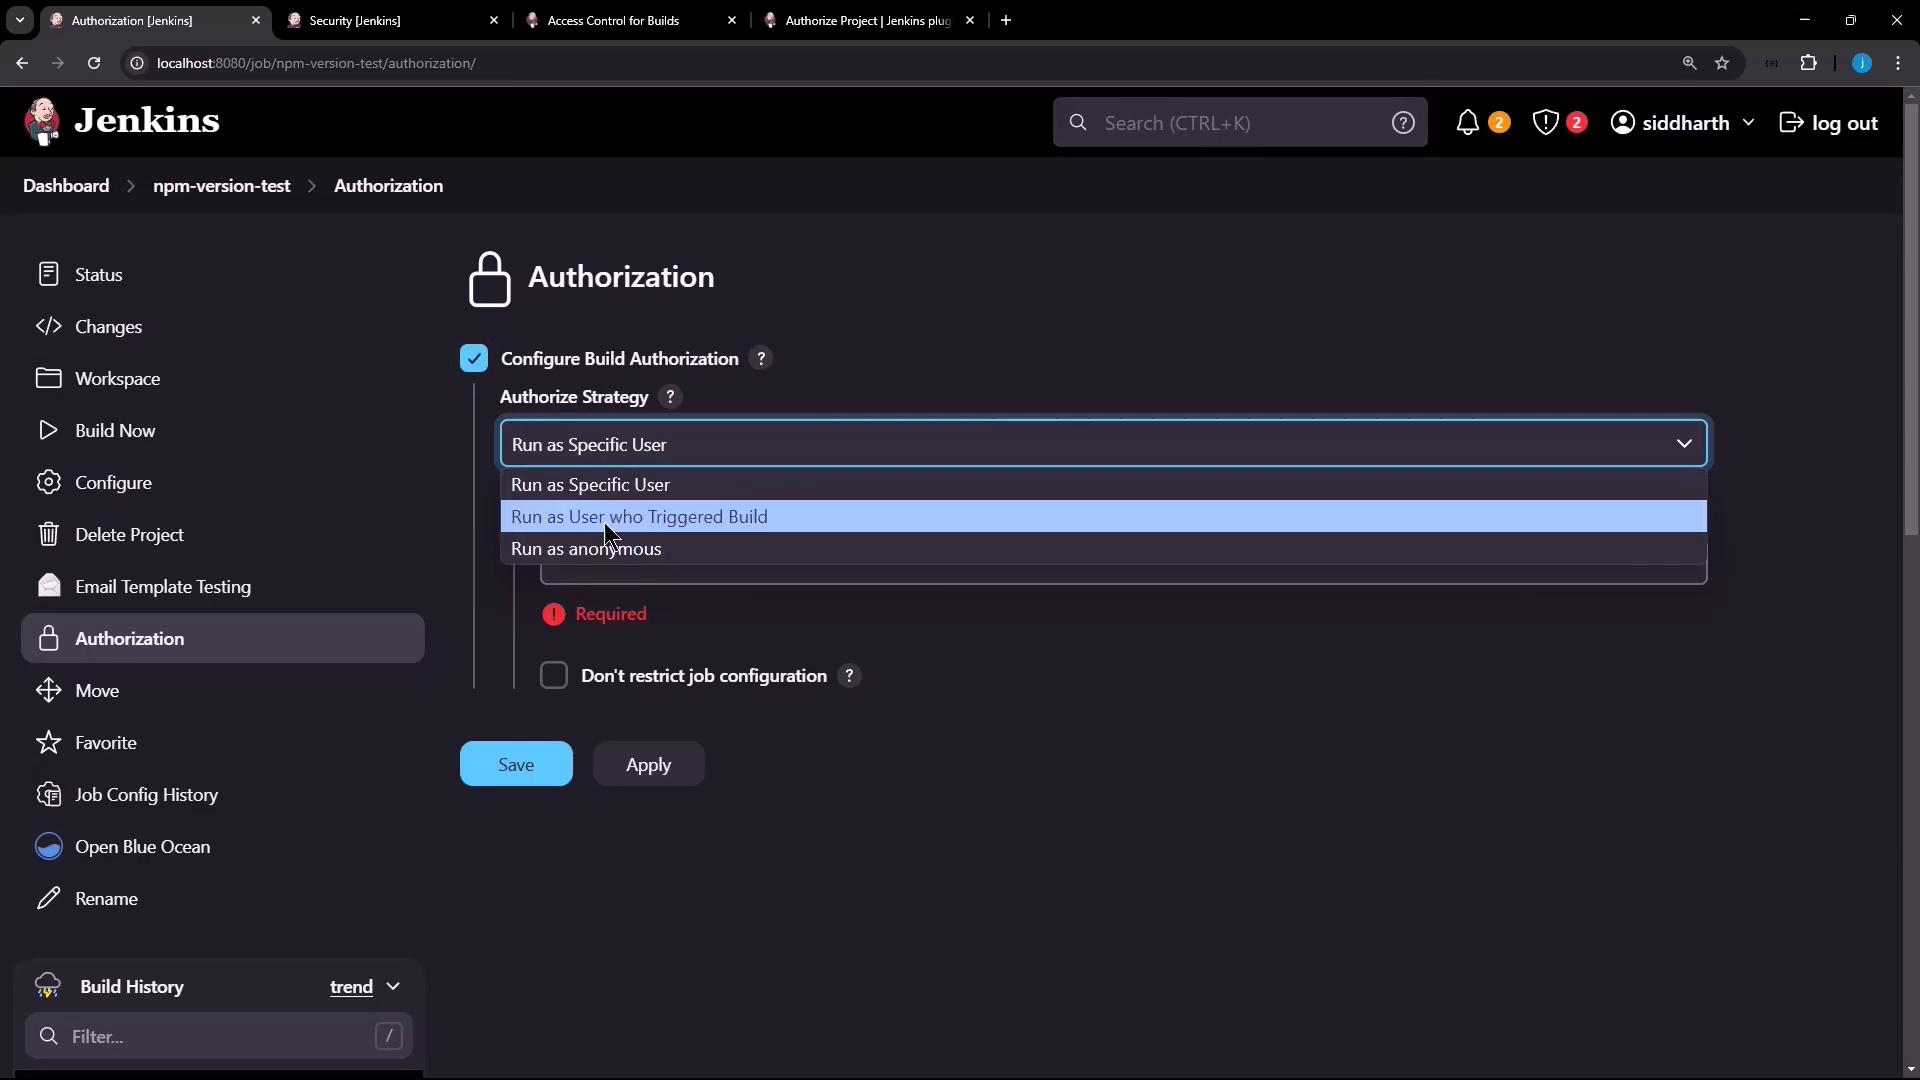
Enabling project-based settings lets you override the global default per job.- Open the
npm-version-testjob and click Configure. - Under Authorize Project, check Enable project-based security.
- In Build Authorization, select Project Configurable Build Authorization.
- Choose from allowed strategies (e.g., Run as User who Triggered Build, Run as Specific User).
- Save your changes.
Ensure the triggering user has
Build and Read permissions on the job; otherwise the build will fail due to insufficient rights.Authorization Strategies
| Strategy | Description |
|---|---|
| Run as SYSTEM | Default Jenkins system user with full permissions |
| Run as User who Triggered Build | Inherits permissions of the user who started the job |
| Run as Specific User | Executes under a fixed, specified Jenkins user account |
| Run as Anonymous | Executes with minimal read-only permissions |
Verifying Project-Level Setting
Trigger the job again. The console should now display:By leveraging the Authorize Project plugin, you can enforce granular build permissions at both global and project levels, aligning Jenkins security with your organization’s access control policies.