Certified Jenkins Engineer
Jenkins Pipelines
Demo Simple Pipeline Job
In this guide, you’ll learn how to set up a basic Jenkins Pipeline that prints “Hello World” and then extends to run Maven commands. We’ll cover:
- Creating a Pipeline project
- Configuring the pipeline script
- Running a Hello World job
- Viewing build output and timing
- Adding automatic Maven installation
Whether you’re new to Jenkins or looking for a refresher, this step-by-step tutorial will get you up and running quickly.
1. Create a Pipeline Project
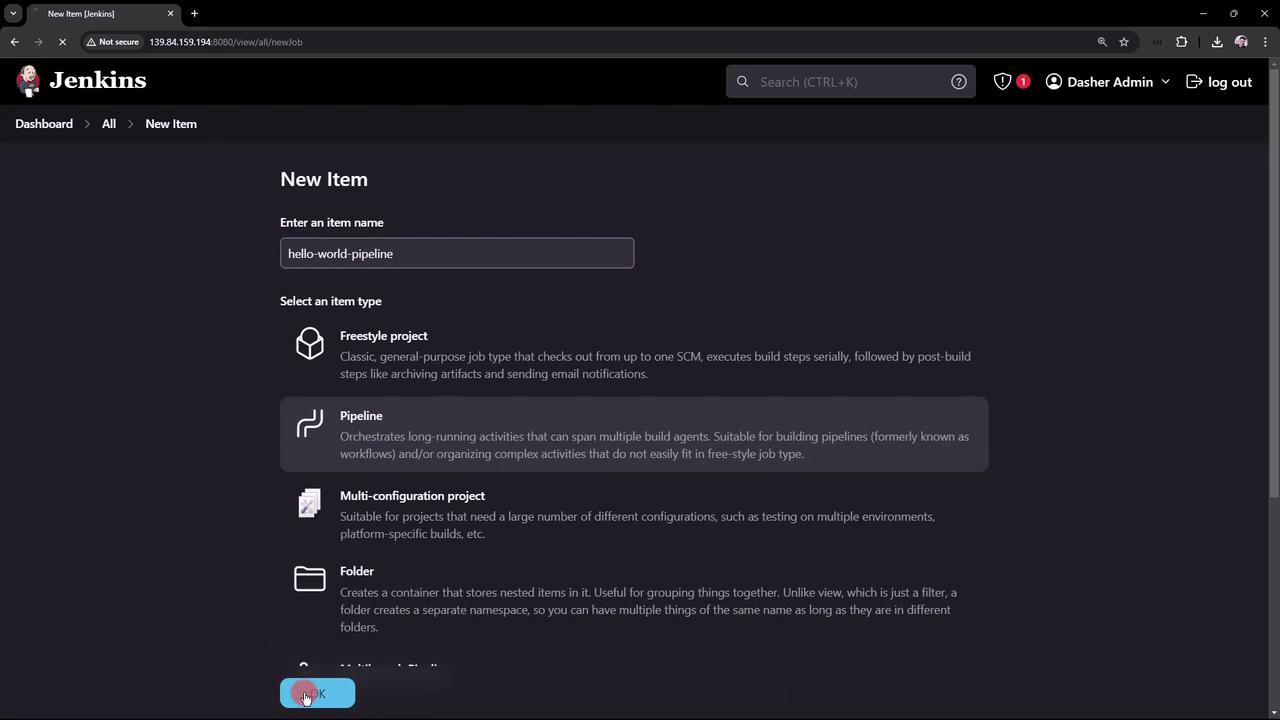
- In the Jenkins UI, click New Item.
- Enter hello-world-pipeline as the name.
- Select Pipeline and click OK.
You now have a fresh Pipeline project ready to configure.
2. Configure the Pipeline
Open your new project’s configuration to see sections like General, Build Triggers, and Pipeline. You can:
| Option | Description |
|---|---|
| Description | Add context about the job’s purpose. |
| Build Triggers | Schedule with cron or poll SCM. |
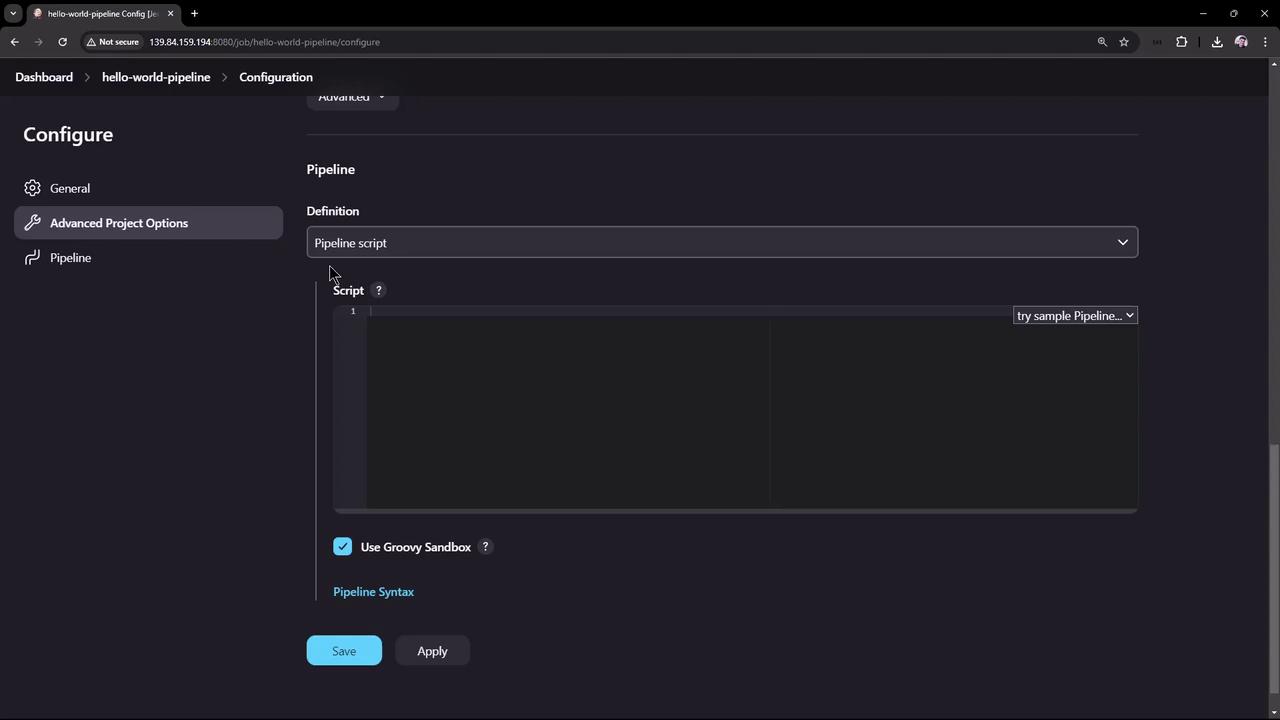
| Pipeline script | Paste your Declarative Pipeline directly in Jenkins. |
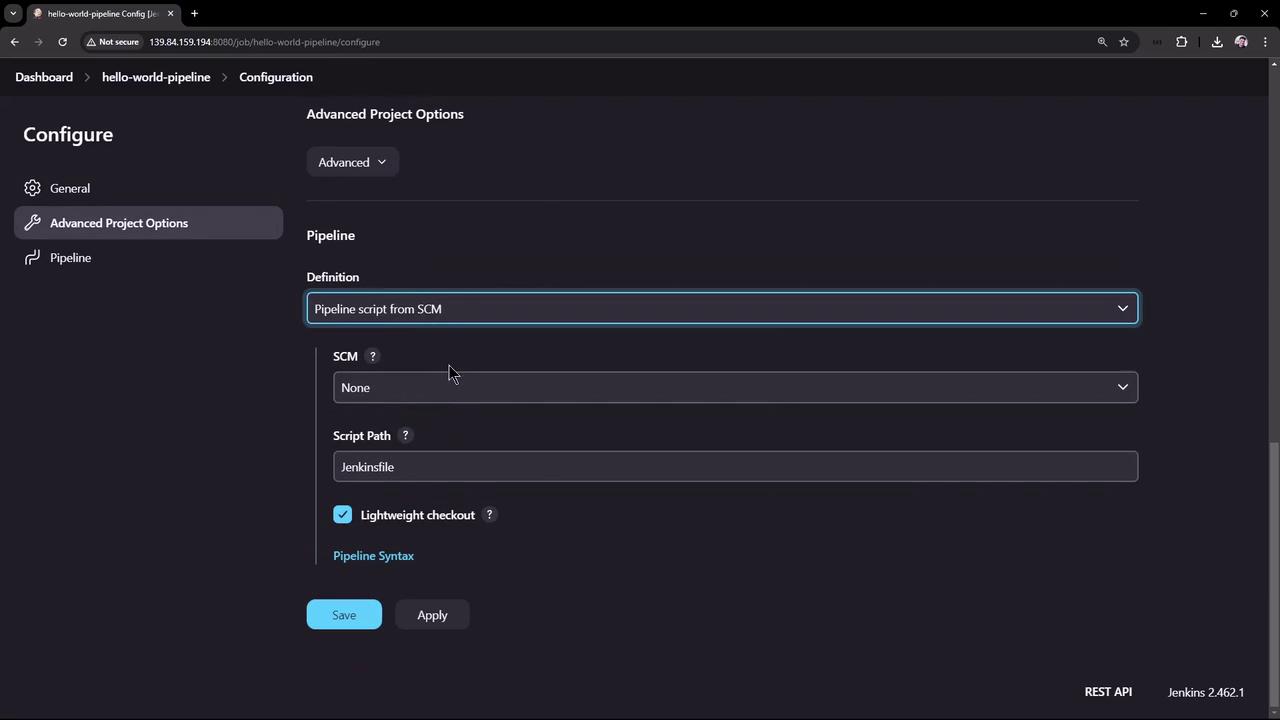
| Pipeline script from SCM | Store your Jenkinsfile in a repository for version control. |
- Under Pipeline, choose Pipeline script.
- (Optional) Enable Use Groovy Sandbox to restrict script permissions.
3. Hello World Pipeline
Paste this Declarative Pipeline into the script box:
pipeline {
    agent any
    stages {
        stage('Hello') {
            steps {
                echo 'Hello World'
            }
        }
    }
}
- agent any runs on any available node.
- stage('Hello') contains an
echo 'Hello World'step.
Note
Enabling the Groovy Sandbox is recommended if you’re running untrusted scripts. It prevents unauthorized method calls.
Click Apply, Save, then Build Now.
4. View the Results
After triggering the job, the dashboard shows build status, history, and links to console output.
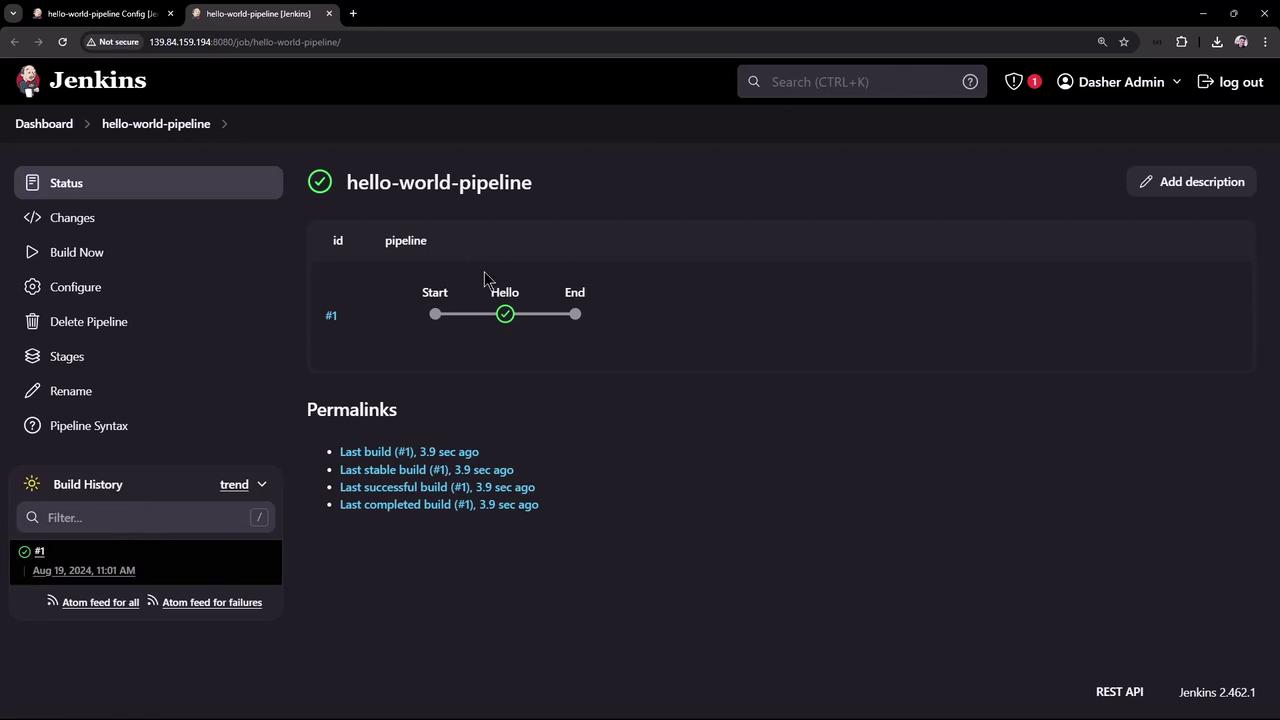
Click the build number or stage name to open the console log:
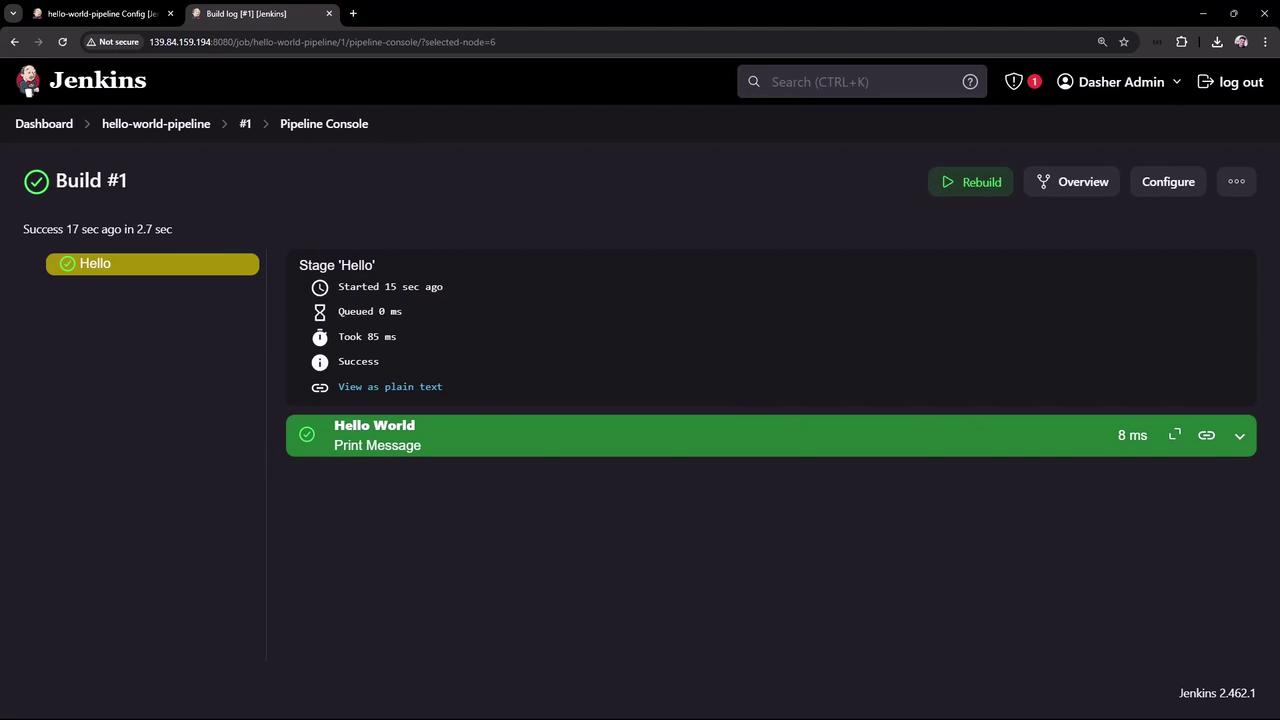
Raw console output:
Started by user admin
[Pipeline] Start of Pipeline
[Pipeline] node
Running on Jenkins in /var/lib/jenkins/workspace/hello-world-pipeline
[Pipeline] {
[Pipeline]   stage (Hello)
[Pipeline]   { (Hello)
[Pipeline]     echo
Hello World
[Pipeline]   } // stage
[Pipeline] } // node
[Pipeline] End of Pipeline
Finished: SUCCESS
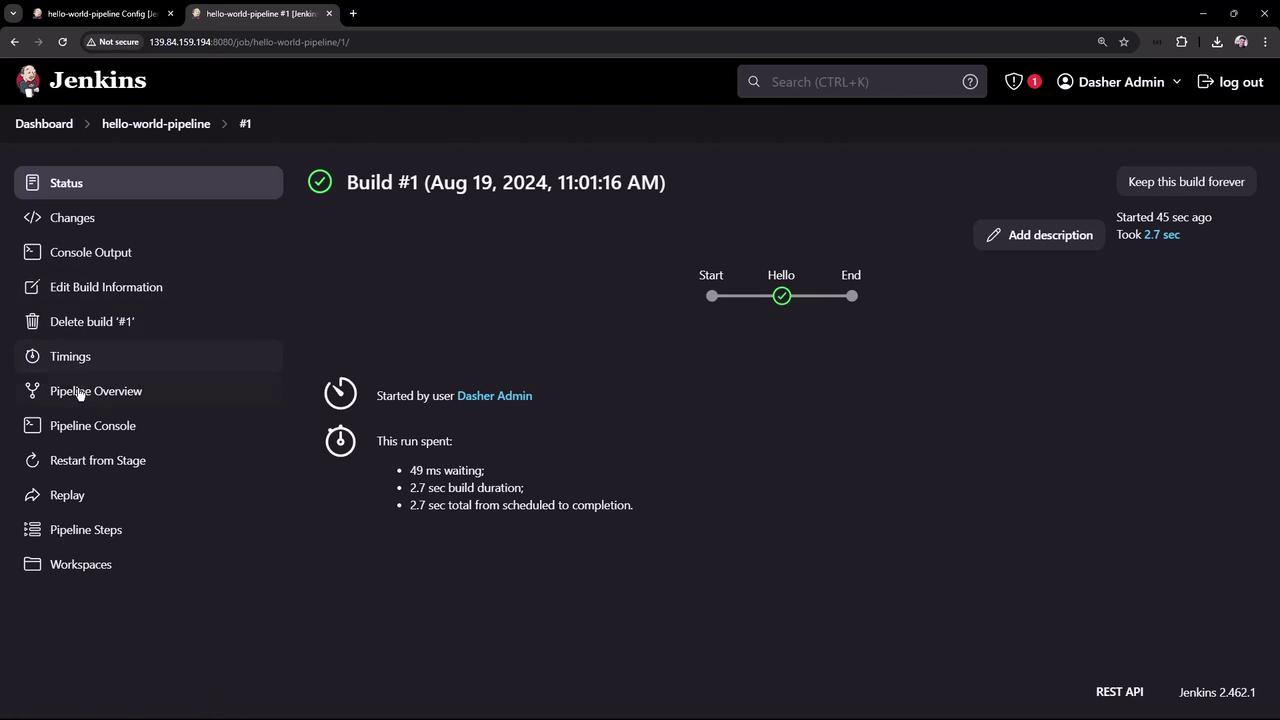
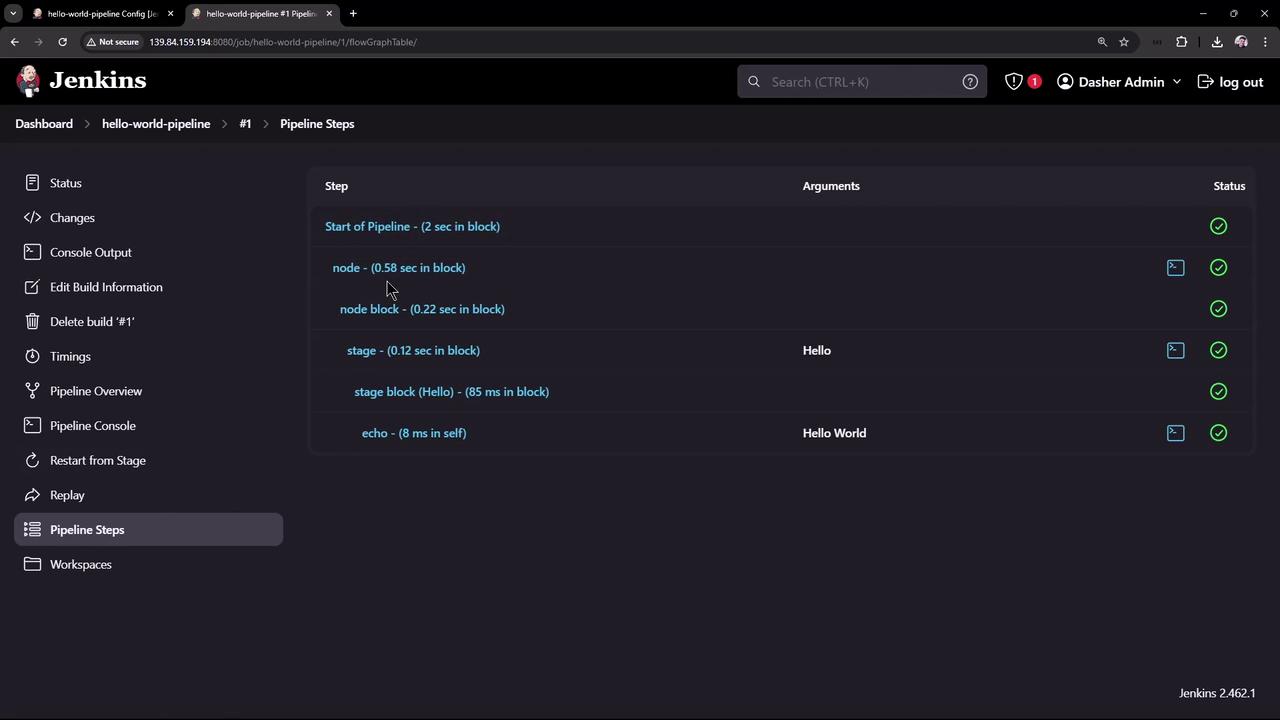
Switch to Pipeline Steps or Timing to see per-step durations:
5. Extending with Maven
Let’s enhance the pipeline to print the Maven version. Add a tools block:
pipeline {
    agent any
    tools {
        // Install the Maven version configured as "M3"
        maven "M3"
    }
    stages {
        stage('Echo Version') {
            steps {
                sh 'echo Print Maven Version'
                sh 'mvn -version'
            }
        }
    }
}
Warning
If you run this now, you’ll get a compilation error because the tool name M3 isn’t defined in Jenkins yet.
WorkflowScript: 6: Tool type "maven" does not have an install of "M3" configured - did you mean "null"? @ line 6, column 15.
    maven "M3"
             ^
1 error
Finished: FAILURE
6. Configure Maven in Jenkins
- Navigate to Manage Jenkins > Global Tool Configuration.
- Under Maven installations, click Add Maven.
- Name it M398, enable Install automatically, and choose version 3.9.8.
- Save your changes.
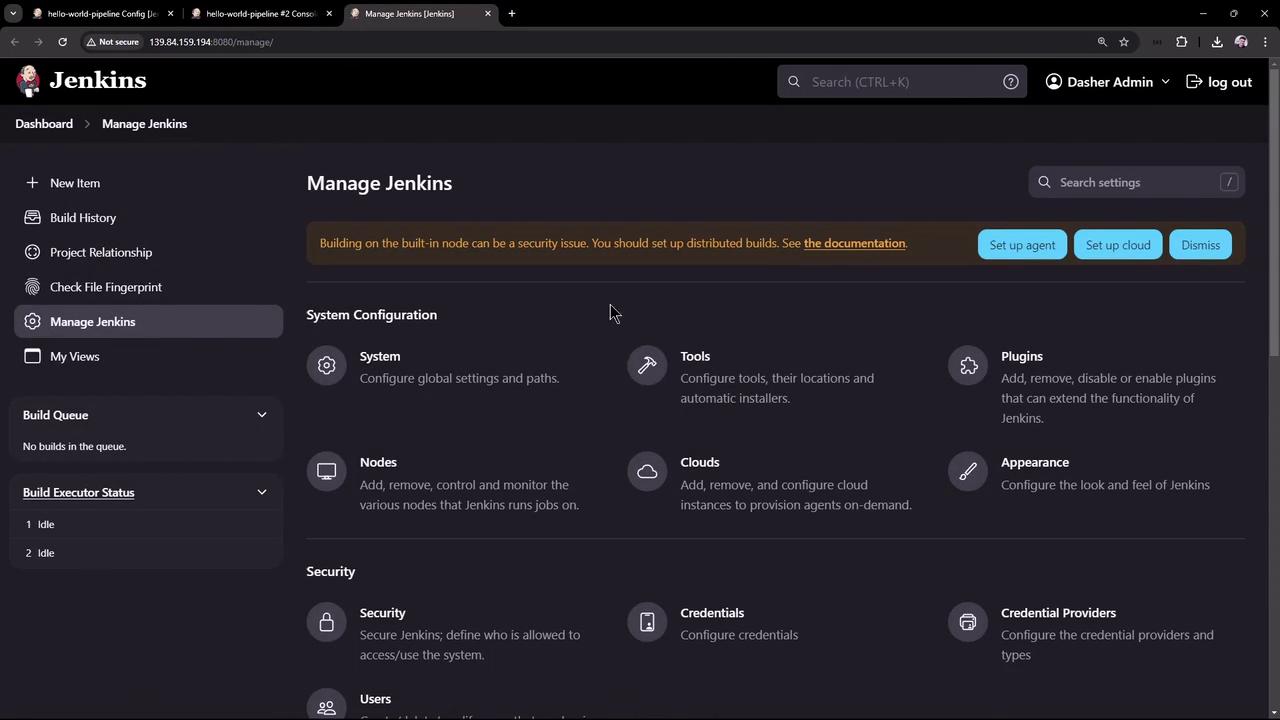
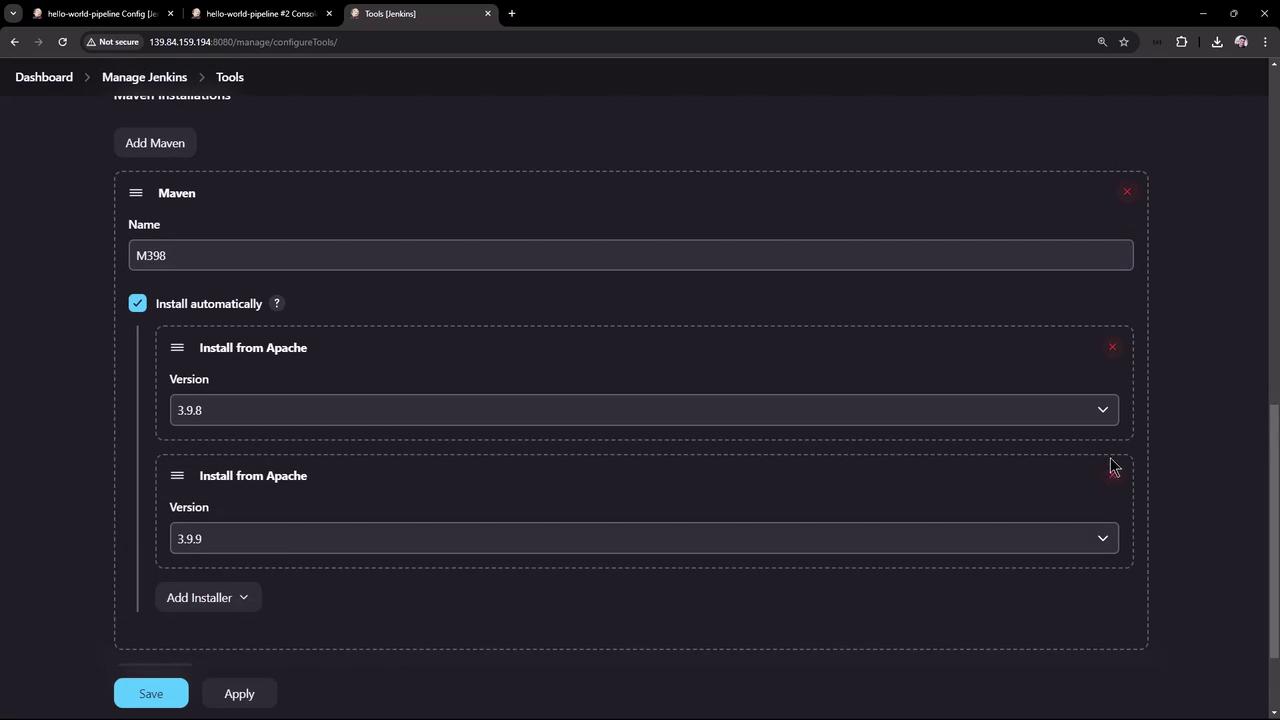
Now update your Pipeline to use M398:
pipeline {
    agent any
    tools {
        maven "M398"
    }
    stages {
        stage('Echo Version') {
            steps {
                sh 'echo Print Maven Version'
                sh 'mvn -version'
            }
        }
    }
}
7. Build and Verify
Click Build Now again. You’ll see Tool Installation followed by Echo Version.
Console snippet:
+ echo Print Maven Version
Print Maven Version
+ mvn -version
Apache Maven 3.9.8 (36645f6c9b57998e5a5009217e36f2cff343256)
Maven home: /var/lib/jenkins/tools/hudson.tasks.Maven_MavenInstallation/M398
Java version: 17.0.12, vendor: Ubuntu, runtime: /usr/lib/jvm/java-17-openjdk-amd64
Default locale: en_US, platform encoding: UTF-8
OS name: "linux", version: "6.8.0-39-generic", arch: "amd64", family: "unix"
Finished: SUCCESS
Conclusion
You’ve now:
- Created a Jenkins Pipeline project
- Written and executed a “Hello World” pipeline
- Viewed build logs and timing
- Configured Jenkins to install Maven automatically
Next steps: integrate SCM checkout, add test and deploy stages, and configure post-build notifications.
Links and References
Watch Video
Watch video content