Certified Jenkins Engineer
Pipeline Enhancement and Caching
Demo Pipeline Caching
Efficient dependency caching in a Jenkins Pipeline can dramatically reduce CI build times by reusing artifacts and installed modules across runs. In this guide, we’ll walk through installing and configuring the Job Cacher plugin to cache node_modules for an npm-based project.
Why Cache Dependencies in Jenkins?
- Avoid repeated
npm installon every build - Save minutes or even hours for large dependency sets
- Ensure consistent environments by locking on
package-lock.json
Note
Caching works best when build agents start from a clean state (e.g., containers). The Job Cacher plugin handles archiving and restoring cache transparently.
1. Install the Job Cacher Plugin
- Navigate to Manage Jenkins › Manage Plugins › Available.
- Search for Job Cacher and install.
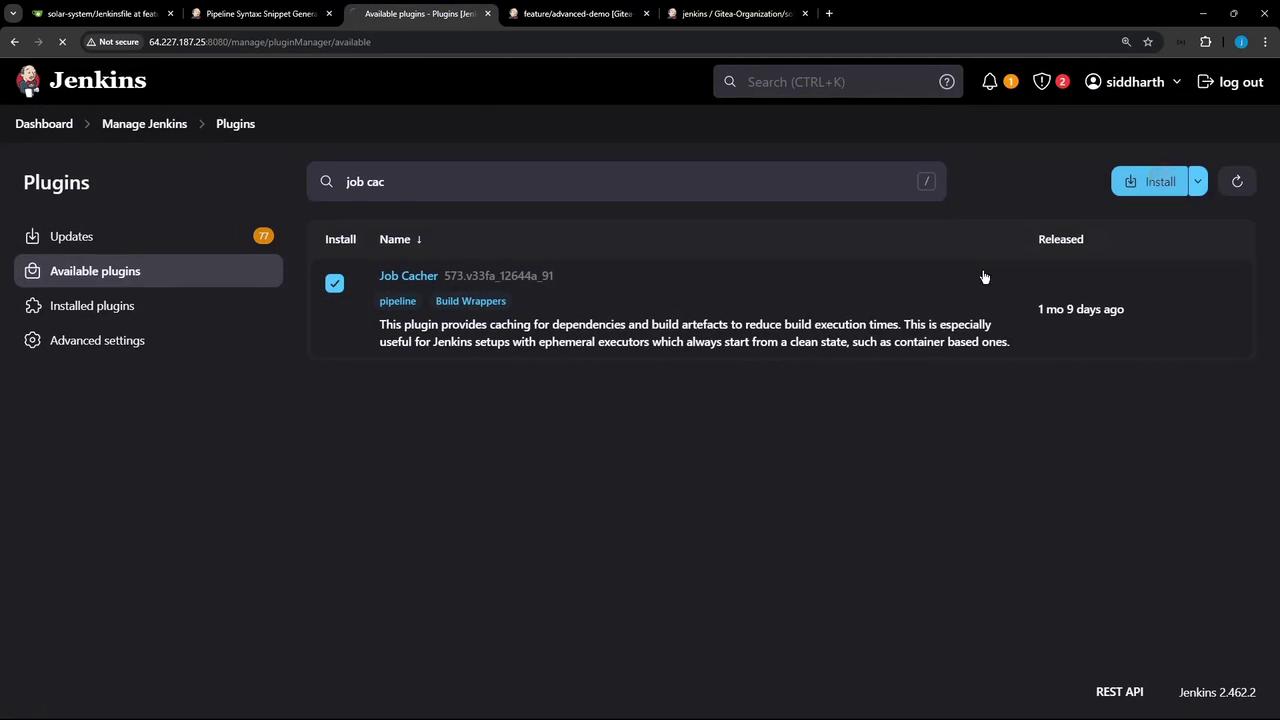
- After installation, perform a Safe Restart to activate the plugin:

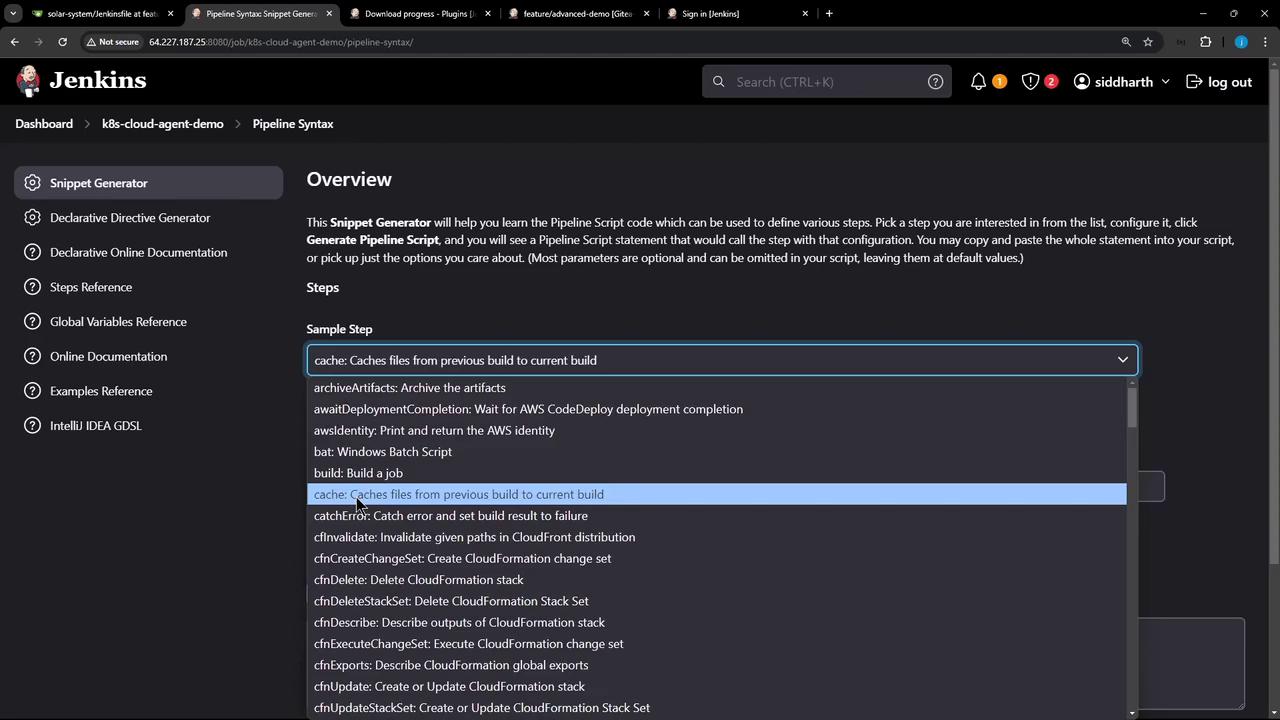
2. Configure Cache via Snippet Generator
Open your Pipeline job configuration and click Snippet Generator. From the Sample Step dropdown, select cache: Caches files from previous build to current build.
| Field | Example Value |
|---|---|
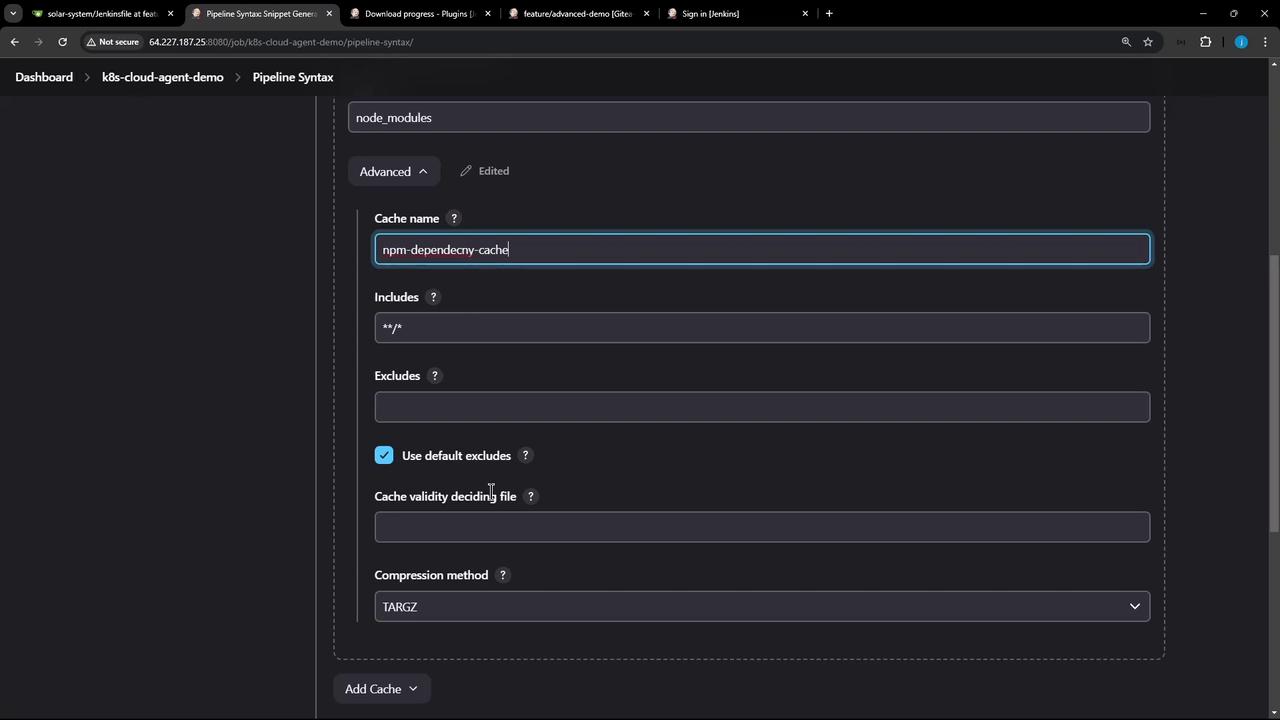
| Cache name | npm-dependency-cache |
| Path | node_modules |
| Includes | **/* |
| Excludes | (leave empty) |
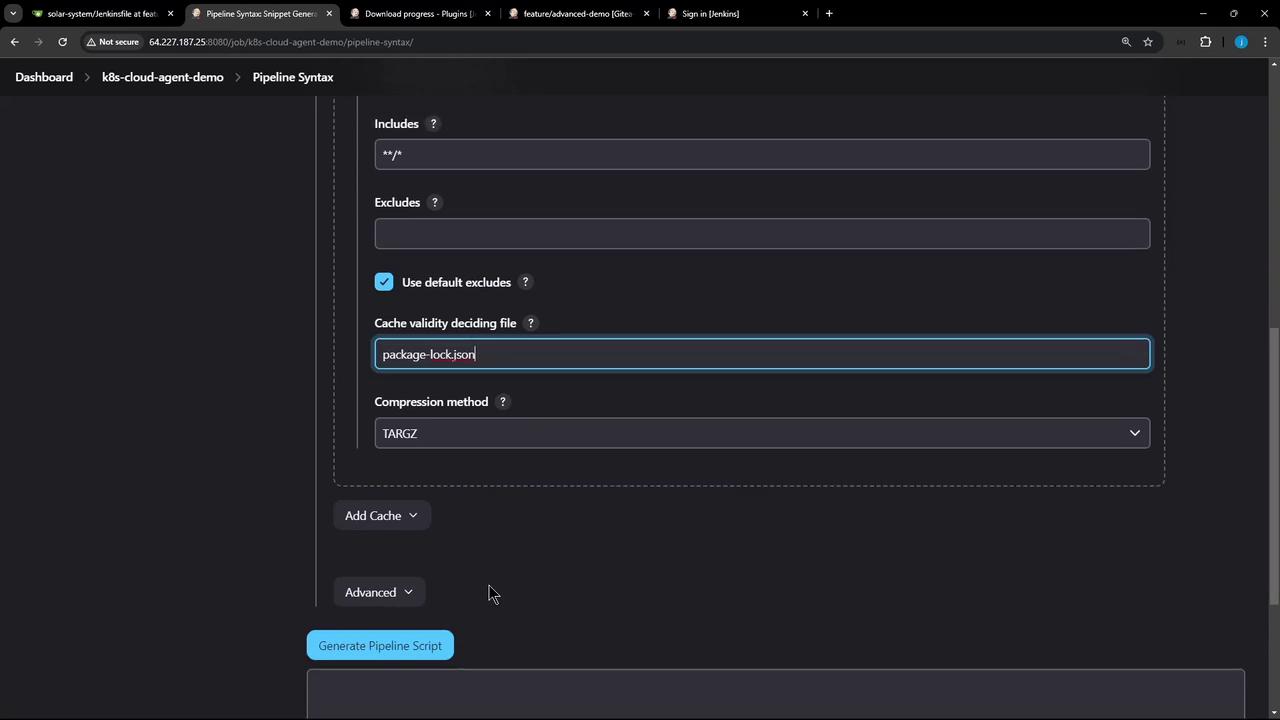
| Cache validity deciding file | package-lock.json |
| Compression | tar or zip |
| Max cache size (MB) | 550 |
Click Generate Pipeline Script to preview the snippet:
cache(caches: [
    arbitraryFileCache(
        cacheName: 'npm-dependency-cache',
        cacheValidityDecidingFile: 'package-lock.json',
        includes: '**/*',
        excludes: '',
        path: 'node_modules'
    )
], defaultBranch: '', maxCacheSize: 550) {
    // your build steps here
}
Advanced Settings
For additional tuning—such as custom includes/excludes or compression—you can tweak the advanced fields:
3. Update Your Jenkinsfile
Embed the generated cache block in your Jenkinsfile to wrap the Installing Dependencies stage. Then use stash and unstash to share the cached folder across parallel and subsequent stages.
pipeline {
    agent any
    options { timestamps() }
    stages {
        stage('Installing Dependencies') {
            steps {
                cache(
                    maxCacheSize: 550,
                    caches: [
                        arbitraryFileCache(
                            cacheName: 'npm-dependency-cache',
                            cacheValidityDecidingFile: 'package-lock.json',
                            includes: ['**/*'],
                            path: 'node_modules'
                        )
                    ]
                ) {
                    sh 'node -v'
                    sh 'npm install --no-audit'
                    stash includes: 'node_modules/', name: 'solar-system-node-modules'
                }
            }
        }

        stage('Dependency Scanning') {
            steps {
                // security scan, linting, etc.
            }
        }

        stage('Unit Testing') {
            parallel {
                stage('NodeJS 18') {
                    options { retry(2) }
                    steps {
                        unstash 'solar-system-node-modules'
                        sh 'node -v'
                        sh 'npm test'
                    }
                }
                stage('NodeJS 19') {
                    options { retry(2) }
                    steps {
                        container('node-19') {
                            unstash 'solar-system-node-modules'
                            sh 'node -v'
                            sh 'npm test'
                        }
                    }
                }
            }
        }

        stage('Code Coverage') {
            steps {
                catchError(buildResult: 'SUCCESS', message: 'Coverage will be addressed later') {
                    unstash 'solar-system-node-modules'
                    sh 'node -v'
                    sh 'npm run coverage'
                }
            }
        }
    }
}
Warning
Always commit your package-lock.json to source control. The cache validity hinges on this file’s checksum to detect changes.
4. Observe the First Build: Cache Miss
When you run the pipeline the first time, Jenkins will not find an existing cache, execute npm install, then create and store a new cache.
Searching cache in job-specific caches...
Skip restoring cache as no up-to-date cache exists
+ node -v
v22.6.0
+ npm install --no-audit
up to date in 1s
Stashed 4993 file(s)
Creating cache...
got a47b9ef602dbc79d72ab6385105e0142 for cacheValidityDecidingFile(s)
cache created in 164ms
5. Subsequent Build: Cache Hit
On the next build, the plugin will detect that package-lock.json is unchanged, restore the node_modules folder, and skip reinstalling.
Searching cache in job-specific caches...
Found cache for npm-dependency-cache with id 3ec03583f8eaec275cb2183db769ff47
Restoring cache...
+ npm install --no-audit
up to date in 1s
Stashed 4993 file(s)
Skip cache creation as the cache is up-to-date
6. Visualizing the Pipeline
Here’s a classic Jenkins Blue Ocean (or classic) view showing stages from Installing Dependencies through Code Coverage:
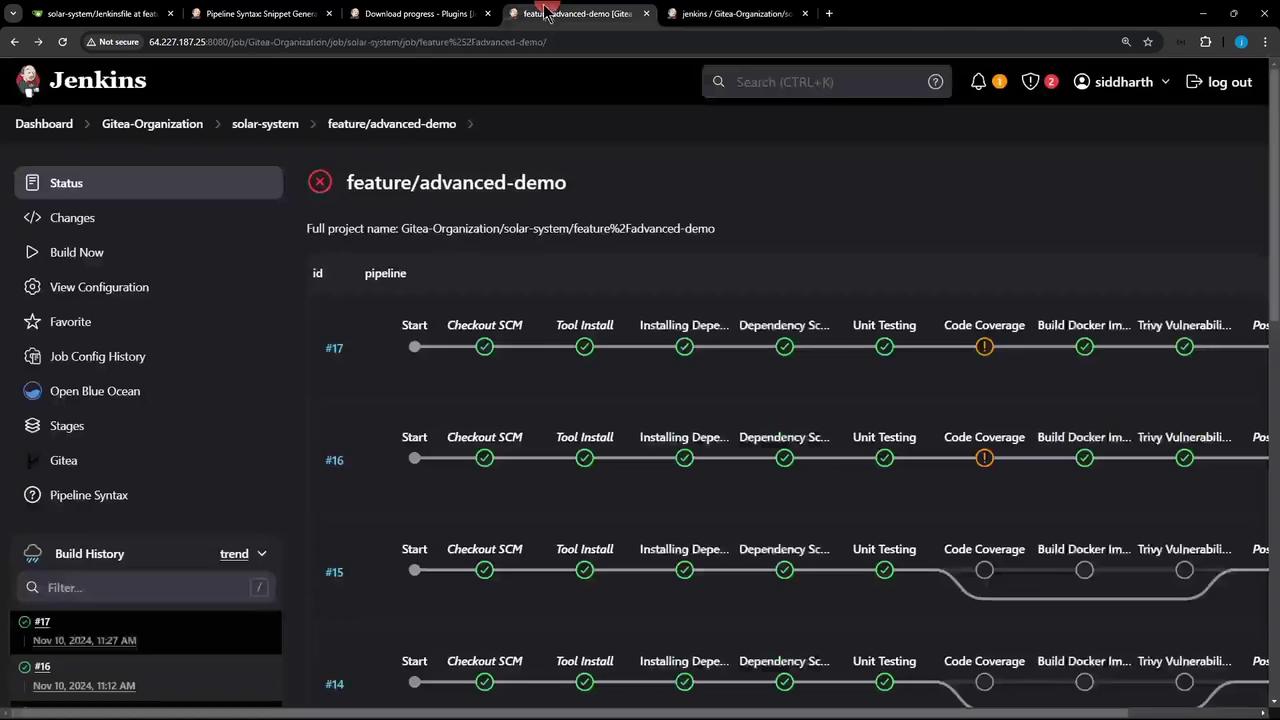
By integrating Job Cacher into your Jenkins Pipeline, you’ll eliminate redundant dependency installs and accelerate your CI process. Next, try modifying package-lock.json to see cache invalidation in action!
Watch Video
Watch video content