Welcome to this article on Kubernetes node selectors. In this guide, we will explore how node selectors help schedule pods onto the most suitable nodes in your cluster.Documentation Index
Fetch the complete documentation index at: https://notes.kodekloud.com/llms.txt
Use this file to discover all available pages before exploring further.
Understanding Node Selectors
Imagine you have a three-node cluster where two nodes are smaller with limited hardware resources and one node is larger with higher resources. Your cluster runs various workloads, but you want to ensure that resource-intensive data processing pods always run on the larger node. By default, Kubernetes can schedule any pod on any available node, which might result in a resource-heavy pod running on a smaller node. To overcome this, you can restrict pods to run on specific nodes by using node selectors. A node selector allows you to define a key-value pair in your pod definition that corresponds to labels assigned to nodes.Pod Definition Using Node Selectors
Below is an example of a pod definition in YAML format that uses a node selector to ensure the pod runs exclusively on the larger node:nodeSelector property is added under the spec section, and it specifies the key-value pair size: Large. These labels must be assigned to the corresponding nodes.
Labeling Your Nodes
Before creating a pod with a node selector, ensure your nodes are labeled appropriately. You can label a node using the following command:size=Large (in this example, node-1).
To create the pod, run:
Limitations of Node Selectors
While node selectors are effective for basic node restrictions, they have limitations when handling more complex scheduling requirements. For instance, if you need to schedule a pod on a node labeled either “Large” or “Medium” while excluding nodes labeled “Small,” node selectors cannot express this conditional logic.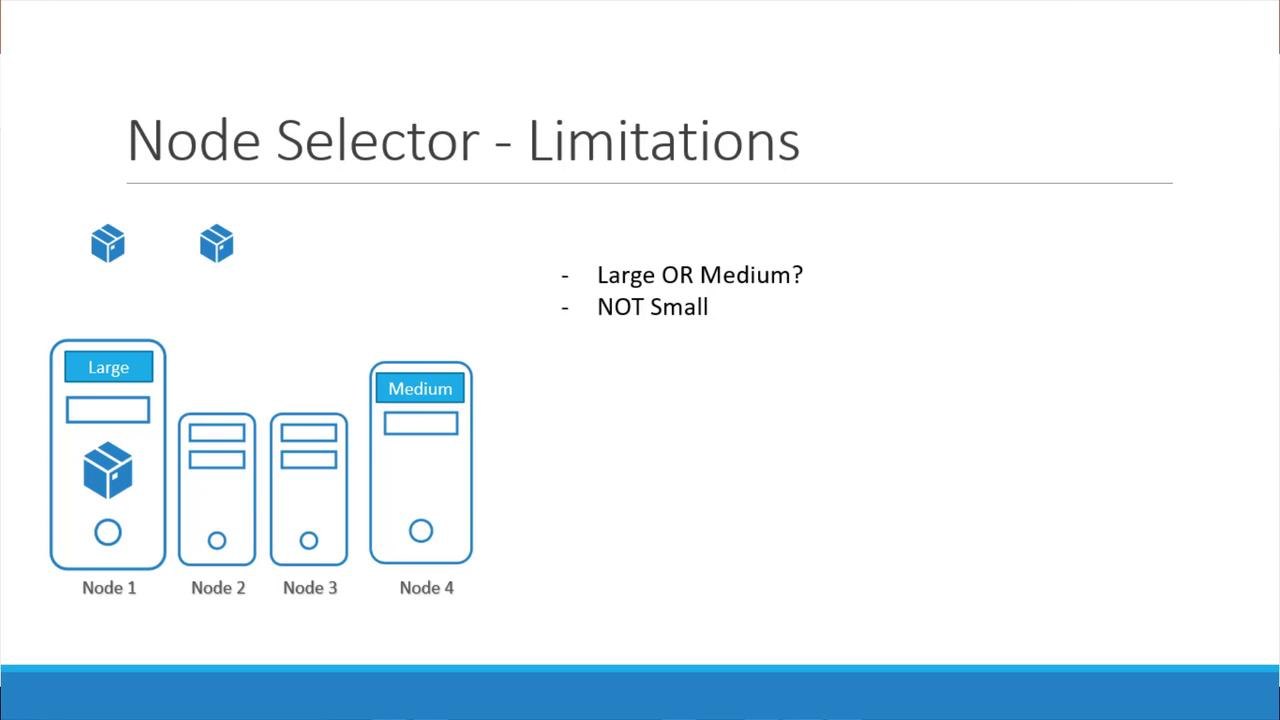
For advanced scheduling requirements, consider using Kubernetes node affinity and anti-affinity. These features offer greater flexibility in defining complex scheduling rules beyond simple node selectors.