This article focuses on securing Kubernetes cluster access through authentication mechanisms, including static password and token files for users and service accounts.
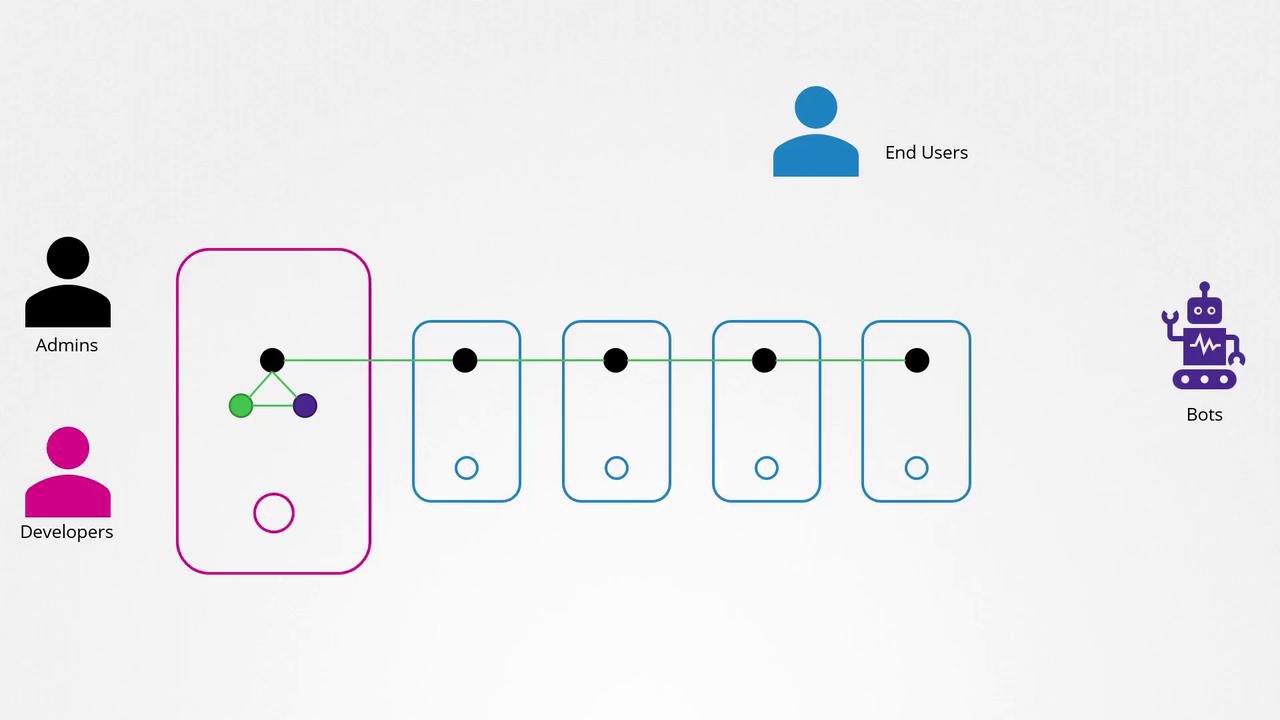
Welcome to this detailed lesson on authentication within a Kubernetes cluster. In a typical Kubernetes environment, multiple nodes—either physical or virtual—operate together, supporting various components that provide a robust and scalable system. Users interact with the cluster in different roles: administrators and developers manage the cluster, while end users access deployed applications and third-party services integrate with the system.
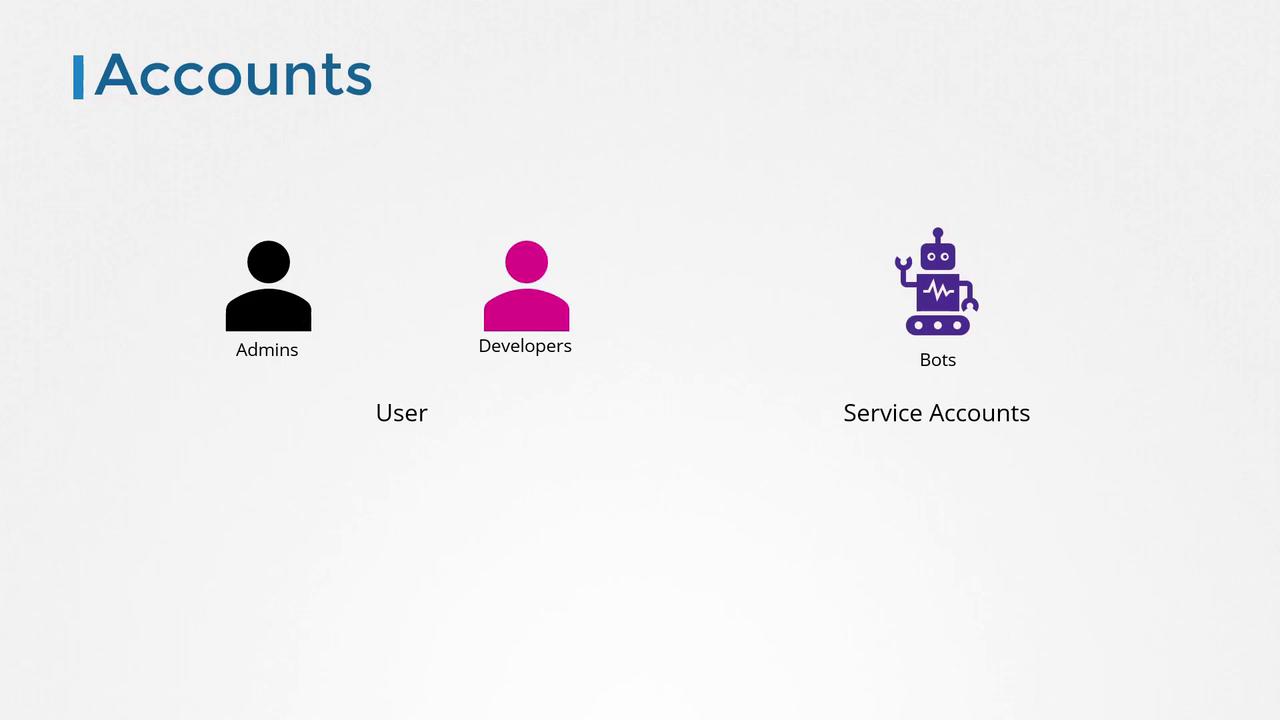
In this lesson, we focus on securing cluster management access by implementing secure communication and robust authentication mechanisms. Although end user security for applications is managed internally by the applications themselves, our discussion centers on authenticating access to the Kubernetes cluster for administrative and automated purposes. This includes human users—such as administrators and developers—and service accounts used by bots or automated processes.Kubernetes does not manage local user accounts natively. Instead, it depends on external sources like files containing user details, certificate-based authentication, or third-party identity services such as LDAP or Kerberos. While you cannot list or create user accounts directly in Kubernetes, the system handles service accounts natively via the Kubernetes API.
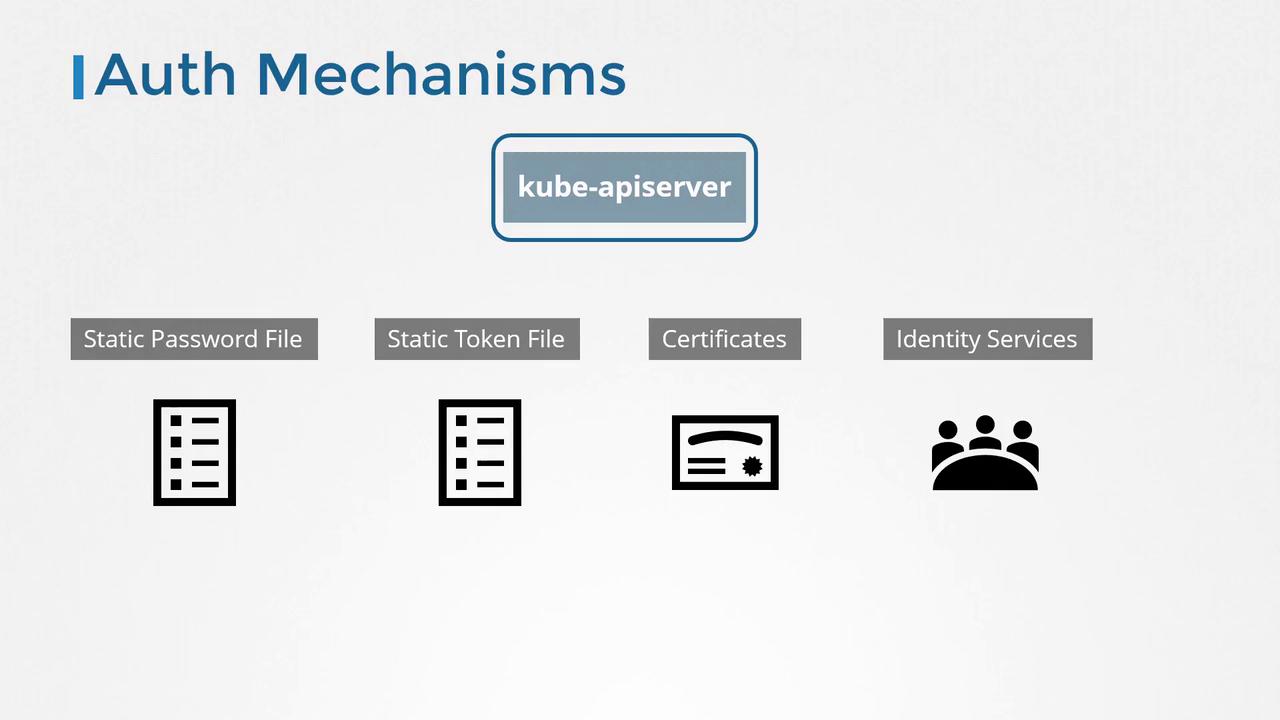
All requests—whether initiated by the kubectl tool or directly sent to the API—are processed by the kube-apiserver. This critical server authenticates each request using various methods, including:
Static password files
Static token files
Certificates
Integration with third-party authentication protocols such as LDAP and Kerberos
Below, we introduce static password and token file mechanisms, which are among the simplest methods to understand and implement basic authentication in Kubernetes.
The most straightforward authentication method involves creating a CSV file that lists users along with their credentials, usernames, and user IDs. Optionally, a fourth column can specify group information. This CSV file is then provided to the kube-apiserver as an authentication option.
Next, configure the kube-apiserver to utilize this file by including the option:
kube-apiserver --basic-auth-file=user-details.csv
If you are using a tool such as kubeadm, modify the kube-apiserver pod definition file accordingly. kubeadm will automatically restart the kube-apiserver after these changes. An example of a modified kube-apiserver startup command might look like this:
Similarly, authentication can be performed using a static token file. The CSV format is nearly identical, except that the password is replaced with a token. For instance, your user-token-details.csv might contain:
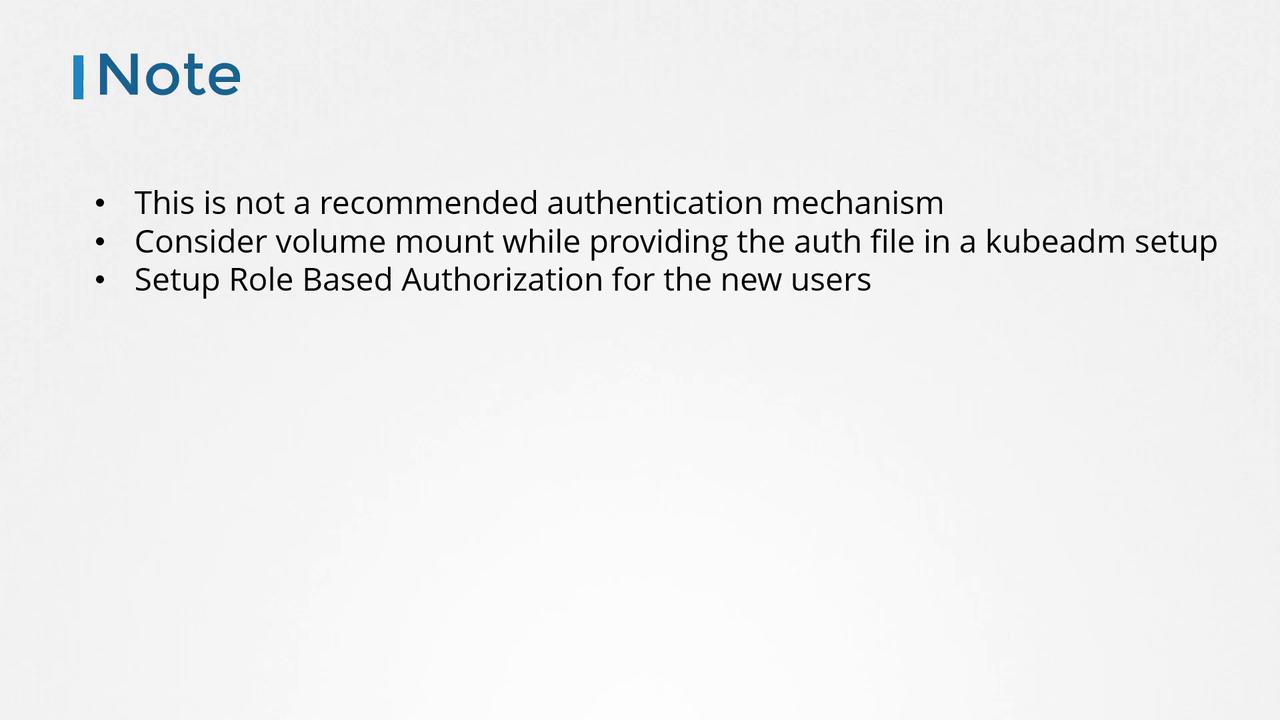
Storing usernames, passwords, and tokens in plain text is inherently insecure. In production environments, consider using certificate-based authentication or integrating with trusted third-party identity providers.
When configuring your cluster using kubeadm, ensure that authentication files are securely mounted as volumes, and deploy appropriate authorization policies for any new users to protect your cluster from unauthorized access.
This lesson covered the use of static password and token file mechanisms to authenticate requests made to Kubernetes. In upcoming sections, we will explore certificate-based authentication in detail and discuss how Kubernetes leverages certificates to secure communication between its components.For additional information on Kubernetes authentication and security best practices, please visit the following resources: