Chaos Engineering
Introduction to Real life Application
How to Plan Your Experiment Part 2
In Part 1, you defined objectives, selected workloads, and established a performance baseline. Now, we’ll guide you through the final steps—hypothesis creation, experiment design, execution, and analysis—so you can confidently run your game day or Fault Injection Simulation (FIS) experiment.
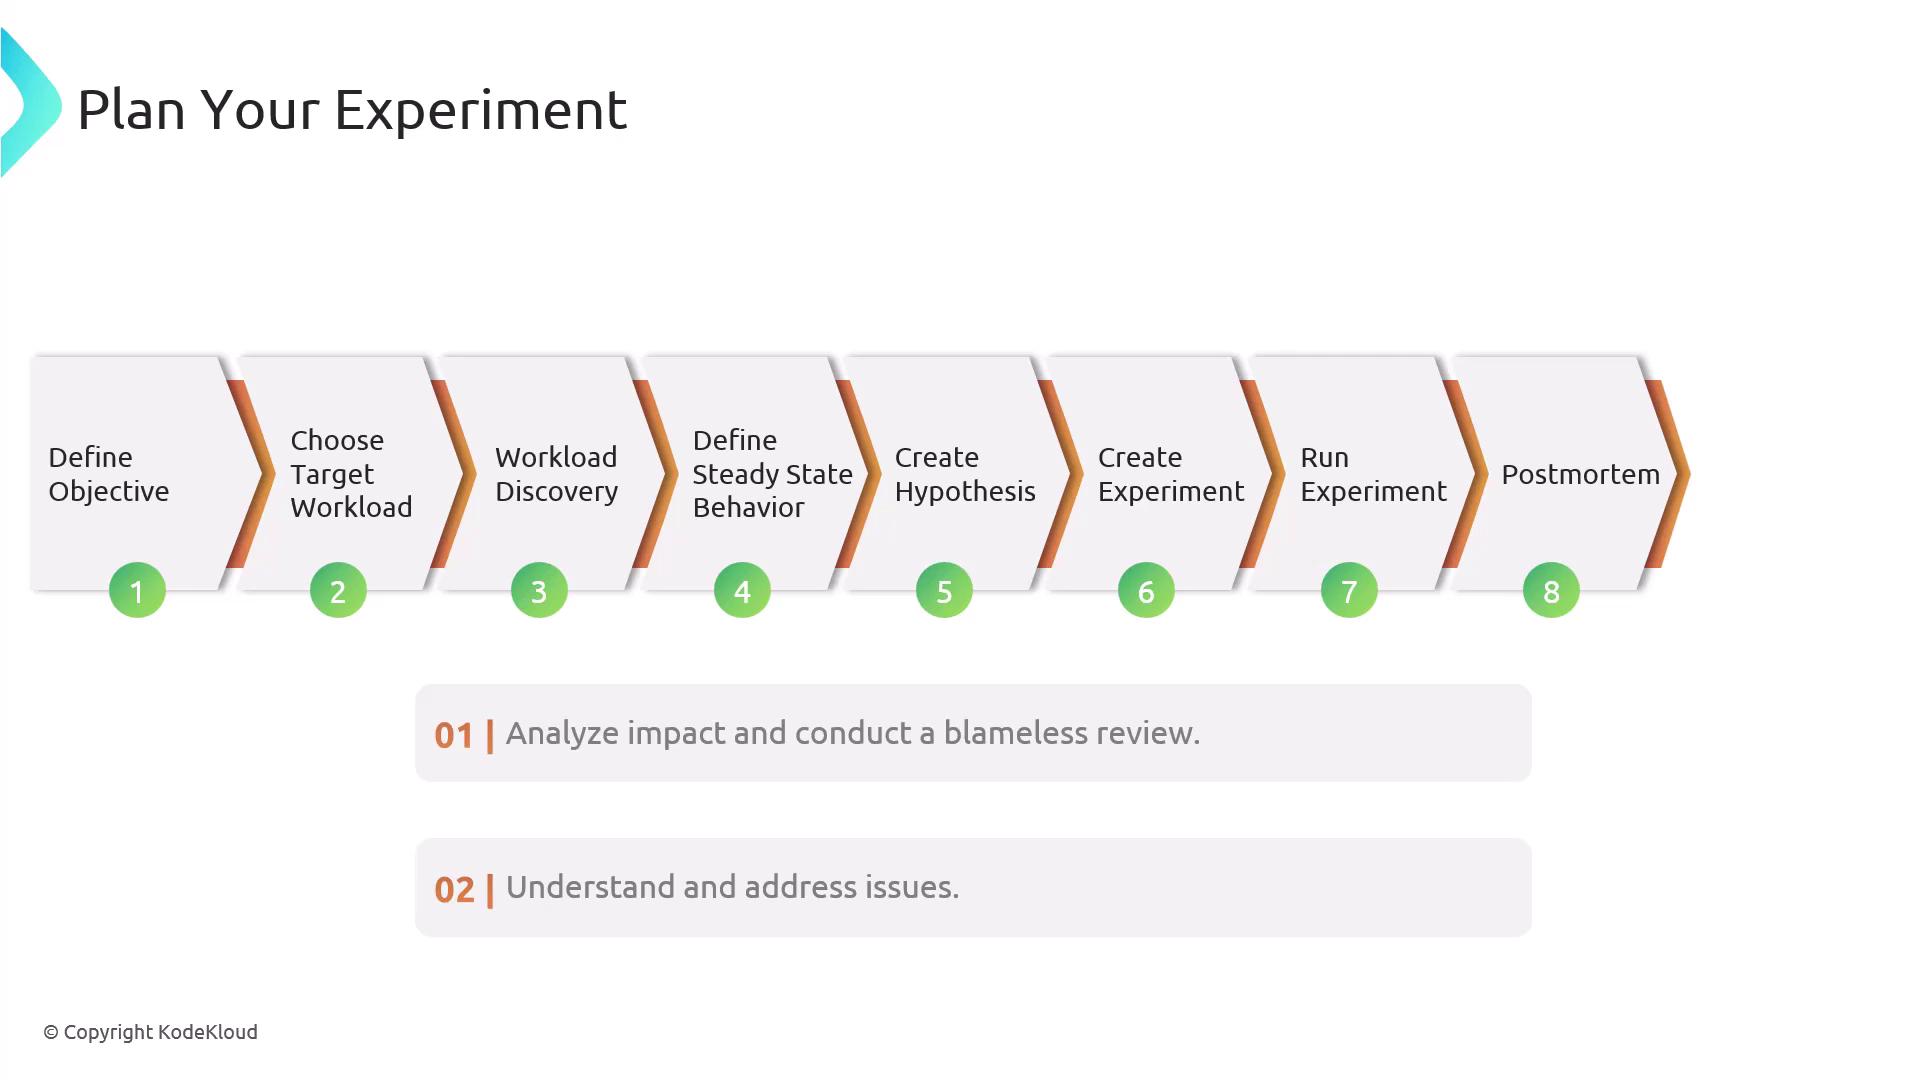
6. Create Your Hypothesis
A well-defined hypothesis clarifies what you expect to happen when a fault is injected. To formulate it:
- Identify the affected components
Pinpoint services, instances, or containers targeted by your fault injection. - Describe the expected behavior
Determine how your application should respond under fault conditions. - Define success metrics
Choose key indicators—latency, error rate, throughput—to validate resilience.
Note
A precise hypothesis narrows your experiment’s scope and sets clear success criteria.
7. Design the Experiment
Use AWS FIS to control scope, duration, and safety checks. Configure the following:
| Configuration | Description | Example |
|---|---|---|
| Target Resources | Apply tags to focus your fault injection on specific AWS resources. | Tag EC2 instances with env=staging. |
| Duration | Specify how long the fault remains active before auto rollback. | PT5M (5 minutes) |
| Stop Conditions | Define thresholds to abort the experiment if they’re violated. | CPU > 80% for 2 minutes |
These settings help you limit blast radius and maintain control throughout your test.
8. Run the Experiment
- Start in lower environments
Validate your hypothesis in development or staging before touching production.Note
Always begin in a non-production account or VPC to avoid unintended impact.
- Validate resilience
Monitor your application as the fault is injected. Check dashboards and alerts to ensure behavior aligns with your hypothesis. - Promote to production
Once confirmed, rerun the experiment against production workloads with the same configuration. - Mark success
A successful run demonstrates that your architecture can withstand the injected fault without violating SLAs.
9. Conduct a Post-Mortem
A structured post-mortem transforms insights into improvements:
| Step | Action |
|---|---|
| Analyze Impact | Review logs, metrics, traces, and user experience during the experiment. |
| Blameless Review | Host a session focused on learning, not finger-pointing. |
| Document Findings | Update runbooks, architecture diagrams, and automation scripts based on lessons learned. |
| CI/CD Integration | Automate FIS experiments in your CI/CD pipeline to continuously validate resilience. |
Warning
Maintain a blameless culture in your post-mortems to encourage transparent learning and innovation.
Links and References
Watch Video
Watch video content