Cursor AI

Introduction to Cursor

Demo Installation and Setup

In this guide, we’ll walk through installing Cursor, the AI-powered, cross-platform code editor, on Windows, macOS, and Linux. By the end, you’ll have Cursor up and running with your preferred account, extensions, and settings across all environments.


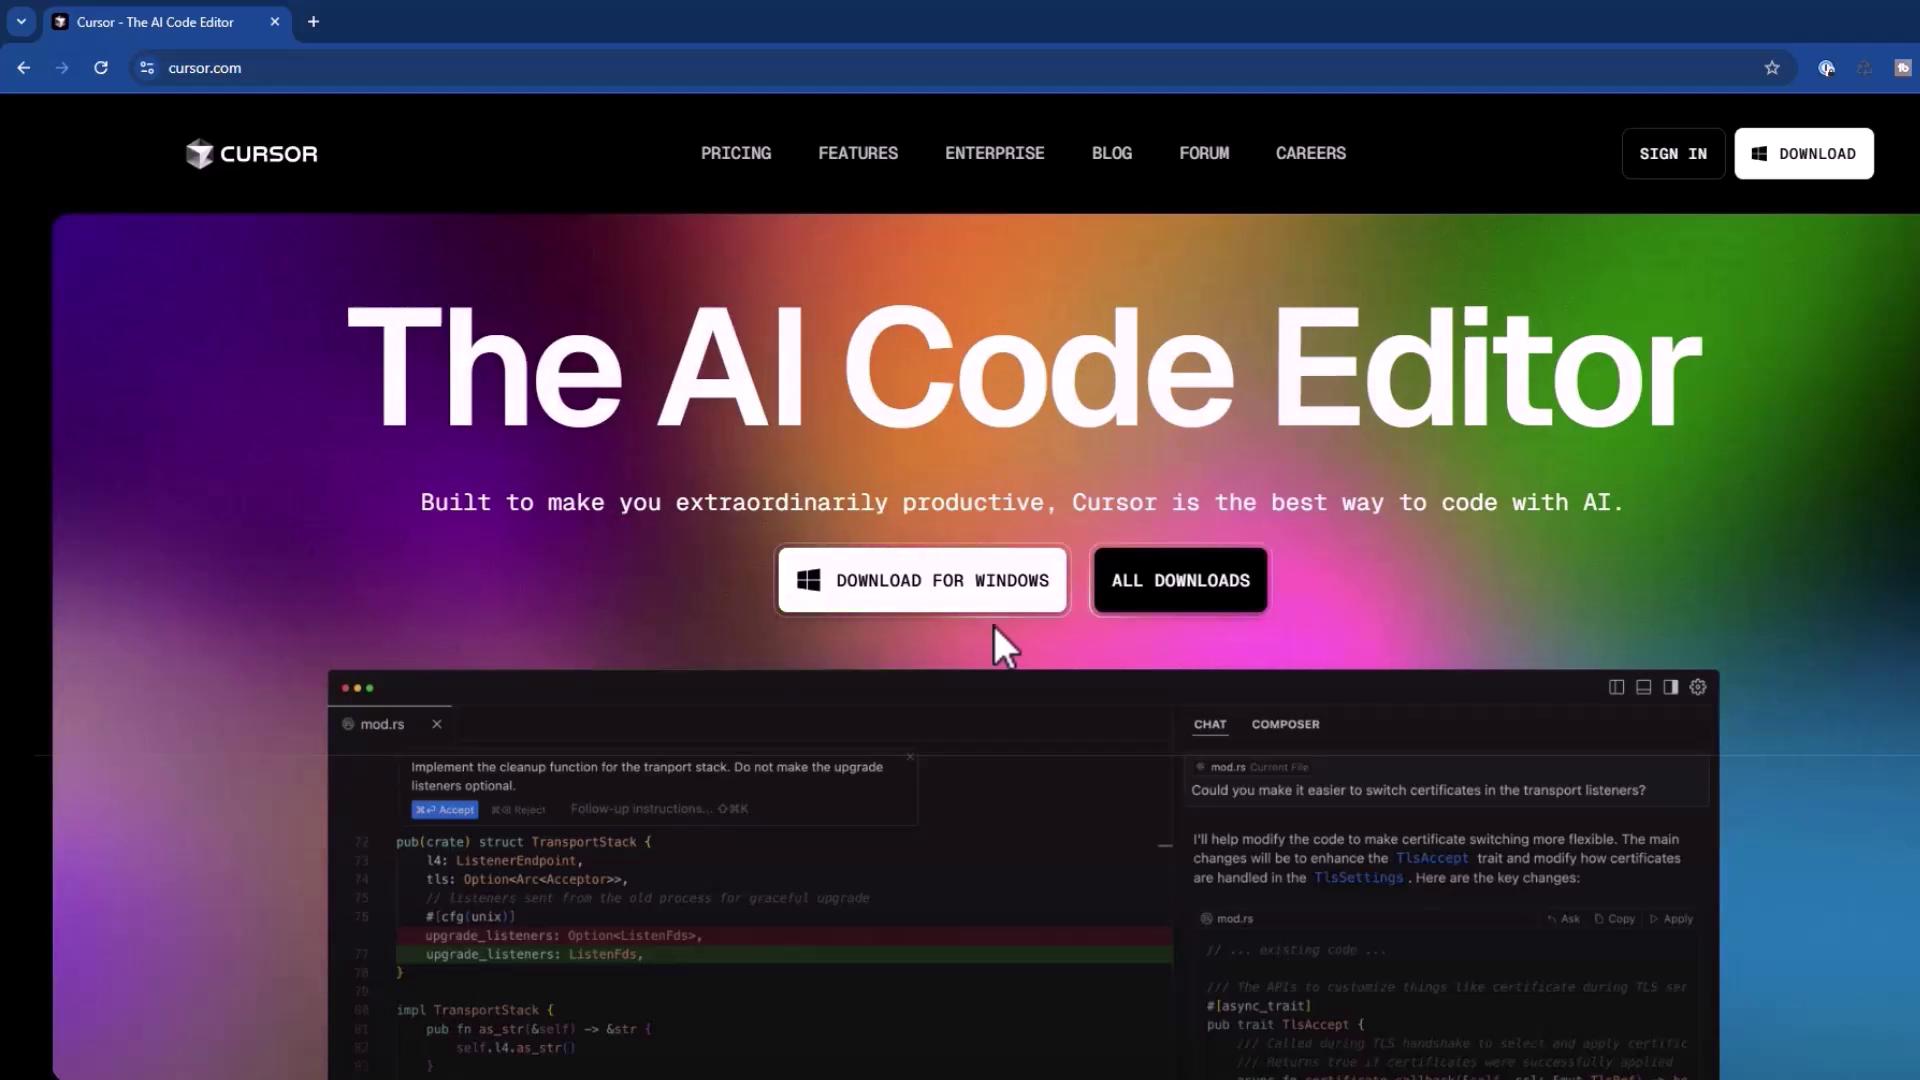
Installing on Windows

  1. Download the Windows installer from cursor.com.

    The image shows a webpage for "The AI Code Editor" called Cursor, featuring a colorful gradient background with options to download the software. The page highlights its productivity features and includes a code editor interface.

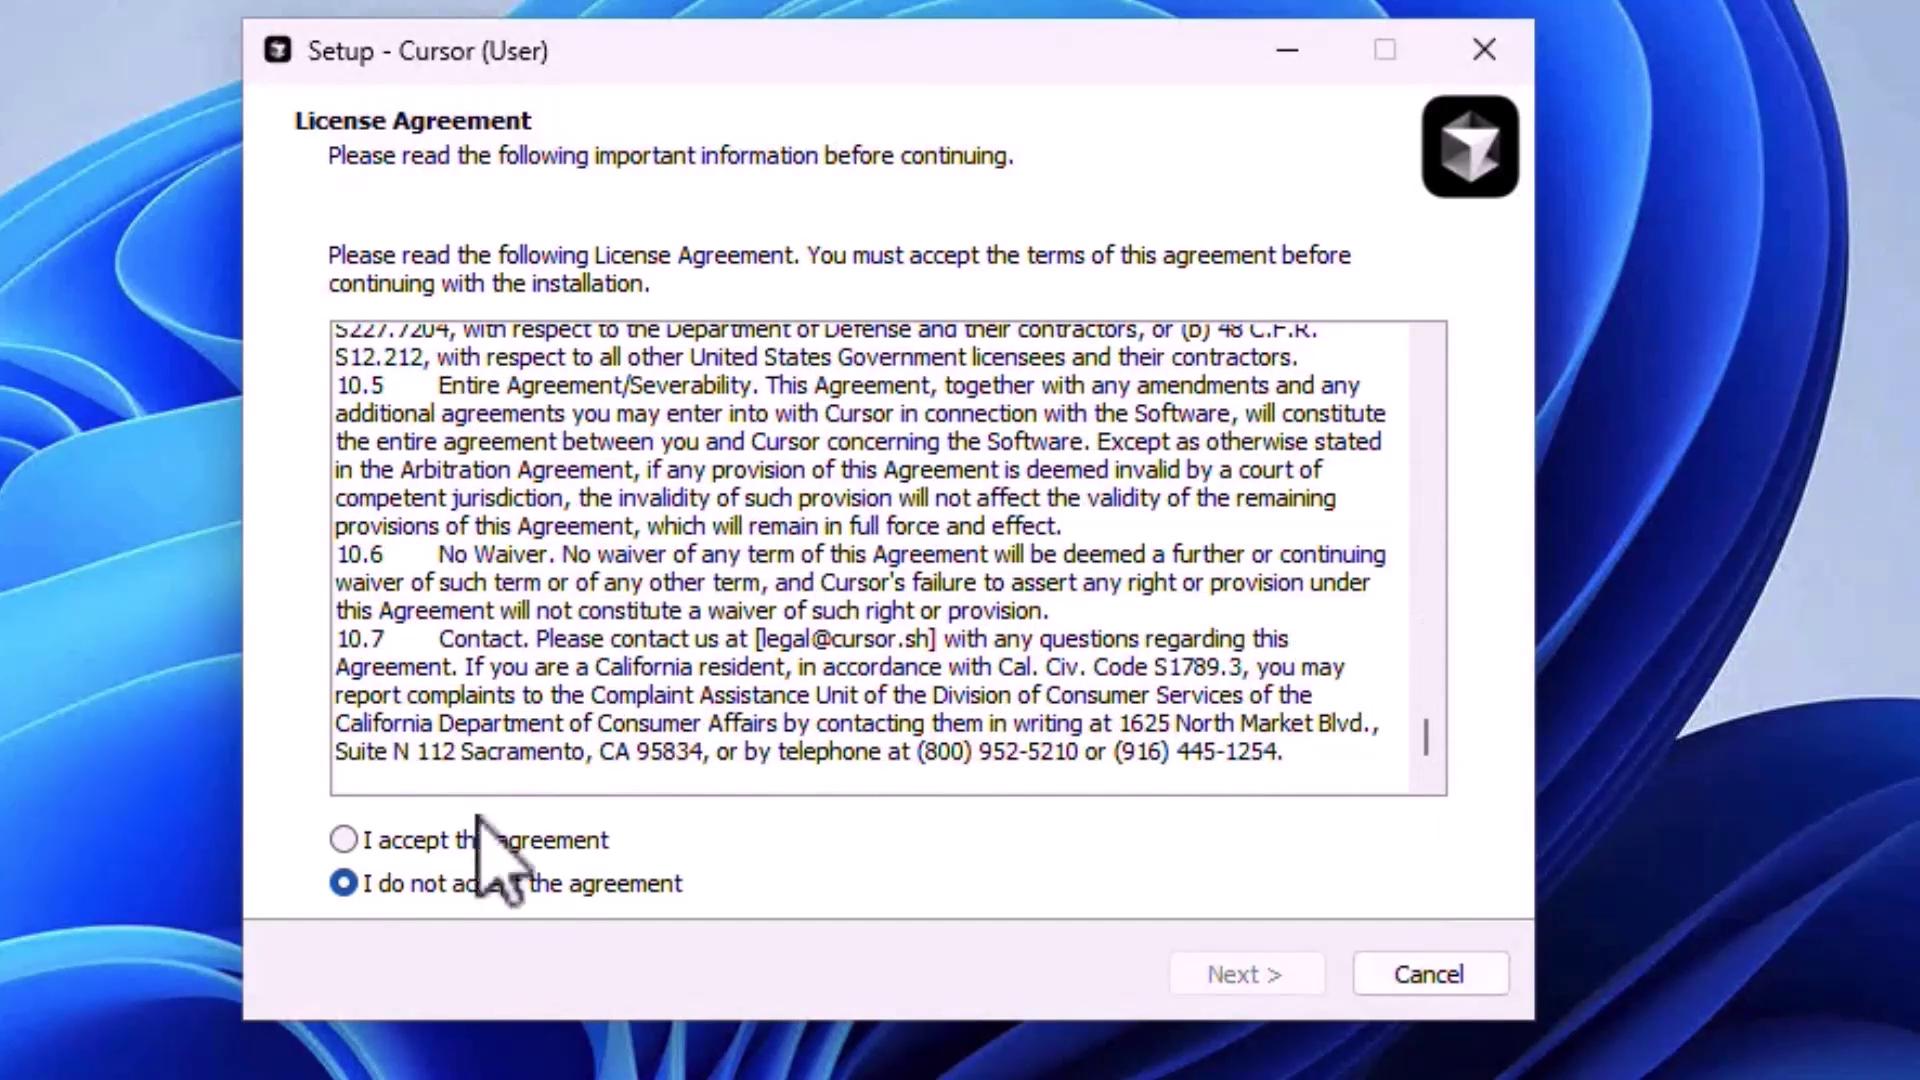
  2. Run the installer and accept the license agreement to proceed.

    The image shows a software setup window displaying a license agreement with options to accept or decline the agreement. A cursor is hovering over the "I do not accept the agreement" option.

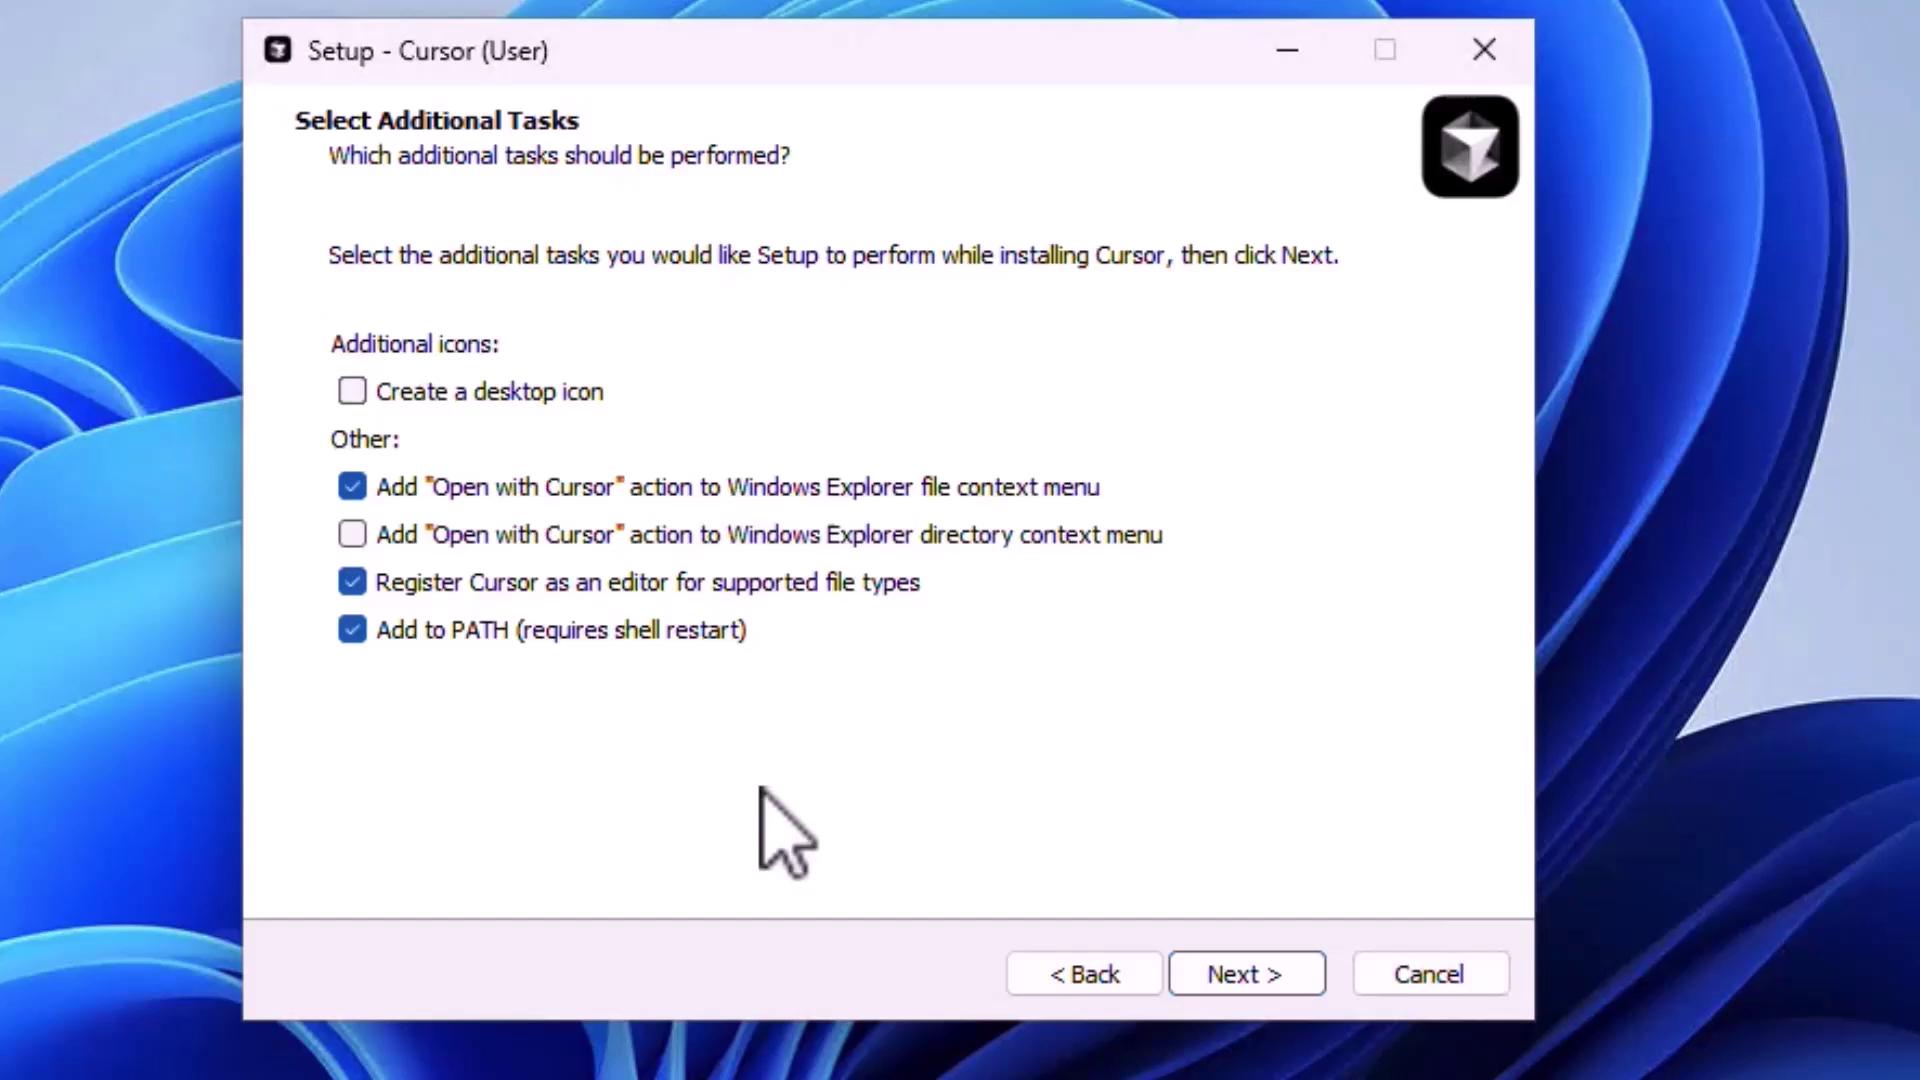
  3. Select any additional tasks, such as:

    • Creating a desktop icon
    • Adding an “Open with Cursor” context menu
    • Registering Cursor as the default editor
    • Adding Cursor to the system PATH

    Then click Next.

    The image shows a software setup window for "Cursor," where users can select additional tasks like adding actions to the Windows Explorer context menu and registering the program as an editor.

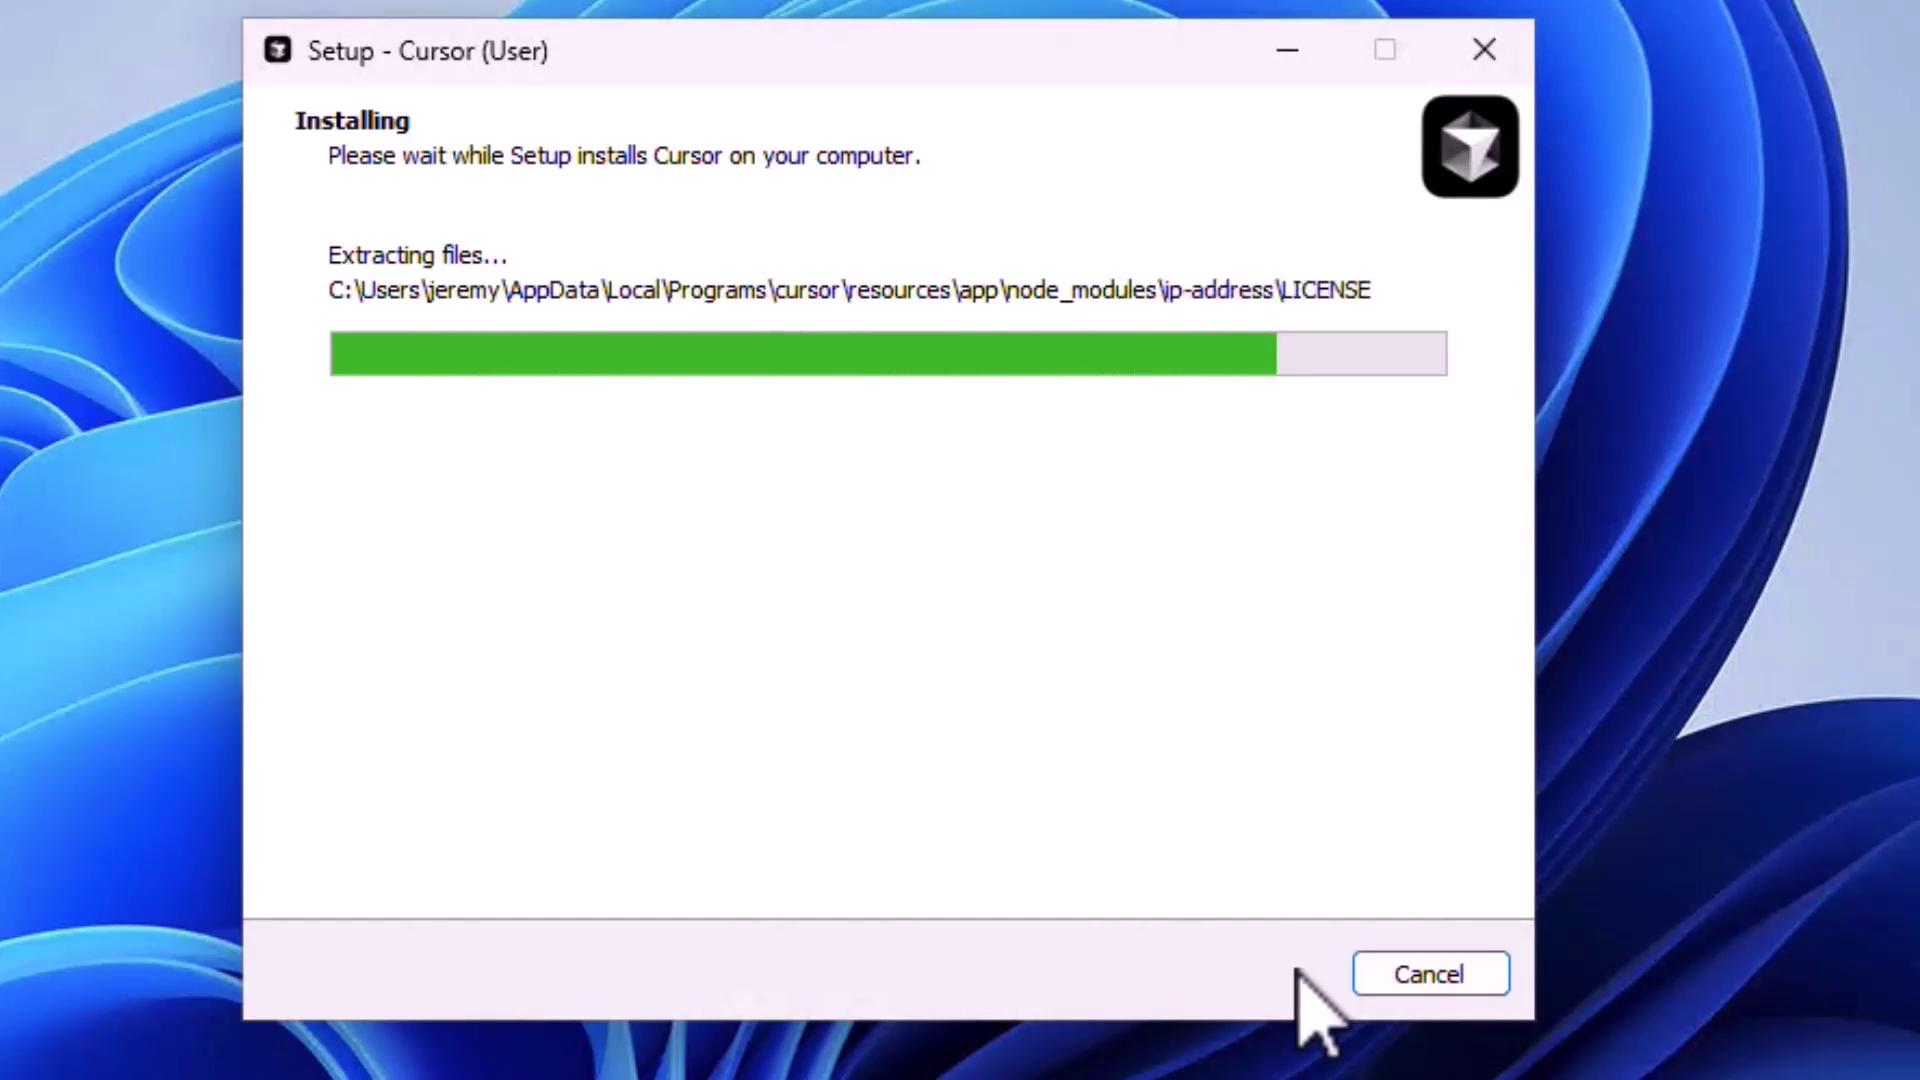
  4. Wait for installation to complete, then click Finish to launch Cursor.

    The image shows a software installation window for "Cursor," with a progress bar indicating the extraction of files. A "Cancel" button is visible at the bottom.

  5. On first launch, sign in with your preferred account.

    The image shows a login prompt for "Cursor desktop" with options to cancel or log in, and a cursor pointing at the "YES, LOG IN" button.

  6. Once authenticated, you’ll see the main dashboard where you can:

    • Open an existing project
    • Clone a repository
    • Connect via SSH

Installing on macOS

  1. Download the macOS .dmg from cursor.com.

  2. Double-click to mount and drag the Cursor icon into Applications.

  3. (Optional) Add Cursor to your Dock for quick access.

  4. Open Cursor; macOS will prompt you to confirm launching an app downloaded from the internet.

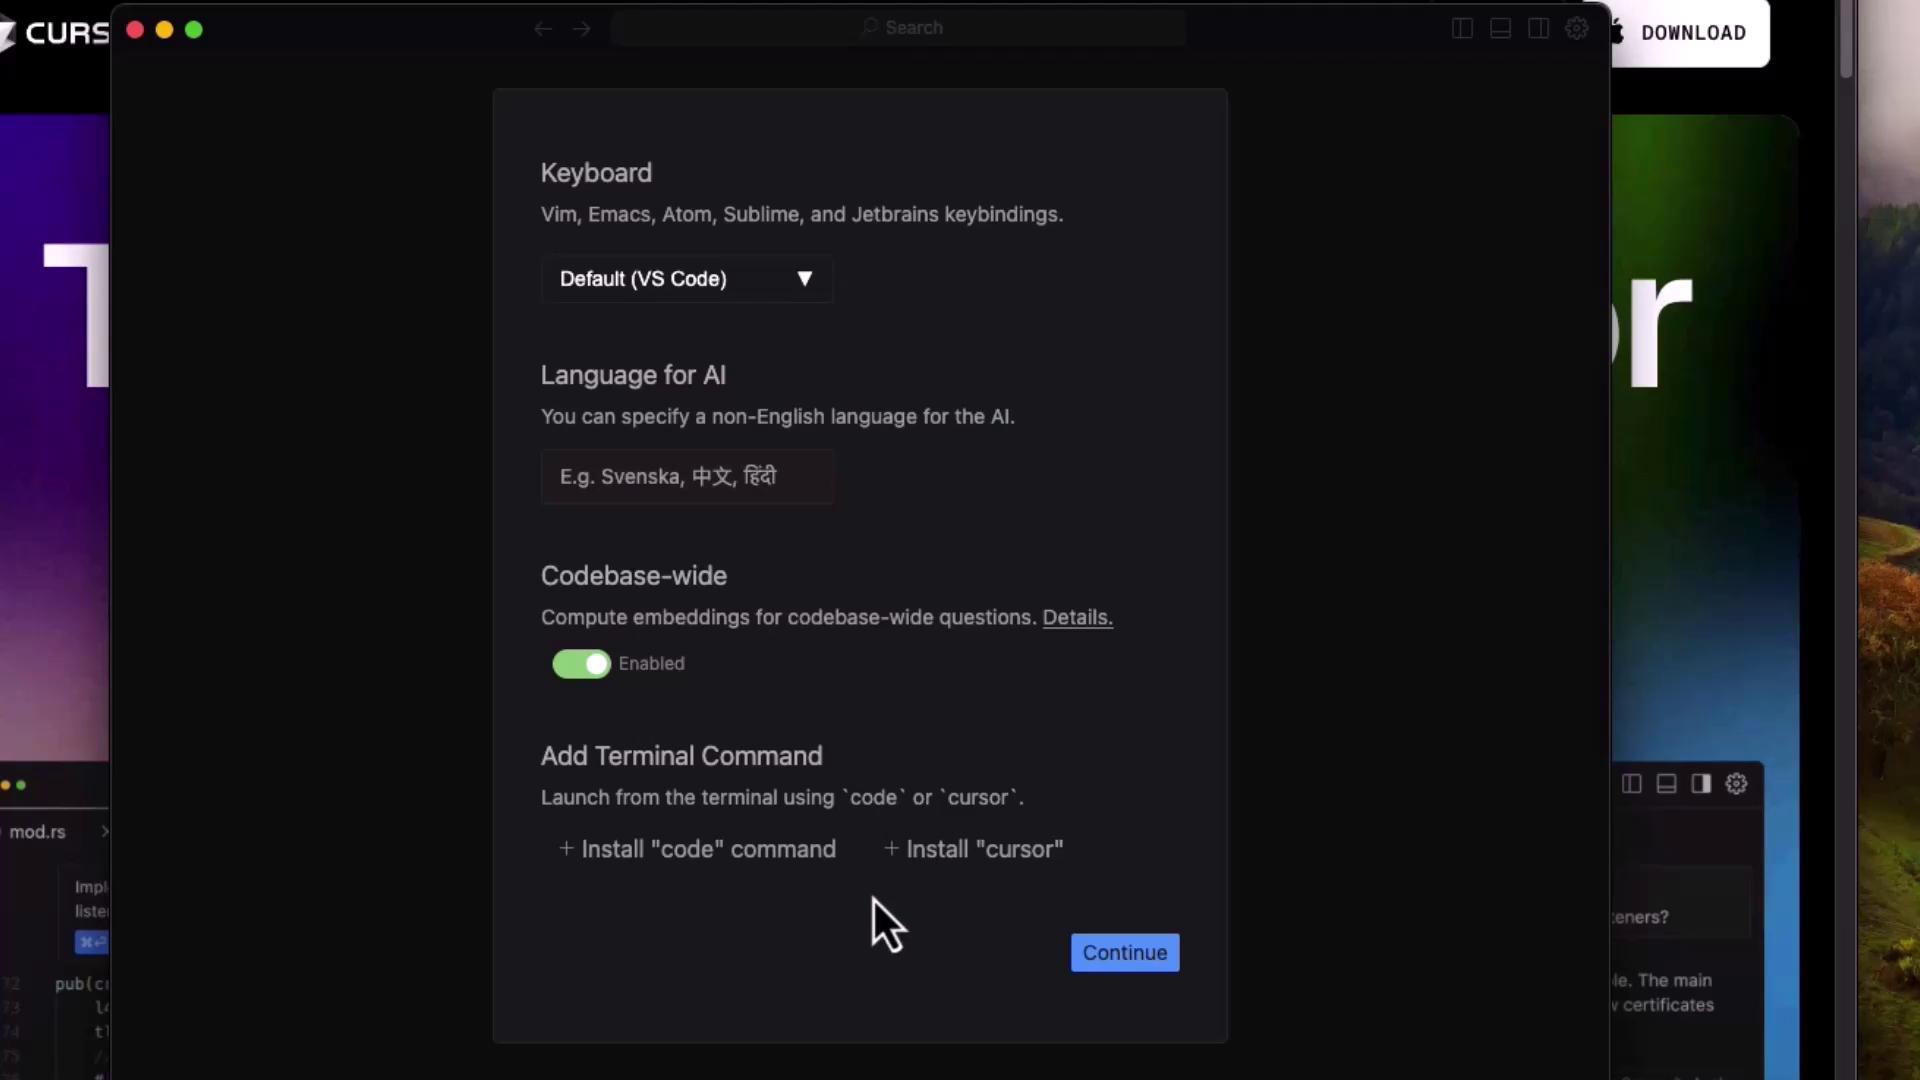
  5. Configure initial settings:

    • Keyboard shortcuts
    • AI language preferences
    • Codebase-wide indexing
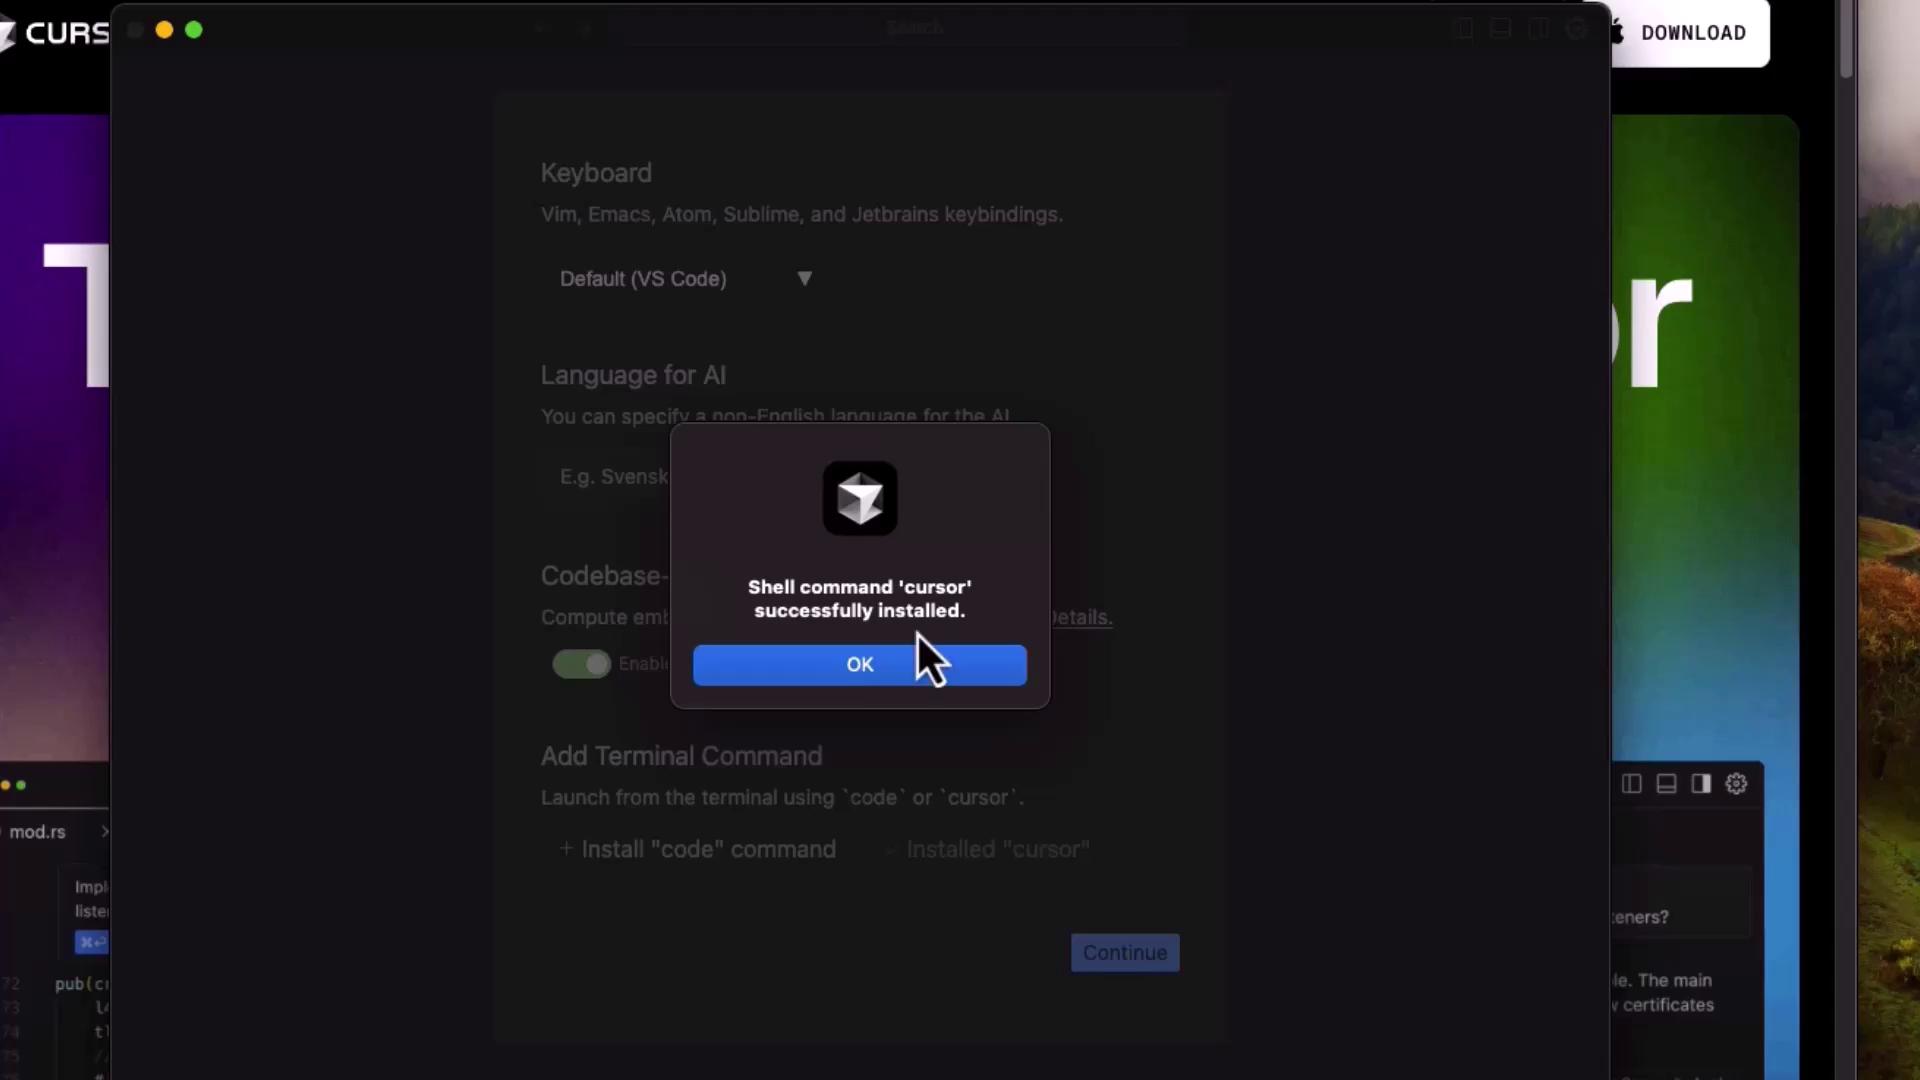
    • Install the cursor shell command for terminal access

    The image shows a software settings window with options for keyboard configuration, language selection for AI, and codebase-wide embedding settings. There are also options to install terminal commands.

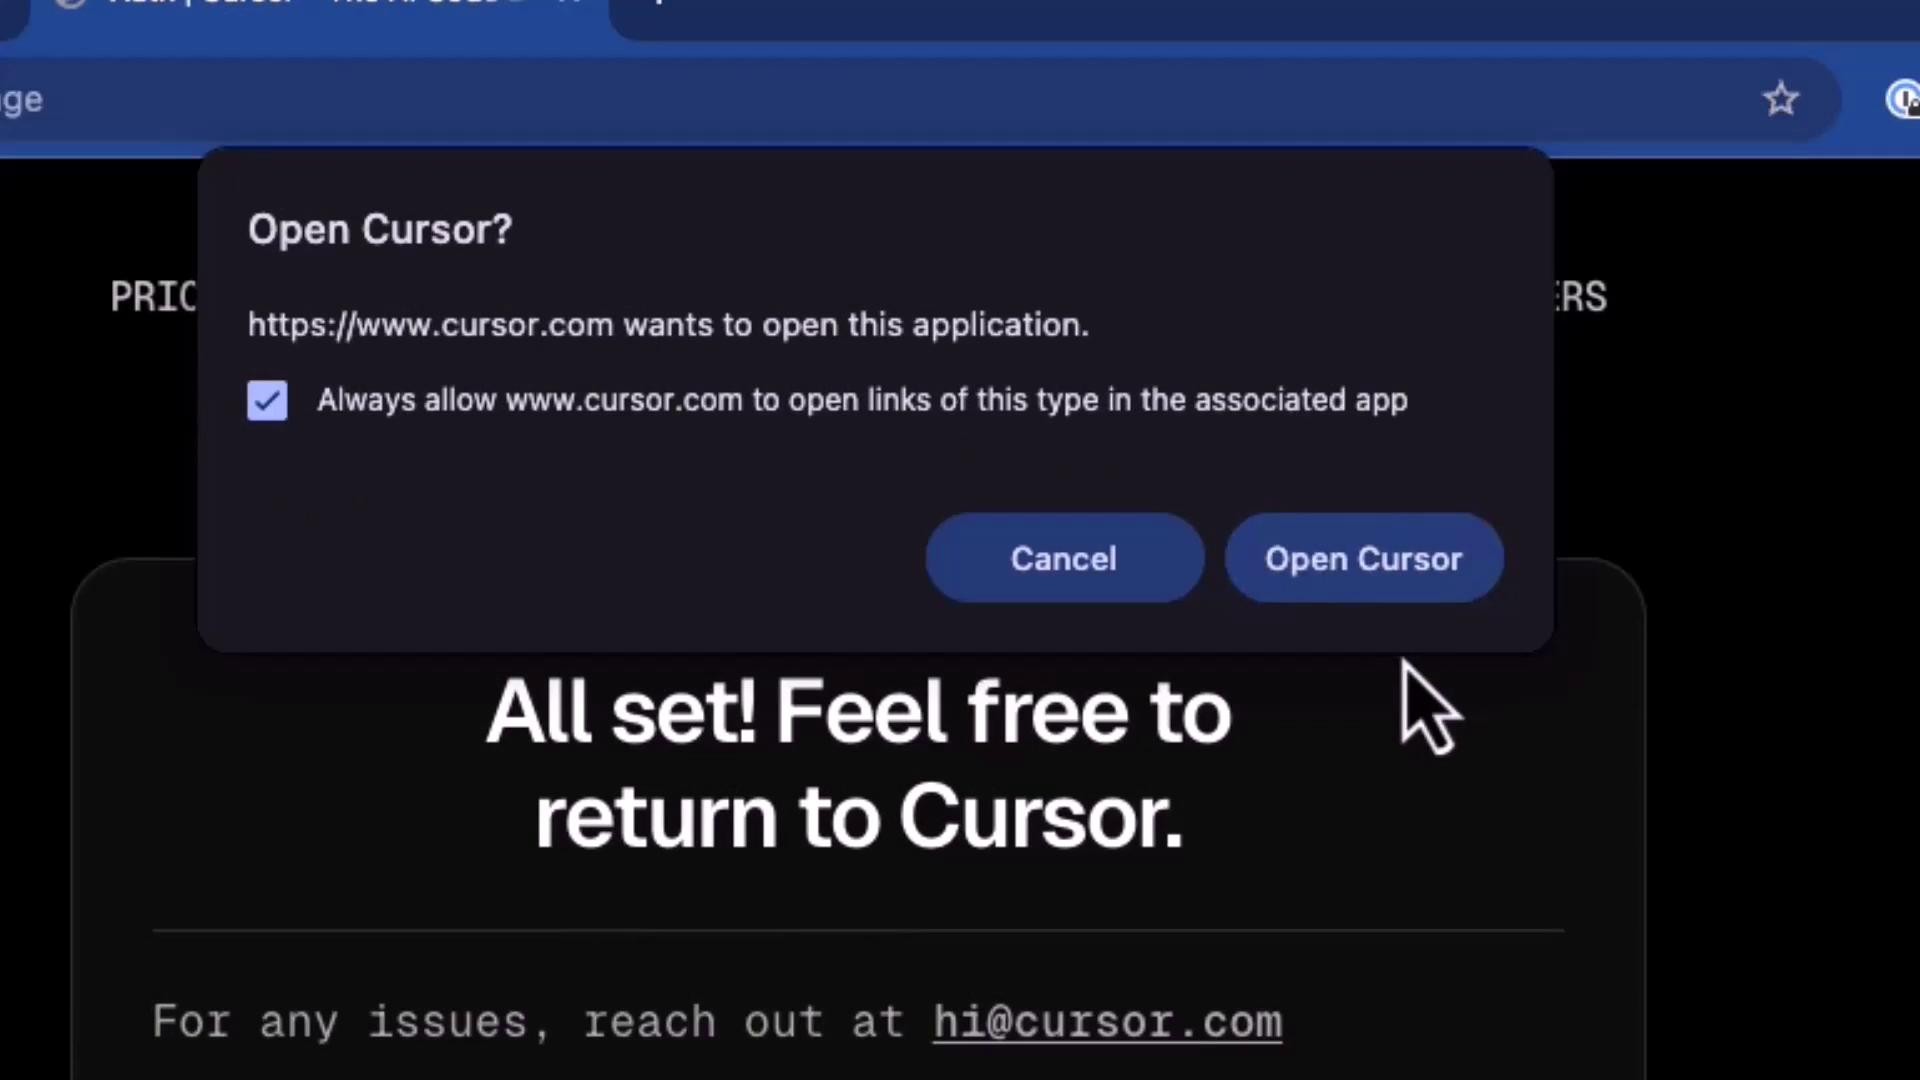
  6. After installing the shell command, you’ll see a confirmation popup.

    The image shows a pop-up notification indicating that the shell command "cursor" has been successfully installed, with an "OK" button highlighted by a cursor.

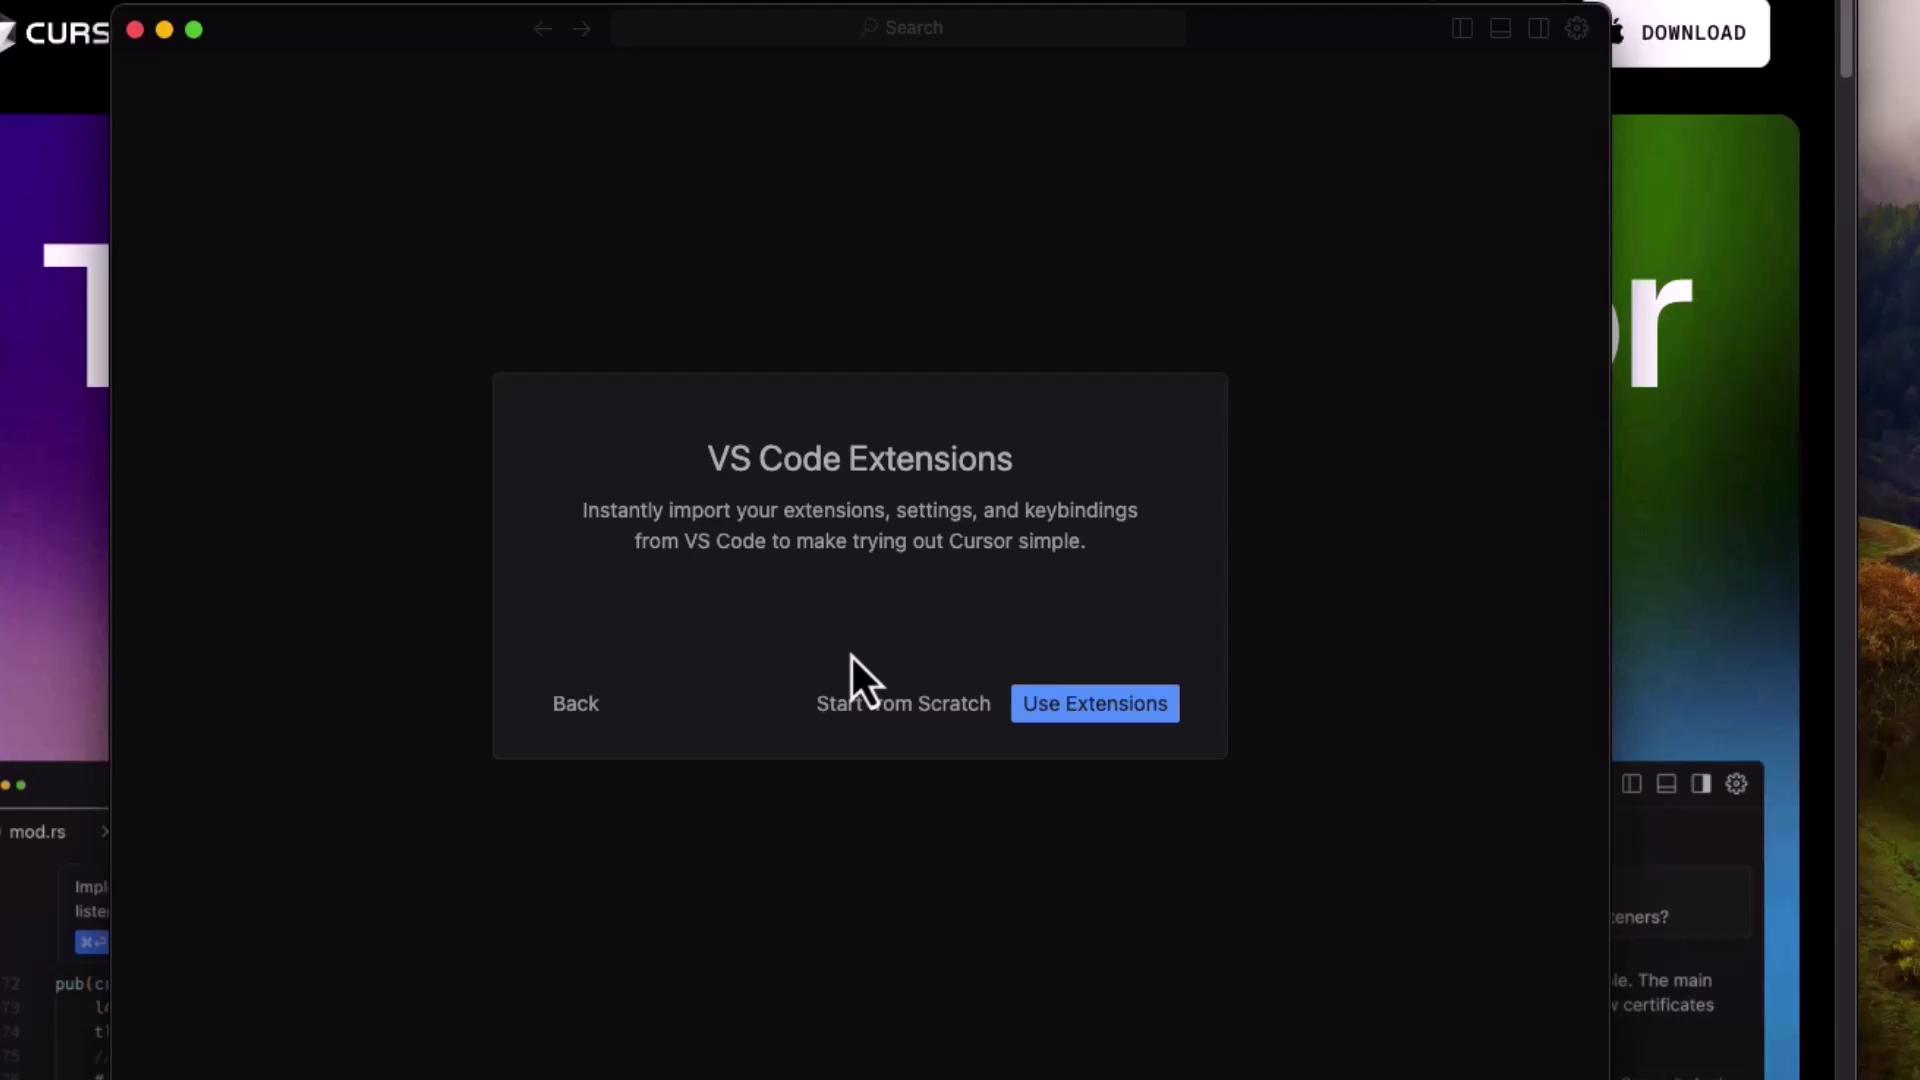
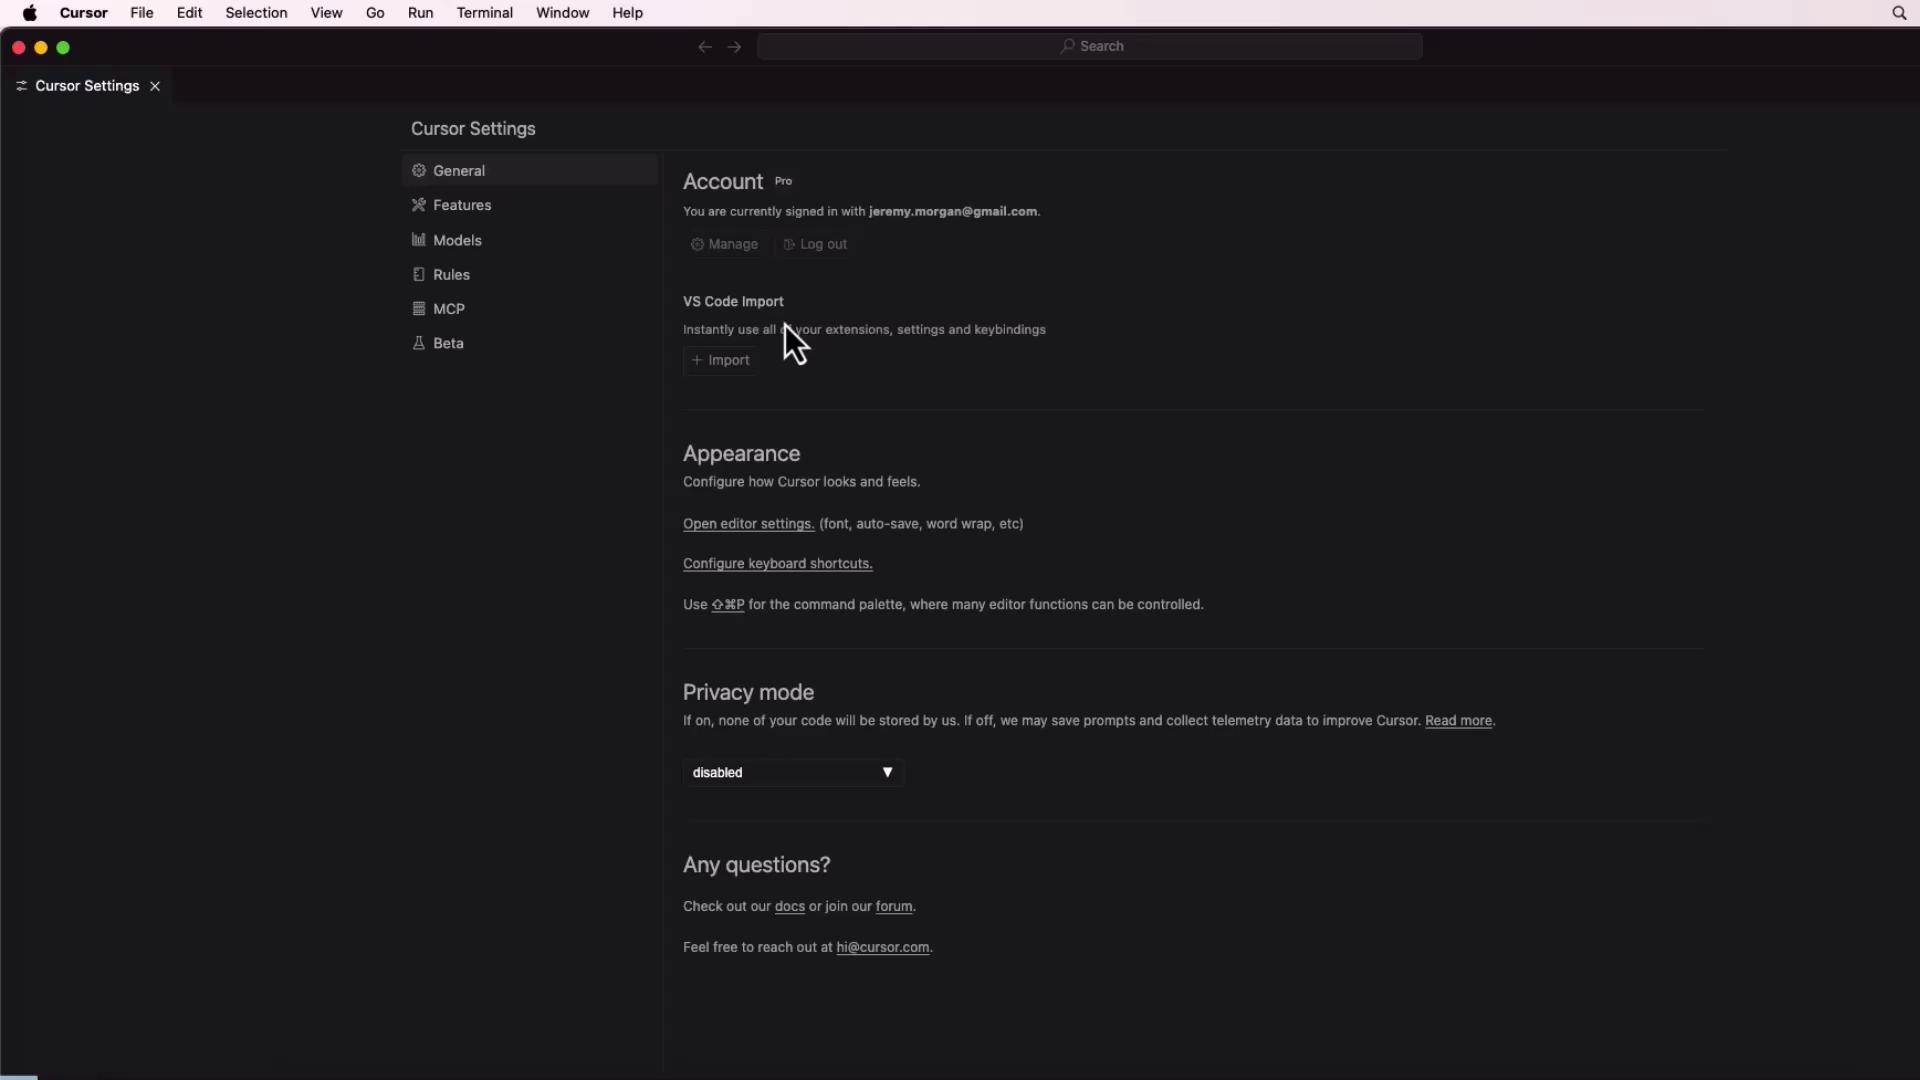
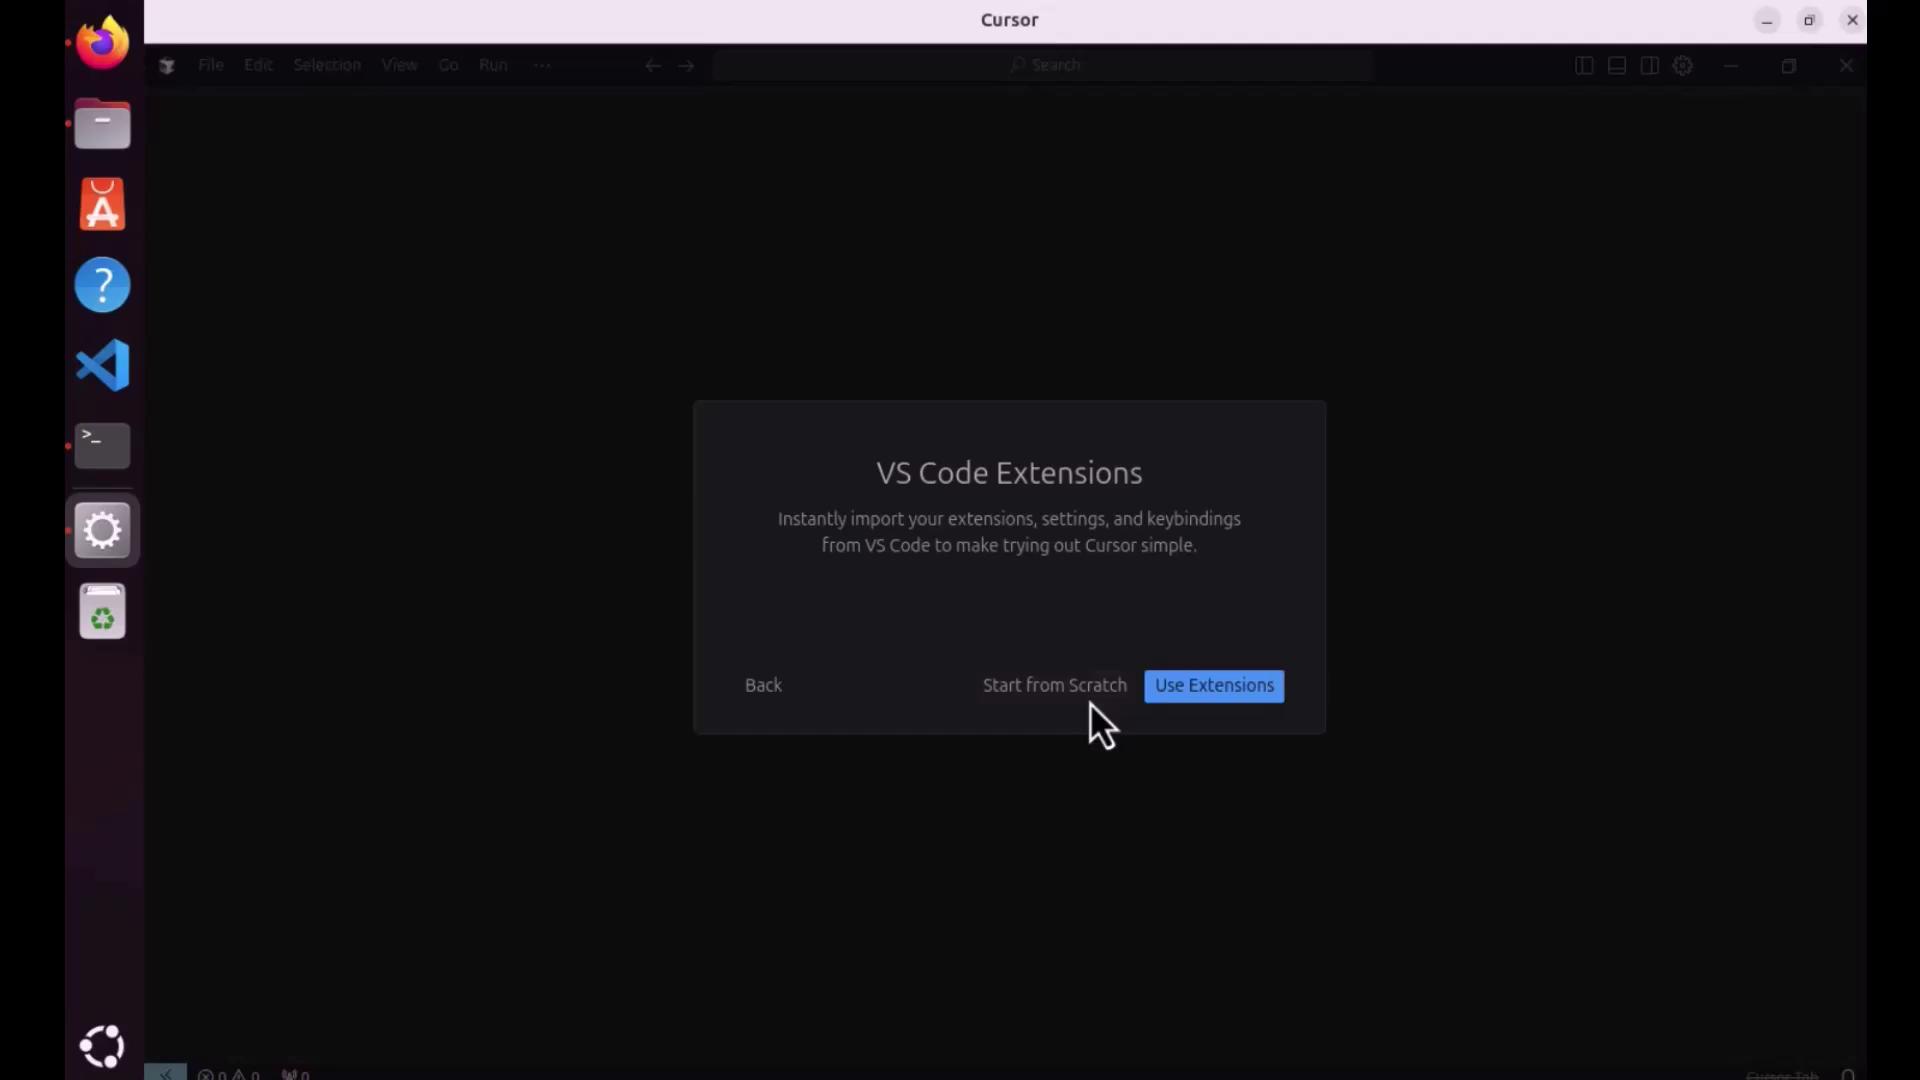
  7. Choose whether to import your existing VS Code extensions, settings, & keybindings or start fresh.

    The image shows a dialog box in a software application offering to import VS Code extensions, settings, and keybindings, with options to "Start from Scratch" or "Use Extensions."

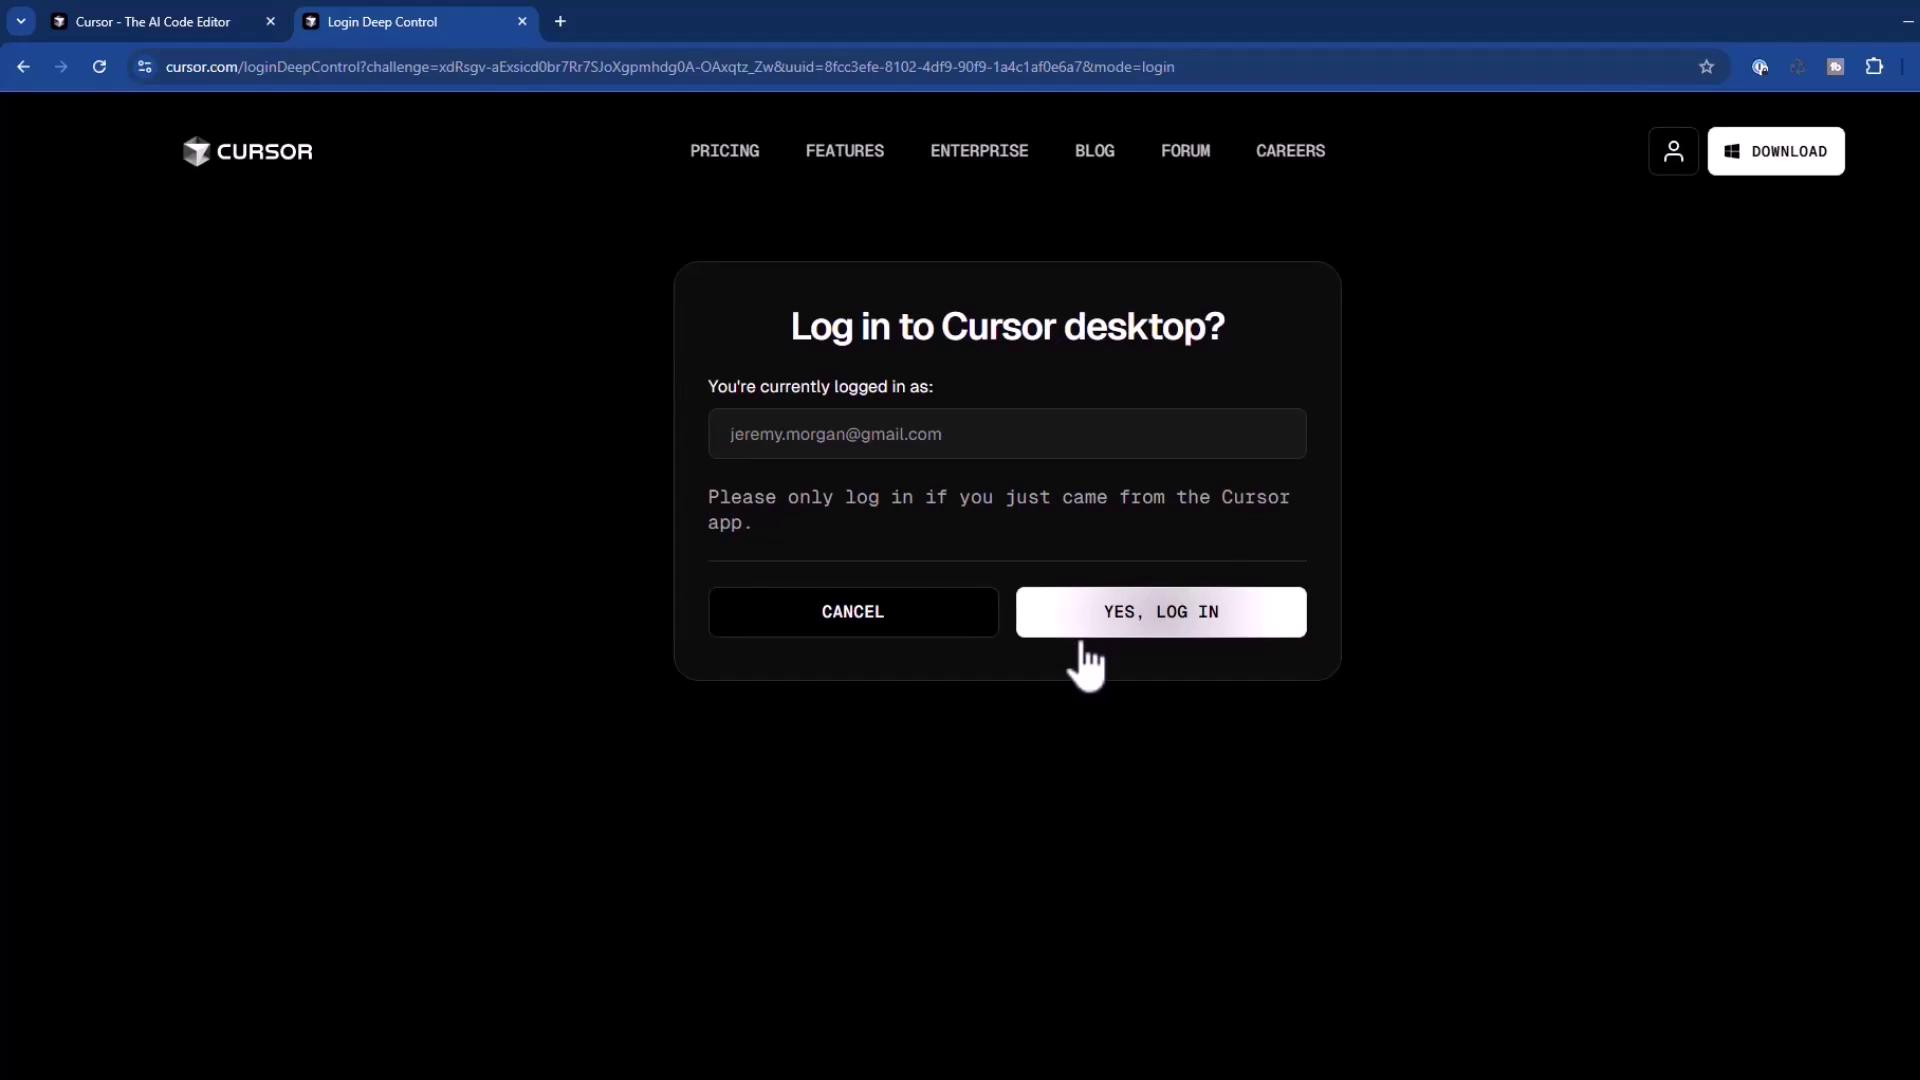
  8. Sign in via your browser and allow the system prompt to open Cursor.

    The image shows a pop-up window asking if the user wants to open the Cursor application, with options to "Cancel" or "Open Cursor."

  9. After logging in, customize your theme, account, and privacy settings on the main interface.

    The image shows a software settings interface with options for account management, VS Code import, appearance configuration, and privacy mode. The interface is dark-themed and includes a sidebar with various settings categories.


Installing on Linux

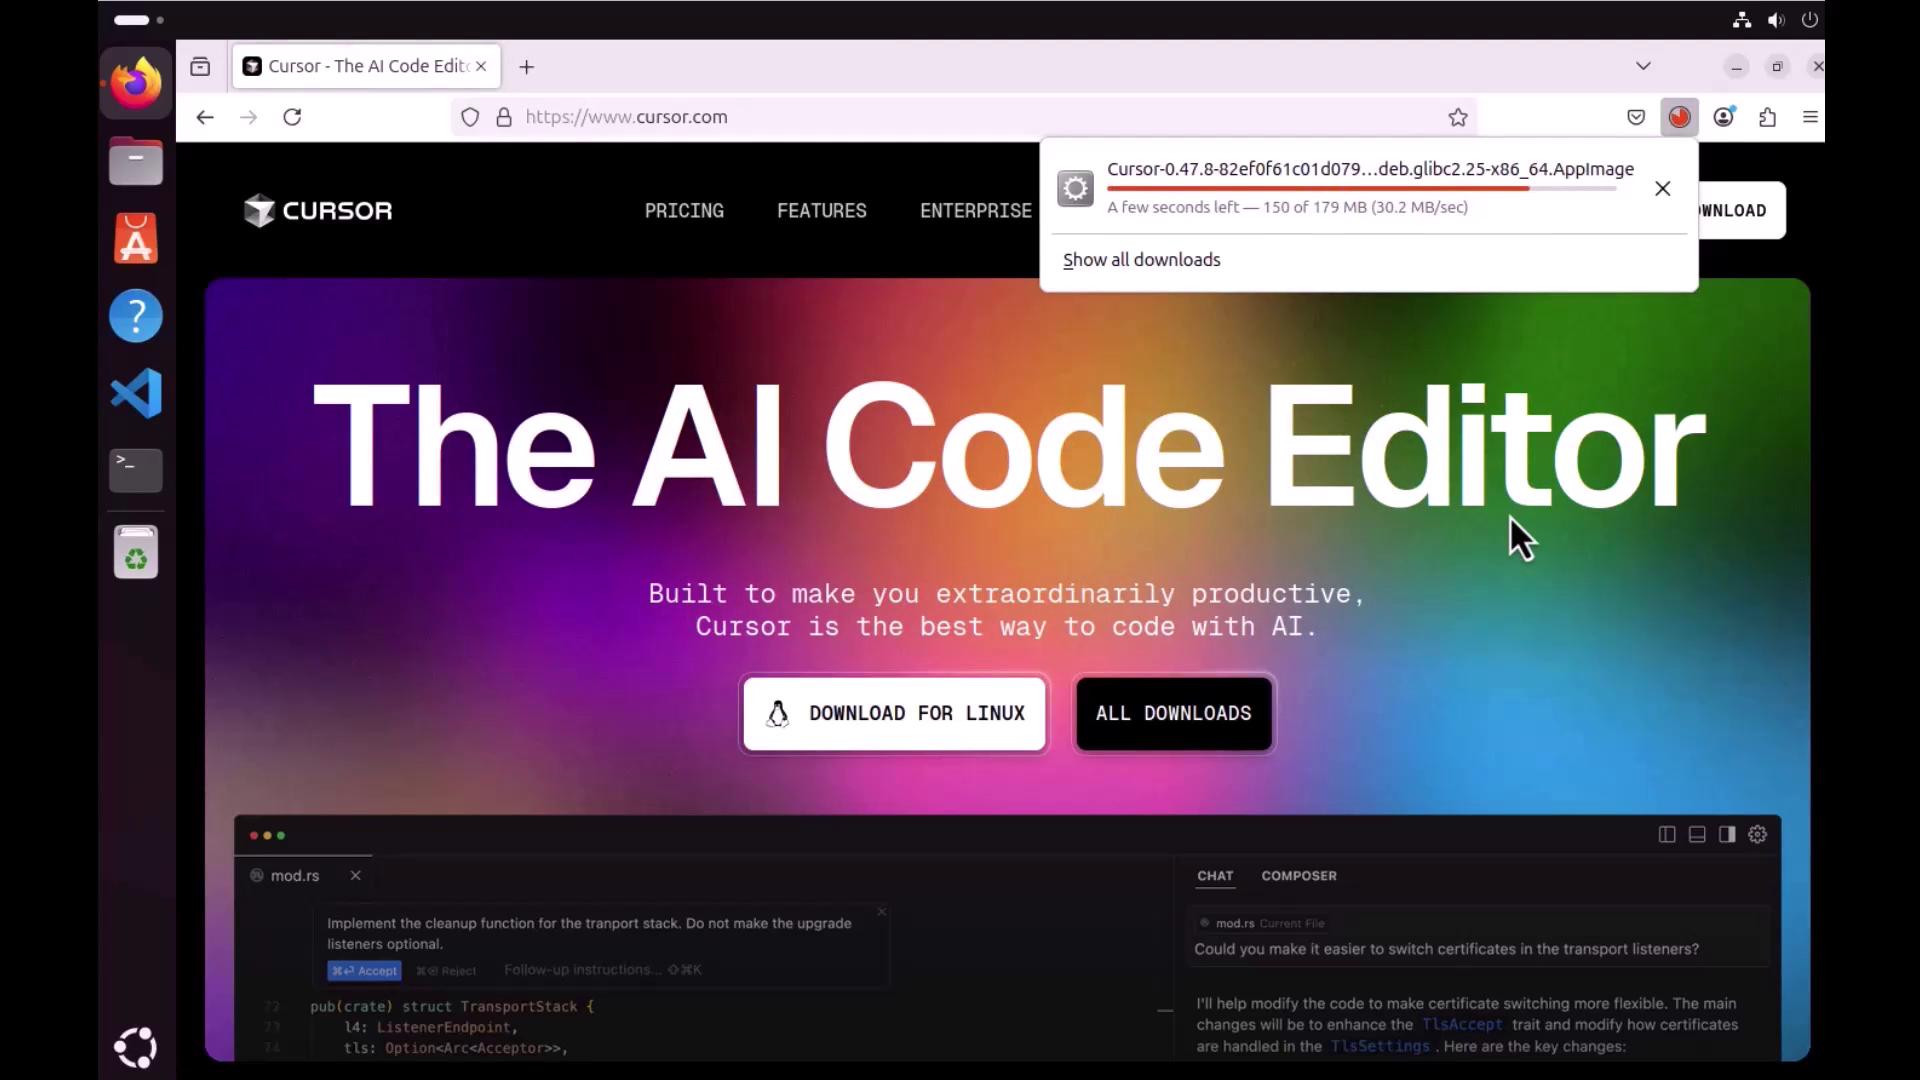
Cursor is distributed as an AppImage on Linux platforms (e.g., Ubuntu).

  1. Download the AppImage from cursor.com and place it in your Downloads or Apps directory.

    The image shows a webpage for "The AI Code Editor" by Cursor, with options to download for Linux and view all downloads. A download progress bar is visible at the top.

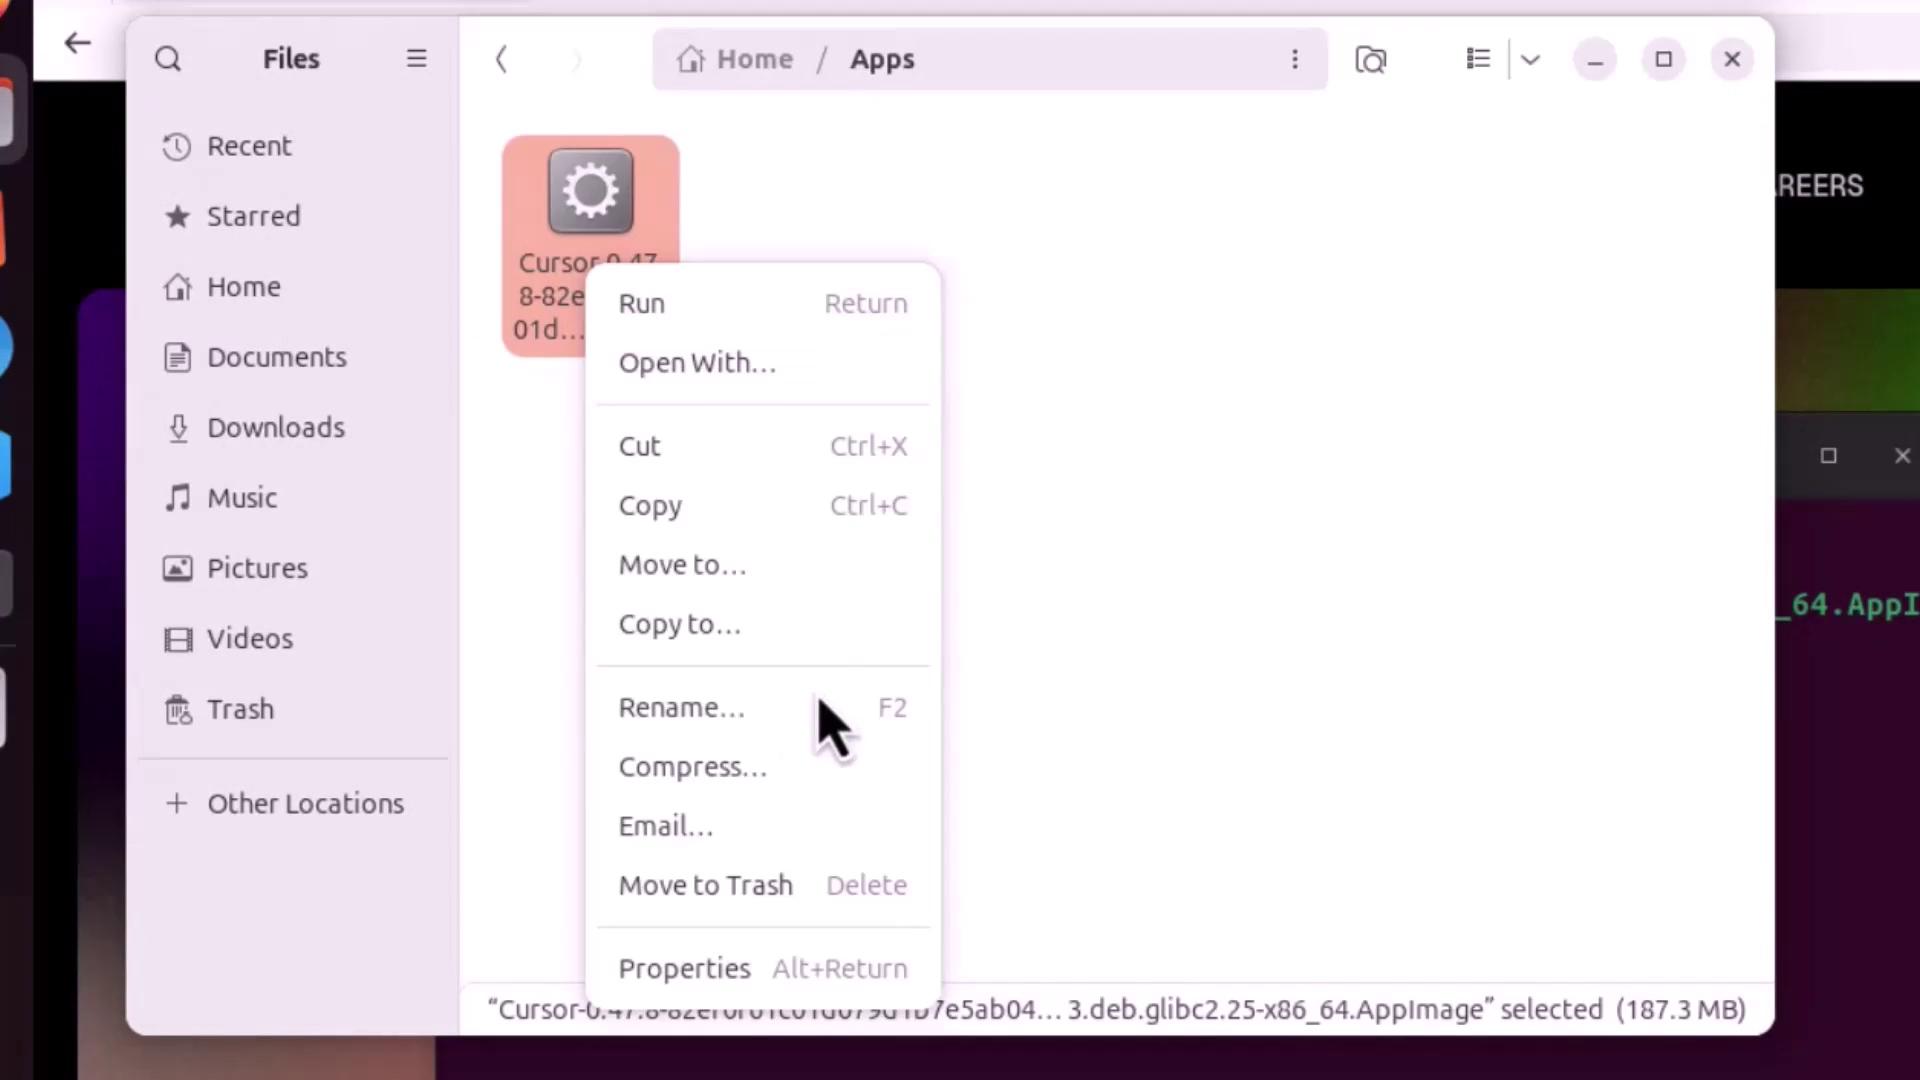
  2. Make the AppImage executable:

    • Graphical: Right-click → PropertiesPermissions → Tick Allow executing file as program

      The image shows a file manager window on a computer, with a right-click context menu open for a file named "Cursor" in the "Apps" directory. The menu options include actions like Run, Open With, Cut, Copy, and Rename.

    • Terminal:

      cd ~/Apps
      chmod +x Cursor.AppImage
      ./Cursor.AppImage
      

Missing FUSE Library

If you encounter an error about libfuse.so.2, install FUSE before launching:

sudo apt-get update && sudo apt-get upgrade -y
sudo apt install libfuse2
./Cursor.AppImage
  1. On first launch, configure your preferences and import VS Code extensions just like on macOS.

    The image shows a computer screen with a dialog box for importing VS Code extensions, offering options to "Start from Scratch" or "Use Extensions." The left side displays a vertical dock with various application icons.

  2. Sign in to your Cursor account to sync settings and projects.


Quickstart: Verify Your Setup

Cursor’s integrated terminal adapts to each OS:

  • Windows: PowerShell, Command Prompt, or WSL
  • macOS: Z shell (zsh)
  • Linux: Bash

Create a simple Python project to ensure everything is working:

# hello_world.py
def main():
    print("Hello, World!")

if __name__ == "__main__":
    main()

Run it in Cursor’s terminal:

python3 hello_world.py
# Output:
# Hello, World!

On Ubuntu, you can pin Cursor to the Dock (Dash) by right-clicking its icon and selecting Add to Favorites.


References

Watch Video

Watch video content

Previous
Cost Models