Cursor AI

Understanding and Customizing Cursor

Demo Choosing Models

In this lesson, we’ll show you how to run Flask tests and configure different AI models inside Cursor for autocompletion, code explanation, or multi-step tasks. By the end, you’ll know how to select, customize, and manage models to fit your development workflow.

1. Running Flask Application Tests

Start by defining fixtures and writing basic tests for your Flask app:

import os
import pytest
from app import app, init_db

@pytest.fixture
def client():
    # Initialize test client and database
    with app.test_client() as client:
        with app.app_context():
            init_db()
        yield client
    # Clean up temp database files
    os.close(db_fd)
    os.unlink(app.config['DATABASE'])

def test_index_redirect(client):
    """Ensure the index page redirects to login."""
    response = client.get('/')
    assert response.status_code == 302
    assert '/login' in response.headers['Location']

def test_register(client):
    """Verify user registration flow."""
    response = client.post(
        '/register',
        data={'username': 'testuser', 'password': 'testpass'},
        follow_redirects=True
    )
    assert response.status_code == 200
    assert b'Account created successfully!' in response.data

2. Browsing Model Options in Cursor

Open the chat interface to explore AI model settings:

  • Left sidebar: Toggle autocompletion modes (Ask, Agentic, Edit).
  • Right pane: Choose a specific model or leave on Auto-select.

The image shows a code editor with a dropdown menu for selecting an AI model, highlighting "claude-3.5-sonnet." The background displays Python code related to a web application.

Note

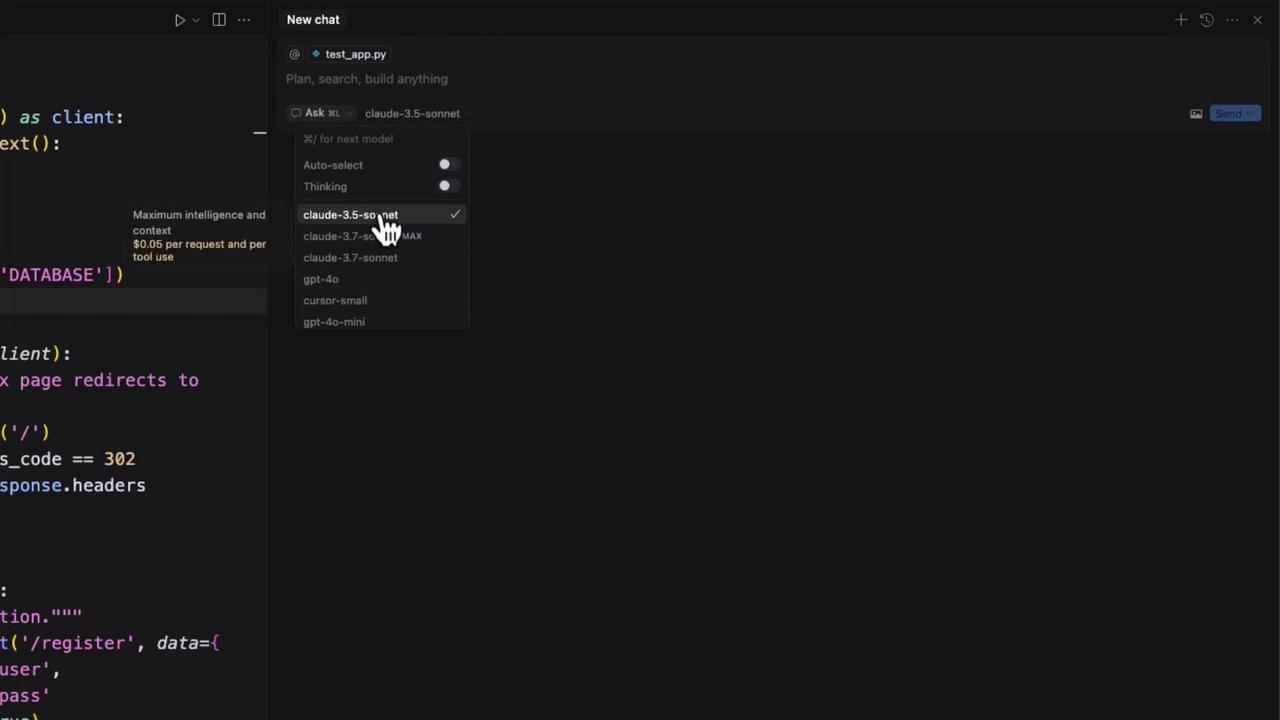
Auto-select lets Cursor pick the best model based on your preferences and credits.

3. AI Model Categories

CategoryDescription
Traditional LLMDirect response (e.g., ChatGPT, Claude).
Thinking LLMReturns answer + step-by-step reasoning.
Agentic LLMAutomates complex, multi-step workflows (Agentic mode).

Example: 2 + 2

Traditional LLM

Prompt: "What is 2 plus 2?"
Response: "4"

Thinking LLM

To find 2 plus 2, I add the numbers together: 2 + 2 = 4. Therefore, the answer is 4.
ModelKey StrengthPricing Example
Claude 3.5 SonnetReliable baseline
Claude 3.7Advanced reasoning$0.05 per request/tool
GPT-4High speed & accuracy
GPT-4 MiniCost-effective

Warning

Costs can add up quickly—monitor your credits and usage in Cursor Pro or via public API billing.

5. Ask Mode for Detailed Explanations

Switch to Ask Mode to request human-friendly explanations:

“Explain what def test_index_redirect means.”

def test_index_redirect(client):
    """Test that the index page redirects to login."""
    response = client.get('/')
    assert response.status_code == 302
    assert '/login' in response.headers['Location']

With GPT-4 in Ask Mode, you might see:

“This function uses Flask’s test client to ensure a request to / returns a 302 redirect to /login.”

Experiment by selecting a thinking model and adding prompts like “explain it like I’m five” for varied results.

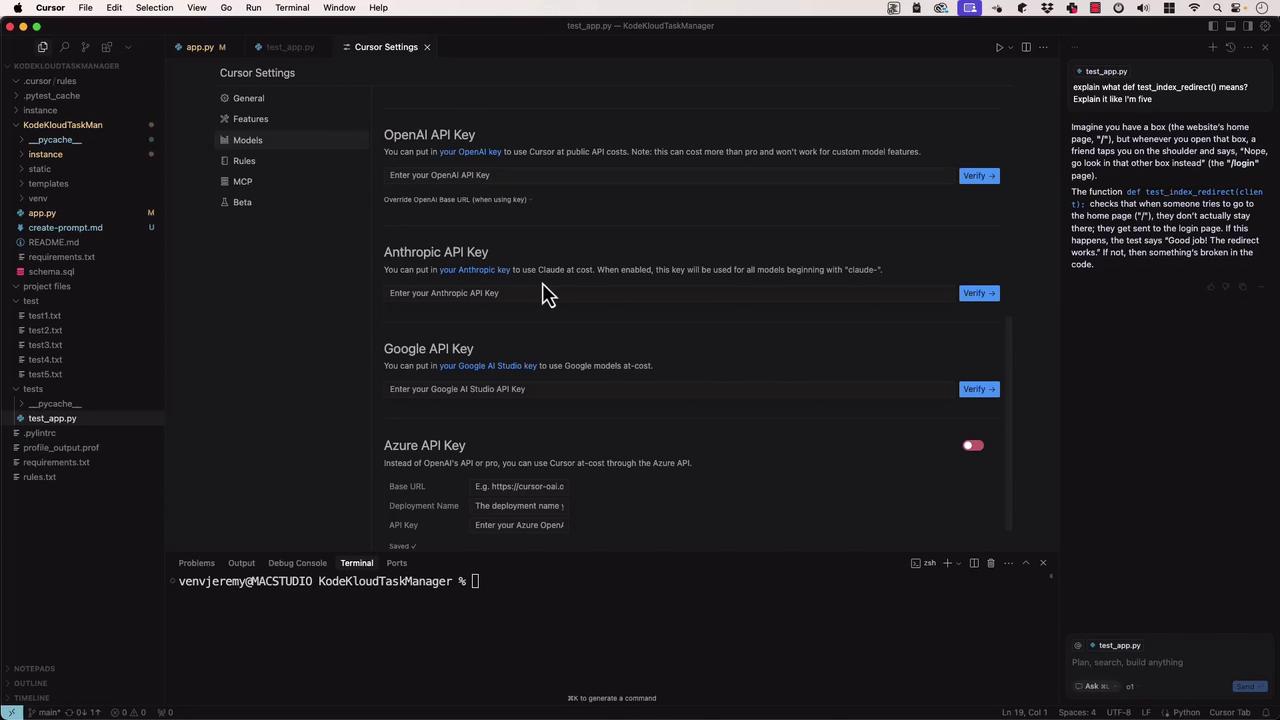
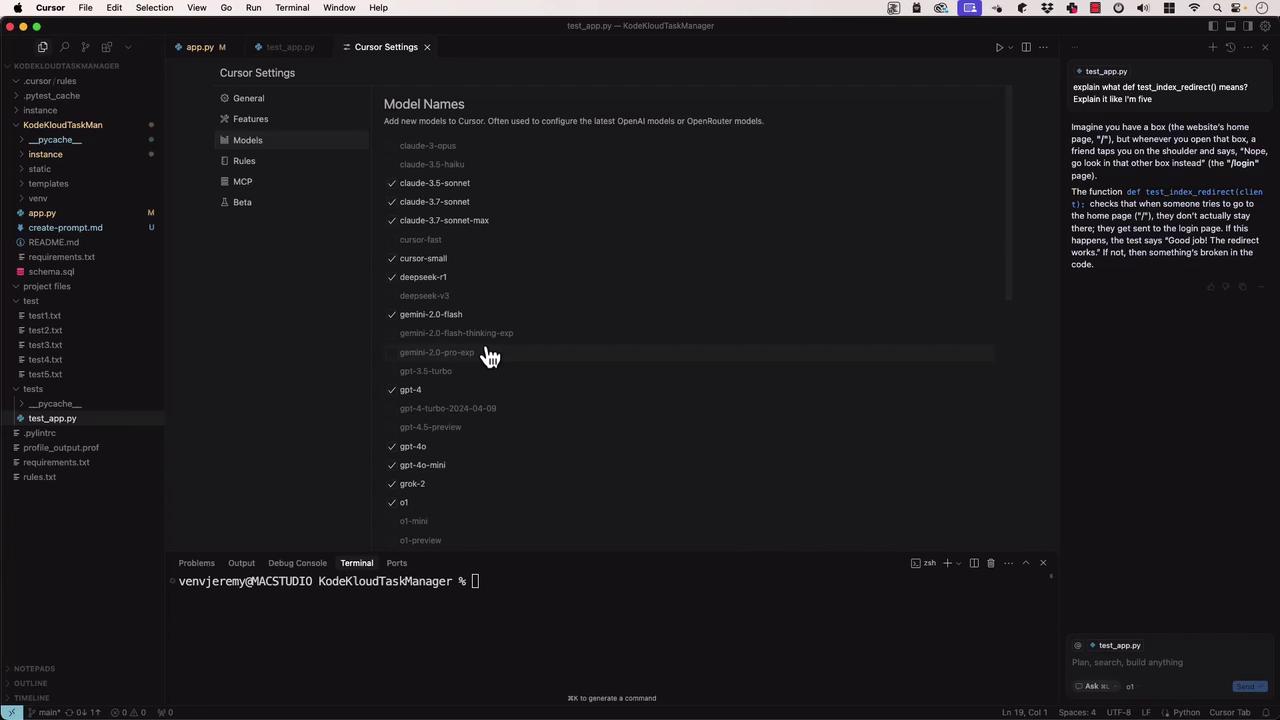
6. Customizing Models in Settings

Under Cursor Settings → Models, you can:

The image shows a code editor interface with a "Cursor Settings" panel open, displaying options for entering API keys for OpenAI, Anthropic, Google, and Azure. The left sidebar lists project files, and a terminal is visible at the bottom.

Enable or disable the models you need, then close the panel to apply changes.

The image shows a code editor with a file directory on the left and a "Cursor Settings" window in the center, listing various model names. A terminal is open at the bottom, and a chat-like explanation is visible on the right.

Watch Video

Watch video content

Previous
Introduction