Prerequisites
- An active Azure subscription
- Contributor or Owner access to create resources
- Basic familiarity with Azure Portal navigation
1. Create a Storage Account
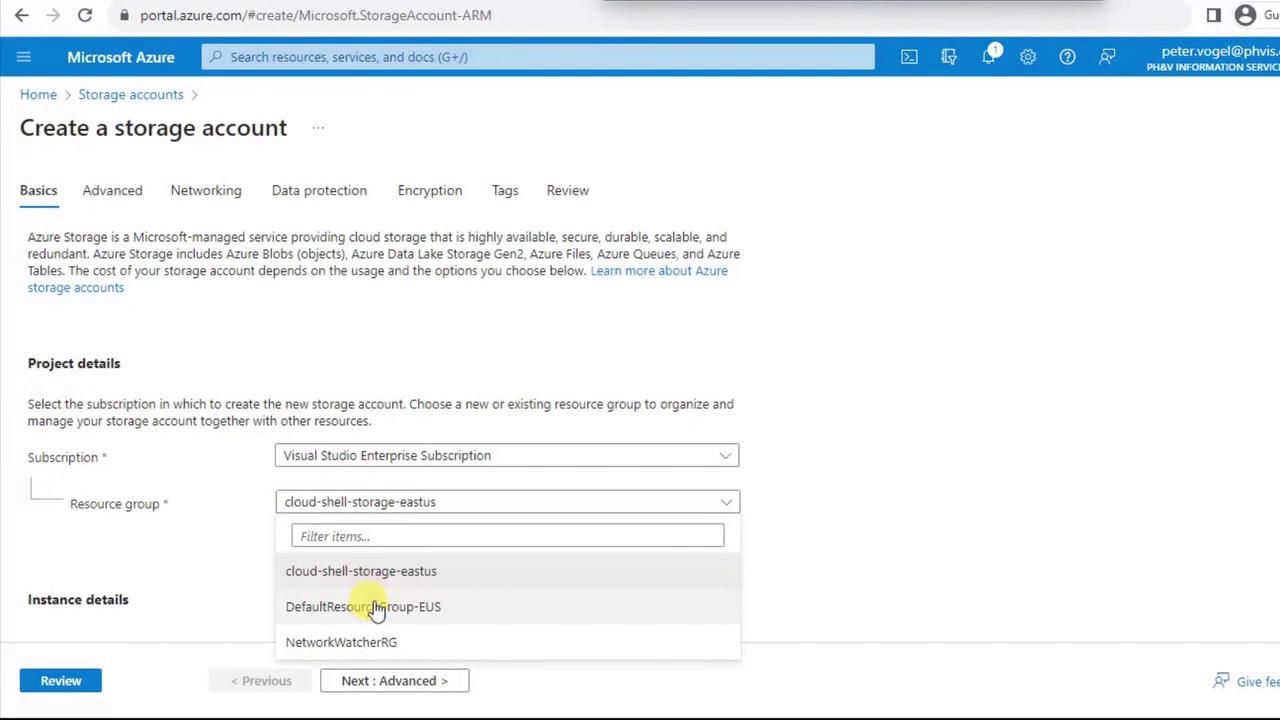
- Navigate to Storage accounts in the Azure portal and click + Create.
- On the Basics tab:
- Select your Subscription.
- Choose or create a Resource group (e.g.,
EUS). - Enter a globally unique name (lowercase, no spaces), for example:
- Under Performance, select Premium. Then choose Block blobs for optimized object storage.
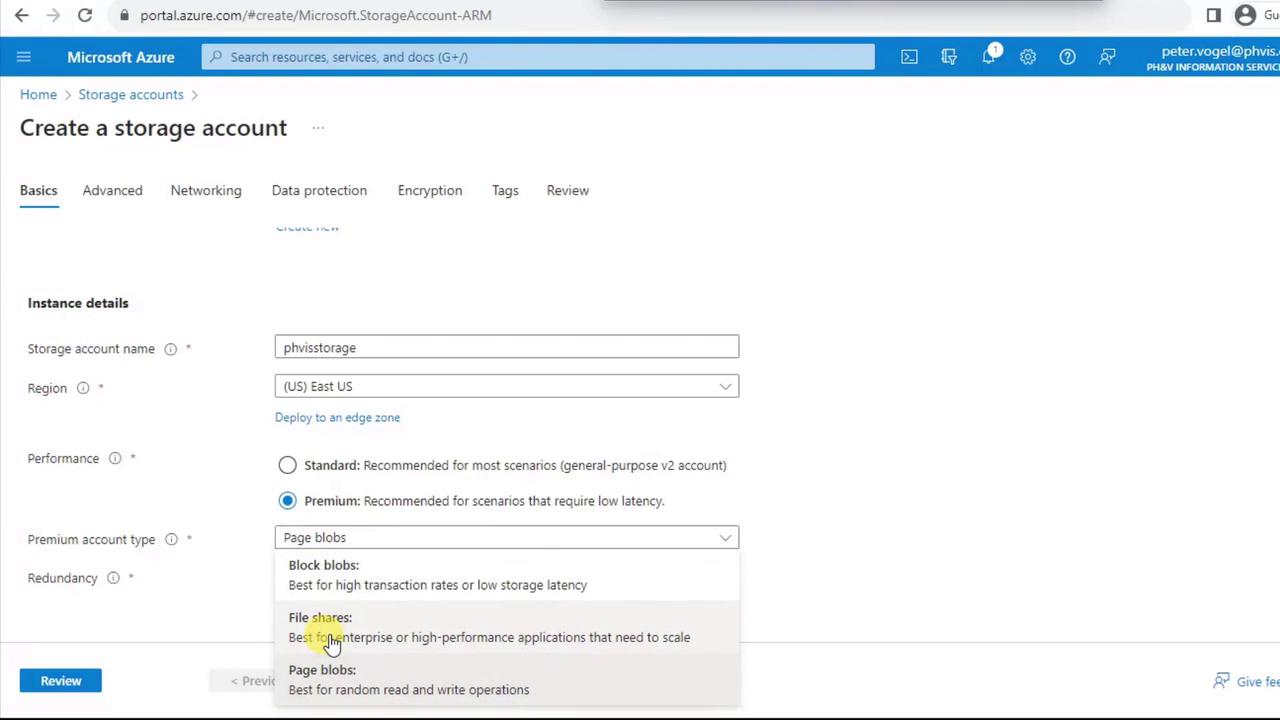
-
In Replication, Premium Block Blobs support only:
Replication Option Description Locally redundant storage (LRS) Three copies within a single datacenter. Zone-redundant storage (ZRS) Copies spread across availability zones in the region. Select Locally redundant storage (LRS) for single-region durability.
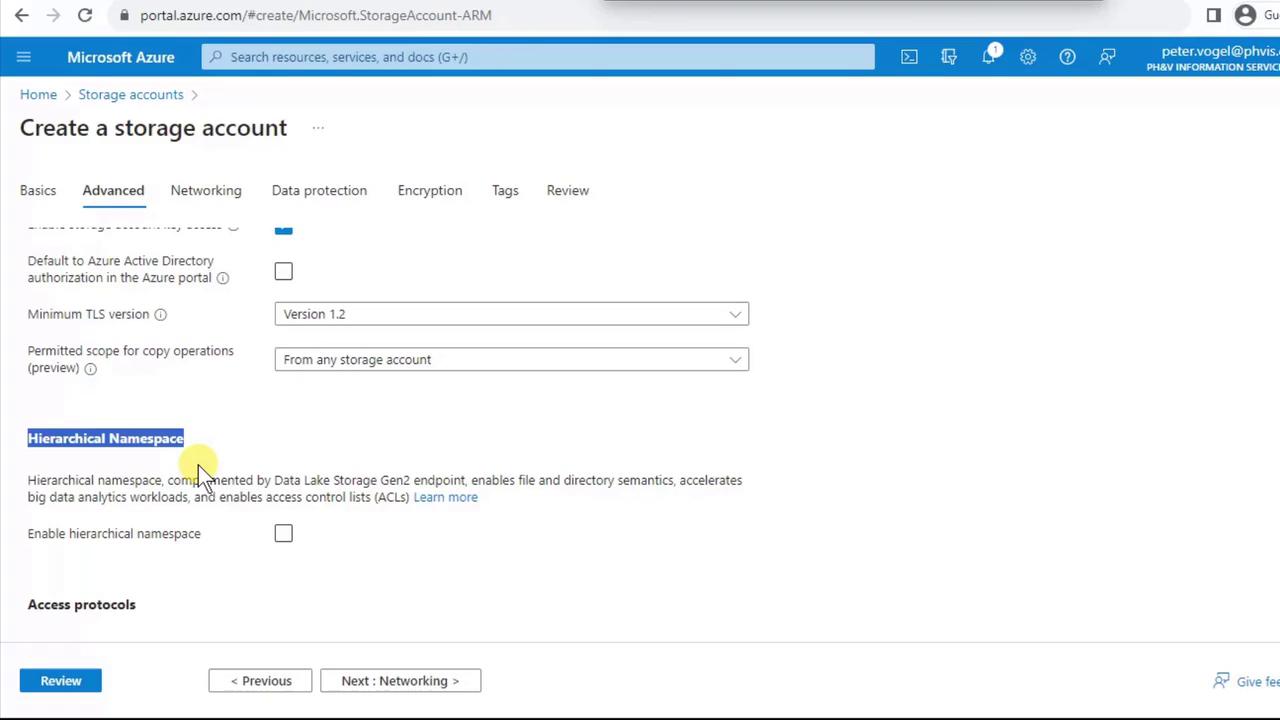
- Switch to the Advanced tab to review settings like Hierarchical namespace (required for Data Lake Storage Gen2).
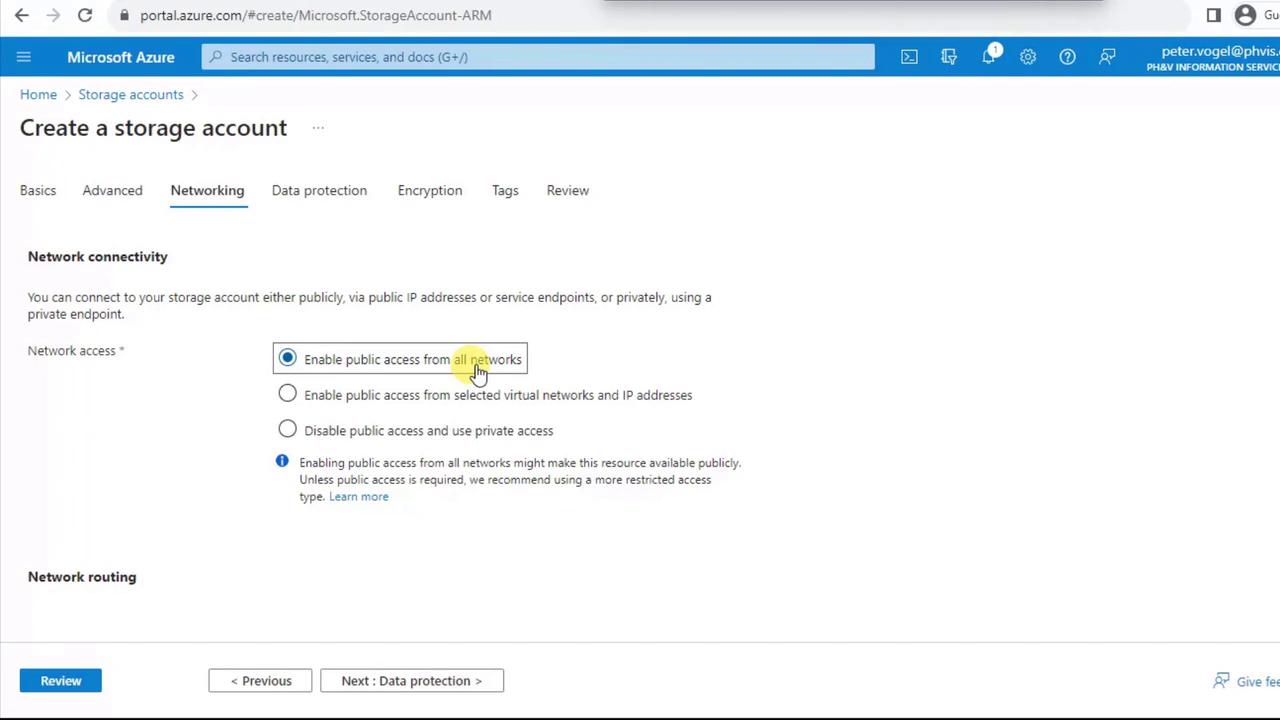
- Under Networking, choose Enable public access from all networks to allow authenticated access from any location.
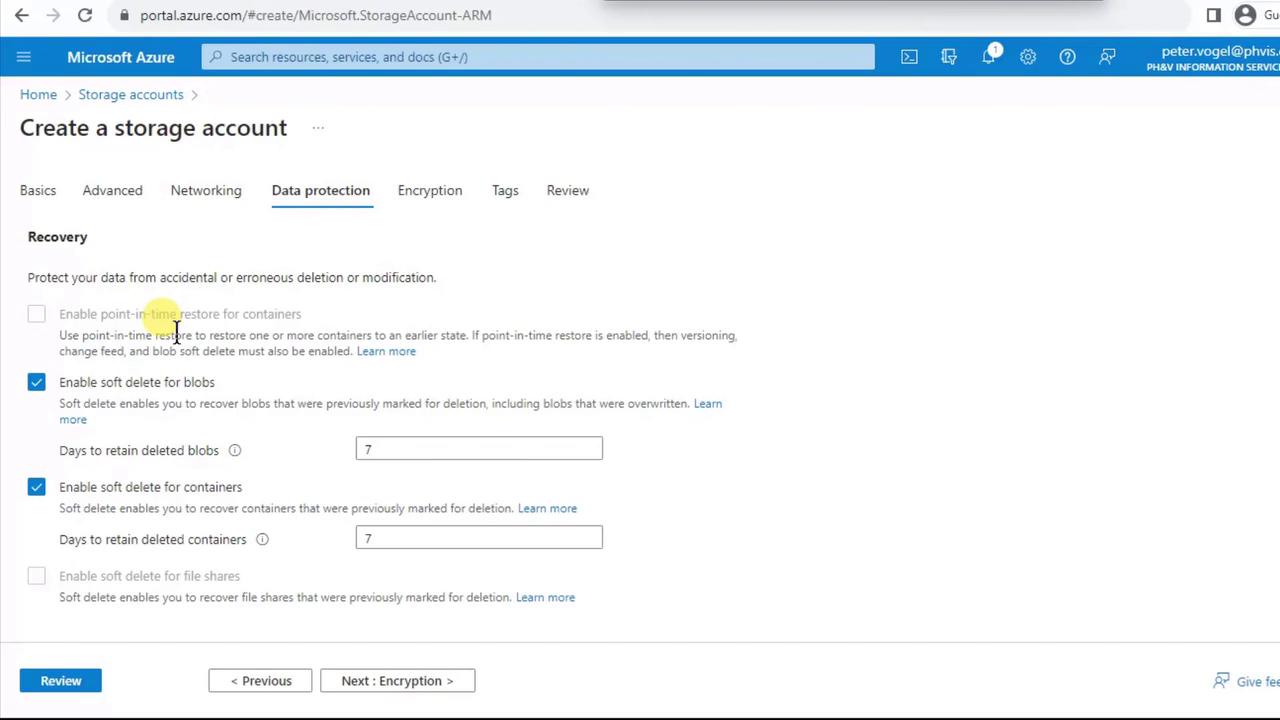
- On Data Protection, note that Premium accounts have soft delete enabled by default (7-day retention). Point-in-time restore isn’t available for Premium. You can also enable versioning and immutability policies.
- For Encryption, choose between Microsoft-managed keys or customer-managed keys in Azure Key Vault. The default is Microsoft-managed.

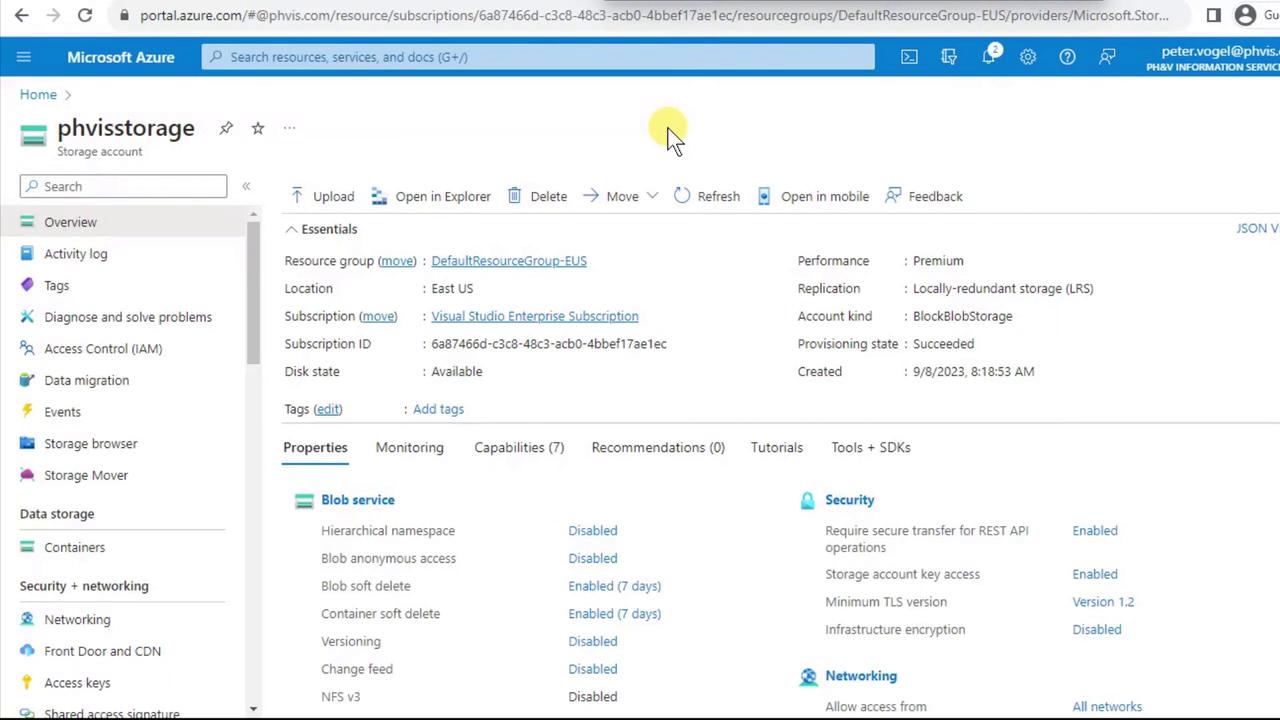
- Click Review + create, validate your settings, and then Create. Wait for deployment to complete.
2. Create a Blob Container
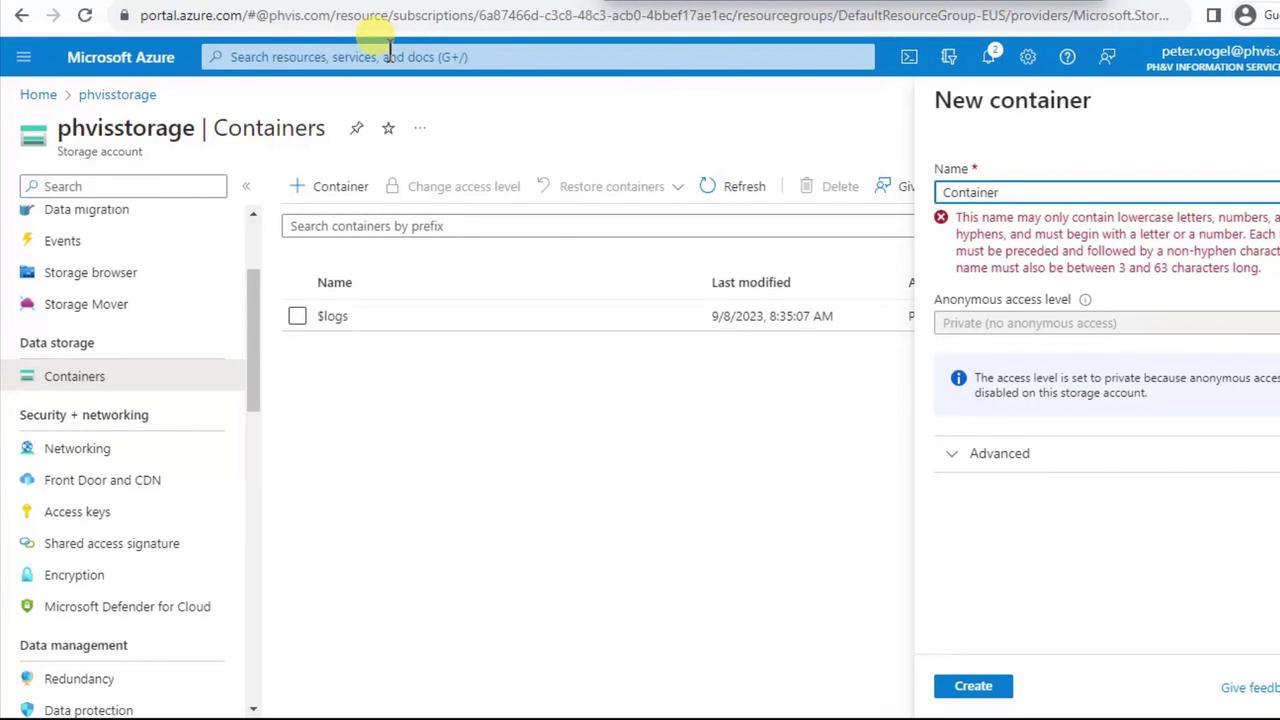
- Open your newly created storage account and click Containers under Data storage.
- Click + Container, enter a lowercase name (e.g.,
cs), then Create.
Container names must be 3–63 characters, lowercase letters and numbers only, without special characters or spaces.
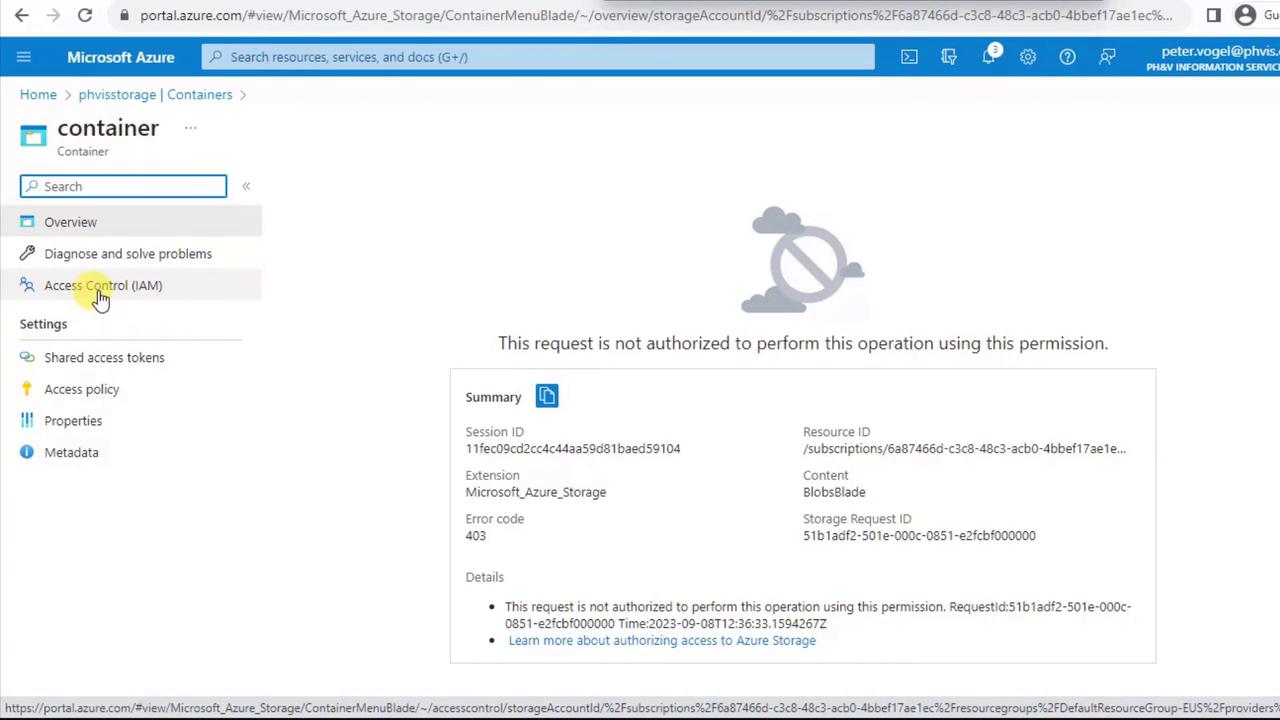
3. Assign Access Roles
If you try to browse or upload without proper permissions, you’ll encounter a 403 Forbidden error.Error code 403 indicates you need the Storage Blob Data Contributor role (or higher) to modify container contents. Assign this role at the storage account or container scope.
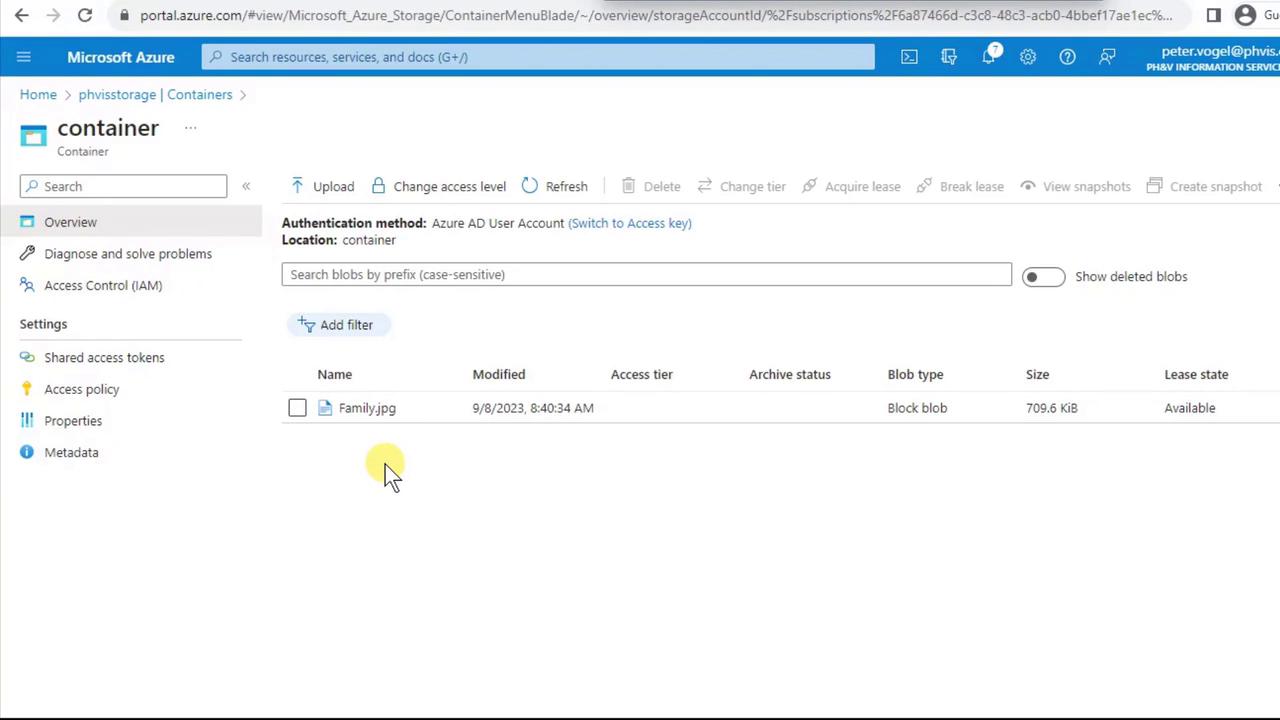
4. Upload a Blob
- Inside your container, click Upload.
- Select a local file (e.g.,
Family.jpg) and click Upload. - After uploading, you’ll see the blob listed along with its metadata:
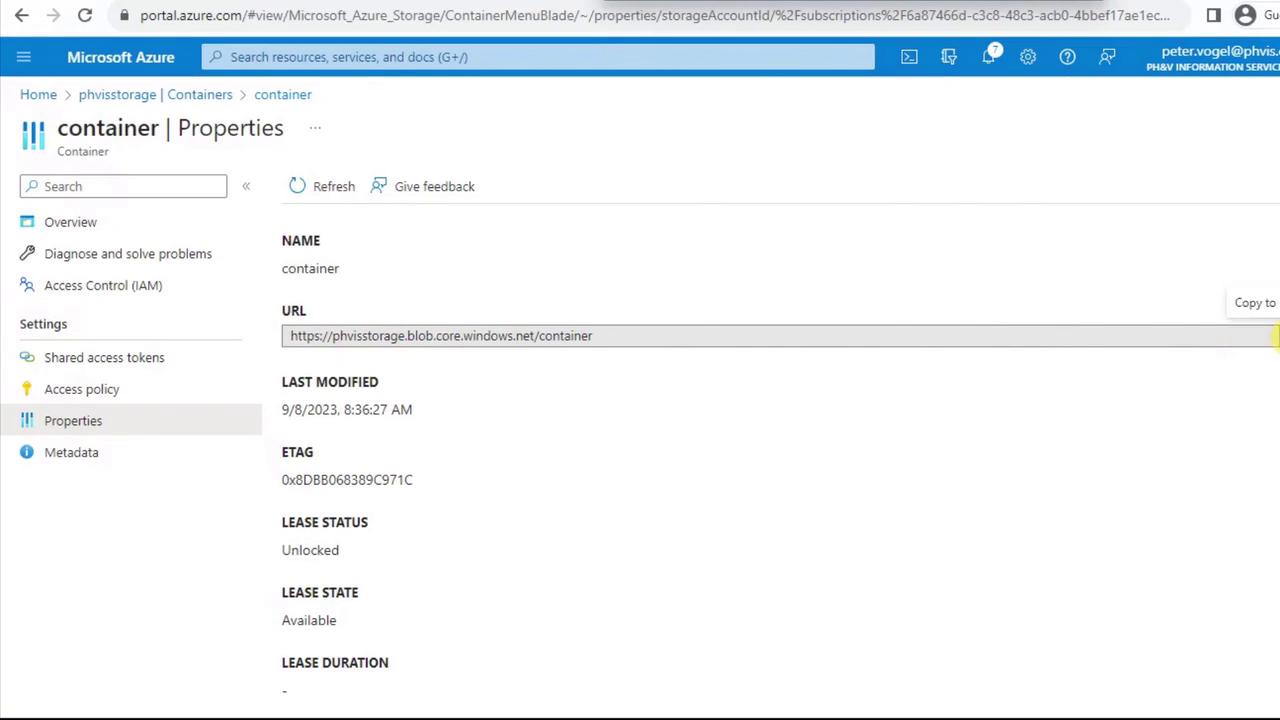
5. View Container Properties
To programmatically access your blobs, you need the container’s URL and metadata:- From the container menu, select Properties.
- Copy the URL, review the ETag, lease status, and other details.
6. Update Storage Account Configuration
At any time, you can revisit Configuration on the storage account to modify settings:- Secure transfer requirement
- Blob anonymous access (allow read without authentication)
- Storage account key access

Next Steps & References
- Explore Azure Storage documentation for advanced scenarios.
- Learn about RBAC roles for Azure Storage to secure your data.
- Automate deployments with Azure CLI or Terraform.