In this guide, you’ll learn how to provision an Azure Storage Account through the Azure portal. Follow each step carefully to set up your storage with the right configuration for performance, redundancy, and cost.Documentation Index
Fetch the complete documentation index at: https://notes.kodekloud.com/llms.txt
Use this file to discover all available pages before exploring further.
1. Navigate to Storage Accounts
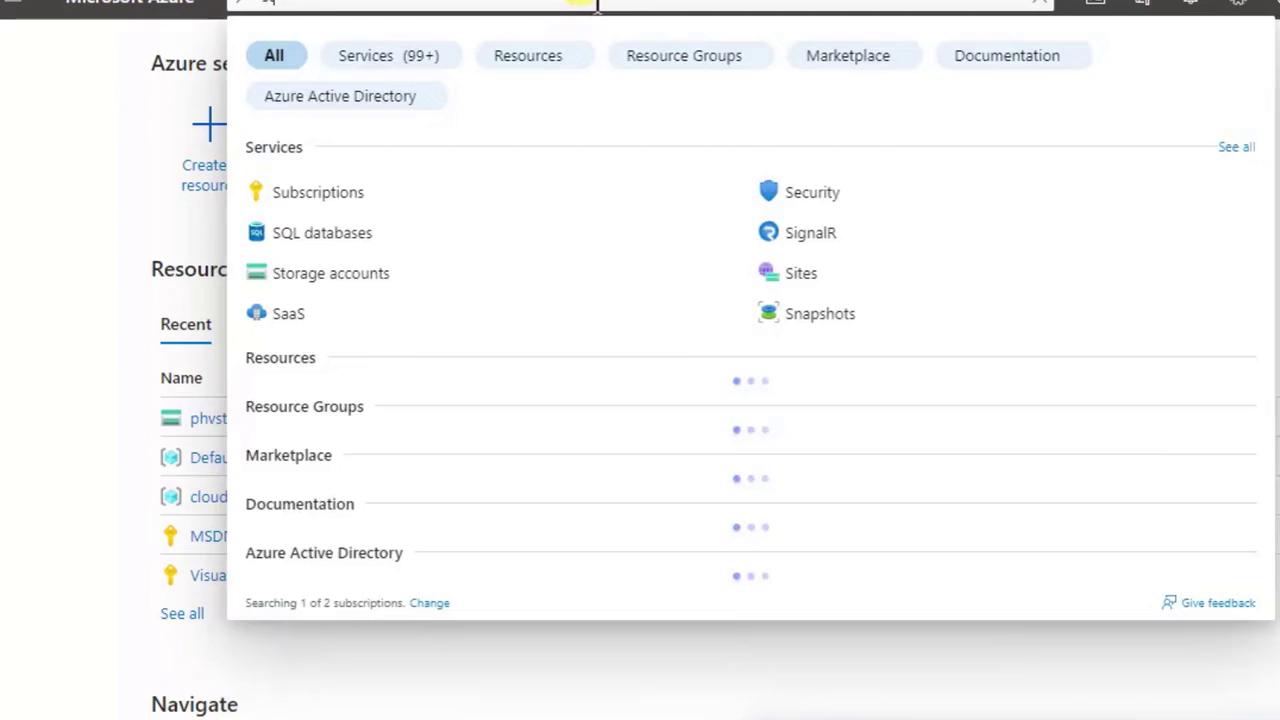
- Sign in at portal.azure.com to reach the Azure dashboard.
- Use the Search bar at the top instead of scrolling through the left-hand menu.
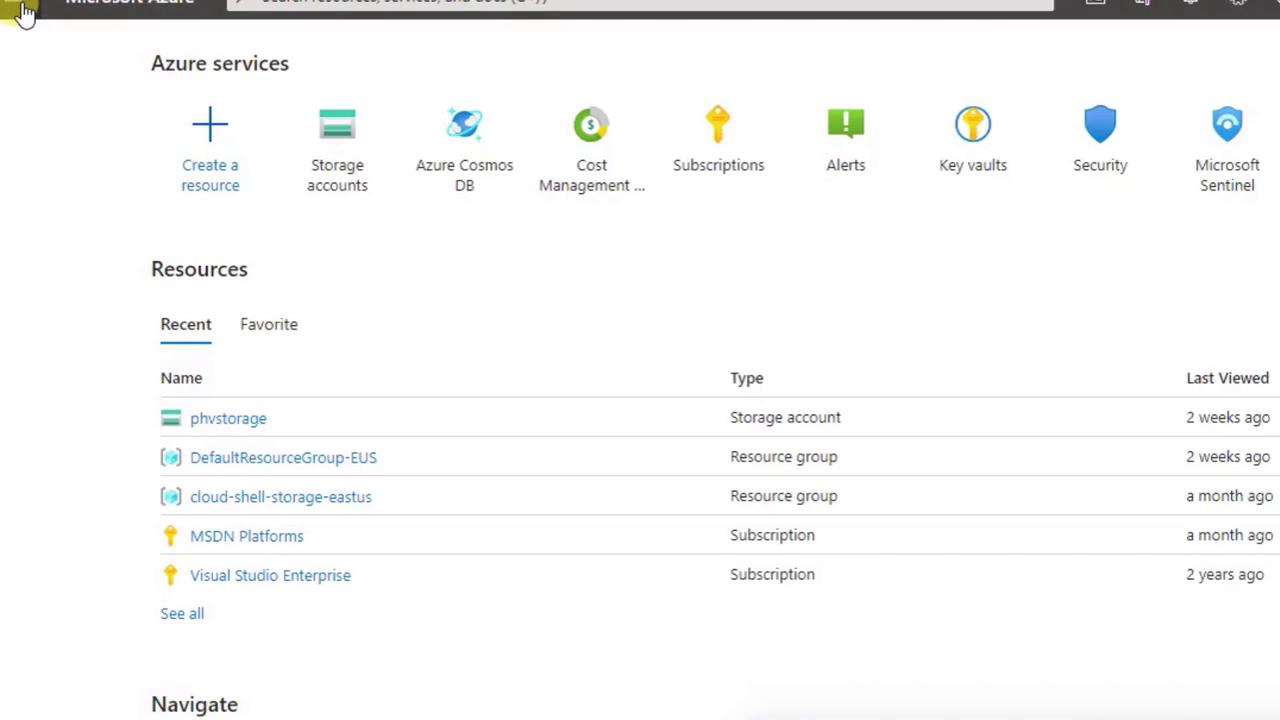
- Type Storage accounts and select it from the dropdown.
2. Launch the Creation Wizard
- In the Storage Accounts blade, click + Create (or New) to open the multi-step wizard.
- You’ll see tabs across the top (Basics, Networking, Data Protection, etc.) and a Review + create button at the bottom.
Most demos only require filling out the Basics tab—the other tabs use recommended defaults.
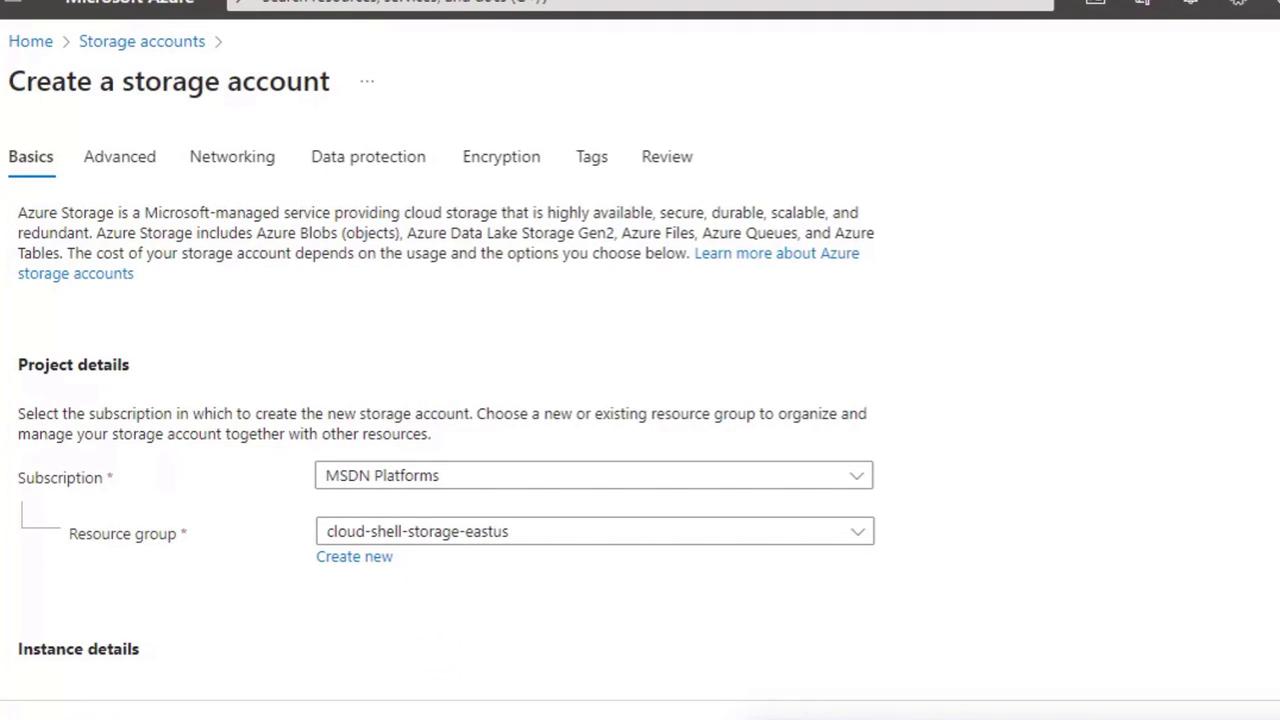
3. Complete the Basics Tab
Populate these four required fields:| Field | Description |
|---|---|
| Subscription | Choose the Azure subscription for billing. |
| Resource Group | Select an existing resource group or create a new one for organizing related resources. |
| Storage Account Name | Must be globally unique, lowercase letters and numbers only, no spaces. |
| Region | The Azure datacenter location. Azure also assigns a paired region for geo-redundancy. |
Your storage account name forms part of the service URL (
<name>.blob.core.windows.net). If the chosen name is taken, append a unique suffix (e.g., your initials or date).4. Select Performance and Redundancy Options
| Option | Choices | Use Case |
|---|---|---|
| Performance | Standard (cost-effective) Premium (low latency) | Standard for general workloads; Premium for I/O-intensive. |
| Redundancy | Locally-redundant (LRS) Geo-redundant (GRS) Read-access geo-redundant (RA-GRS) | LRS for single-region protection; GRS for cross-region. |
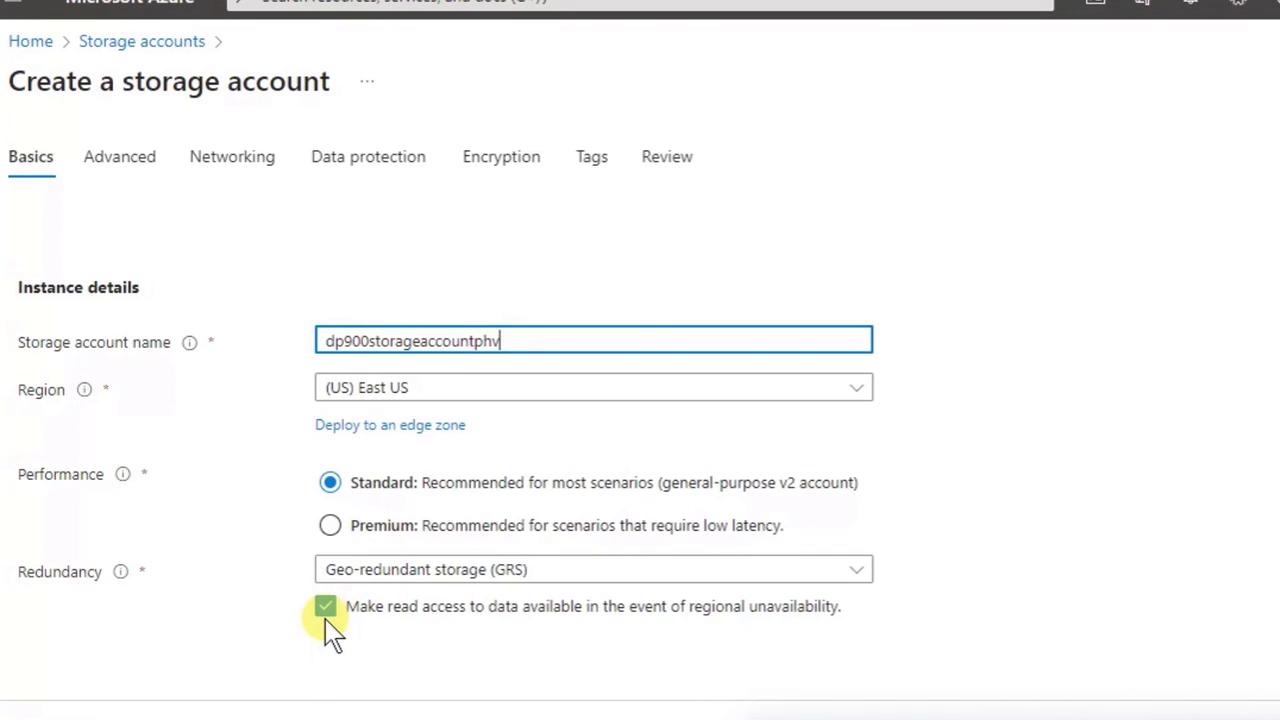
- Performance: Standard
- Redundancy: Geo-redundant storage (GRS)
5. Review + Create
- Click Review + create.
- The portal validates your configuration.
- Click Create to start deployment.
6. Explore Your New Storage Account
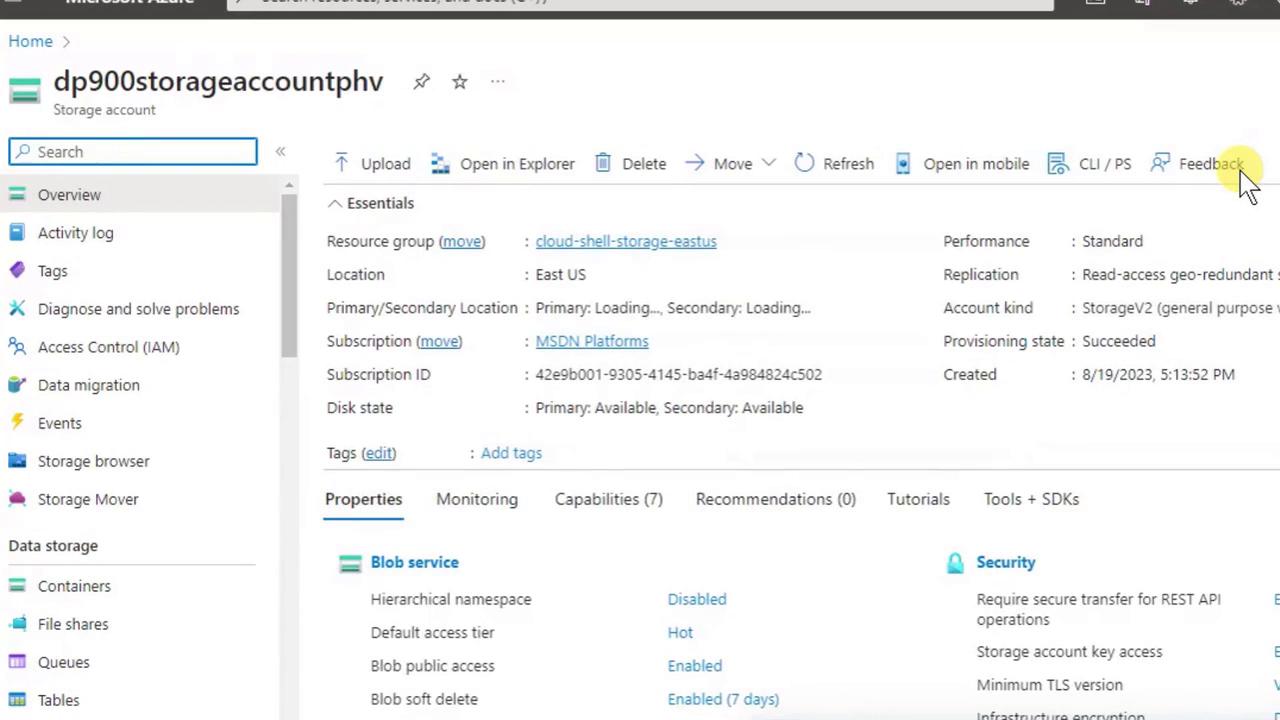
- View Containers (Blob storage) and File shares (SMB file storage)
- Check essentials like resource group, subscription, and region
- Upload data or delete the account
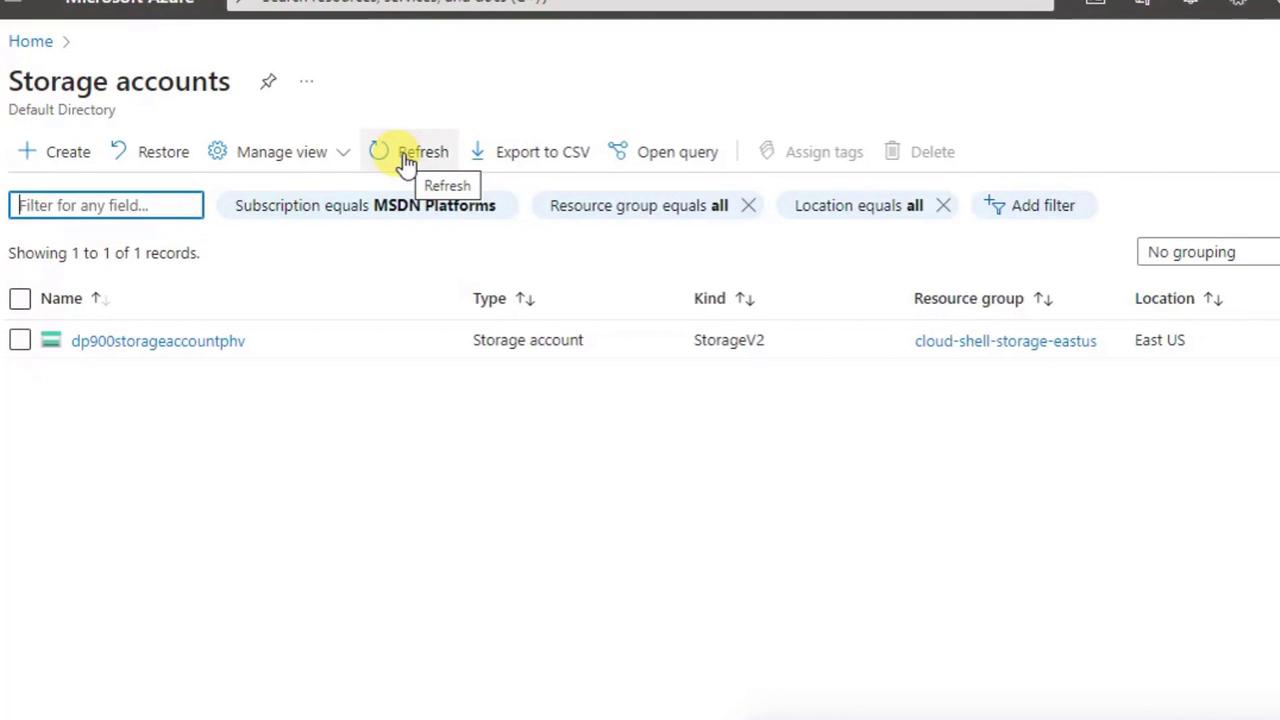
7. List All Storage Accounts
- Search again for Storage accounts.
- Confirm the correct Subscription filter is applied.
- Click Refresh if your new account isn’t visible immediately.