Docker Certified Associate Exam Course
Docker Image Management
Demo Build HTTPD image
In this tutorial, you’ll learn how to build a lightweight, custom Docker image for an HTTPD (Apache) web server on CentOS 7. We’ll cover:
- Setting up the build context
- Crafting an optimized
Dockerfile
- Adding a simple
index.html
- Building, testing, and pushing your image to Docker Hub
By following these steps, you’ll gain hands-on experience with multi-layered Docker images and best practices for containerized web servers.
1. Prepare the Build Context
First, create an isolated directory for all build artifacts. This ensures that nothing outside the folder is accidentally added to your image.
cd /tmp
mkdir firstimage && cd firstimage
ls -1
# (should be empty)
Build Context
Everything in this directory (including subdirectories) is sent to the Docker daemon during the build. Keep it lean to speed up image creation.
2. Write the Dockerfile
Create a file named Dockerfile
:
vi Dockerfile
Populate it with the following content:
# Base image: CentOS 7
FROM centos:7
# 1. Update and install HTTPD
RUN yum -y update && \
yum -y install httpd
# 2. Copy a custom HTML page into the default document root
COPY index.html /var/www/html/index.html
# 3. Expose port 80 for HTTP traffic
EXPOSE 80
# 4. Start HTTPD in the foreground
CMD ["httpd", "-D", "FOREGROUND"]
Instruction | Description |
---|---|
FROM | Specifies the base image (CentOS 7) |
RUN | Runs commands in a new layer |
COPY | Copies files from build context |
EXPOSE | Documents the port on which the container listens |
CMD | Defines the default command at container start |
Security Reminder
Running containers as root can pose risks. For production workloads, consider adding a non-root user and switching with USER
.
For more details on Dockerfile syntax, see the Dockerfile reference.
3. Create the HTML Page
Add a simple index.html
in the same directory:
vi index.html
Example content:
<!DOCTYPE html>
<html lang="en">
<head>
<meta charset="UTF-8">
<title>Welcome</title>
</head>
<body>
<h1>Hello from KodeKloud Again</h1>
</body>
</html>
Verify both files are present:
ls -l
# total 8
# -rw-r--r-- 1 root root 199 May 4 13:38 Dockerfile
# -rw-r--r-- 1 root root 98 May 4 13:39 index.html
4. Build the Docker Image
Use a clear, versioned tag for your image:
docker image build -t yogeshraheja/kodekloud-web-image:v1 .
You should see output for each of the five build steps. Once complete, confirm the image exists:
docker image ls
Inspect the image layers:
docker image history yogeshraheja/kodekloud-web-image:v1
5. Test the Container
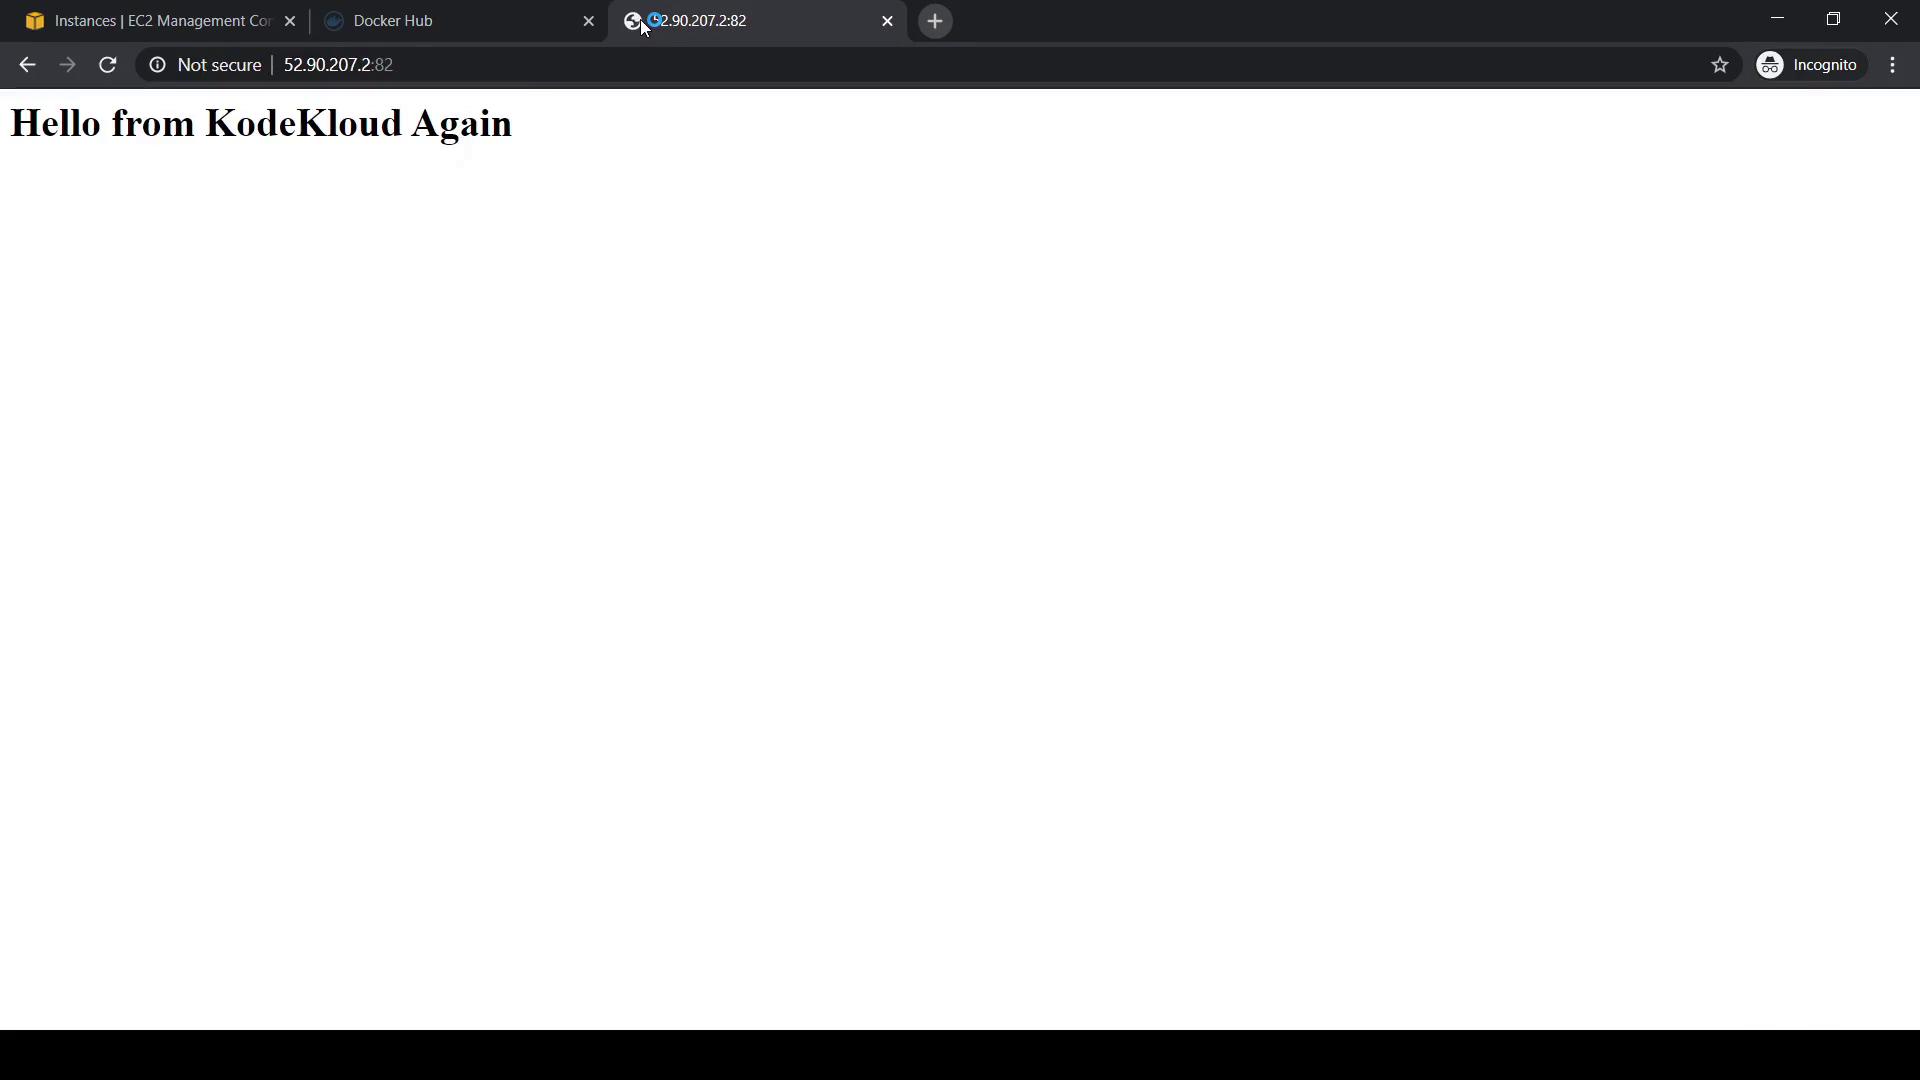
Run a container, mapping host port 82 to container port 80:
docker container run -d \
-p 82:80 \
--name httpd-test \
yogeshraheja/kodekloud-web-image:v1
Open your browser to http://<host_ip>:82
. You should see your custom page:
6. Push to Docker Hub
Authenticate and push your image so others can pull it:
docker login
docker push yogeshraheja/kodekloud-web-image:v1
Verify on Docker Hub that your repository is public and the tag is available.
Quick Command Reference
Command | Purpose |
---|---|
docker image build -t user/repo:tag . | Build an image with a tag from the current directory |
docker container run -d -p host_port:container_port --name name image | Run a container detached with port mapping |
docker image ls | List all local images |
docker image history image_name:tag | Show the history of image layers |
docker push user/repo:tag | Push a local image to Docker Hub |
Links and References
Watch Video
Watch video content