1. Planning Your Dockerfile
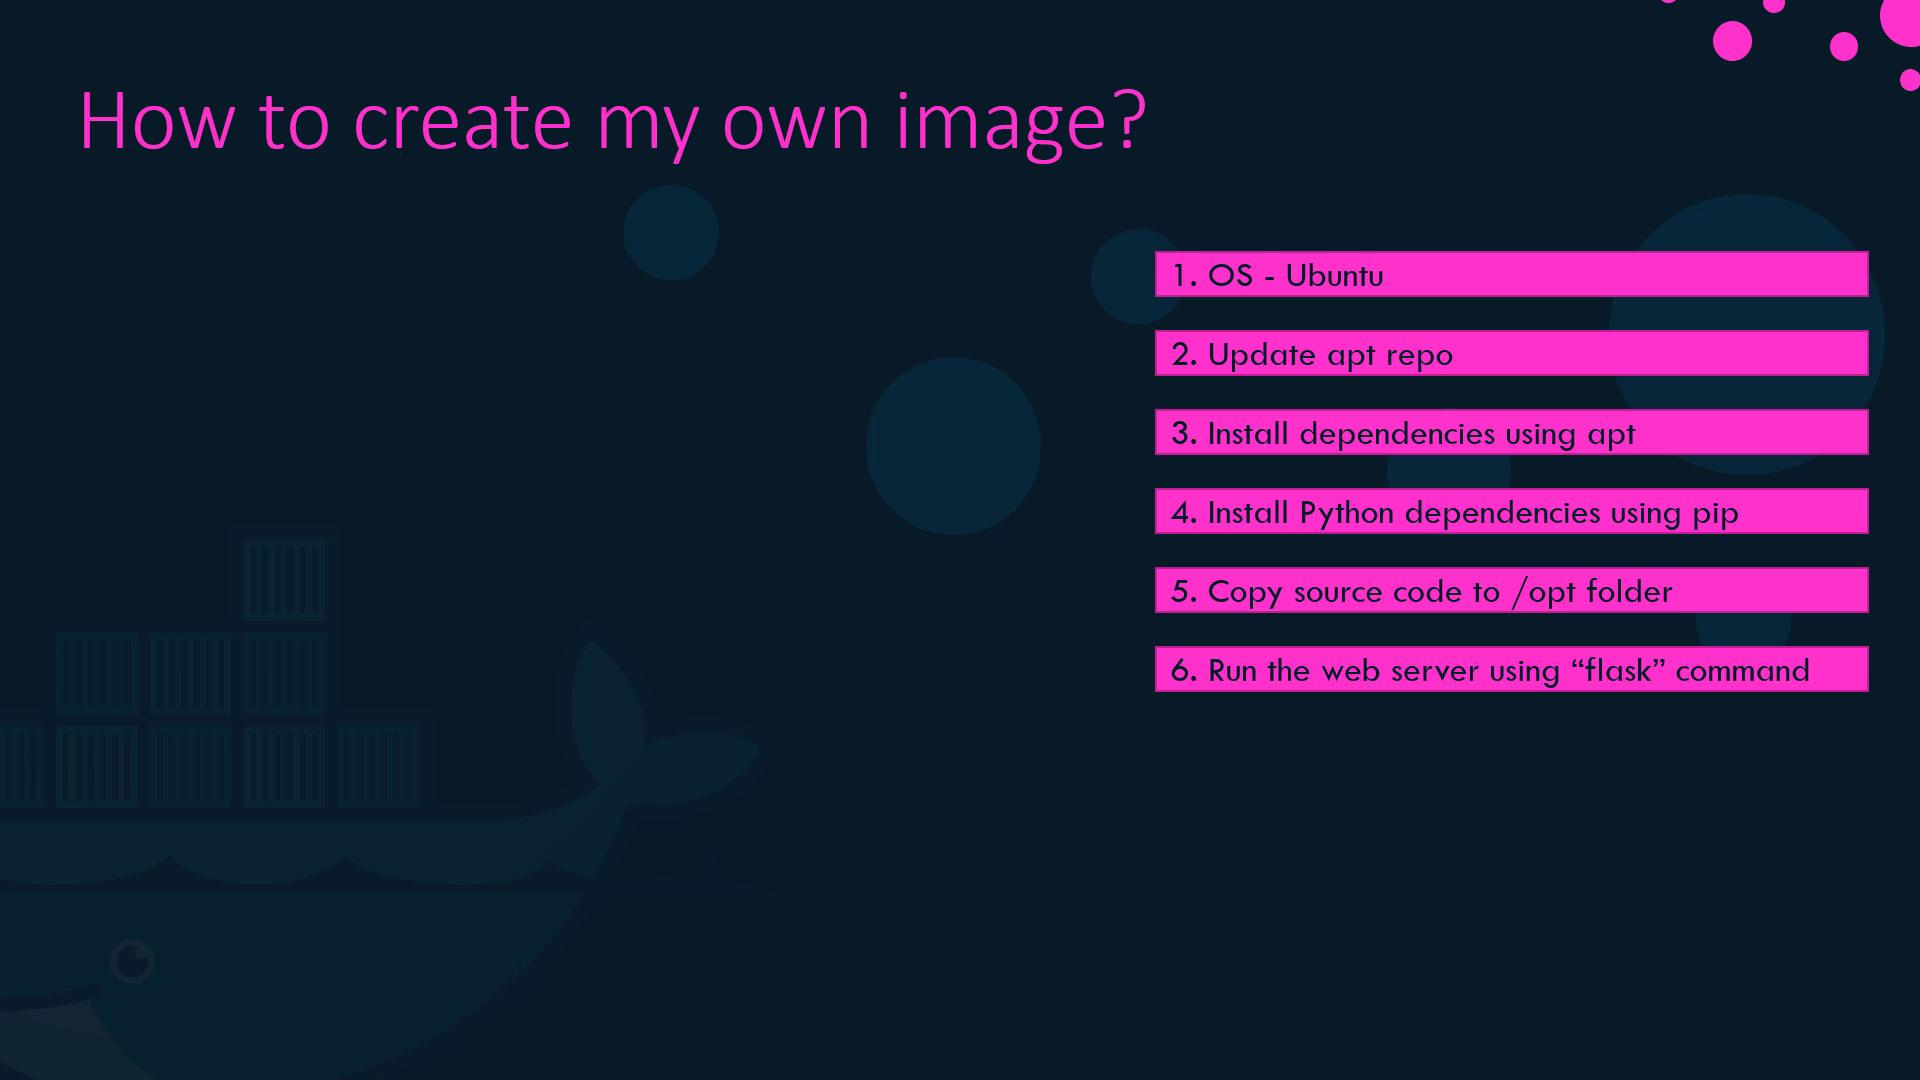
Before writing any code, outline the manual steps you’d perform to deploy your Flask application:- Select a base image (e.g., Ubuntu or
python:3-slim). - Update and install OS packages (
apt-get update && apt-get install). - Install Python dependencies (
pip install). - Copy application source code into the image.
- Configure environment variables and expose required ports.
- Define the container’s startup command.
Using an official Python base image (for example,
python:3.9-slim) can reduce image size and simplify dependency installation.2. Writing the Dockerfile
Create a file namedDockerfile at your project root and add the following contents:
| Instruction | Purpose | Example |
|---|---|---|
| FROM | Sets the base image | FROM ubuntu:20.04 |
| RUN | Executes commands in a new layer | RUN pip3 install flask flask-mysql |
| WORKDIR | Sets working directory inside the container | WORKDIR /opt/source-code |
| COPY | Copies files from host to container | COPY . . |
| EXPOSE | Documents the port the container listens on | EXPOSE 5000 |
| ENTRYPOINT | Defines the startup command | ENTRYPOINT ["flask", "run", ...] |
3. Build, Tag, and Push Your Image
-
Build the image locally and add a tag:
-
Push to Docker Hub (replace with your repository):
4. Inspecting Image Layers with docker history
Each Dockerfile instruction creates a new image layer. To view these layers and their sizes, run:
If you frequently change application code but not OS dependencies, structure your Dockerfile so that
COPY . . appears after installing system and Python packages. This maximizes cache reuse and speeds up rebuilds.5. Leveraging Build Cache for Faster Iteration
Docker caches successful build steps. On subsequent builds:- Steps unchanged since the last build use cached layers.
- Only modified steps (and those that follow) are re-executed.