Docker Certified Associate Exam Course
Docker Image Management
Demo Image Registry and Operations
In this lesson, we’ll dive into Docker Hub and walk through essential image operations using both the web interface and Docker CLI. You’ll learn how to find, pull, tag, push, inspect, save, and remove images efficiently.
1. Exploring Docker Hub
Open your browser and go to hub.docker.com.
Note
If you don’t have a Docker Hub account yet, sign up now—you’ll need it to push images later.
Docker Hub classifies images into three categories:
| Resource Type | Description | Identifier Example |
|---|---|---|
| Official images | Maintained by Docker; carries an official badge | httpd |
| Verified publisher images | Provided by ecosystem partners; marked verified | puppet/puppet-agent |
| Community (user) images | Uploaded by users; named with username/imagename | yogeshraheja/wordpress |
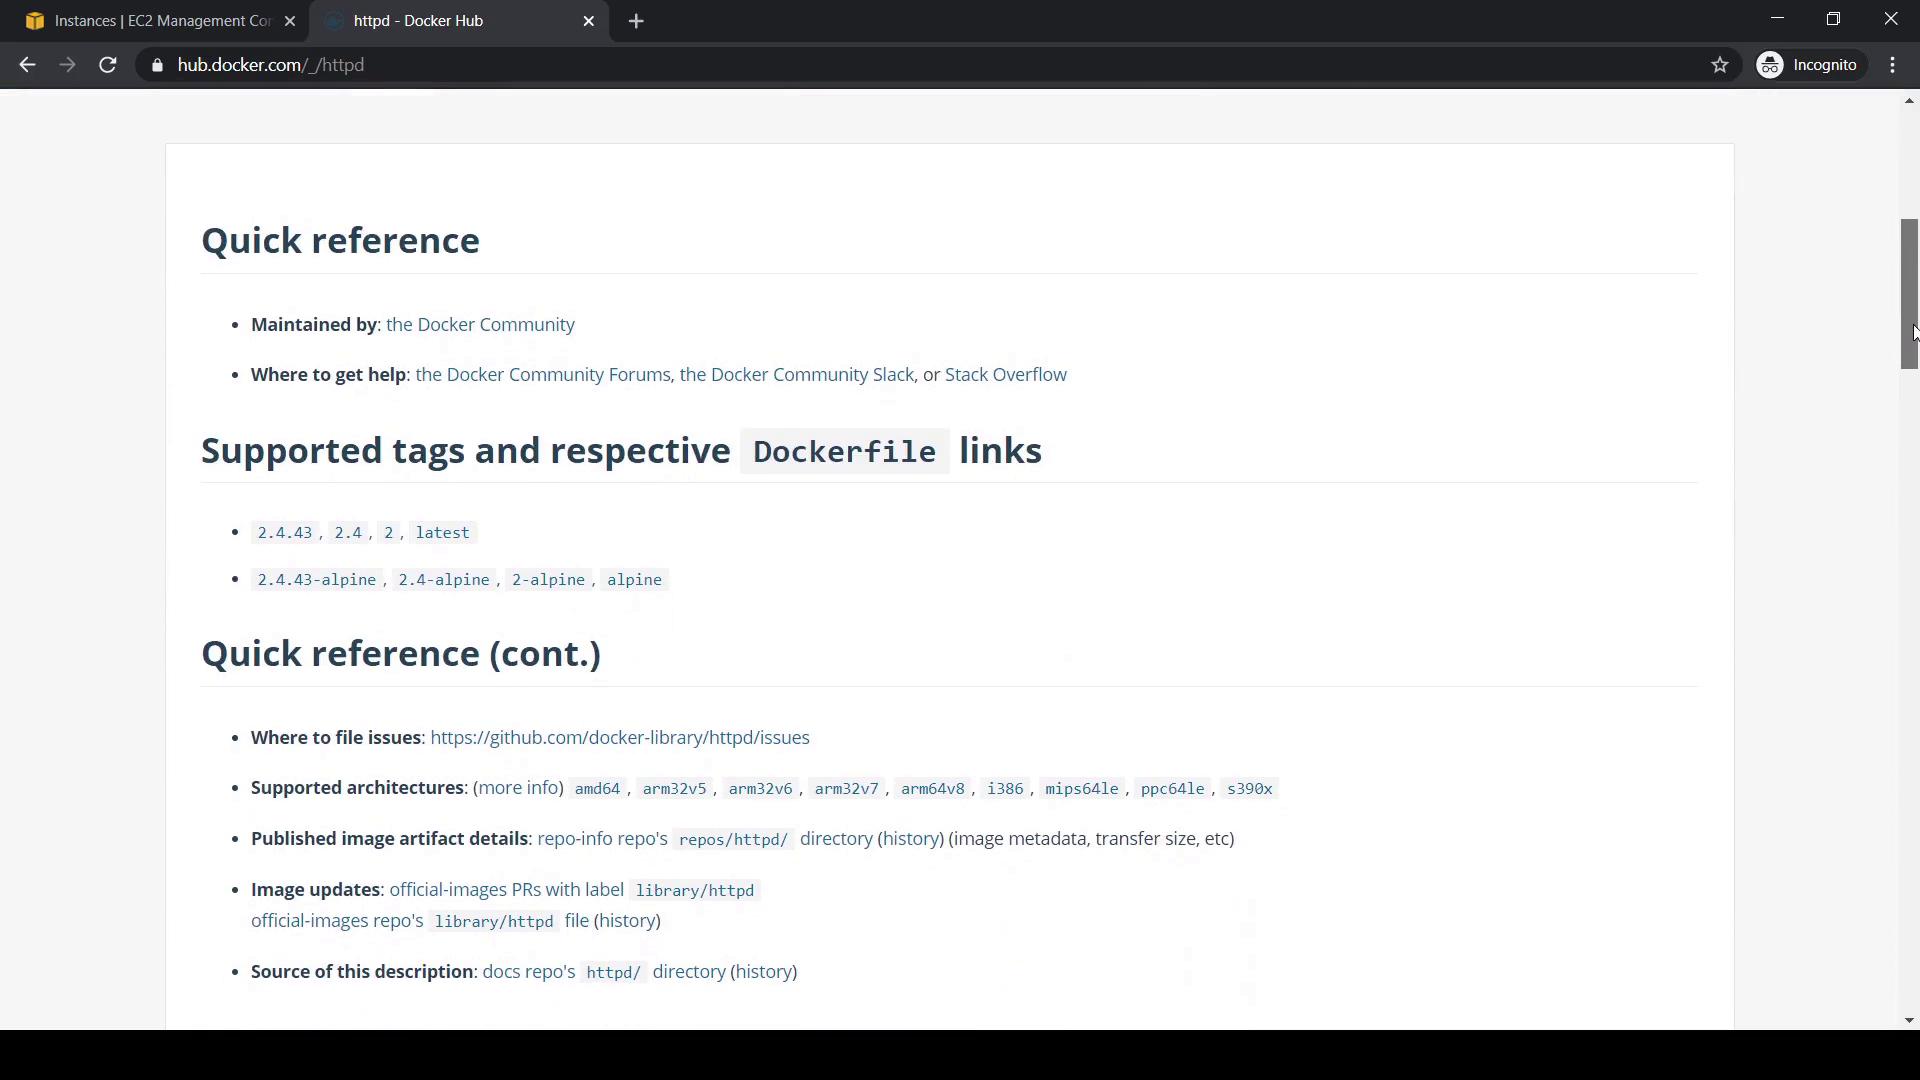
Search for the Apache HTTP Server image (httpd) and click httpd. You’ll see:
- Supported Tags: Available versions (e.g.,
latest,alpine). - Dockerfile links: How the image is built.
- Quick info on architectures, update history, and help resources.

2. Listing and Pulling Images Locally
First, see which images are already on your host:
docker image ls
Sample output:
REPOSITORY   TAG       IMAGE ID       CREATED        SIZE
ubuntu       latest    1d622ef86b13   10 days ago    73.9MB
Pull the default HTTPD image (httpd:latest):
docker pull httpd
Verify it’s downloaded:
docker image ls
3. Searching Images via CLI
Instead of the web UI, search Docker Hub from your terminal:
docker search httpd
To refine results:
docker search --limit 2 httpd
docker search --filter stars=10 httpd
docker search --filter stars=10 --filter is-official=true httpd
4. Pulling Specific Tags and Tagging Images
Grab the Alpine-based HTTPD variant:
docker pull httpd:alpine
Verify both images:
docker image ls
Tag httpd:alpine locally:
docker image tag httpd:alpine httpd:kodekloudv1
docker image ls
Both tags share the same IMAGE ID and SIZE, since they reference the same layers.
5. Checking Disk Usage
Assess disk space consumed by images, containers, and volumes:
docker system df
6. Pushing Images to Docker Hub
Log in to Docker Hub:
docker loginRetag your image with your Docker Hub username (replace
<username>):docker tag httpd:kodekloudv1 <username>/httpd:kodekloudv1Push the image:
docker push <username>/httpd:kodekloudv1
Warning
If you try docker push httpd:kodekloudv1 without your username, you’ll get an “access denied” error. Always retag with your Docker Hub namespace.
After a successful push, confirm locally:
docker image ls
You should see:
REPOSITORY                 TAG           IMAGE ID       CREATED        SIZE
<username>/httpd           kodekloudv1   eee6a6a3a3c9   9 days ago     107MB
On Docker Hub, navigate to your repositories to view it.
7. Removing Images
Locally
Remove a single tag:
docker image rm httpd:kodekloudv1
If the image ID is still referenced by other tags, remove all of them:
docker image rm httpd:alpine
docker image rm <username>/httpd:kodekloudv1
Confirm removal:
docker image ls
On Docker Hub
- Sign in to Docker Hub and go to your account.
- Select the repository to delete.
- Click Settings → Delete Repository.
- Type the repository name to confirm.
8. Inspecting and Exploring Images
- View an image’s layer history:
docker image history ubuntu - Inspect detailed metadata:
docker image inspect httpd
9. Saving and Loading Images
Export an image to a tarball:
docker image save alpine:latest -o alpine-latest.tar
Remove the local image:
docker image rm alpine:latest
Load it back:
docker image load -i alpine-latest.tar
This is useful for air-gapped or offline transfers.
10. Exporting and Importing a Container Filesystem
- Run a container:
docker container run -itd --name test alpine - Export its filesystem:
docker export test > test-container.tar - Import as a new image:
docker image import test-container.tar test-image:latest - Verify:
docker image ls
That covers image registry and operations with Docker Hub and CLI. Happy Dockering!
Links and References
Watch Video
Watch video content