Overview
Namespaces partition Kubernetes clusters into virtual sub-clusters, simplifying resource management and isolation for teams or environments. This guide covers core concepts, commands, and best practices for working with namespaces.The House Analogy
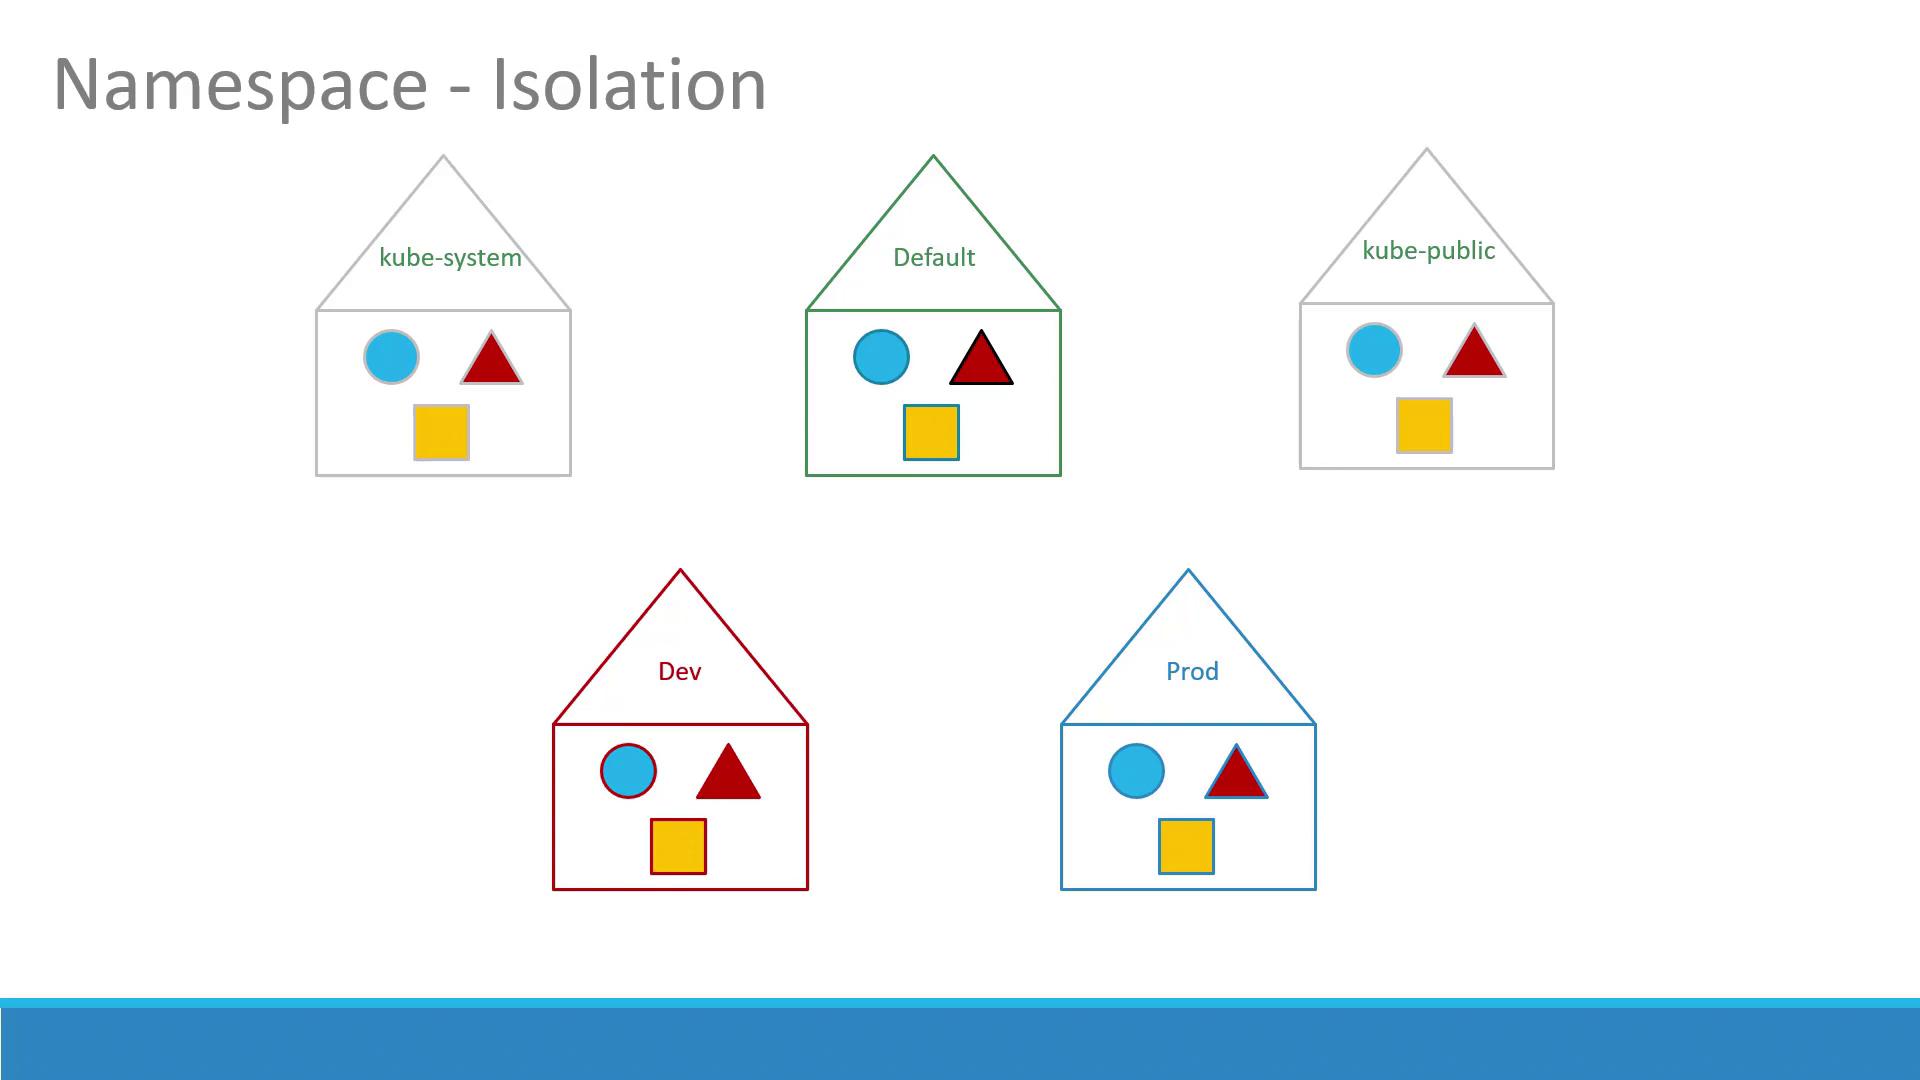
Imagine two boys named Mark living in separate houses. To avoid confusion, one is called Mark Smith and the other Mark Williams. Inside each house, family members use only first names; outsiders always use the full name. Each house maintains its own rules and resources.
| Namespace | Description |
|---|---|
| default | User workloads by default |
| kube-system | Cluster-internal components (DNS, networking plugins, etc.) |
| kube-public | Public resources visible to all users |
Avoid modifying resources in the kube-system namespace directly; changes can disrupt critical cluster services.
Custom Namespaces
For development, testing, or multi-tenant clusters, create additional namespaces (e.g., dev, prod) to isolate:- Resources
- Policies (RBAC rules)
- Quotas
RBAC and Resource Quotas
You can enforce per-namespace access control with RoleBindings and restrict resource usage using ResourceQuotas: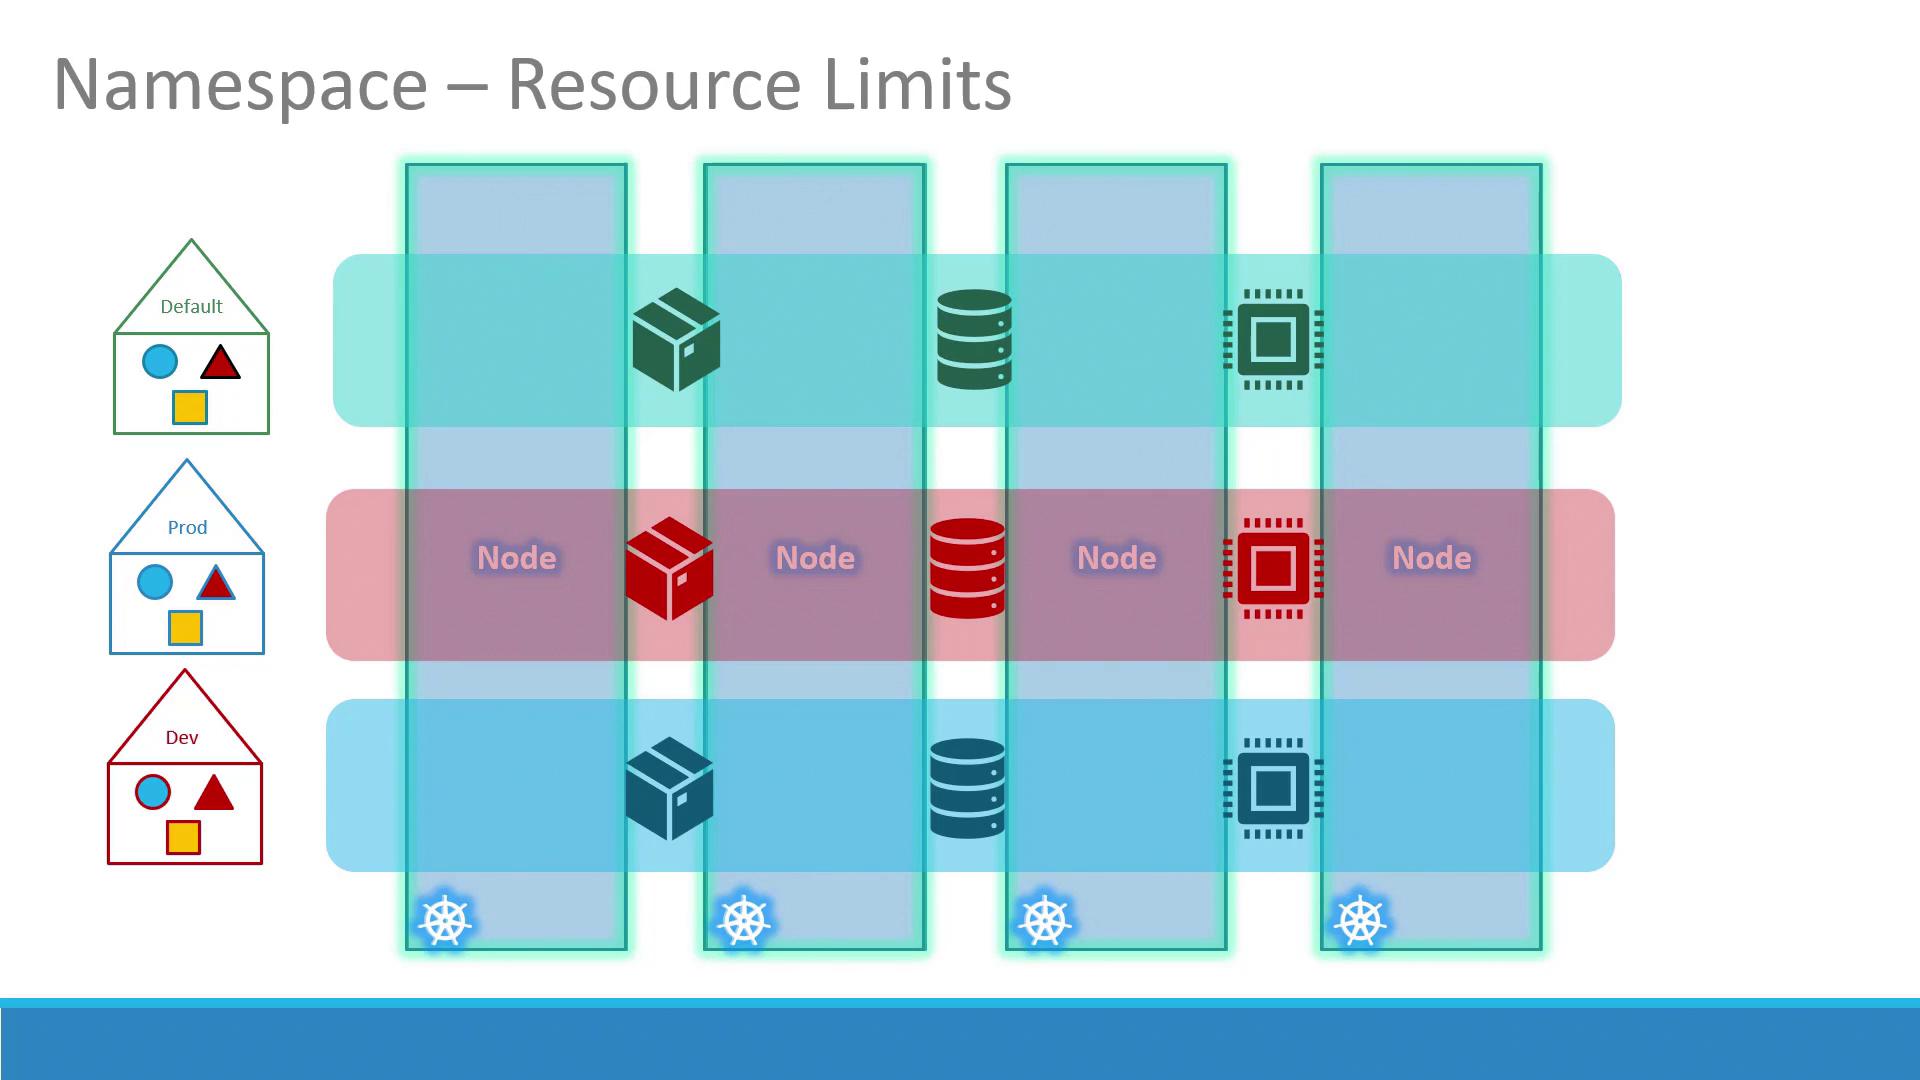
Service Discovery Across Namespaces
Within the same namespace, Services resolve by name:cluster-domain is cluster.local and svc is the Services subdomain.
You can customize the cluster-domain in kube-DNS/CoreDNS configuration if needed.
Working with Namespaces in kubectl
Common Operations
| Operation | Command |
|---|---|
| List Pods (current ns) | kubectl get pods |
| List Pods (all namespaces) | kubectl get pods --all-namespaces |
| Create namespace | kubectl create namespace <name> |
| Apply manifest in namespace | kubectl apply -f <file.yml> --namespace=<name> |
| Switch context namespace | kubectl config set-context $(kubectl config current-context) --namespace=<name> |
Listing Pods
Creating a Pod in a Specific Namespace
Override the namespace via CLI:Switching the Current Namespace
Set your default namespace for the current context:kubectl get pods targets dev by default.