EFK Stack: Enterprise-Grade Logging and Monitoring
Instrumenting a Simple Python App for Logging
Deploying and Validating the Login App on Kubernetes
Welcome to this step-by-step guide on deploying and validating the Login App on Kubernetes. In this tutorial, you'll learn how to verify your Elasticsearch and Kibana pods, explore the repository structure, review Kubernetes deployment files, deploy your application, and examine logging and authentication details. Let's dive into the lab!
Verifying Elasticsearch and Kibana Pods
Before deploying the Login App, ensure that your Elasticsearch and Kibana pods are up and running. Execute the following command:
kubectl get pods
You should see an output similar to this:
controlplane ~ ➤  kubectl get pods
NAME                                 READY   STATUS      RESTARTS   AGE
elasticsearch-0                      1/1     Running     0          3m57s
kibana-5bf7c766b4-dfpxr              1/1     Running     0          3m57s
controlplane ~ ➤
Both services must be active for the Login App deployment to work correctly.
Warning
If either service is not in the Running state, verify your setup and resolve any issues before proceeding.
Cloning the Repository and Exploring the File Structure
First, clone the GitHub repository that contains all the necessary application files:
git clone https://github.com/kodekloudhub/efk-stack.git
After cloning, navigate into the repository and list the files and directories:
cd efk-stack/
ls -lrt
The directory structure should look similar to this:
total 32
drwxr-xr-x 2 root     root    4096 Jul  6 14:17 webapp
-rw-r--r-- 1 root     root    1117 Jul  6 14:17 README.md
drwxr-xr-x 1 root     root    4096 Jul  6 14:17 python-webapp
drwxr-xr-x 2 root     root    4096 Jul  6 14:17 python-simple
drwxr-xr-x 2 root     root    4096 Jul  6 14:17 nginx
drwxr-xr-x 2 root     root    4096 Jul  6 14:17 k8-monitoring
drwxr-xr-x 2 root     root    4096 Jul  6 14:17 event-generator
drwxr-xr-x 2 root     root    4096 Jul  6 14:17 elasticsearch-kibana
Focus on the python-webapp directory. Change into this directory:
cd python-webapp
ls -lrt
The output should list the following files and directories:
total 36
drwxr-xr-x 2 root root 4096 Jul  6 14:17 templates
-rw-r--r-- 1 root root  259 Jul  6 14:17 service.yaml
-rw-r--r-- 1 root root  201 Jul  6 14:17 requirements.txt
-rw-r--r-- 1 root root 3035 Jul  6 14:17 README.md
-rw-r--r-- 1 root root  4096 Jul  6 14:17 k8-deployment
-rw-r--r-- 1 root root  201 Jul  6 14:17 Dockerfile
-rw-r--r-- 1 root root  682 Jul  6 14:17 deployment.yaml
-rw-r--r-- 1 root root 1884 Jul  6 14:17 app.py
Note
The templates directory contains the CSS and HTML files for the Login App. Configuration files such as service.yaml and deployment.yaml will be applied later, while requirements.txt and app.py contain the necessary dependencies and application code. The Dockerfile is used to build your Docker image, which is available on Docker Hub.
Reviewing Kubernetes Deployment Files
Next, navigate to the Kubernetes deployment folder to review the deployment configuration:
cd k8-deployment
ls -lrt
Within this folder, you will find several files, including configurations for Fluent Bit, as well as two critical files for our Python application:
- python-app-service.yaml
- python-app-deployment.yaml
Let's inspect the contents of python-app-deployment.yaml:
ls -lrt
cat python-app-deployment.yaml
The file should resemble the following YAML configuration:
apiVersion: apps/v1
kind: Deployment
metadata:
  name: simple-webapp-deployment
  namespace: efk
  labels:
    app: simple-webapp
spec:
  replicas: 1
  selector:
    matchLabels:
      app: simple-webapp
  template:
    metadata:
      labels:
        app: simple-webapp
    spec:
      containers:
        - name: simple-webapp
          image: learnwithraghu/simple-login-page:v3
          volumeMounts:
            - mountPath: /log
              name: log-volume
      volumes:
        - name: log-volume
          hostPath:
            path: /var/log/webapp
            type: DirectoryOrCreate
This YAML defines a Deployment that pulls the Docker image from Docker Hub. The container mounts a volume at /var/log/webapp, ensuring that the directory is created if it does not exist already.
The associated service is defined as follows:
apiVersion: v1
kind: Service
metadata:
  name: simple-webapp-service
  namespace: efk
  labels:
    app: simple-webapp
spec:
  selector:
    app: simple-webapp
  type: NodePort
  ports:
    - port: 5005
      targetPort: 5005
      nodePort: 30001 # NodePort range is 30000-32767
This service configuration exposes the application on port 5005 with a NodePort set within the allowed range. Adjust the nodePort value as needed while keeping it between 30000 and 32767.
Deploying the Application
Now that your configurations are in place, deploy the Login App by applying the deployment and service YAML files. Both files use the namespace "efk":
kubectl apply -f python-app-deployment.yaml
kubectl apply -f python-app-service.yaml
After applying the configurations, verify that the pod is running:
kubectl get pods
Then, check the service to confirm that the NodePort is correctly exposed:
kubectl get svc
Open your browser and navigate to the NodePort address to view the Login App interface.
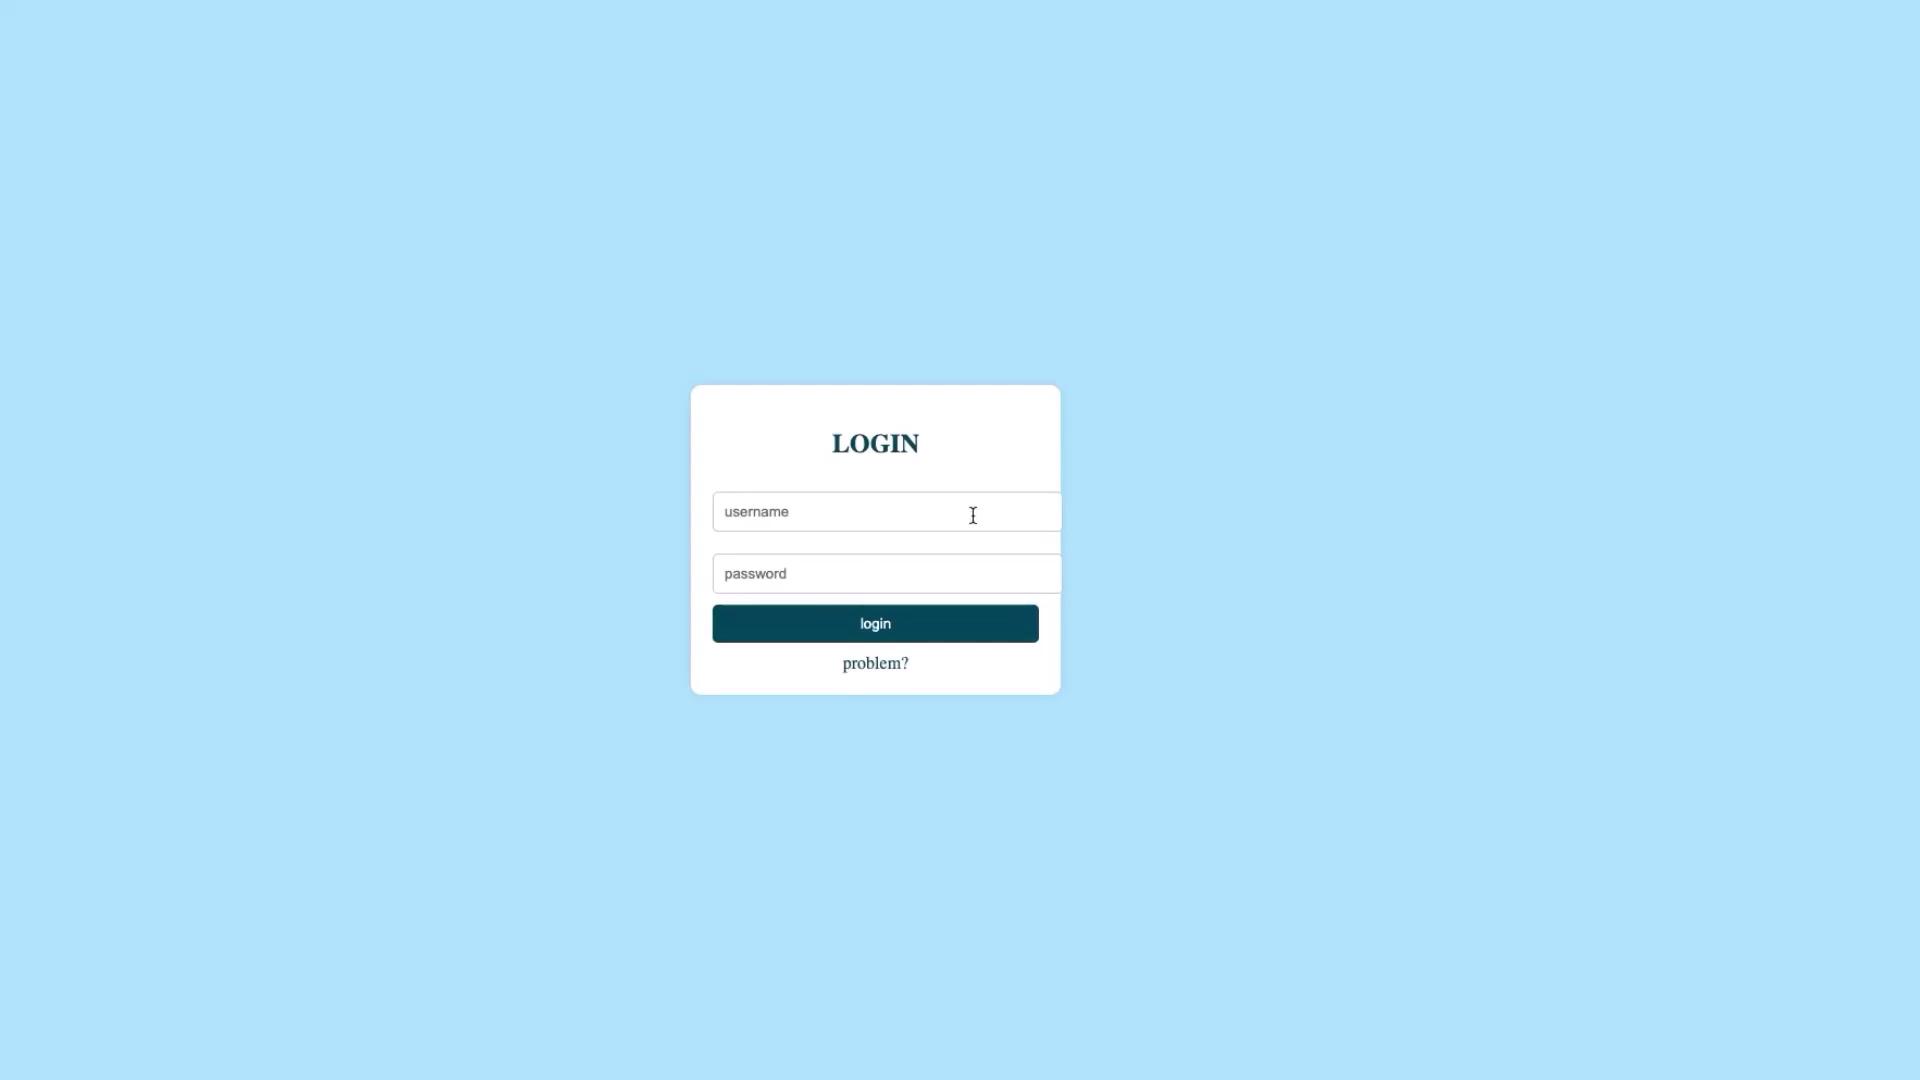
Testing the Login Functionality
On the Login App page, use the following credentials:
- Enter admin as the username.
- Enter password as the password.
- Click the login button.
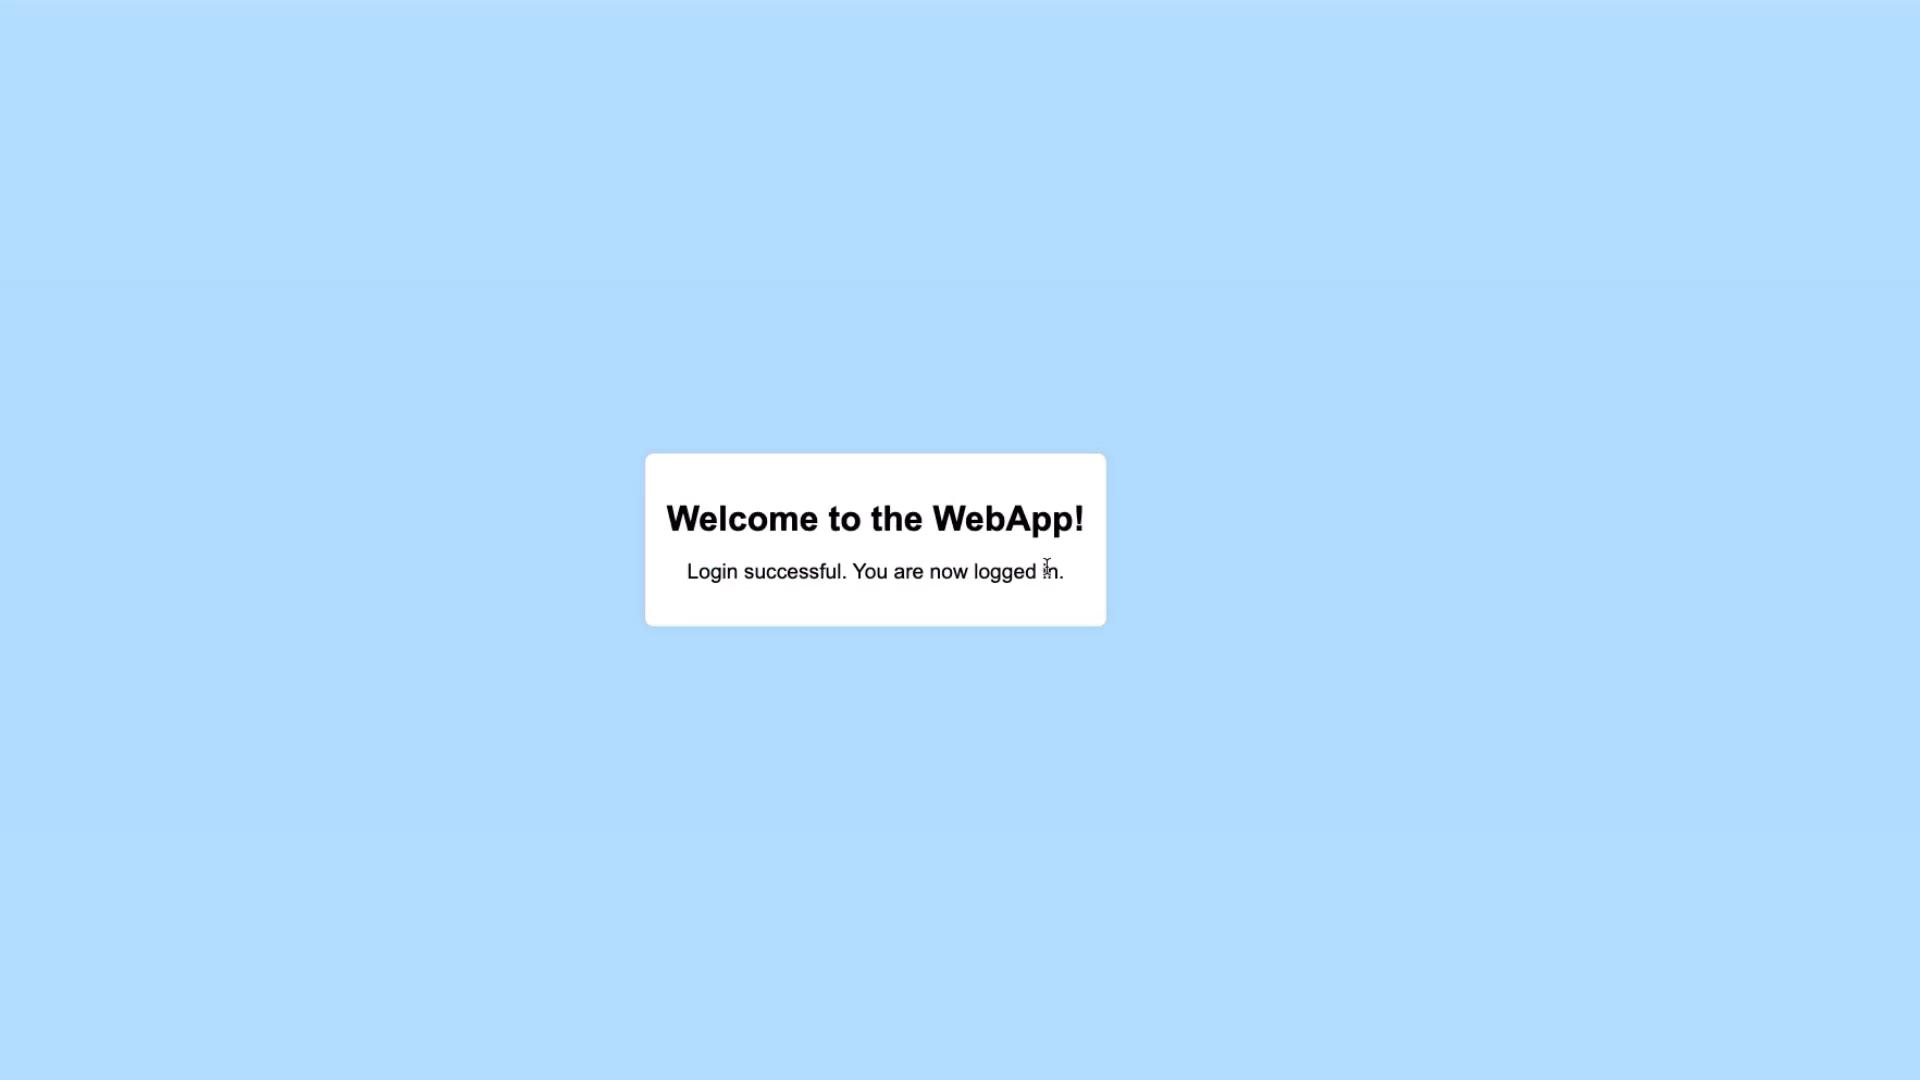
A successful login displays a welcome page. For visual guidance, see the following images:
Upon successful login, the result should look similar to:
If you use any incorrect credentials (for example, a username other than admin or an incorrect password), the login will fail:
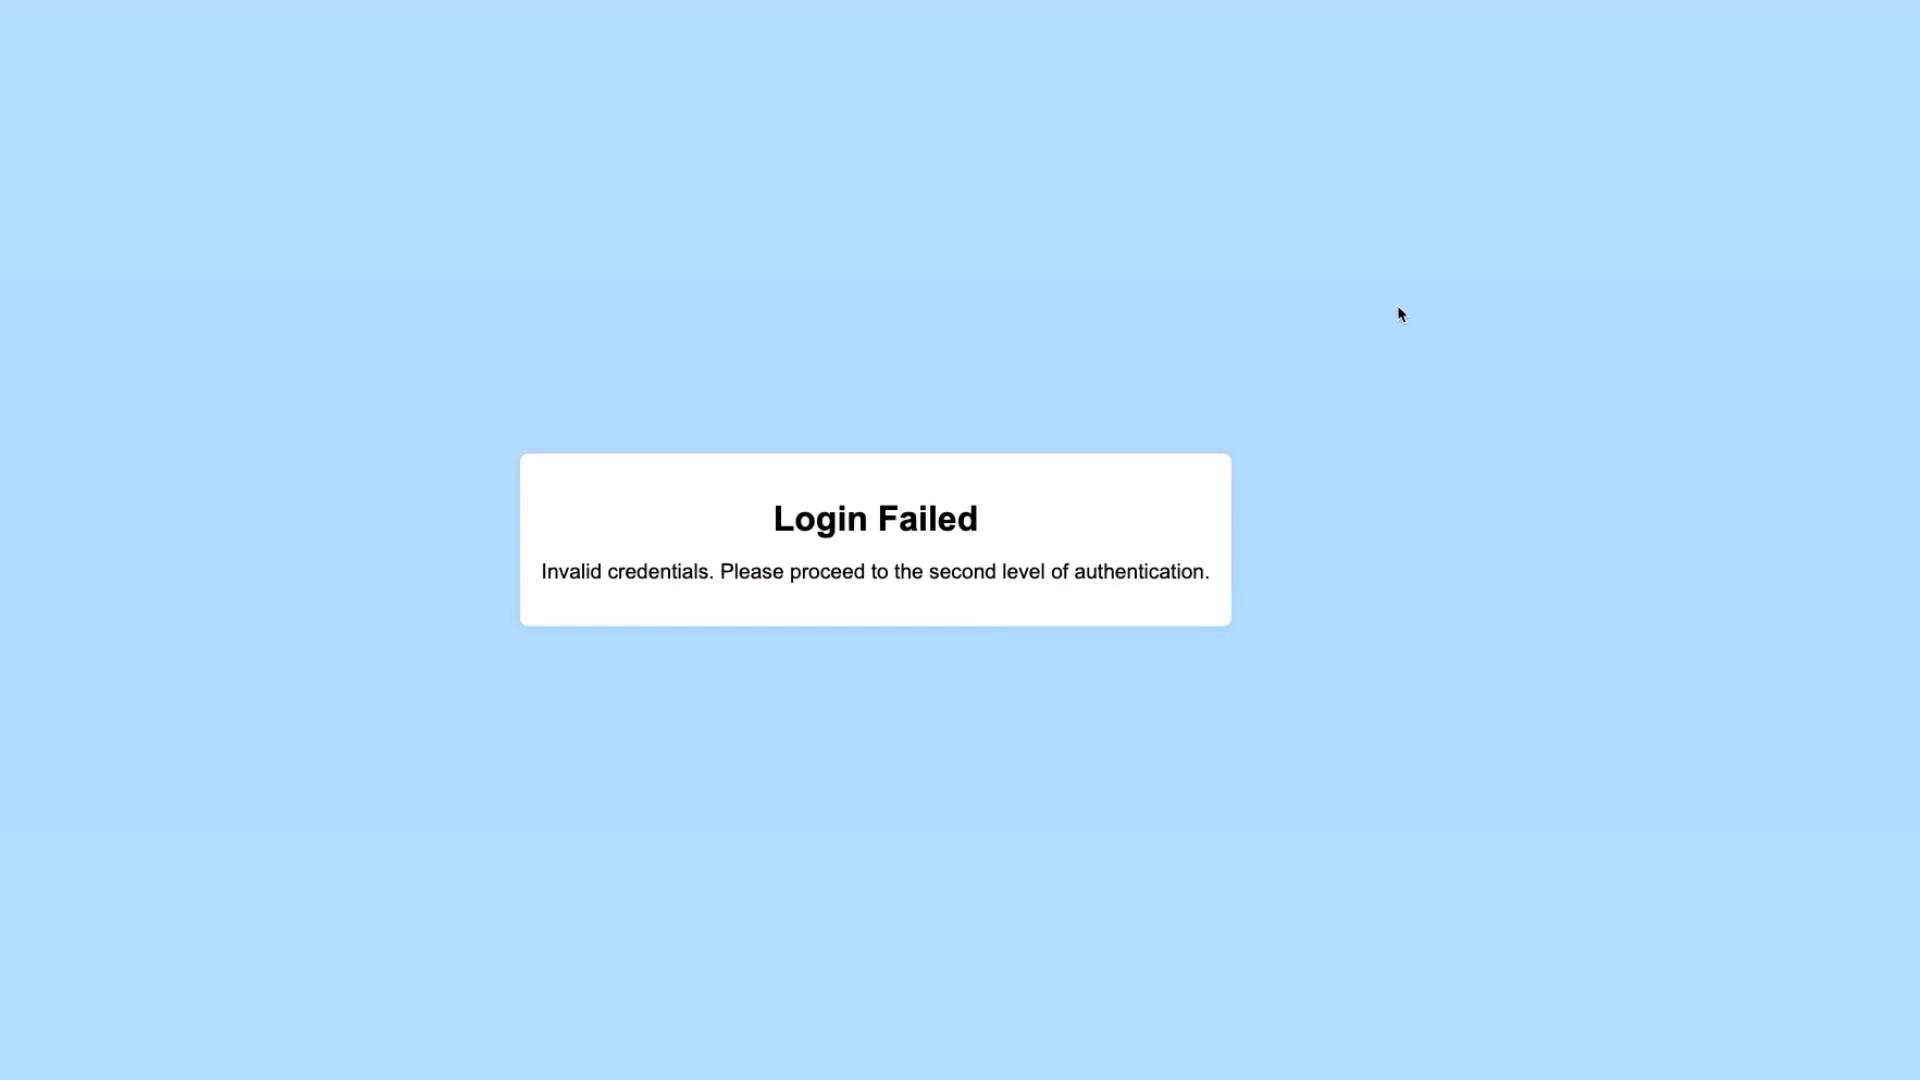
Only the credentials admin/password are accepted; all others result in a login failure.
Verifying Application Logs
After interacting with the application, check the logs to monitor activities such as successful logins, weak password warnings, and failed attempts. Retrieve the logs with the following command:
kubectl logs -f <pod-name>
The logs might include entries similar to:
INFO:werkzeug:10.244.0.0 - [06/Jul/2024 14:22:21] "GET /static/style.css HTTP/1.1" 200 -
INFO:app:Request method: POST
INFO:app:User Agent: Mozilla/5.0 (Macintosh; Intel Mac OS X 10_15_7) ...
INFO:app:Client IP: 10.244.0.0
INFO:app:Response status: 200 OK
...
WARNING:app:Login failed for user: admin
...
These logs capture request details, including user agent, client IP, and response statuses. They also record warnings when weak passwords are used or if login attempts fail.
Understanding the Application's Logging Mechanism
A detailed look at the app.py file shows how logging is implemented in the Login App. The logging module is configured to capture comprehensive details about each request and response. Key parts of the code include:
logging.basicConfig(level=logging.INFO)
logger = logging.getLogger(__name__)

# Default credentials
USERNAME = 'admin'
PASSWORD = 'password'

def is_weak_password(password):
    if len(password) < 8:
        return True
    if not re.search("[a-zA-Z]", password) or not re.search("[0-9]", password):
        return True
    return False

@app.before_request
def log_request_info():
    logger.info(f"Request method: {request.method}")
    logger.info(f"User Agent: {request.user_agent}")
    logger.info(f"Client IP: {request.remote_addr}")

@app.after_request
def log_response_info(response):
    logger.info(f"Response status: {response.status}")
    return response

@app.route('/')
def index():
    return render_template('login.html')

@app.route('/login', methods=['POST'])
def login():
    username = request.form['username']
    password = request.form['password']

    if username == USERNAME and password == PASSWORD:
        flash('Login successful!', 'success')
        logger.info('Login successful for user: %s', username)
        if is_weak_password(password):
            logger.warning('Weak password used by user: %s', username)
        return redirect(url_for('welcome'))
    else:
        # Handle login failure
        ...
This configuration ensures every request, response, and significant action (like login success or failure) is logged thoroughly, enhancing monitoring and debugging capabilities.
Next Steps
The next phase of this lesson will cover configuring Fluent Bit to forward these logs to Elasticsearch, establishing a centralized logging and monitoring system. This topic will be explored in the subsequent lesson.
Thank you for following along. For more detailed Kubernetes documentation and best practices, check out the Kubernetes Documentation and related resources.
Happy Deploying!
Watch Video
Watch video content