Accessing the GCP Playground
To begin, click the Start Lab button. Shortly after, you will receive your unique login credentials alongside the access instructions, as shown below: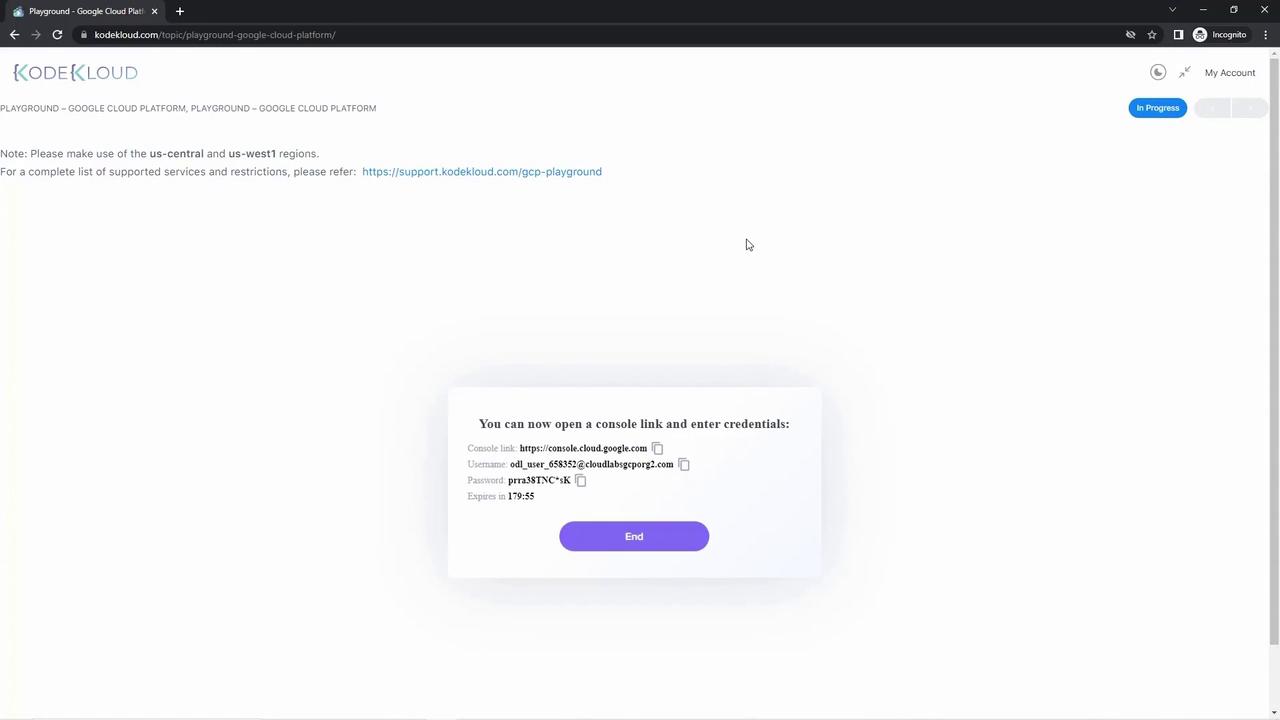
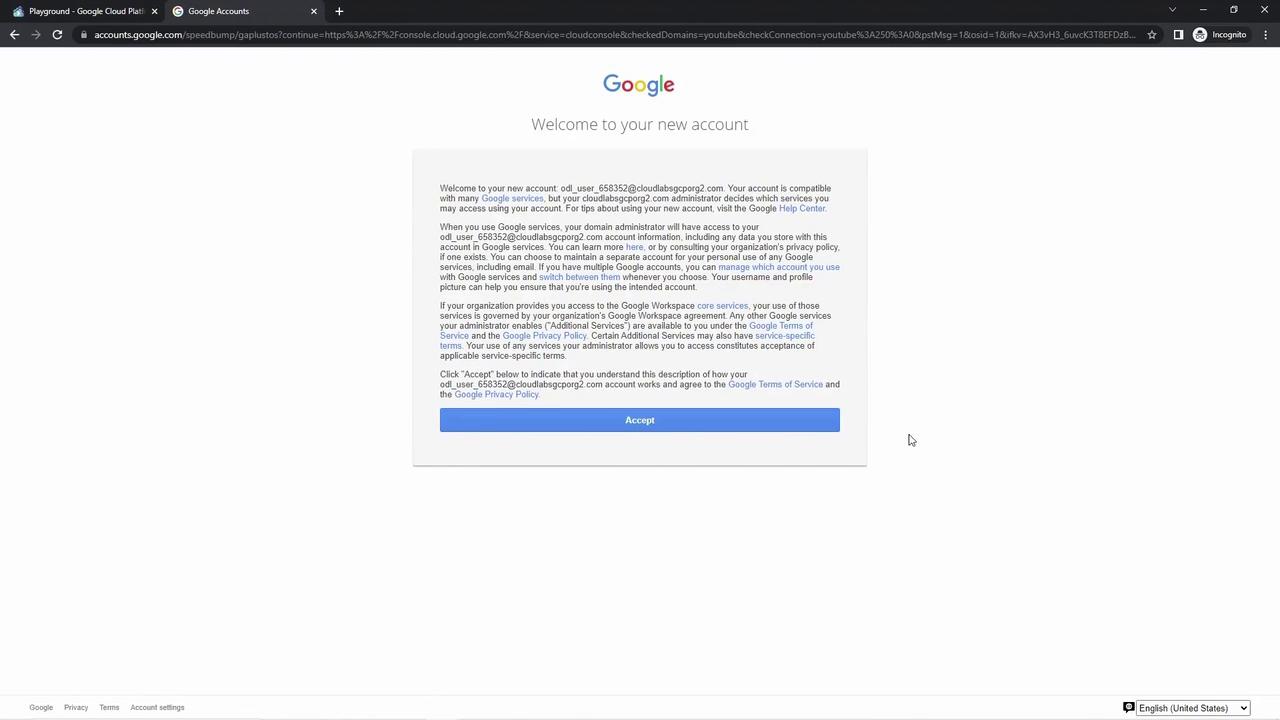
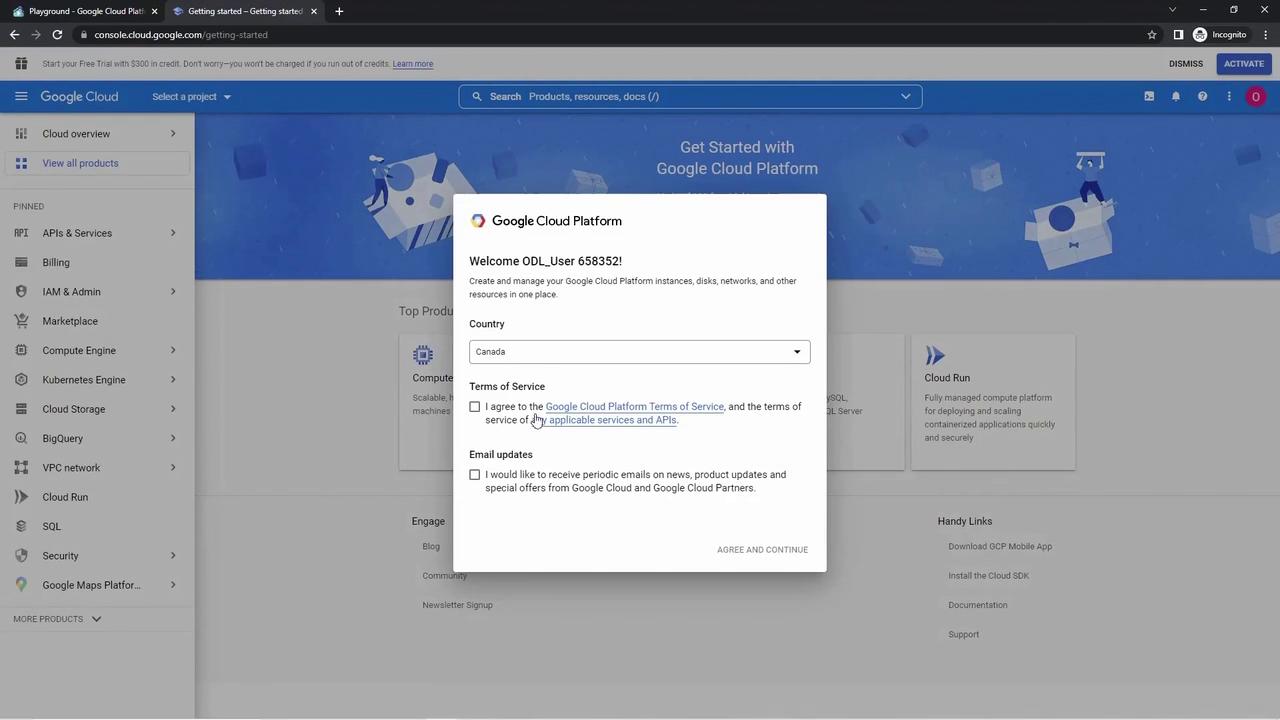
For a smooth login experience, open an incognito or private browsing window. Paste the username and password in the new window and complete the sign-in process. Once logged in, remember to accept the Google agreements for your new account.
Provisioning a Compute Engine VM Instance
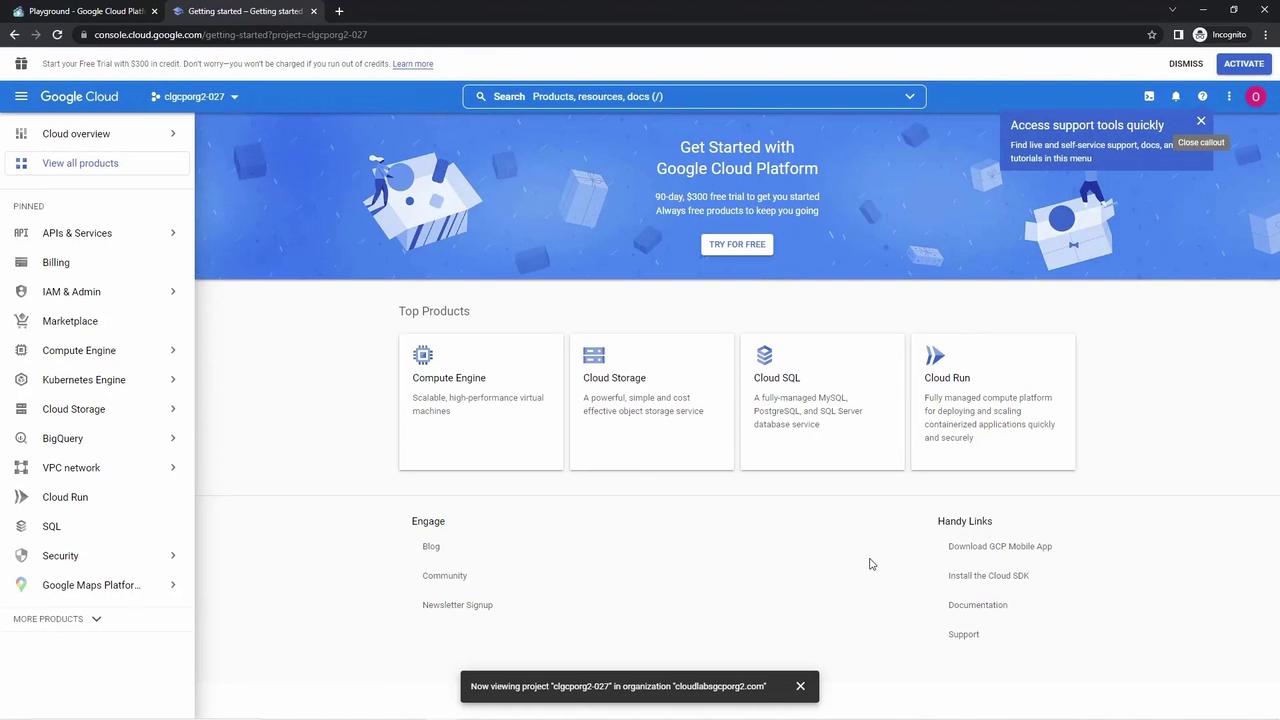
To create a virtual machine (VM) instance, follow these steps:- Click on the Compute Engine option.
- Select the Create Instance button.
Remember that this sandbox environment enforces fair usage policies. Ensure you select allowed configurations while provisioning resources.
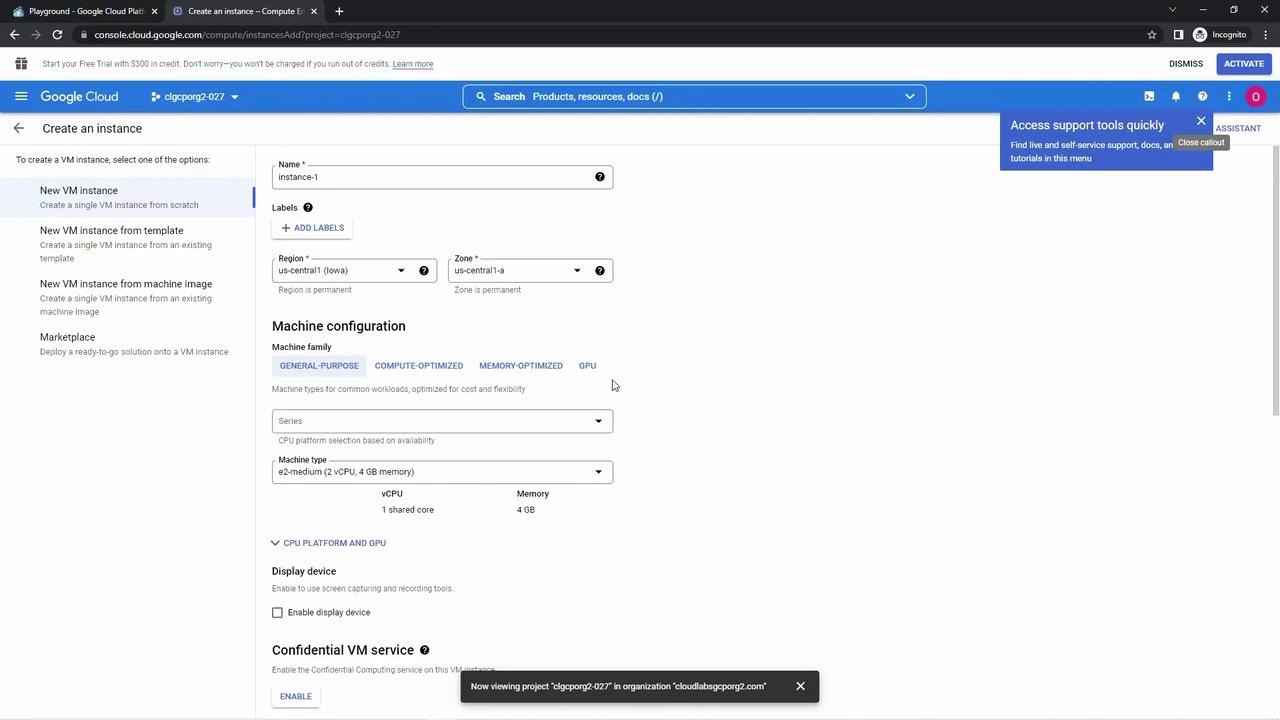
- Choose either an E2 Medium or N1 Standard machine type (or a smaller option). This guide uses E2 Medium.
- Scroll down to select the disk type. Change it from a balanced persistent disk to a standard persistent disk and set the disk size to 15 GB.
- Ensure that HTTP and HTTPS traffic are enabled.
- While the default image is Debian Linux 11 Bullseye, you may select another available VM image if necessary.

Setting Up Firewall Rules
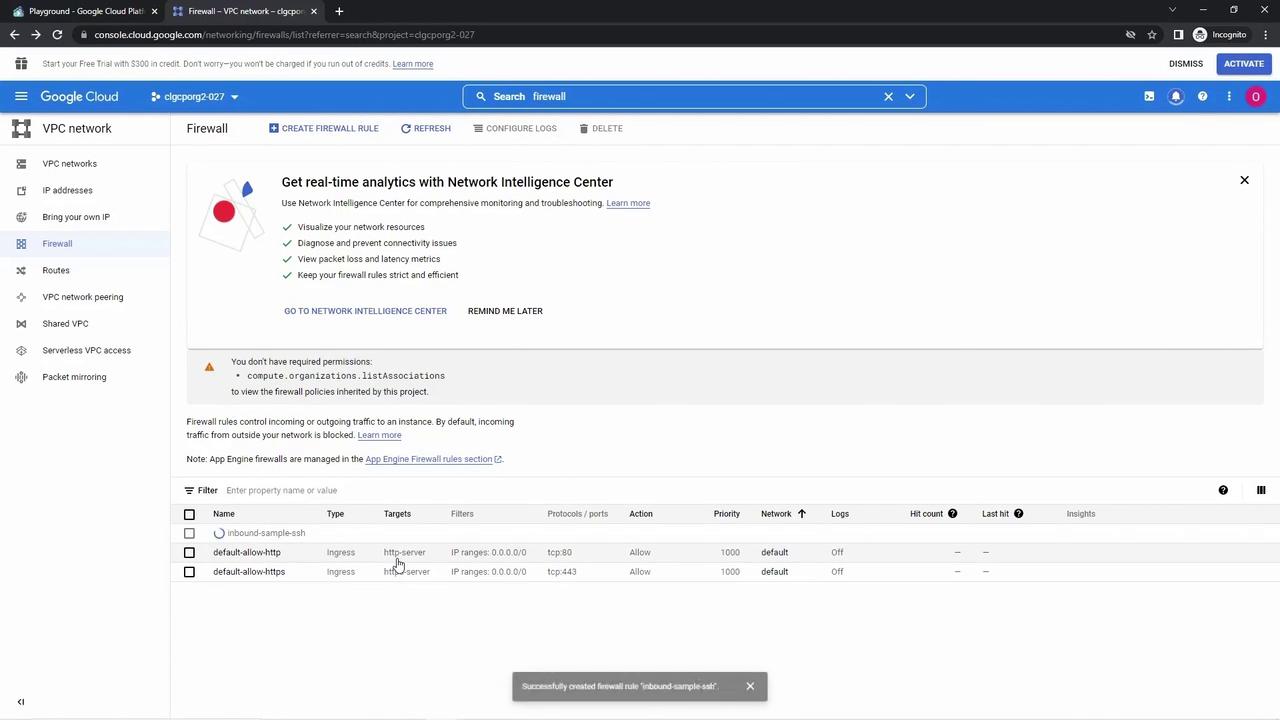
While your VM instance is being created, navigate to the firewalls page to configure additional rules:- Verify that the default HTTP and HTTPS firewall rules are active.
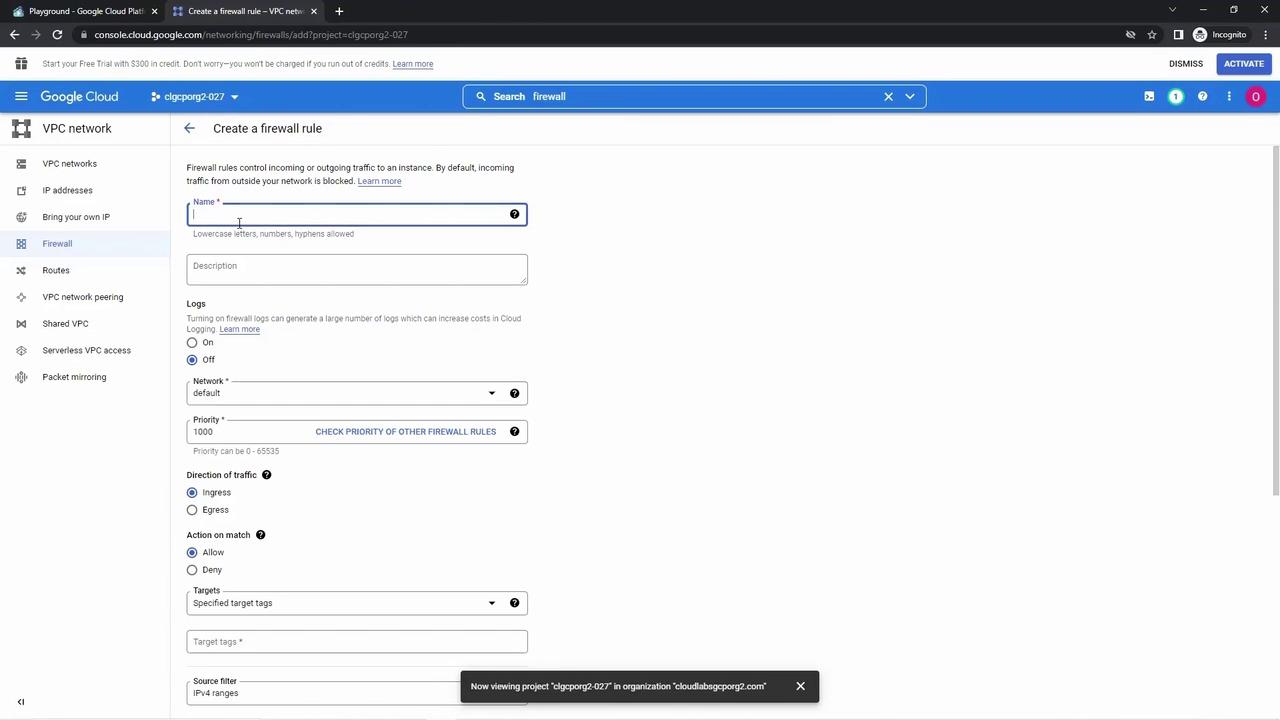
- Create a new firewall rule to allow inbound SSH access with the following settings:
- Target: All instances in the default VPC (including your new VM).
- Source Range: 0.0.0.0/0.
- Allowed Port: TCP 22.

Connecting to the VM Instance
Once the firewall rule is set, return to the VM instances page and click the SSH button to connect via Cloud Shell. A new tab will open, establishing an SSH connection to your VM instance.Overview of Playground Restrictions
Before proceeding further, familiarize yourself with some key restrictions in the GCP Playground:| Service | Restrictions | Example/Note |
|---|---|---|
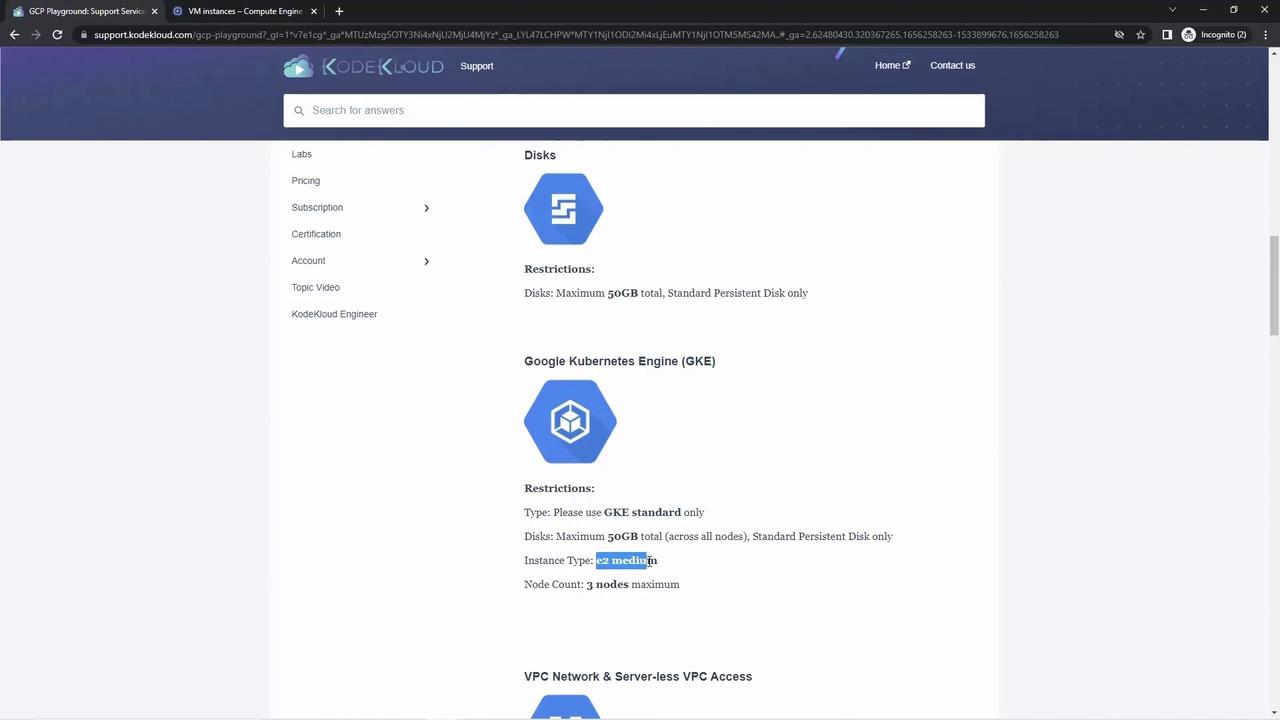
| Compute Engine | - Allowed machine types: E2 Medium or N1 Standard (or smaller) - Allowed regions: US Central or US West 1 only - Max CPU quota: 5 CPUs - Disk size: Standard persistent only (up to 50 GB total) | Ensure your instance configuration complies. |
| Google Kubernetes Engine | - Only GKE Standard clusters are permitted - Node pools are limited to a maximum of three E2 Medium nodes - Total disk size across nodes: 50 GB maximum | Follow documented guidelines for cluster setup. |
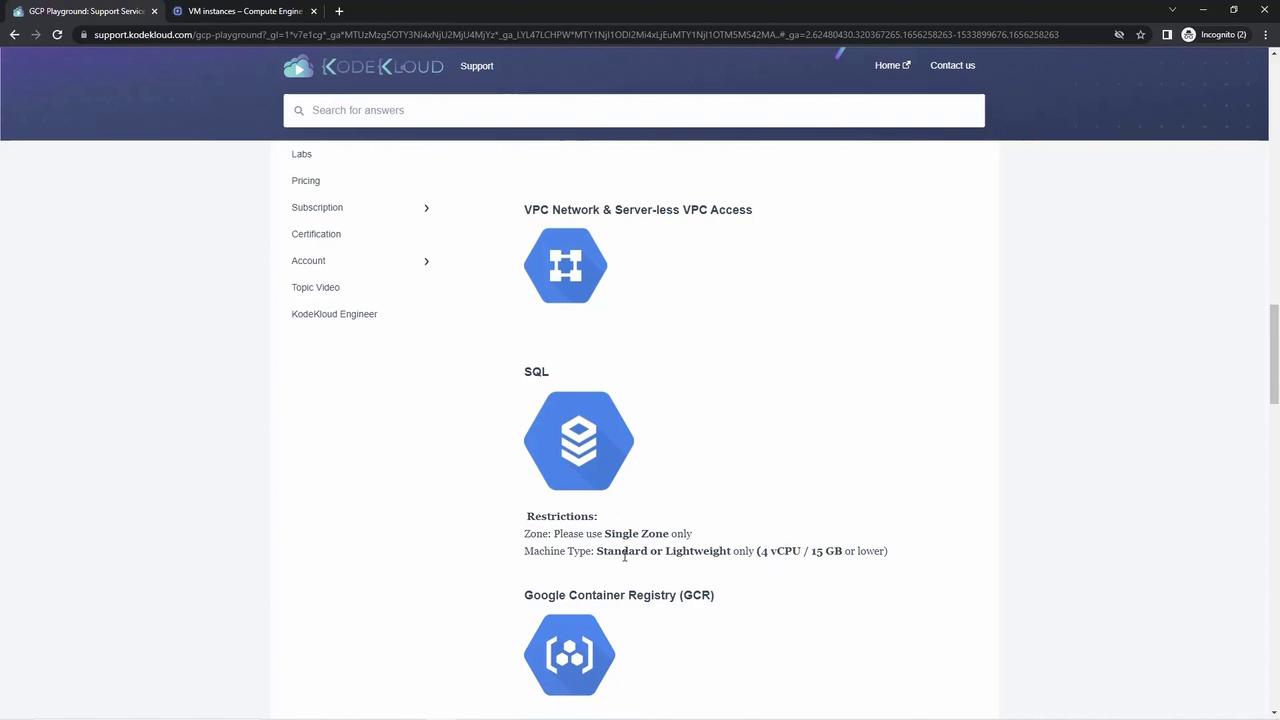
| SQL Databases | - Only single-zone deployments - Machine types: Standard or lightweight - Maximum: 4 CPUs and 15 GB storage | Use single-zone deployments for SQL instances. |