Welcome to this step-by-step guide on creating your personal Google Cloud Platform (GCP) account. In this lesson, we will walk you through the process of setting up a GCP account, including details on activating your free trial and providing necessary billing information.Documentation Index
Fetch the complete documentation index at: https://notes.kodekloud.com/llms.txt
Use this file to discover all available pages before exploring further.
Please note that the required information may vary depending on your region. In some regions, you might be asked to provide credit card details, so have them ready.
Step 1: Accessing the GCP Console
- Begin by opening a fresh browser window or a new tab.
- Enter the following URL into your address bar:
console.cloud.google.com - Press Enter to navigate to the GCP console.
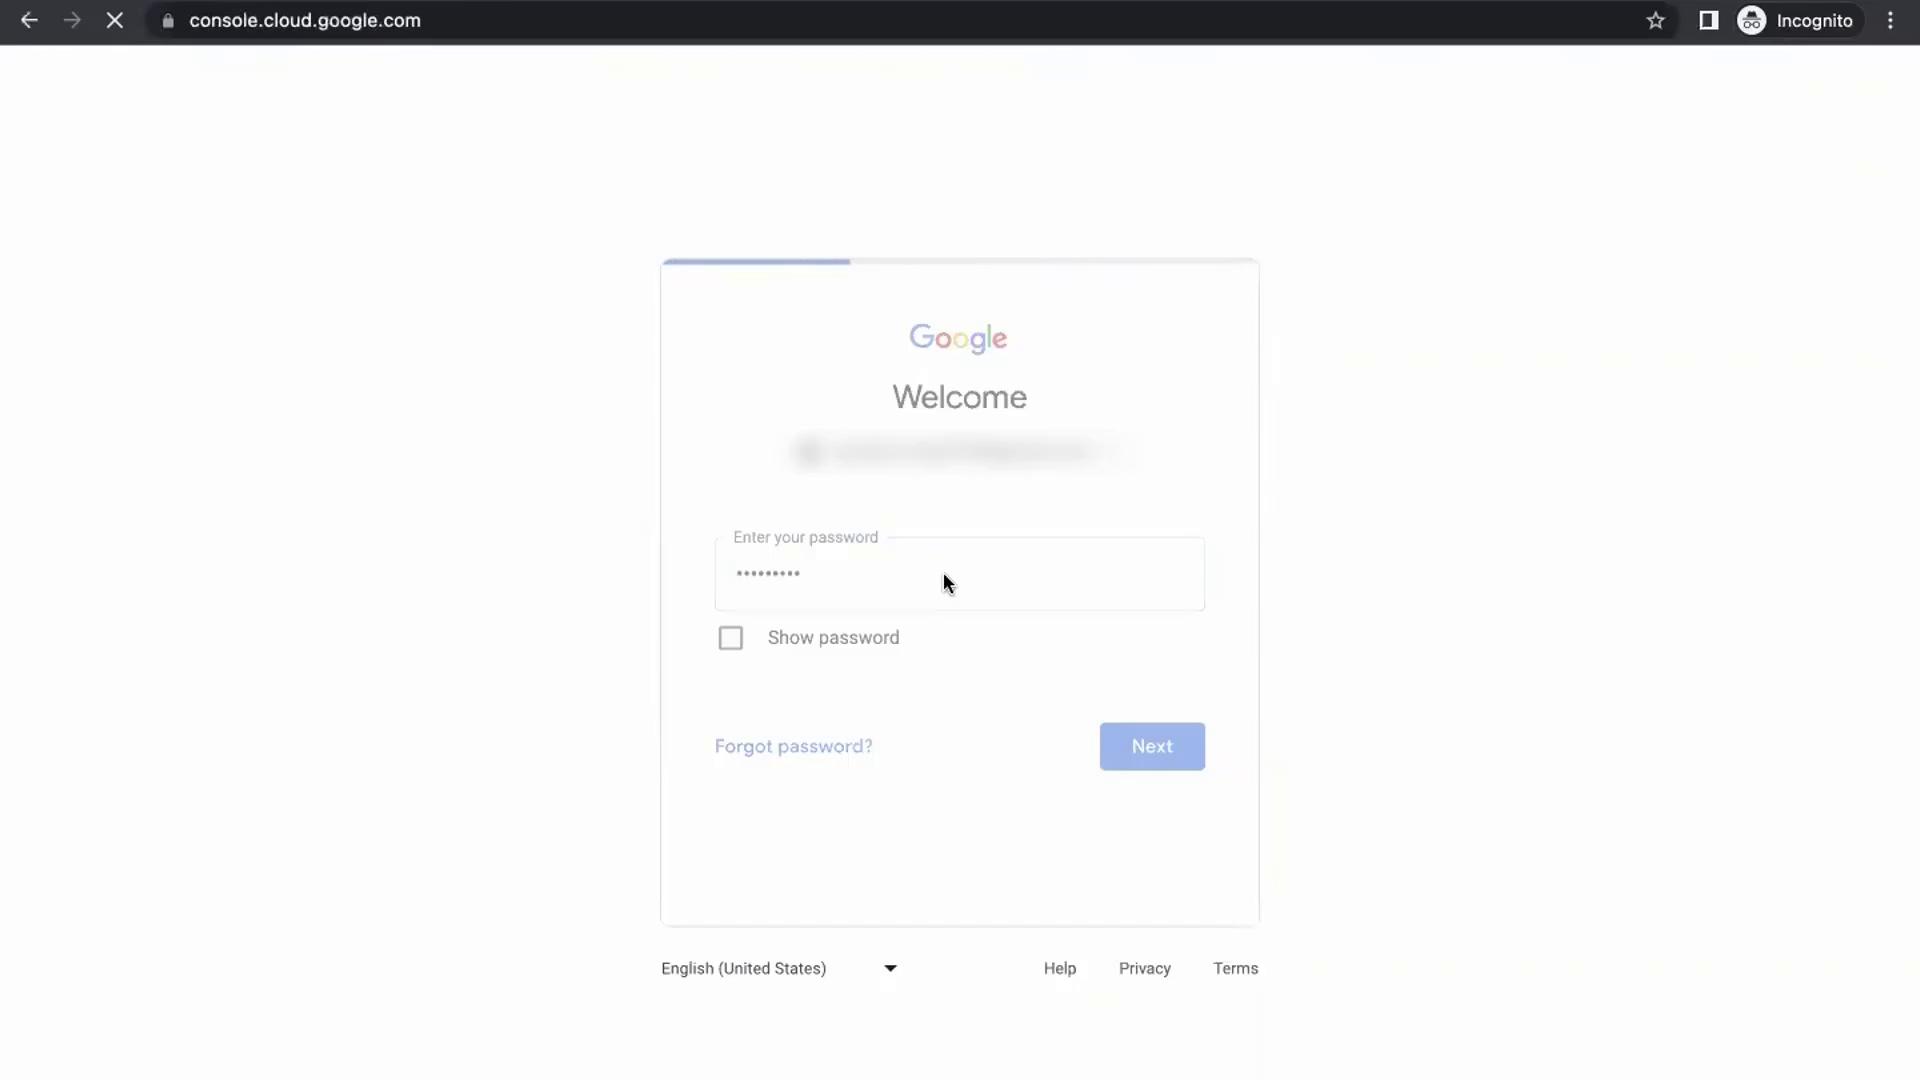
Step 2: Signing into Your Gmail Account
Enter your Gmail account credentials and click the next button: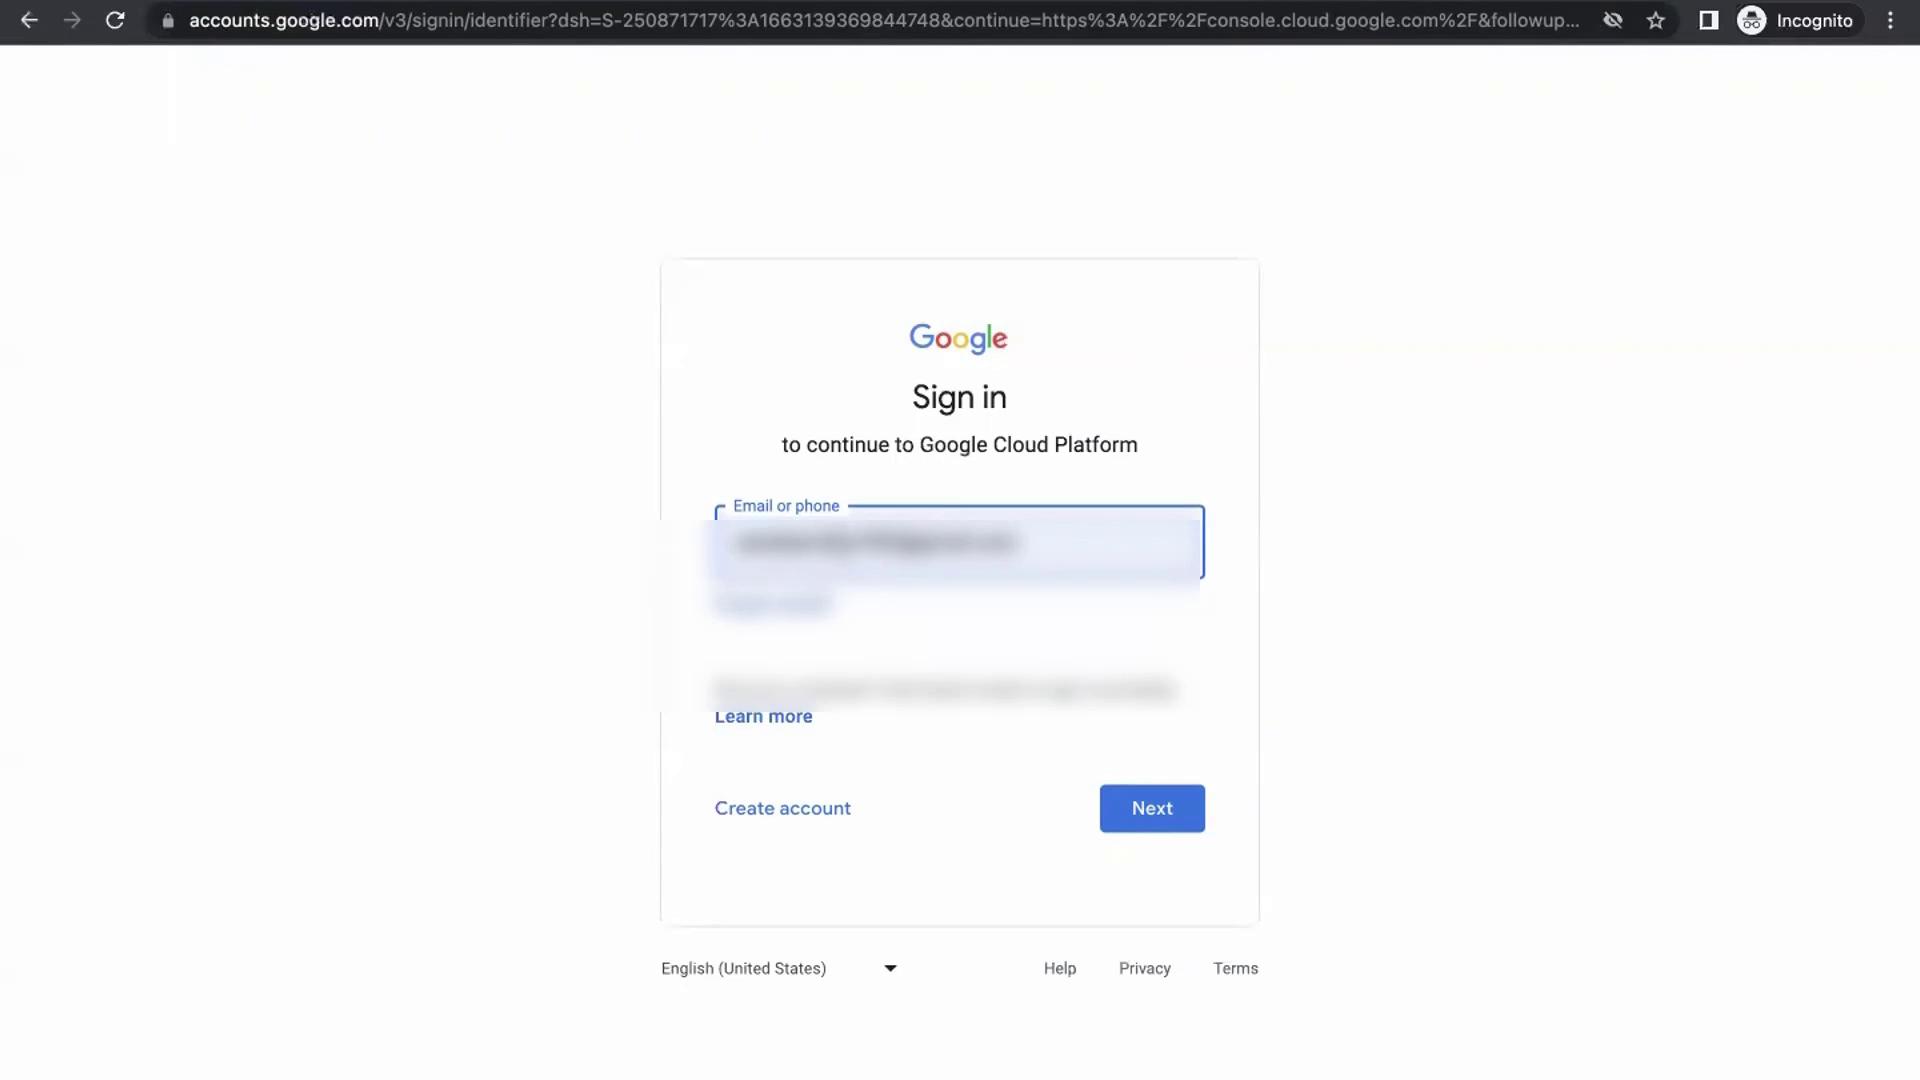
Step 3: Activating Your Free Trial
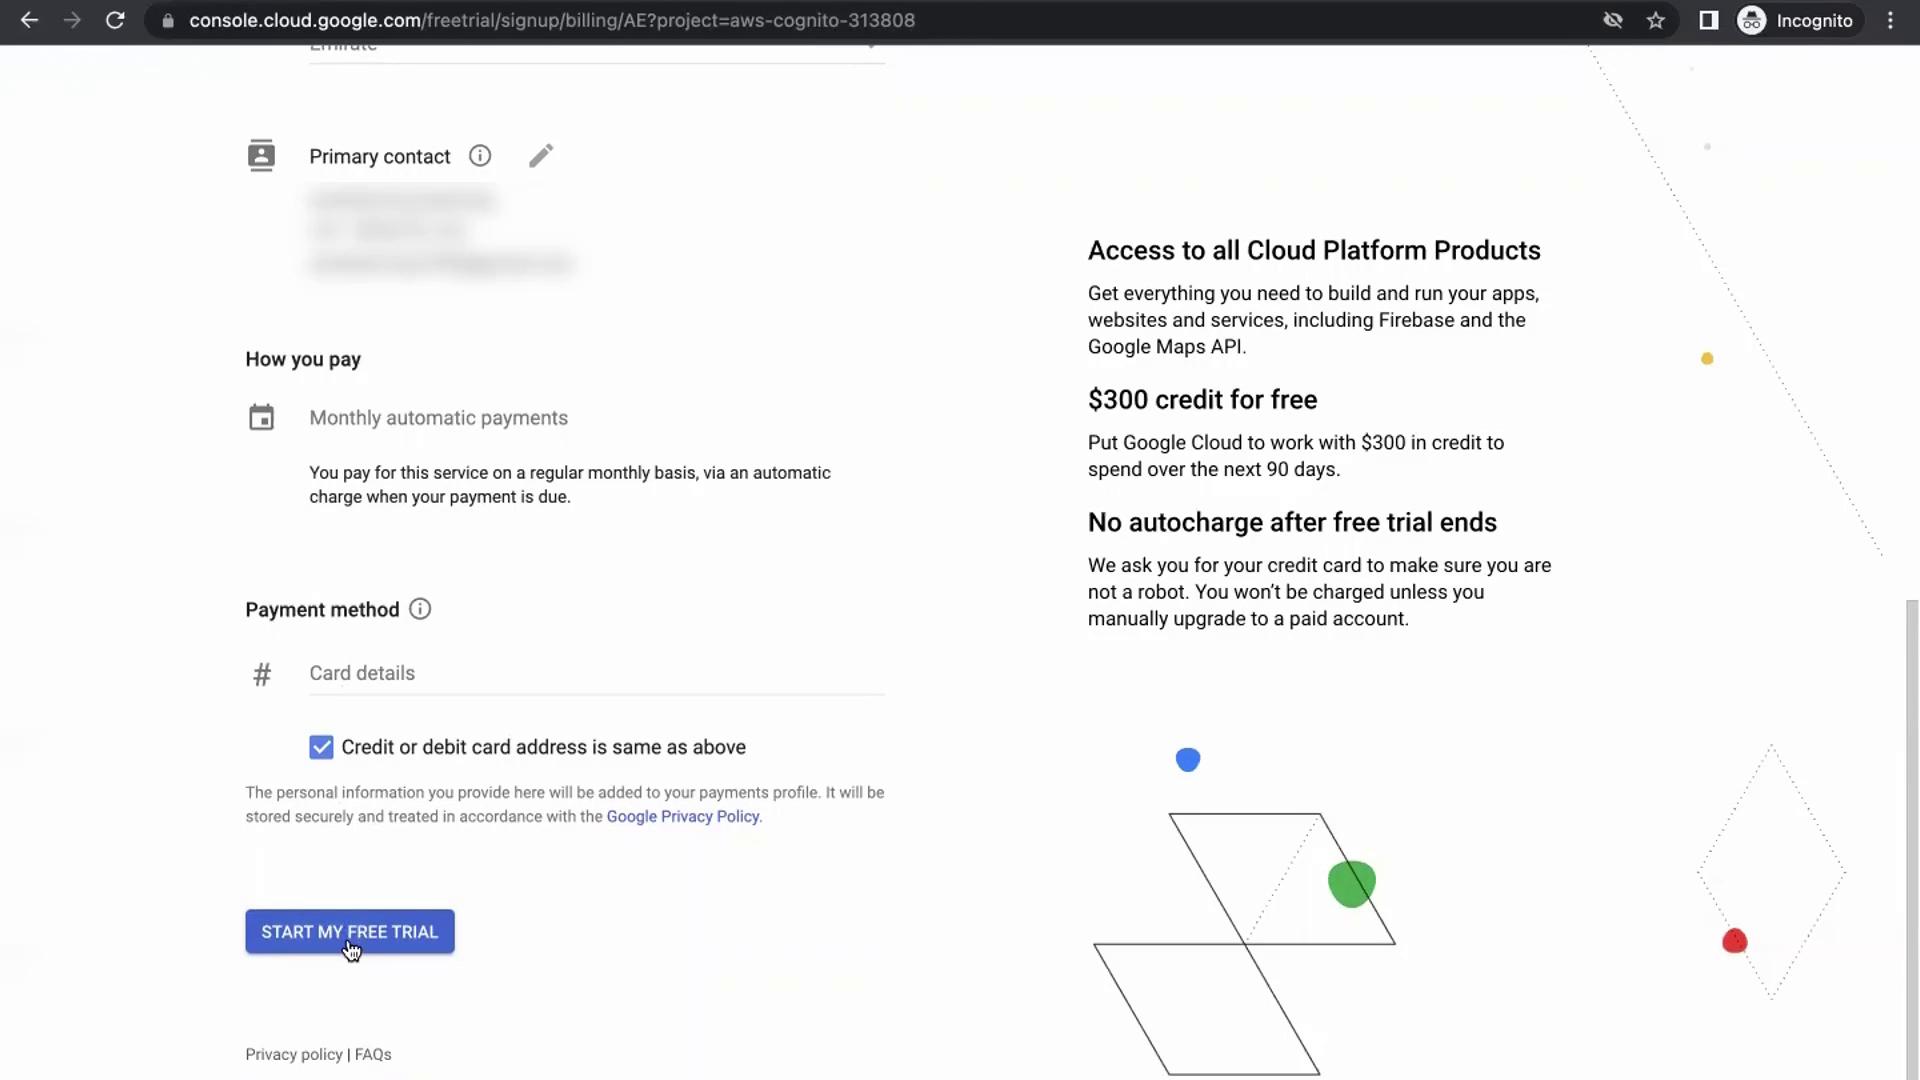
Once you access your account dashboard, you might see a pop-up inviting you to start your free trial. If the “Start your free trial” pop-up does not appear automatically, locate the gift box symbol within the blue tab. Clicking this symbol will reveal a white tab with the trial activation option. New GCP users are given $300 in credits to explore the platform for 90 days. This trial is perfect for testing various GCP services and learning the basics of cloud computing.To activate your free trial, follow these steps:
- Click on the Activate button.
- When prompted, complete the following:
- Country Selection: Choose the country where you reside.
- Purpose of the Trial: Select an option like “Personal Project.”
- Terms and Services: Agree to the Terms and Services.
- Billing Information: Provide additional details including business information, primary contact data, and your credit card details.
Your billing information is used solely for account verification. No charges will be incurred as long as you operate within the free trial limits and the 90-day period.