Verify Your Project in GCP Console
Start by confirming that you’re working within the correct GCP project. In the console, you should see details similar to those in the image below: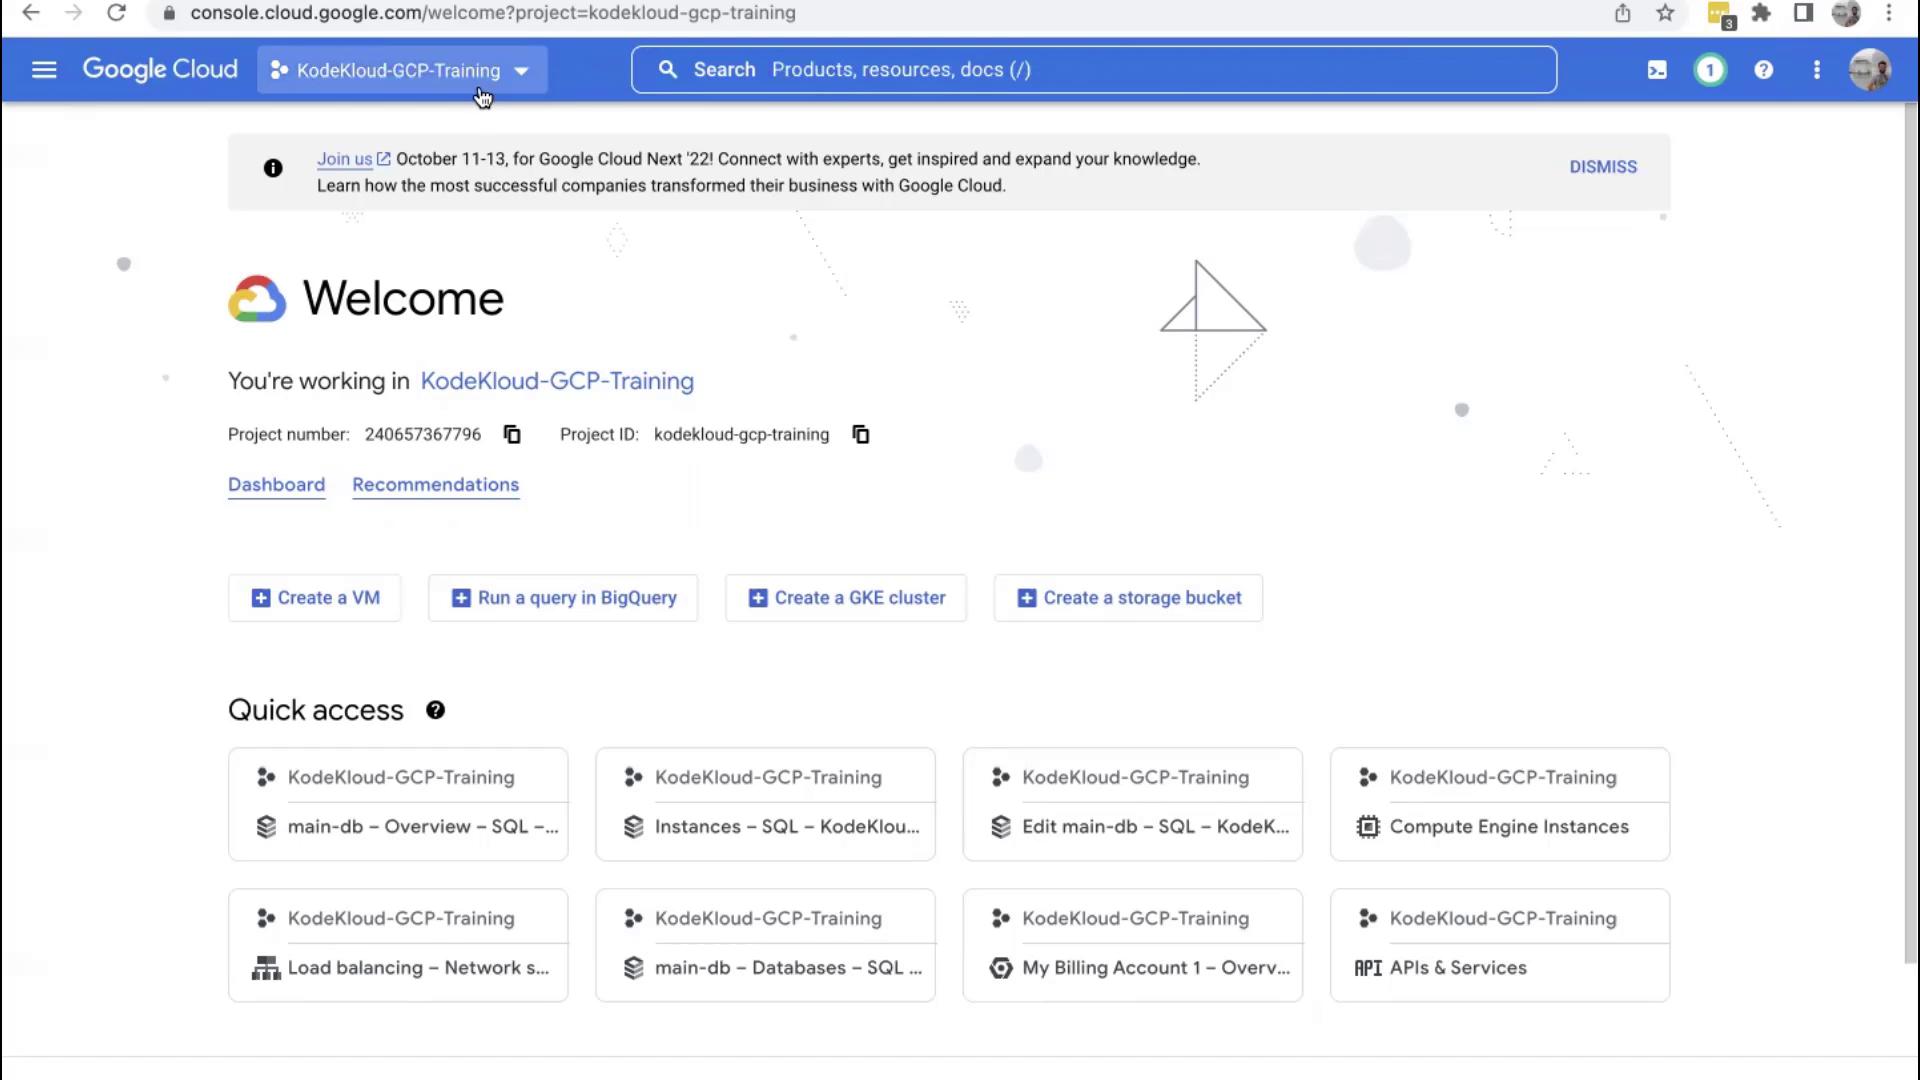
Access Cloud Storage
In the GCP Console, search for “Cloud Storage” and select the corresponding option from the menu. This will navigate you to the storage buckets overview screen: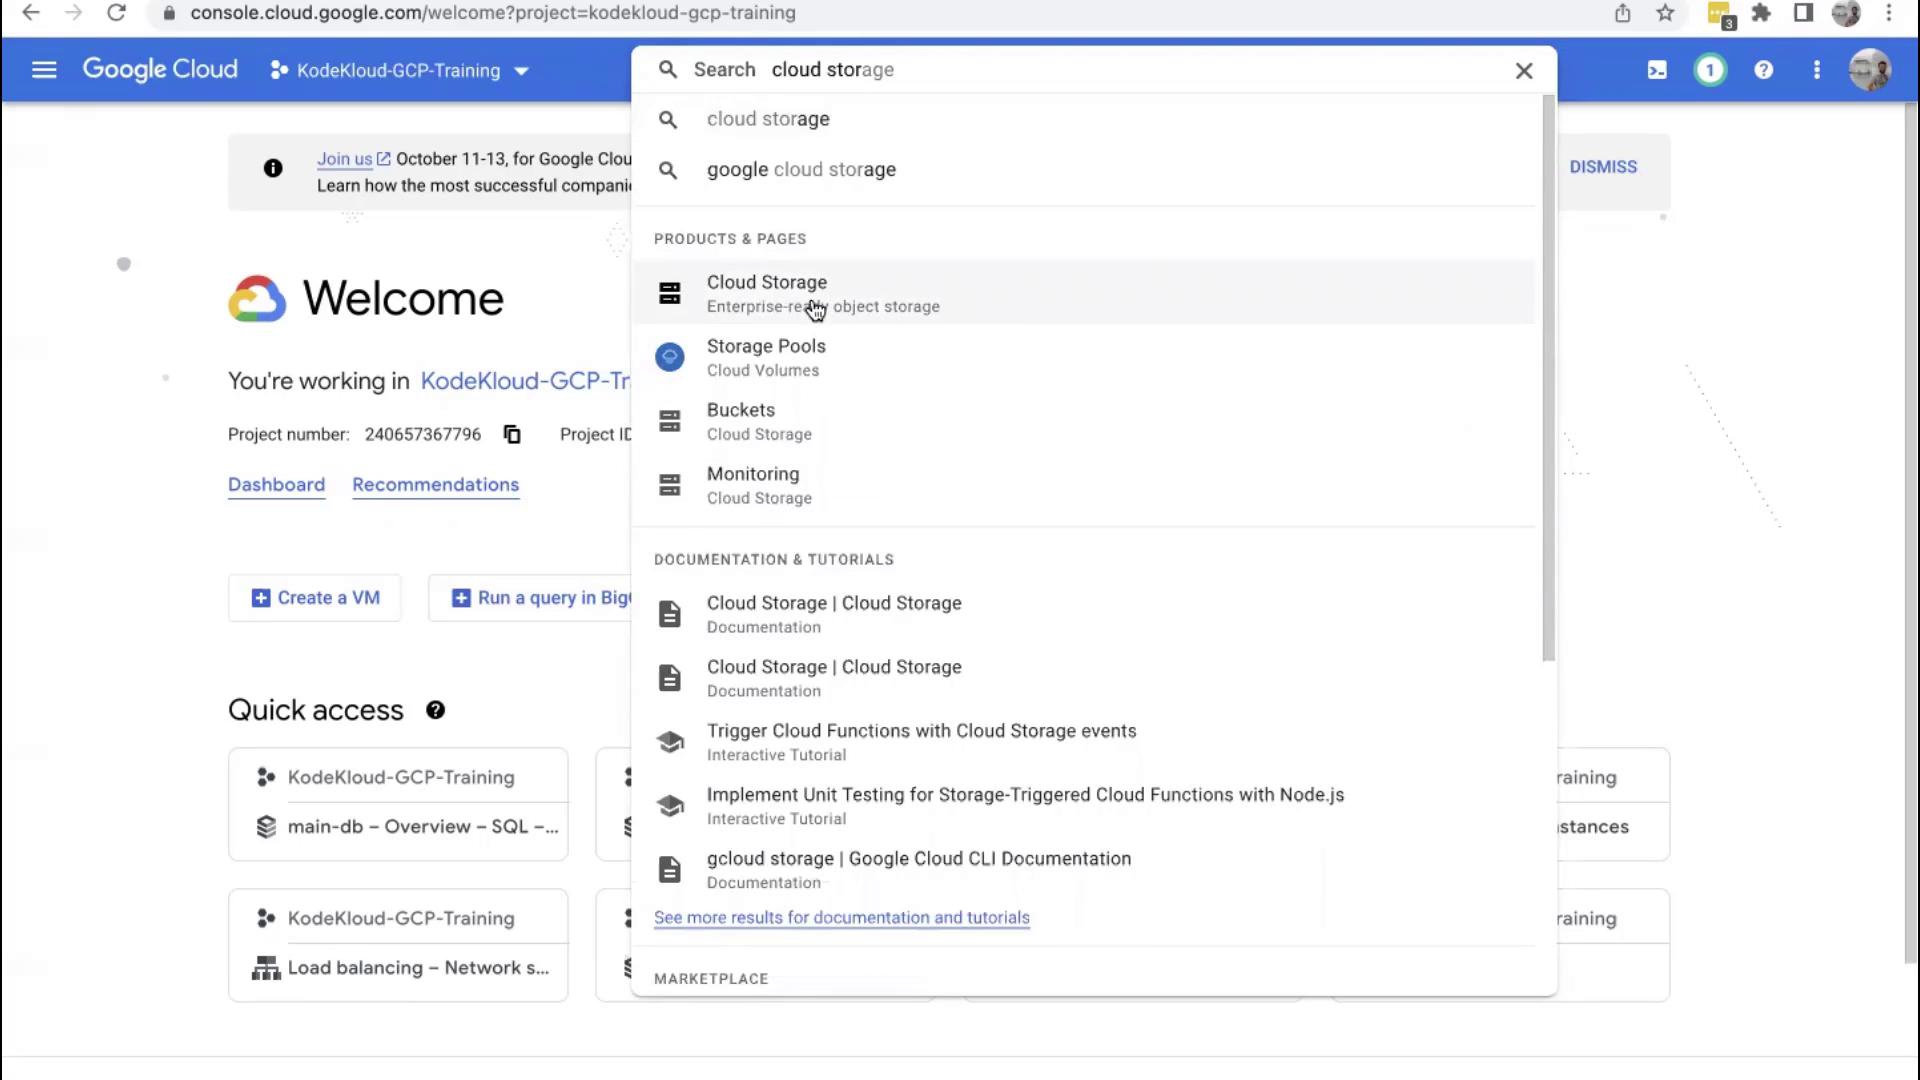
Create a New Storage Bucket
When creating a bucket, you need to provide a name. Remember, the bucket name must be globally unique, not just unique within your organization.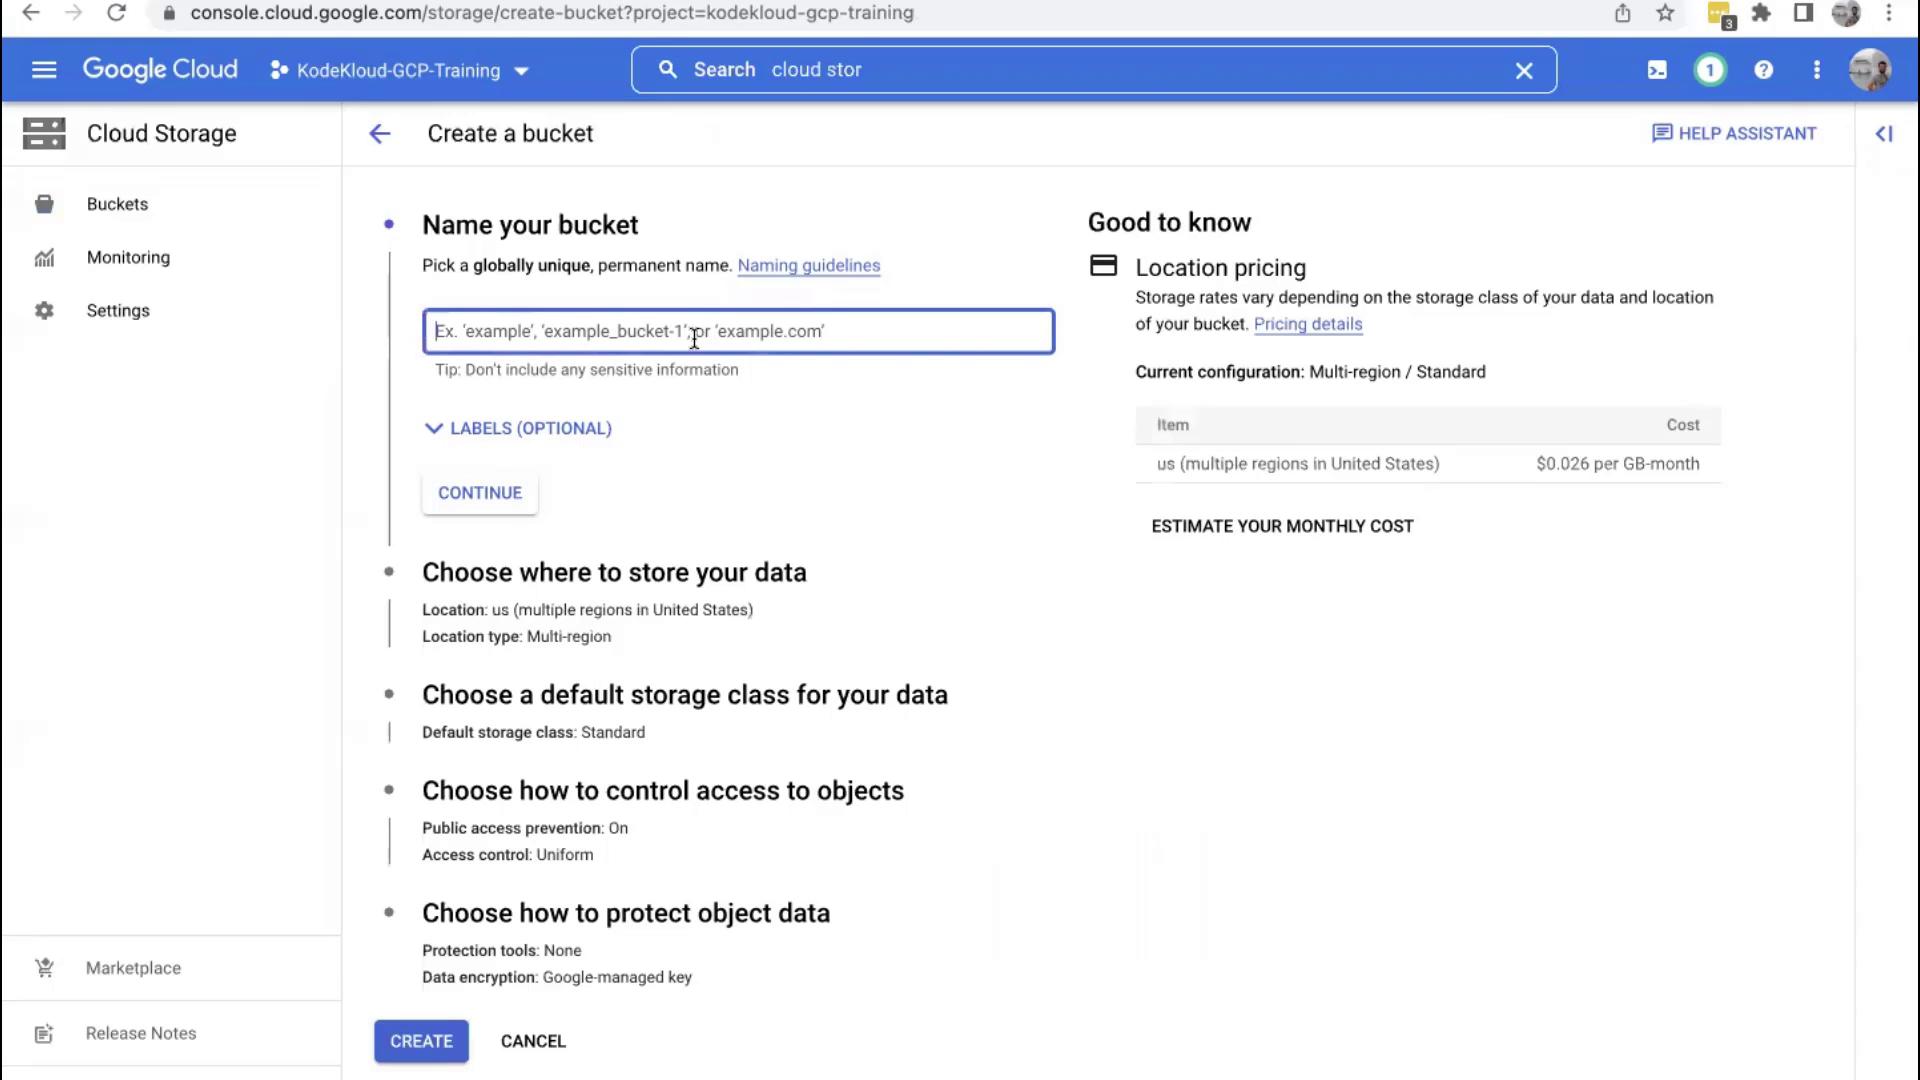
A helpful naming strategy is to start with your company prefix (e.g., “pharma”) followed by a descriptor for its purpose (e.g., “store-data-information”).
Configure Bucket Location and Storage Class
Choose a Region
Select the region where your data will be stored. Depending on your compliance and data residency requirements, you might choose a specific region. Alternatively, you can opt for a multi-region setting if you want high availability by replicating data across multiple regions. For this demonstration, the multi-region option is selected. Click Continue after making your choice.Select a Storage Class
At this step, you choose a storage class that best meets your needs. Although we won’t dive deep into the different storage classes in this article, the default setting is sufficient for this demonstration. Move forward with the default options.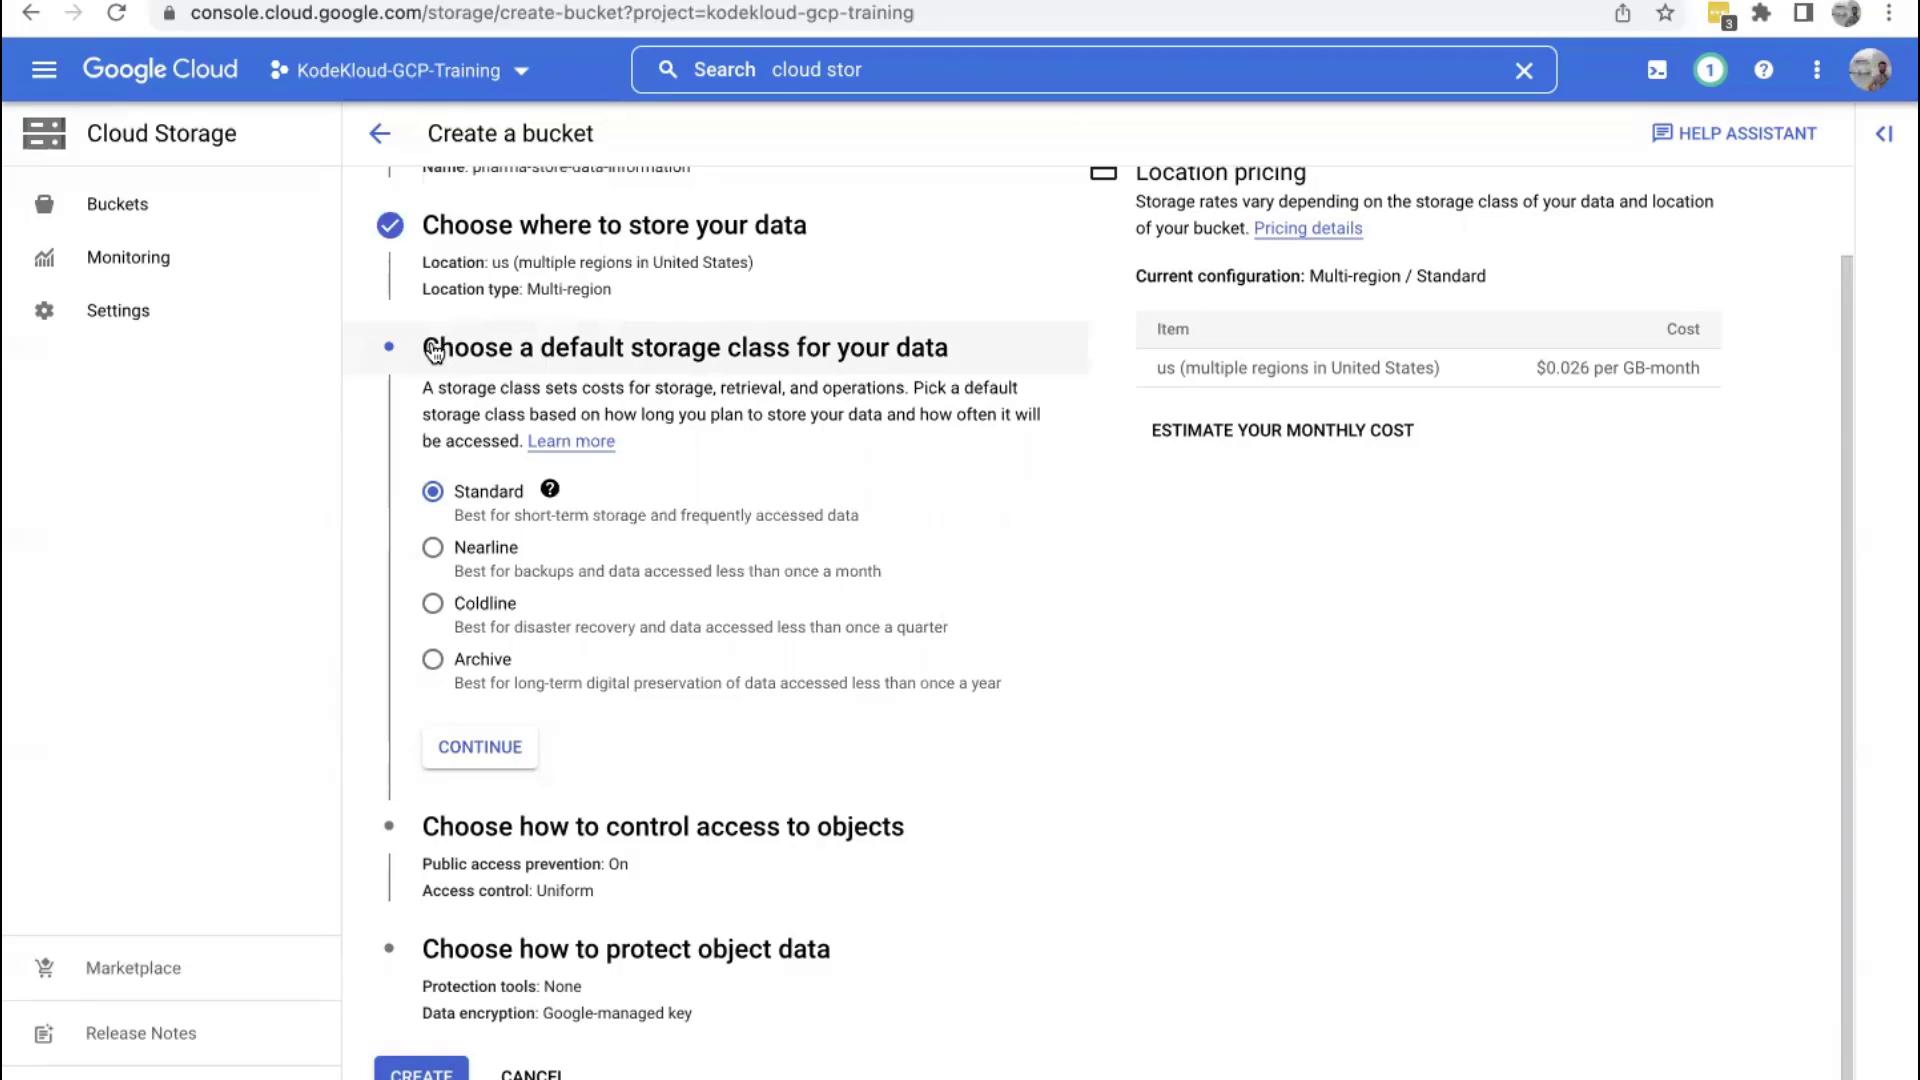
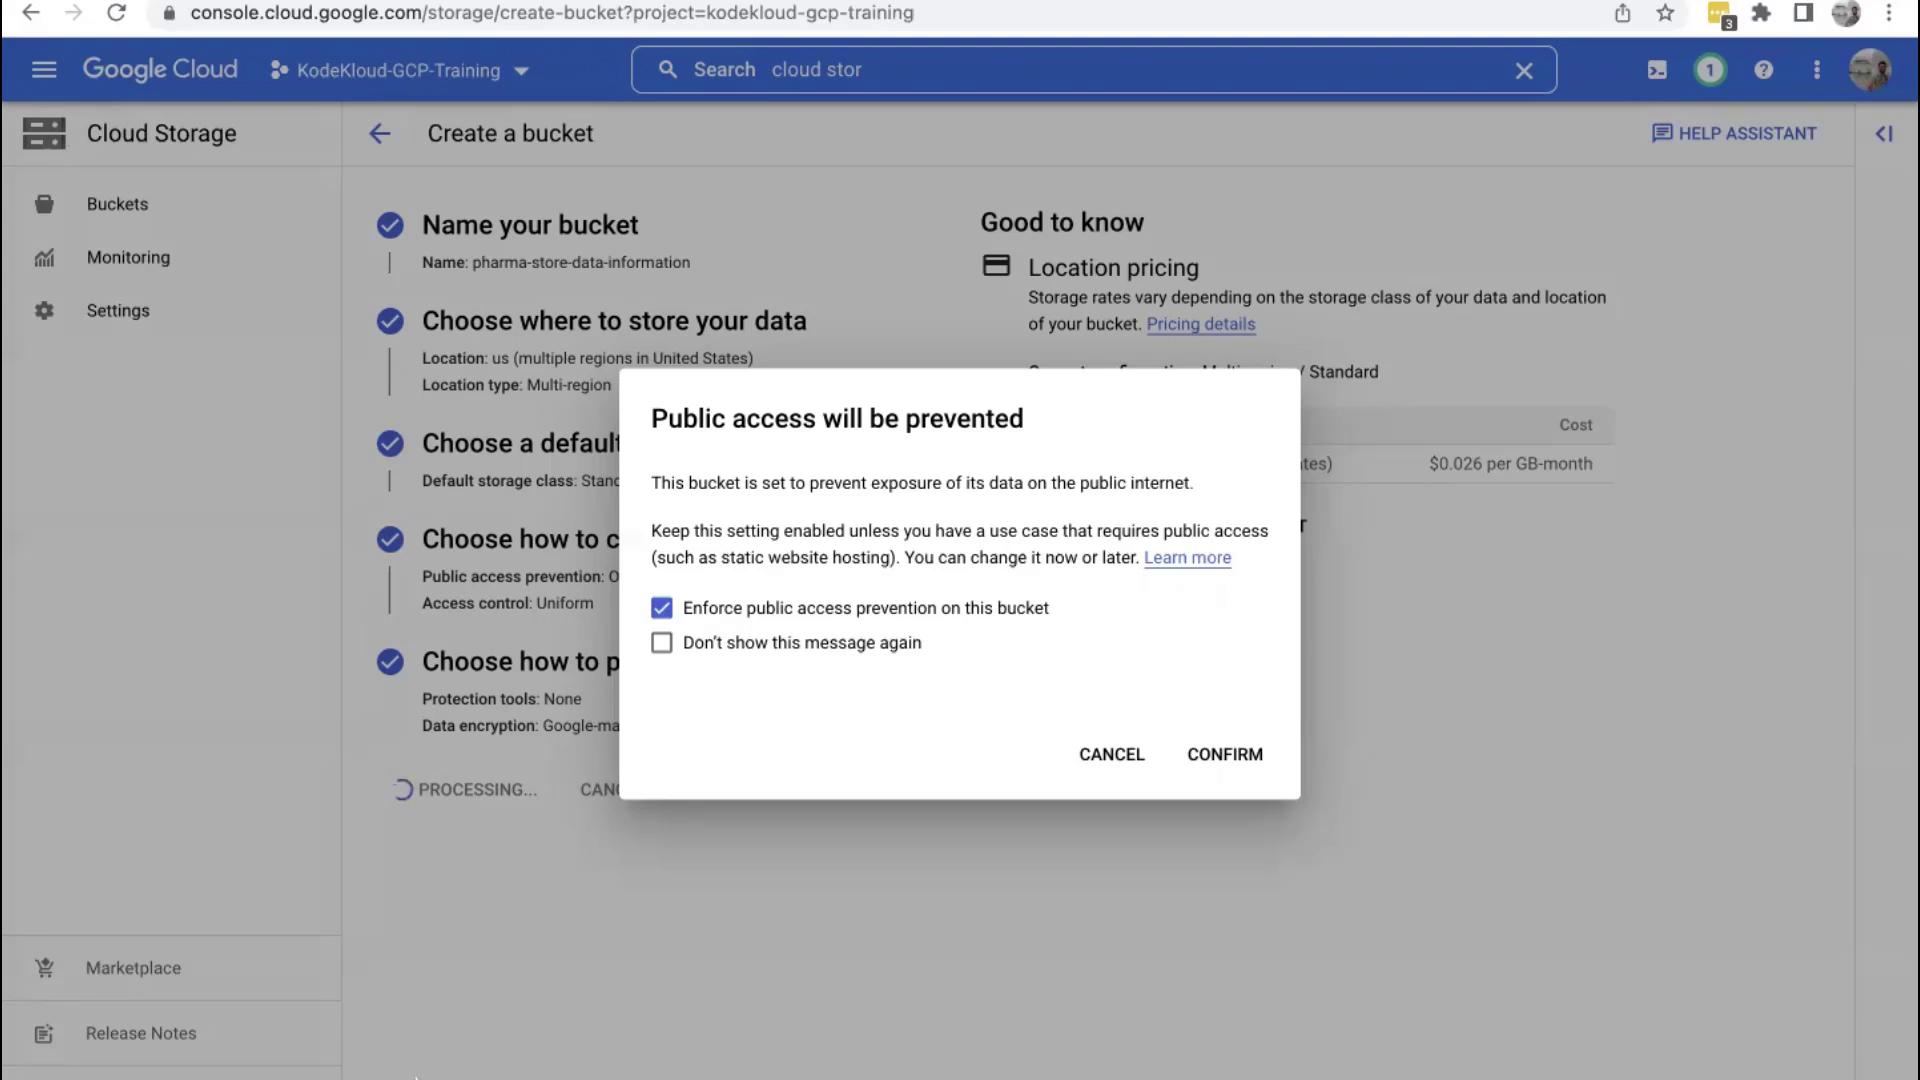
Enforce Public Access Prevention
Before finalizing the creation, GCP displays an important warning regarding public access:Exposing a bucket to the public internet can be risky because unauthorized users might gain access to your stored data. GCP recommends enabling the option “Enforce public access prevention on this bucket” to keep your data secure.
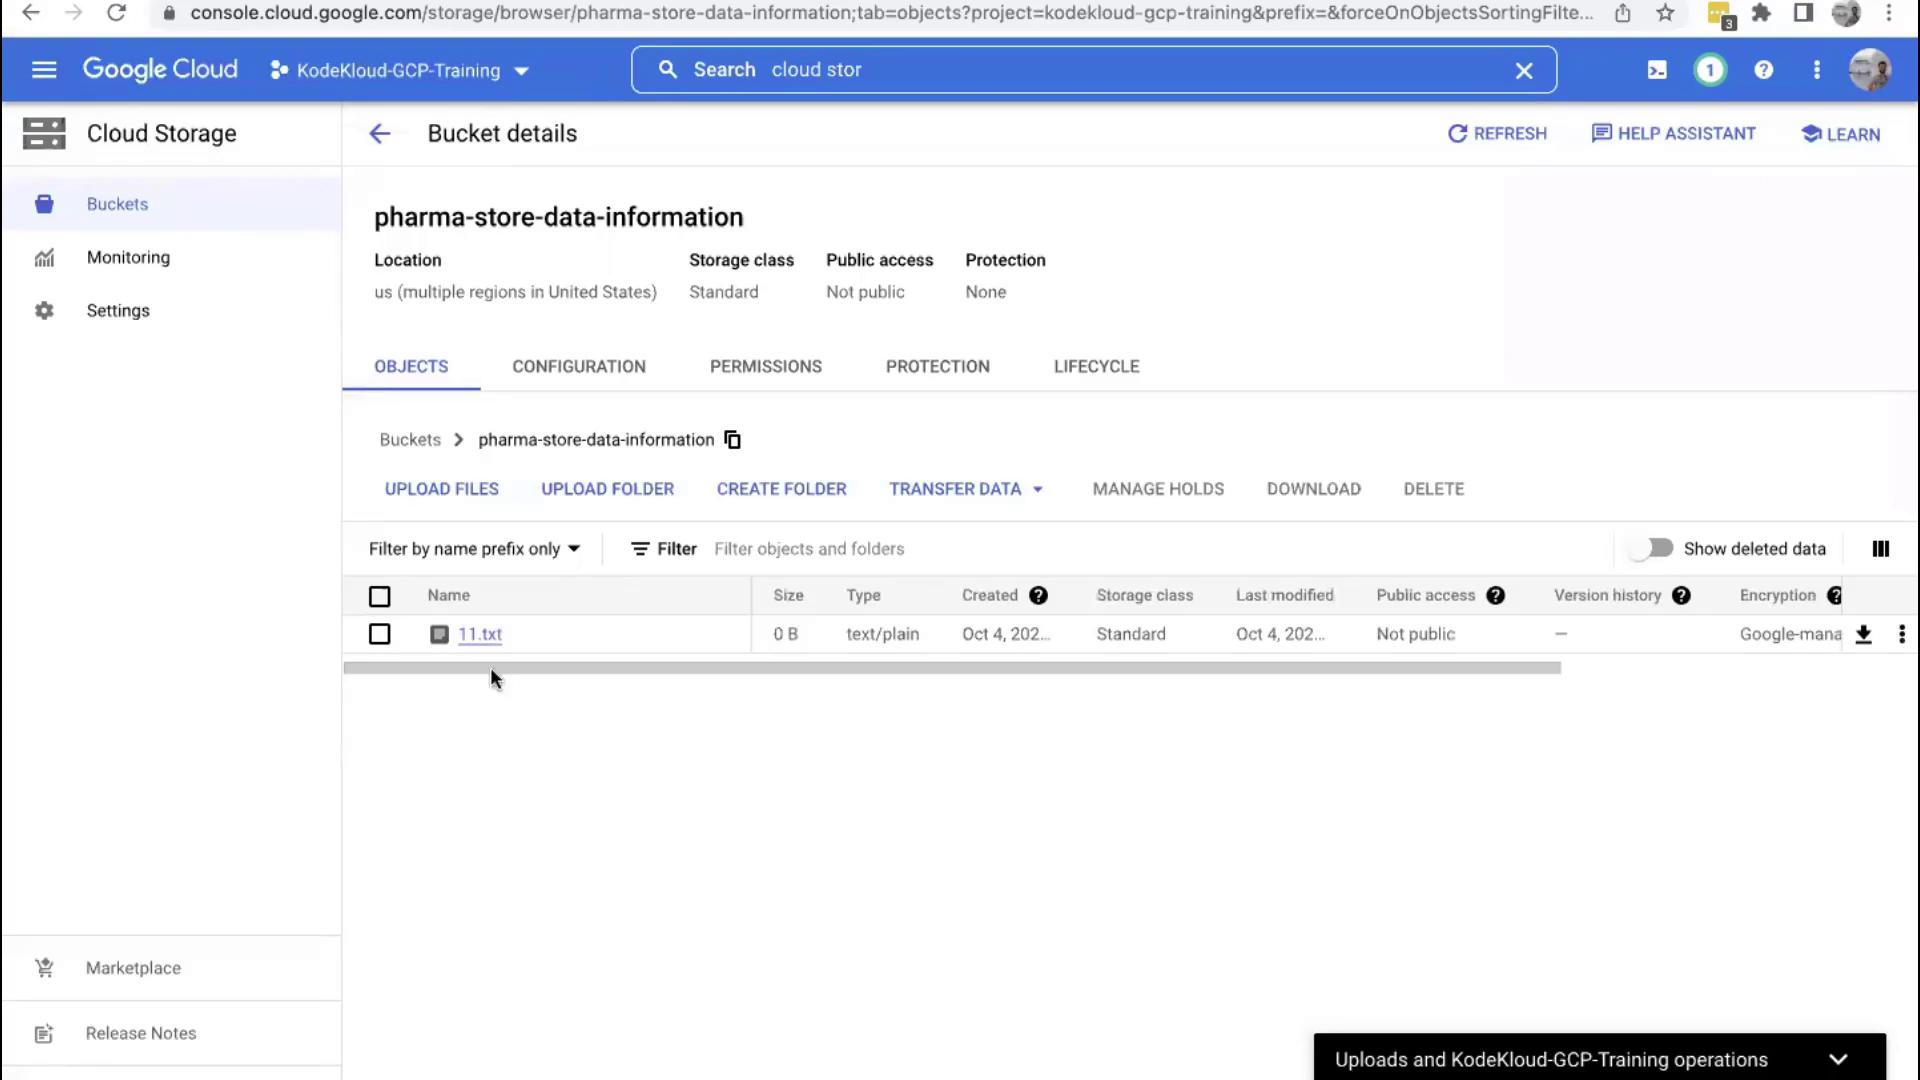
Upload Files to Your New Bucket
After your bucket has been successfully created, you can start uploading files. The bucket supports various file types such as images, documents, and audio files. To upload, simply click on the Upload button and select either individual files or an entire folder from your laptop. For this demonstration, the process of clicking Upload Files and selecting a file is illustrated below: