Accessing BigQuery in GCP
- Log in to your GCP Console, select the appropriate project, and use the search bar to find “BigQuery”. You will see options under Data Warehouse and Analytics.
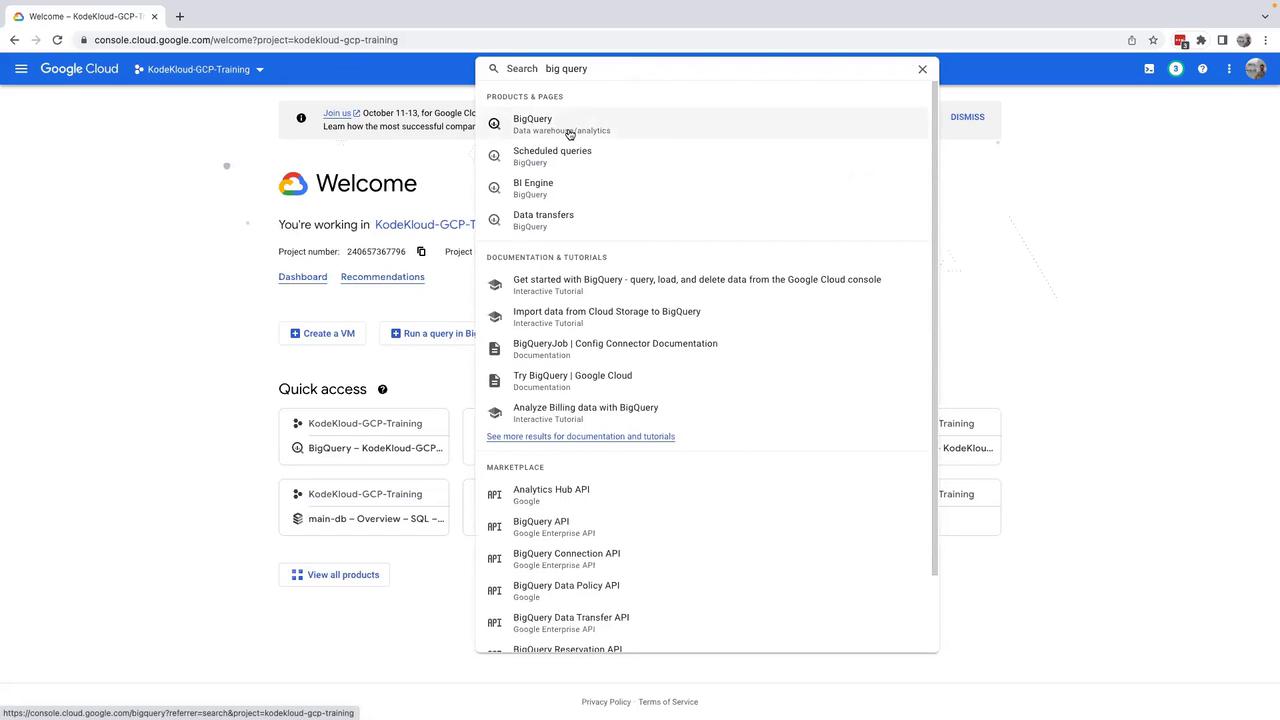
- Click on BigQuery. If prompted to activate the BigQuery API, please do so. Once activated, expand your project on the left-hand side to view its details. At this point, you may notice that no datasets exist in your project.
Creating a Dataset
Before you can store tables, you need to create a dataset within your project.- Click on Create dataset.
- In the dataset creation form, enter a dataset name (for example, “sample_data”).
- Select the location where your data will be stored. Choosing the correct location is critical to meeting your company’s data protection regulations and aligning with your organization’s geographical preferences.
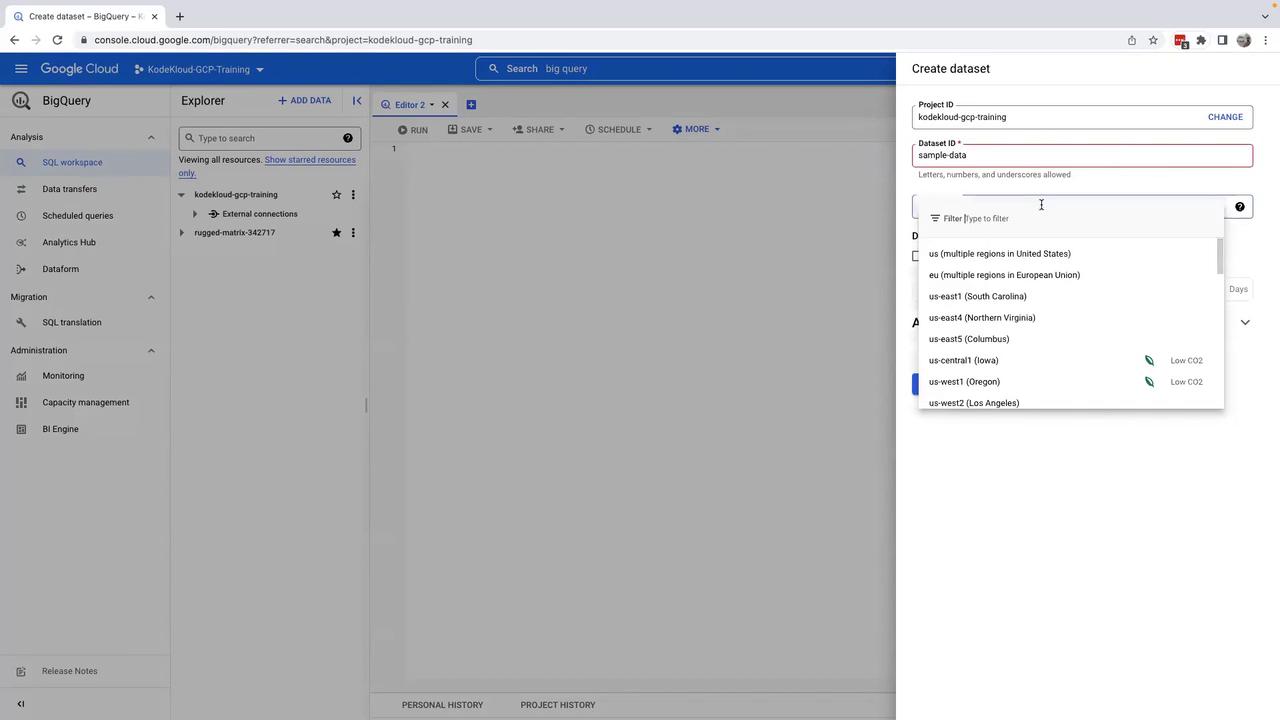
If you encounter an error related to naming conventions, consider modifying the dataset name (for example, using an underscore like “sample_data”) and try again.
Creating a Table from a CSV File
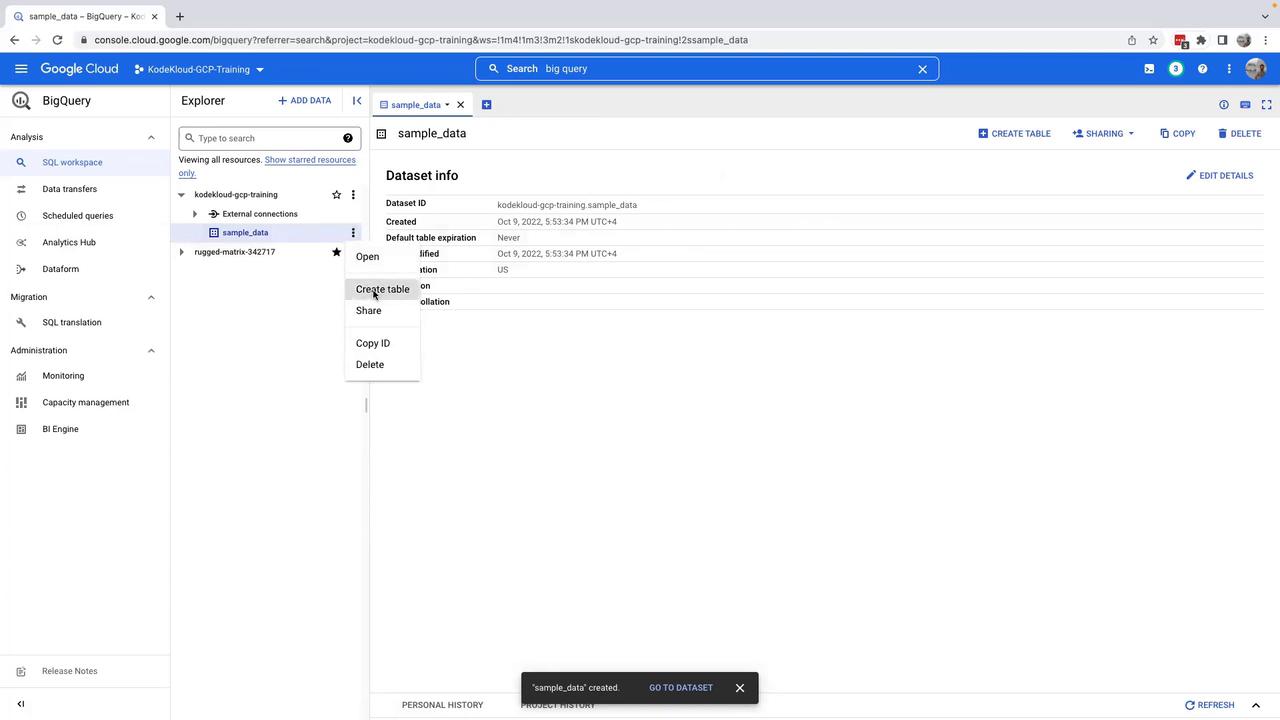
Now that you have your dataset, you can create a table to store your data.- Within the dataset view, click on Create table.
-
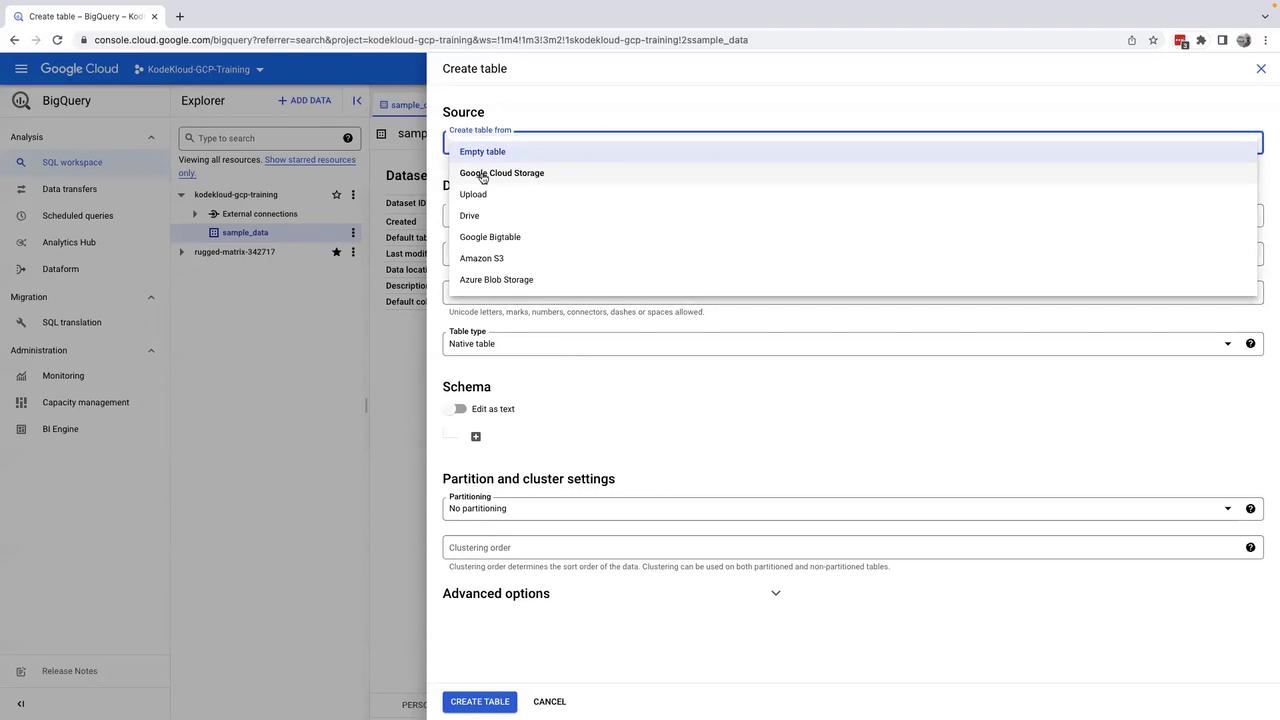
You will be presented with several table creation options:
- Create an Empty Table
- Create a Table from Google Cloud Storage
- Upload Data (choose this option for local file uploads)
- Click on Upload.
- Click on Browse to select a local CSV file that contains your sample data. BigQuery will automatically detect the file format. You can also upload other supported formats such as JSON, Avro, or Parquet.
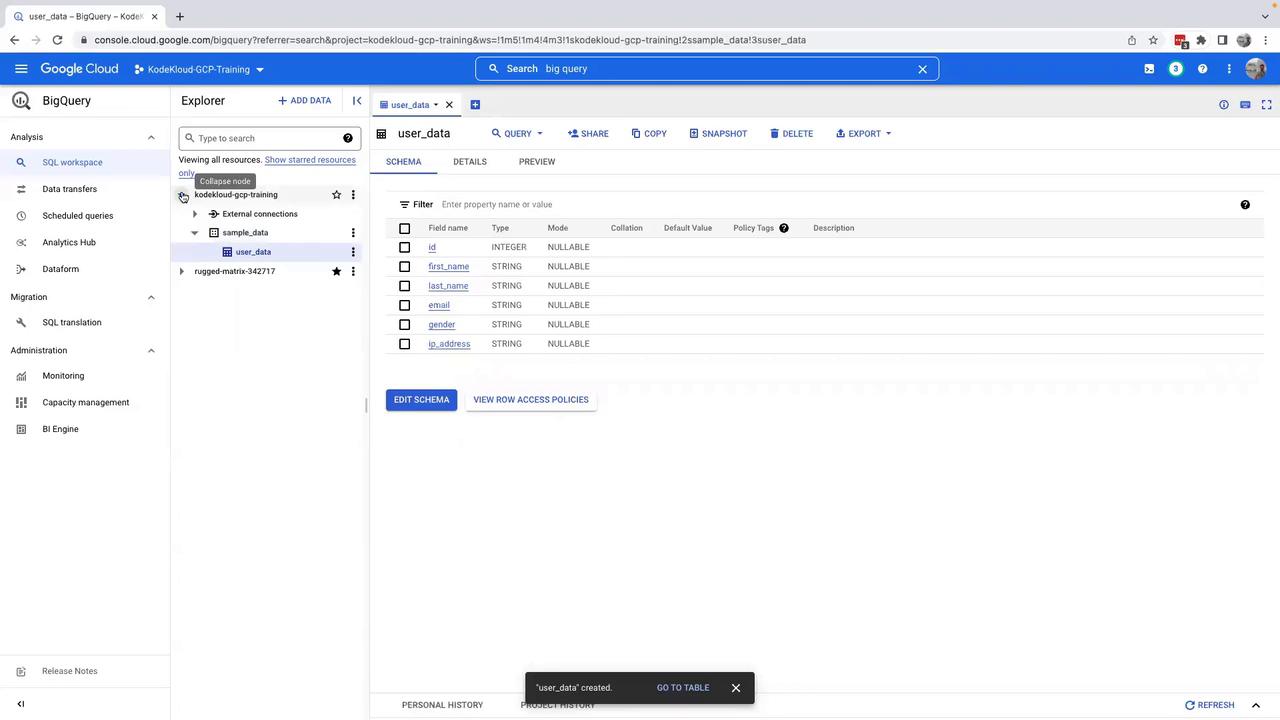
- Choose your dataset (in this example, “sample_data”) and specify a table name (for example, “user_data”).
- Enable schema auto-detection so that BigQuery determines the table fields based on your CSV file.
- Finally, click on Create Table to finish the process. Your CSV data will be uploaded and the table will be created.
Running SQL Queries
To analyze the table data, you can run SQL queries using the query editor:- Click on the Query option to open a new query tab.
-
Write your SQL query. For example, if you want to fetch 10 records from the table, use the following query:
Before executing the query, review the query plan to check that only 70 KB of data will be processed. Remember, BigQuery charges are calculated based on the volume of data processed, so it’s important to optimize your queries for cost efficiency.
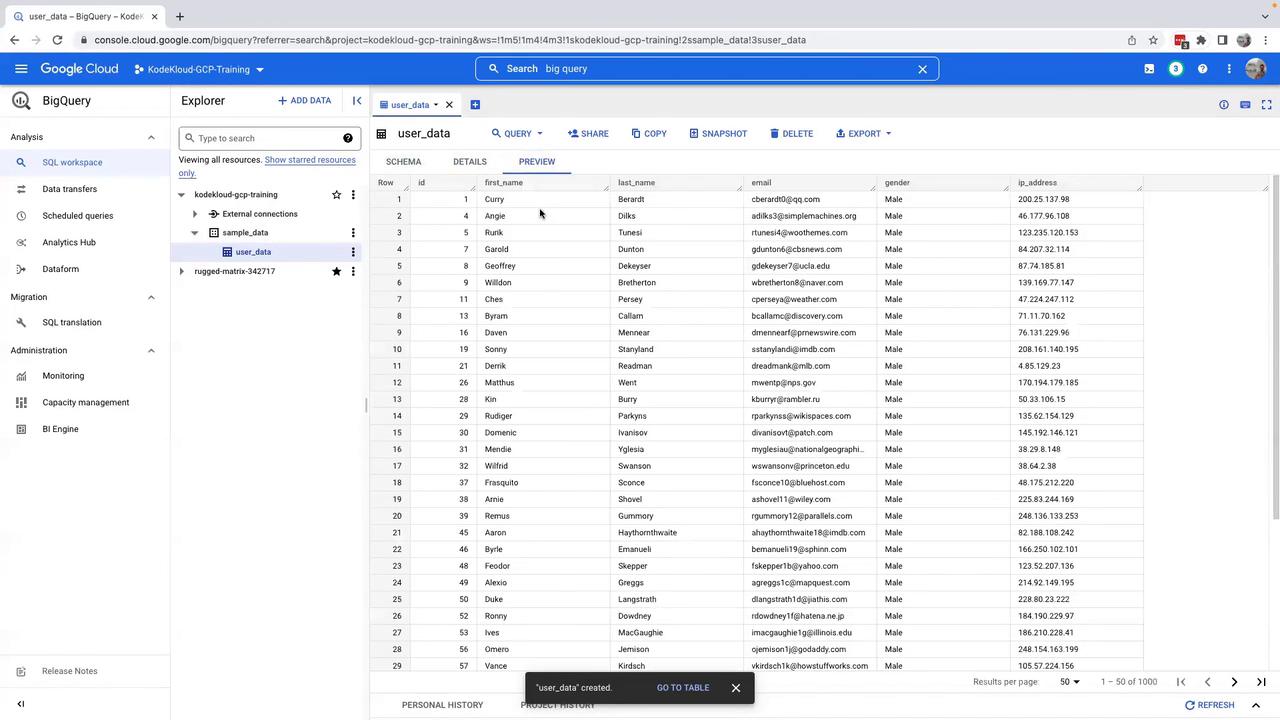
- Click Run to execute your query. The results will be displayed at the bottom of the screen.
- BigQuery also allows you to download query results in various formats. Additionally, review execution details such as query duration, read time, and compute time to further optimize query performance.
Additional Features
On the left side of the BigQuery interface, you will find the BI Engine option in the administrator tools. BI Engine caches frequently accessed query results, reducing the need to recompute them for subsequent queries. This feature can significantly lower query costs and improve performance for popular tables. Return to the SQL workspace, where you can:- Review your query history (both personal and project-wide)
- Save or share queries for future use
- Schedule queries to run periodically
Conclusion
This lesson covered how to:- Access BigQuery through the GCP Console
- Create a dataset and upload a CSV file as a table
- Configure schema auto-detection
- Execute SQL queries and leverage BigQuery’s cost management features