GCP DevOps Project

Sprint 04

Automate Docker build using Cloud Build

Effortlessly streamline your Docker image builds by leveraging Google Cloud Build and storing the results in Google Artifact Registry. In this tutorial, you'll learn how to:

  • Create a feature branch for isolation
  • Configure a cloudbuild.yaml for automated builds
  • Set up and verify a Cloud Build trigger
  • Monitor builds in the Cloud Build dashboard
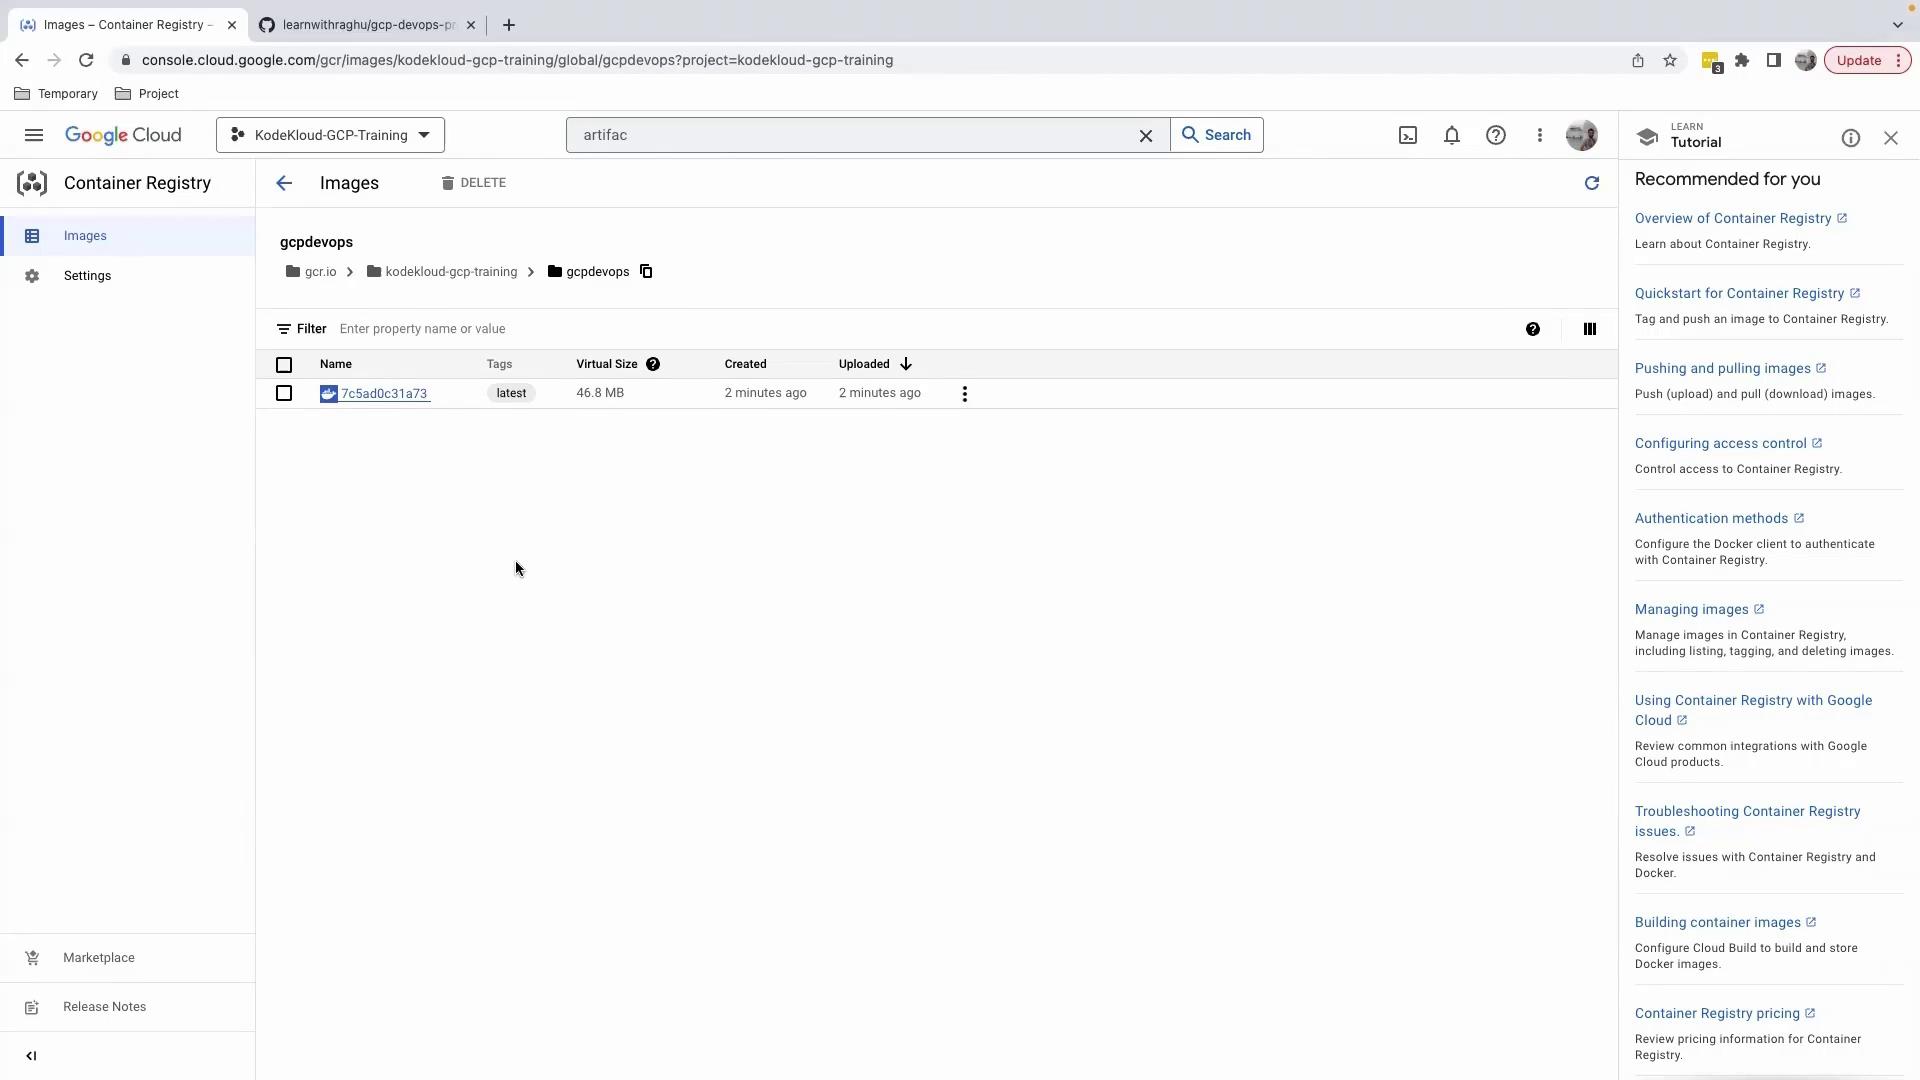
  • Inspect Docker images in Artifact Registry

1. Create a New Git Branch

First, ensure you’re working in a dedicated feature branch. This keeps your main branch clean and allows safe testing of CI/CD changes.

# Check your current branch
git branch
# Example output:
# Create and switch to a new feature branch
git checkout -b minor/cloudbuild
# Example output:
# Verify you’re on the new branch
git branch
# Example output:
# * minor/cloudbuild
#   main

2. Add the Cloud Build Configuration

In the root of your repository, create a cloudbuild.yaml file. Cloud Build uses this file to define build steps, images to push, and other options.

steps:
  - name: 'docker'
    args:
      - build
      - '-t'
      - 'gcr.io/$PROJECT_ID/gcpdevops'
      - '.'
images:
  - 'gcr.io/$PROJECT_ID/gcpdevops'
FieldDescription
steps.nameDocker builder image used for the build
steps.argsArguments passed to docker build (tagging and context path)
imagesDestination(s) in Container/Artifact Registry to push to

Note

Ensure the Cloud Build API and Artifact Registry API are enabled in your Google Cloud project.


3. Commit and Push Changes

Once your cloudbuild.yaml is in place, commit and push your changes:

git add cloudbuild.yaml
git commit -m "Add Cloud Build configuration for Docker images"
git push origin minor/cloudbuild

Then open a pull request targeting the main branch and merge it once approved.


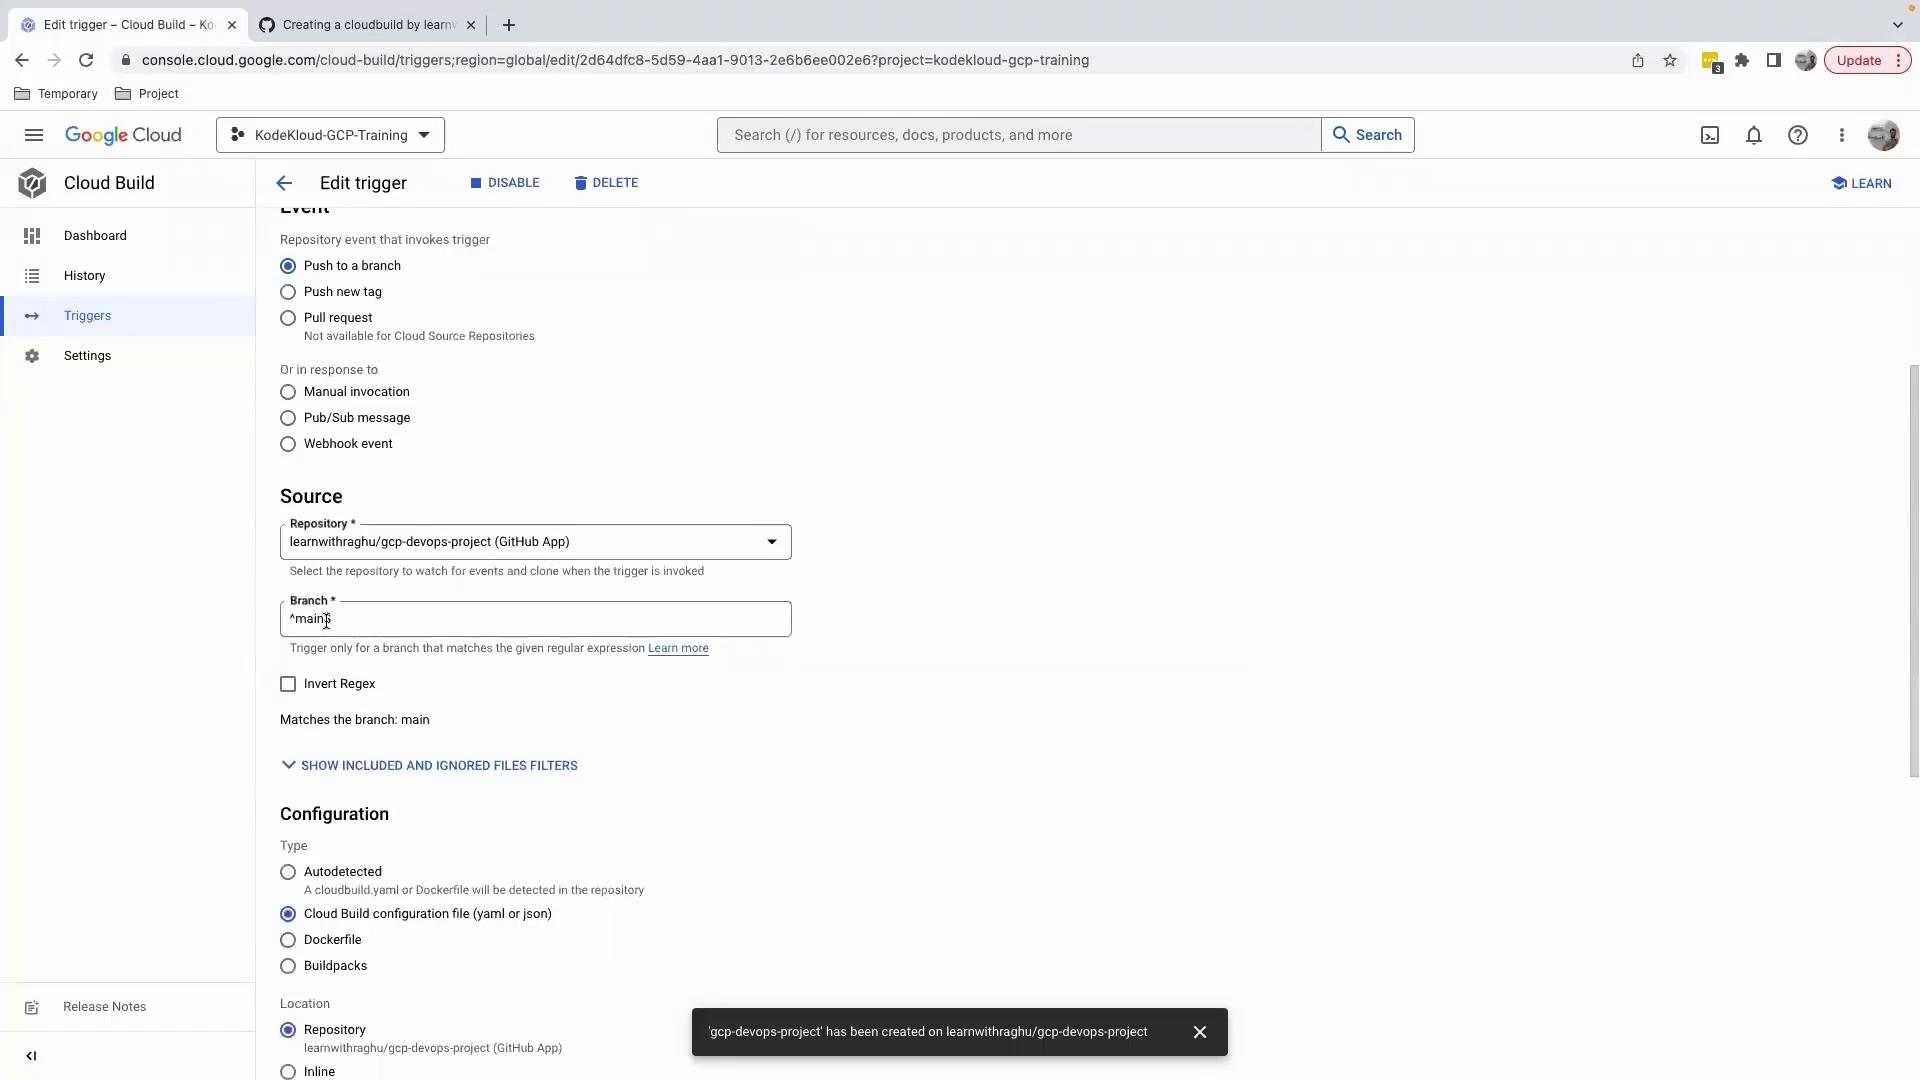
4. Configure and Verify Your Cloud Build Trigger

In the Google Cloud Console, navigate to Cloud Build › Triggers and confirm:

  • Event: Push to the main branch
  • Source: Your repository
  • Build Configuration: Use cloudbuild.yaml in the root of the repository

The image shows a Google Cloud Build interface where a trigger is being edited. It includes options for event types, source repository, branch, and configuration settings.


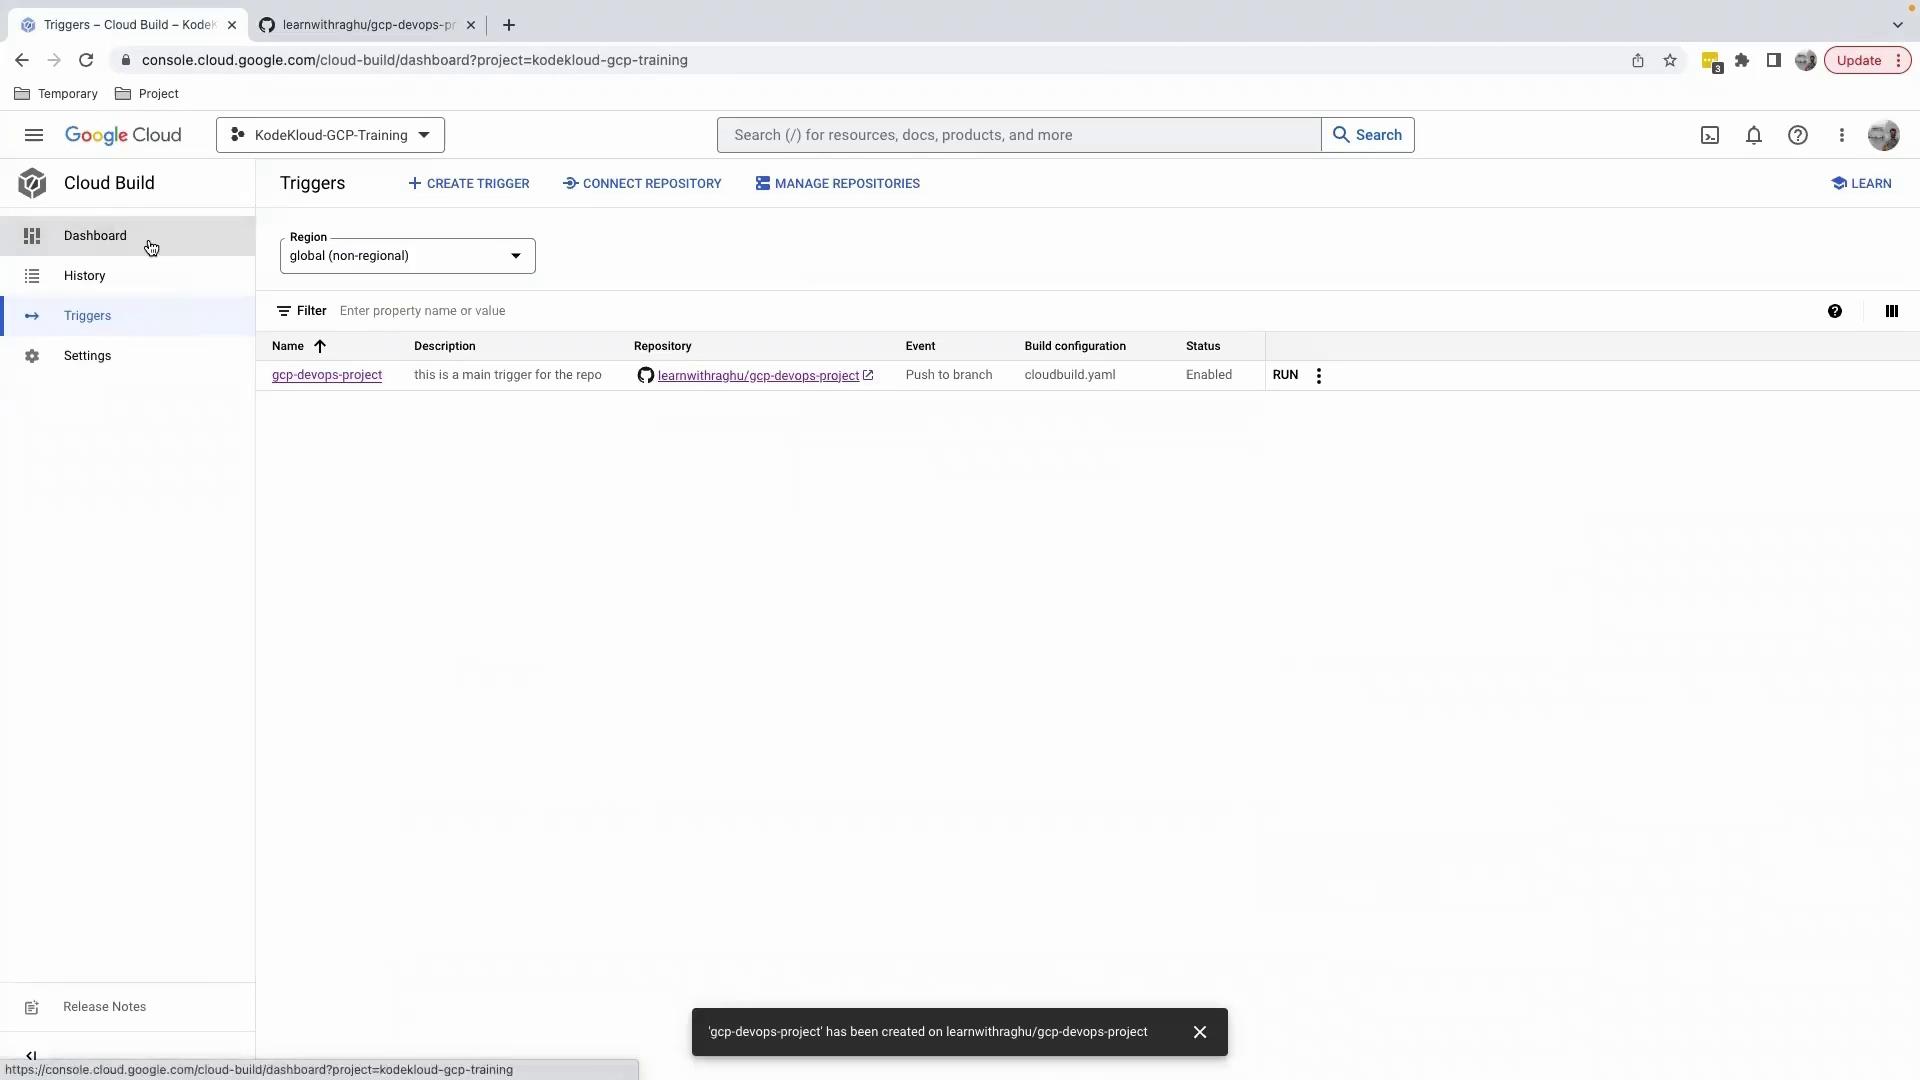
5. Merge and Monitor the Build

After merging your PR, Cloud Build will automatically start a build. To track progress:

  1. Go to Cloud Build › Dashboard.
  2. Click on the latest build in History to view real-time logs.

The image shows the Google Cloud Build interface with a trigger set up for a project named "gcp-devops-project." The trigger is configured to run on a push to a branch event.

Example log output:

FETCHSOURCE
  hint: Using 'main' as the name of the initial branch...

BUILD
  Pulling image: docker
  Starting build...
  Building default tag: latest
  ...

PUSH
  Pushing gcr.io/...

Warning

Merging directly to 
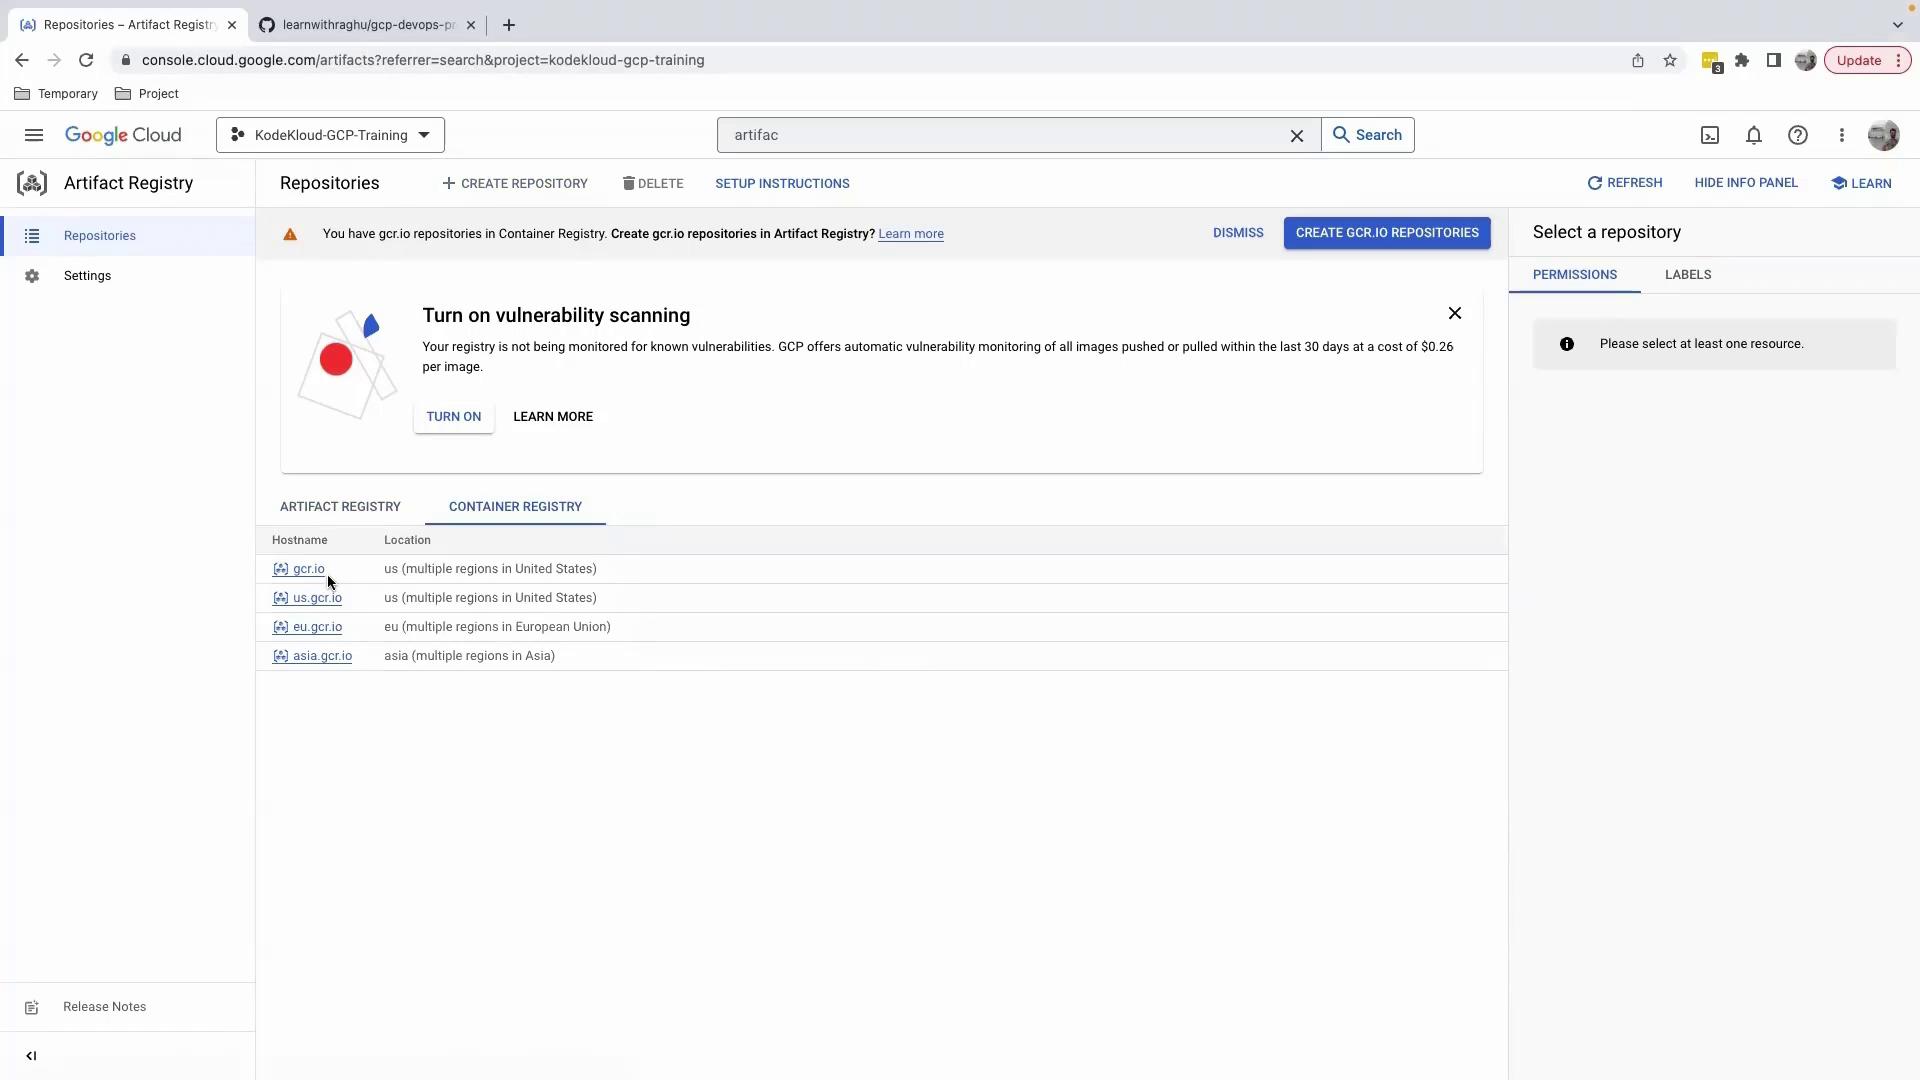
main triggers a build. Make sure your cloudbuild.yaml is correct to avoid broken pipelines.


6. Inspect Your Artifacts

Once the build completes, open Artifact Registry:

  1. Enable Artifact Registry if prompted (may take a minute).
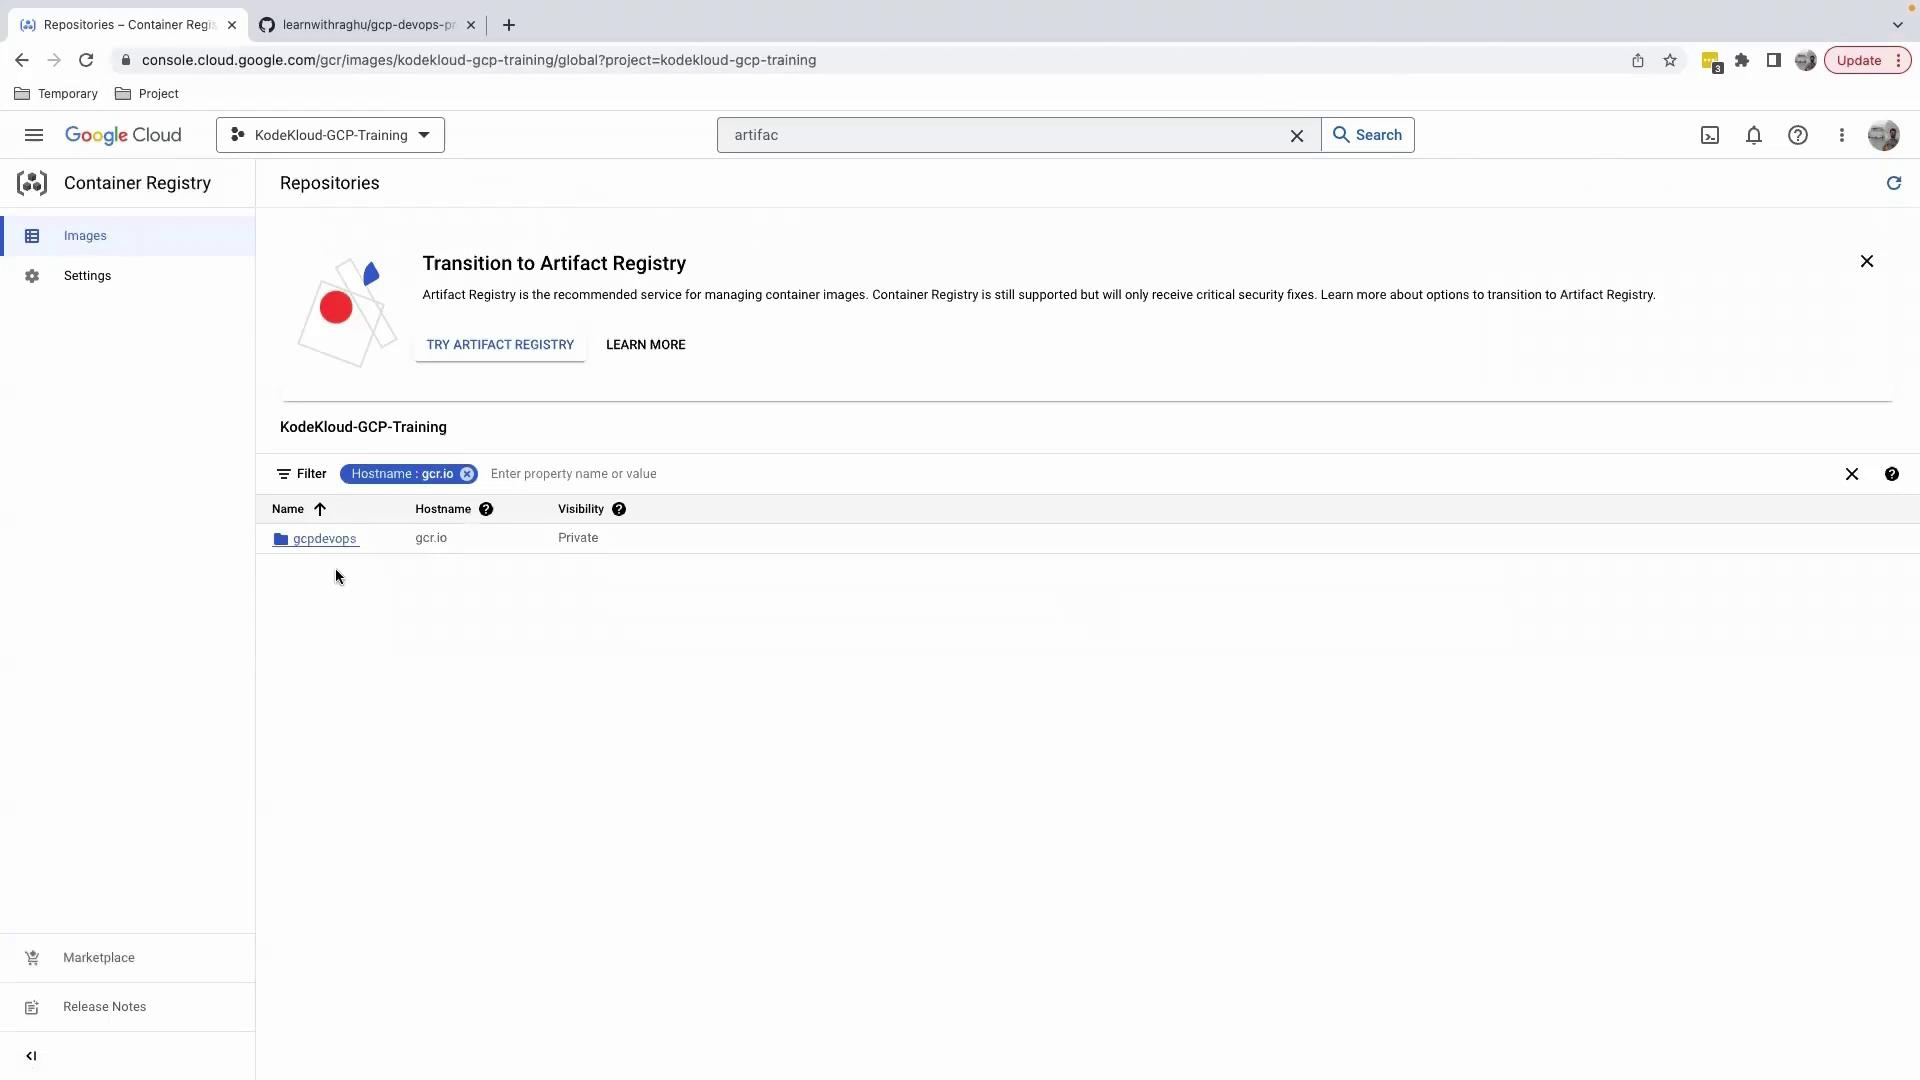
  2. Click Container Registry to view your gcr.io repositories.

The image shows a Google Cloud Platform (GCP) console interface for Artifact Registry, with options to turn on vulnerability scanning and a list of container registry hostnames and their locations.

You should see a gcpdevops repository:

The image shows a Google Cloud Console interface for Container Registry, highlighting a transition to Artifact Registry with a repository named "gcpdevops" listed as private.

Drill into the repository to view tags, sizes, and timestamps:

The image shows a Google Cloud Container Registry interface displaying a list of container images. It includes details like image name, tags, virtual size, and timestamps for creation and upload.


Recap and Next Steps

You’ve now:

  • Set up a feature branch and added cloudbuild.yaml
  • Configured a Cloud Build trigger on pushes to main
  • Monitored build logs and verified successful pushes to Artifact Registry

In the next lesson, we’ll integrate testing steps and deploy these images to a Kubernetes cluster as part of a full CI/CD pipeline.


Further Reading

Watch Video

Watch video content

Previous
Setting up cloudbuild trigger