GCP DevOps Project
Sprint 04
Setting up cloudbuild trigger
Hello, and welcome back! You’ve successfully connected Cloud Build to your GitHub repository. In this guide, we’ll verify the connection and configure a trigger that automatically runs builds on pushes to your main (or master) branch.
1. Verify Your Repository Connection
- Open the Google Cloud Console.
- Navigate to Build > Triggers > Manage repositories.
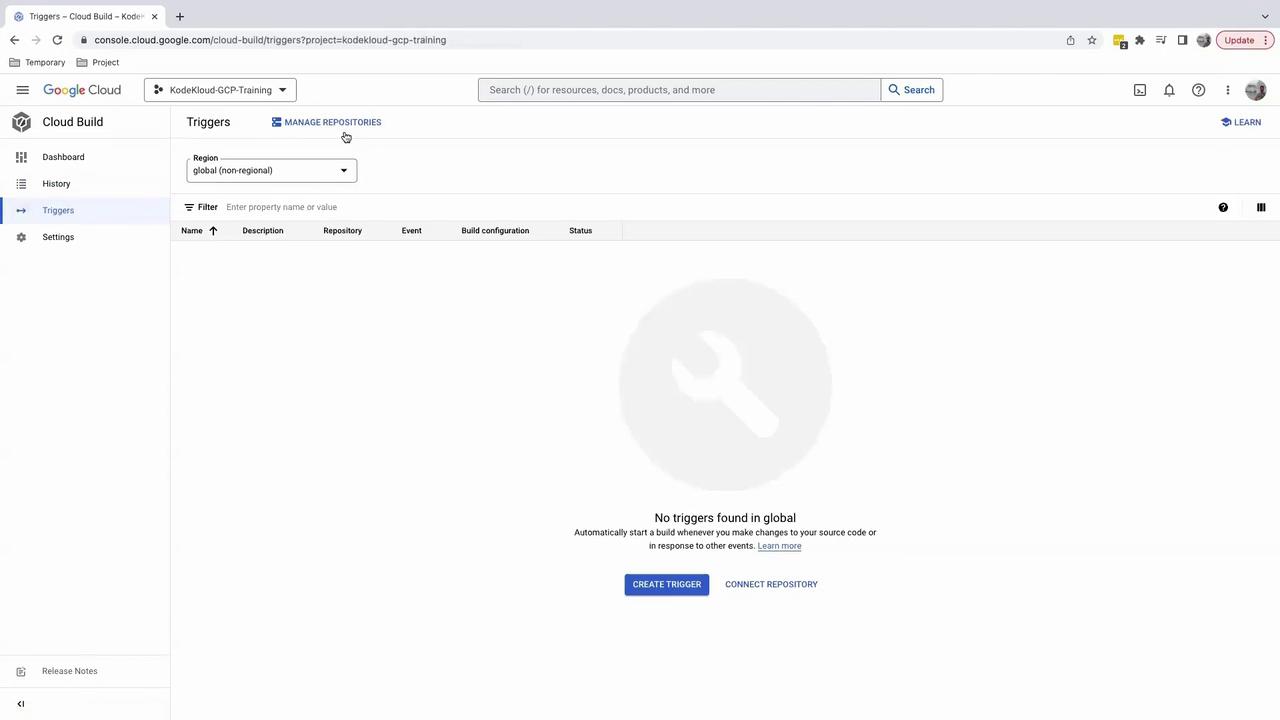
If your repository appears in the list, the integration succeeded. Otherwise, connect it via the Cloud Build GitHub App.
2. Understand Trigger Events
Cloud Build can start builds automatically based on various events. The most common trigger is a push or merge to a specific branch:
Whenever code is pushed to the target branch, Cloud Build will run your pipeline.
3. Create a Build Trigger
- On the Manage repositories page, click the ••• menu next to your repo and select Add trigger.
- Configure the trigger settings:
| Field | Description |
|---|---|
| Trigger name | Friendly name, e.g., GCP DevOps Project |
| Event | Select Push to a branch |
| Repository | Choose your GitHub repository |
| Branch (regex) | Define which branches activate the trigger (see regex note) |
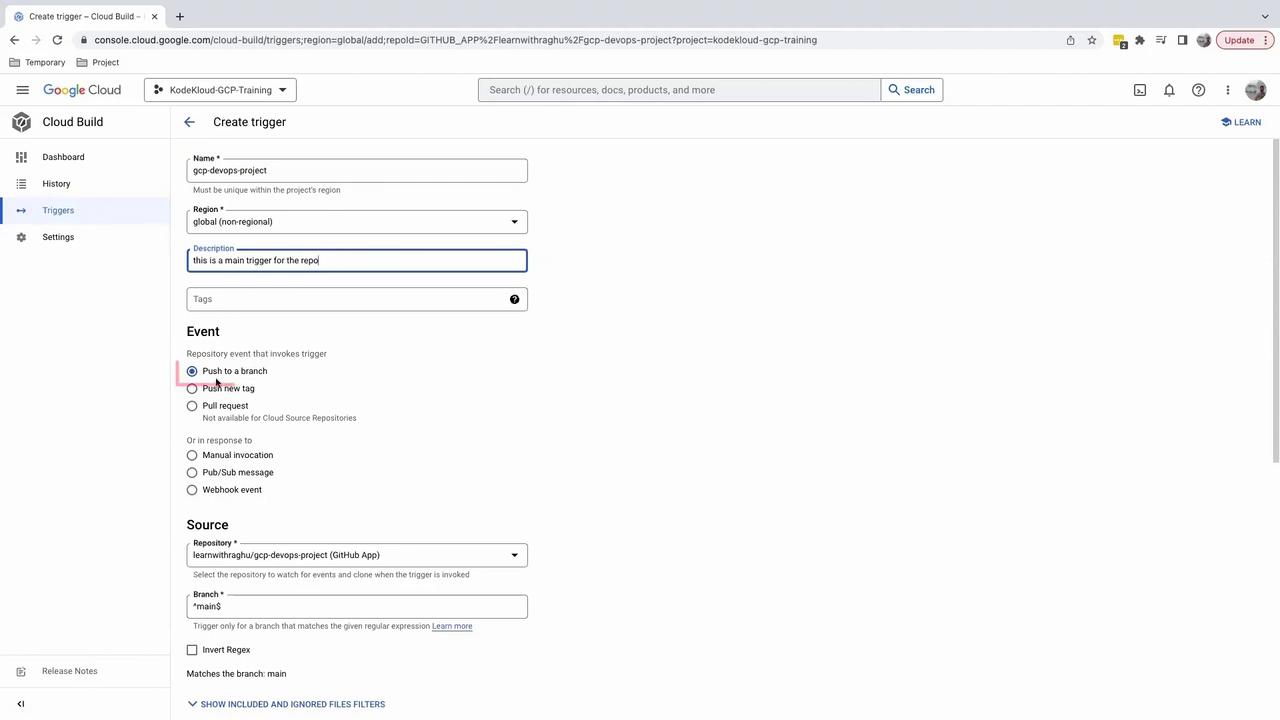
Branch name regex
To restrict the trigger to exactly main or master, use:
^(main|master)$
This prevents branches like feature/main-update from starting a build.
4. Configure Build Settings
Choose how Cloud Build finds your build instructions:
- Autodetect: Automatically detects a
cloudbuild.yamlorDockerfileat the repo root. - Cloud Build configuration file: Manually specify the path to your
cloudbuild.yaml.
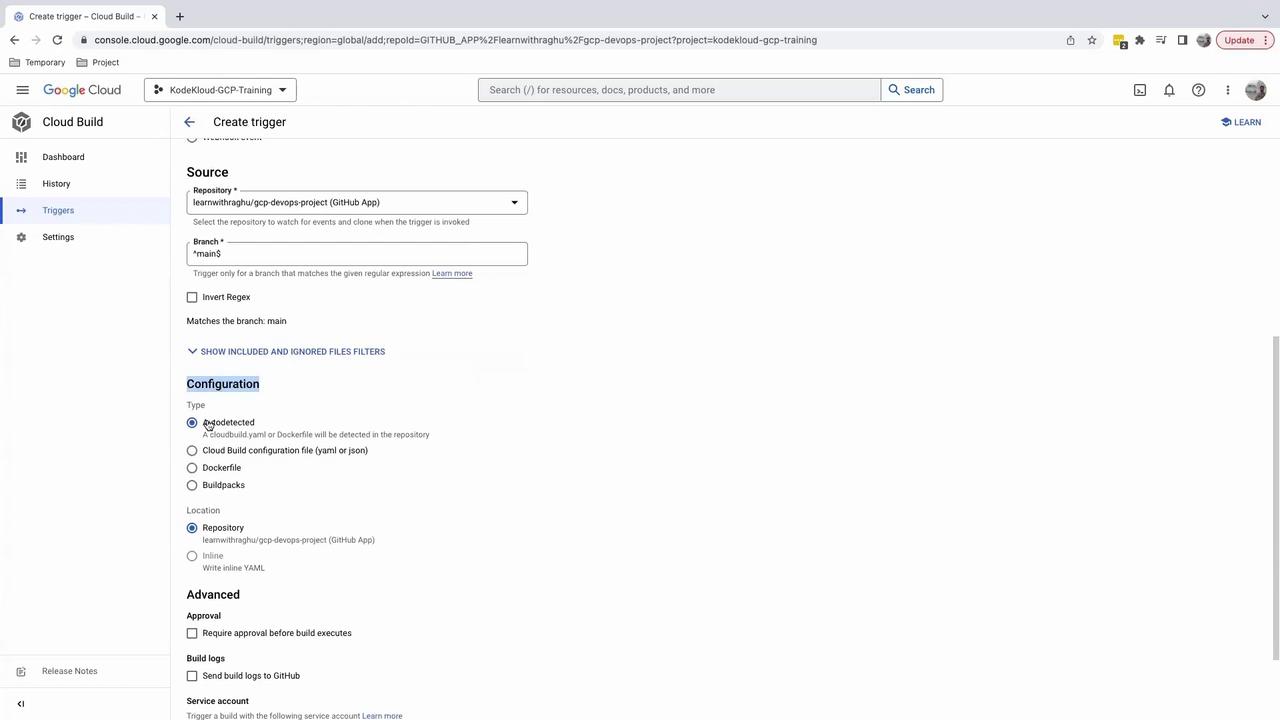
Configuration file required
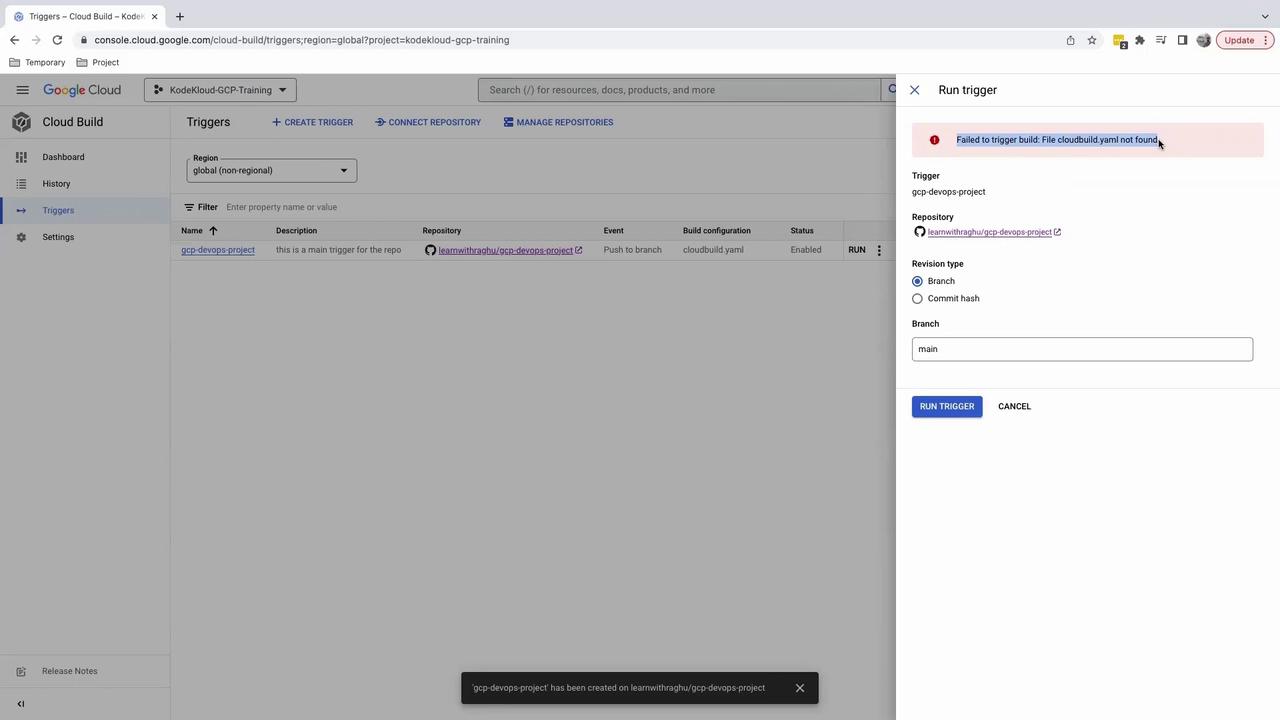
If your repository doesn’t include a cloudbuild.yaml, the trigger will fail at runtime.
5. Test the Trigger
Click Run trigger to verify your setup. Without a cloudbuild.yaml, you’ll see an error:
6. Next Steps: Add cloudbuild.yaml
To resolve the error, add a cloudbuild.yaml at your repository’s root. Here’s an example CI/CD pipeline:
steps:
- name: 'gcr.io/cloud-builders/docker'
  args: ['build', '-t', 'gcr.io/$PROJECT_ID/my-app:$COMMIT_SHA', '.']
images:
- 'gcr.io/$PROJECT_ID/my-app:$COMMIT_SHA'
Commit and push this file to main. Your Cloud Build trigger will then run automatically on each push.
Links and References
Watch Video
Watch video content