LoadBalancer to expose your application on Google Kubernetes Engine (GKE). You’ll learn how to update your manifest, trigger a Cloud Build, and verify the Service in the GKE console.
1. Create a New Git Branch
First, sync yourmain branch and create a feature branch for the Service manifest:
2. Add the Service to gke.yaml
Open yourgke.yaml and append the following Service definition beneath the existing Deployment:
If you’re targeting a production namespace, replace
namespace: default with your environment (e.g., gcp-devops-prod).Using
LoadBalancer provisions a cloud load balancer and may incur additional costs.Kubernetes Resources Overview
| Resource Kind | Purpose | Key Fields |
|---|---|---|
| Deployment | Manages a set of identical Pods | replicas, template, selector |
| Service | Exposes Pods to external/internal traffic | type, ports, selector |
3. Open a Pull Request & Trigger Cloud Build
- Go to your GitHub repository.
- Create a PR from
feature/add-loadbalancer-serviceintomain. - Merge the PR to kick off the Cloud Build trigger configured on
main.
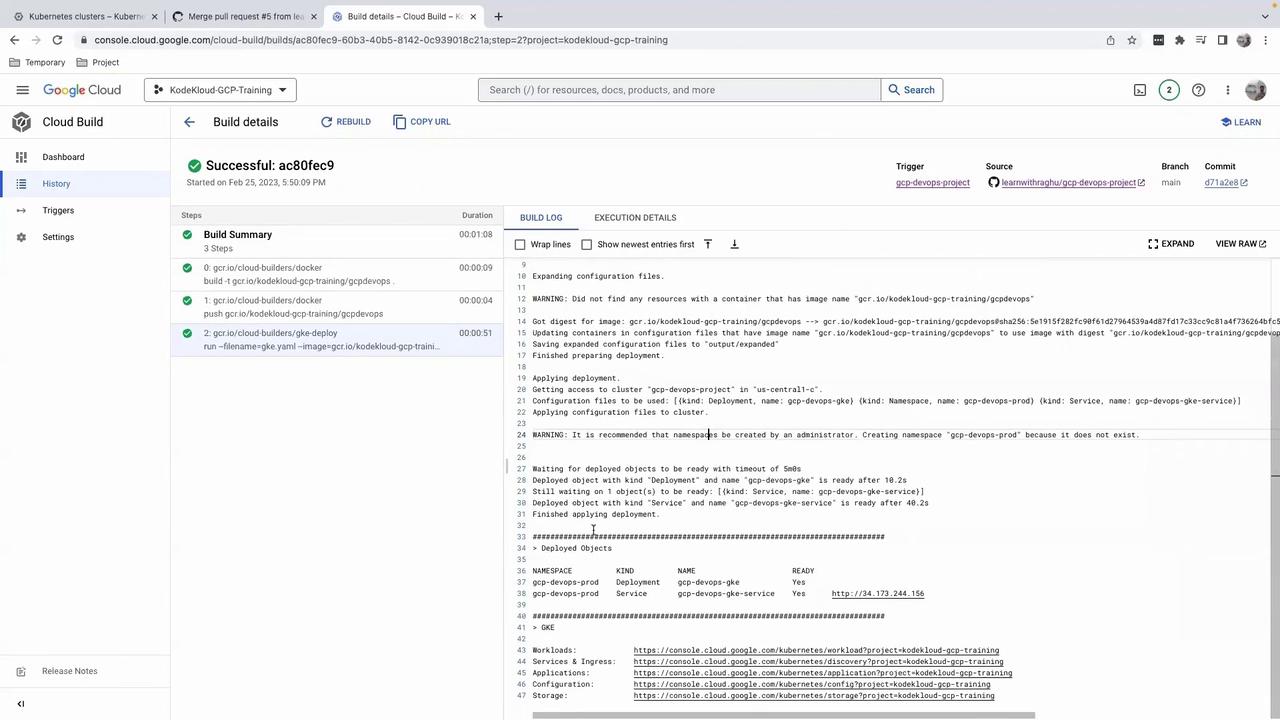
4. Verify the Build in Cloud Build
In the Google Cloud Console – Cloud Build, you’ll see logs for:- Building the Docker image
- Pushing to Container Registry
- Deploying to GKE
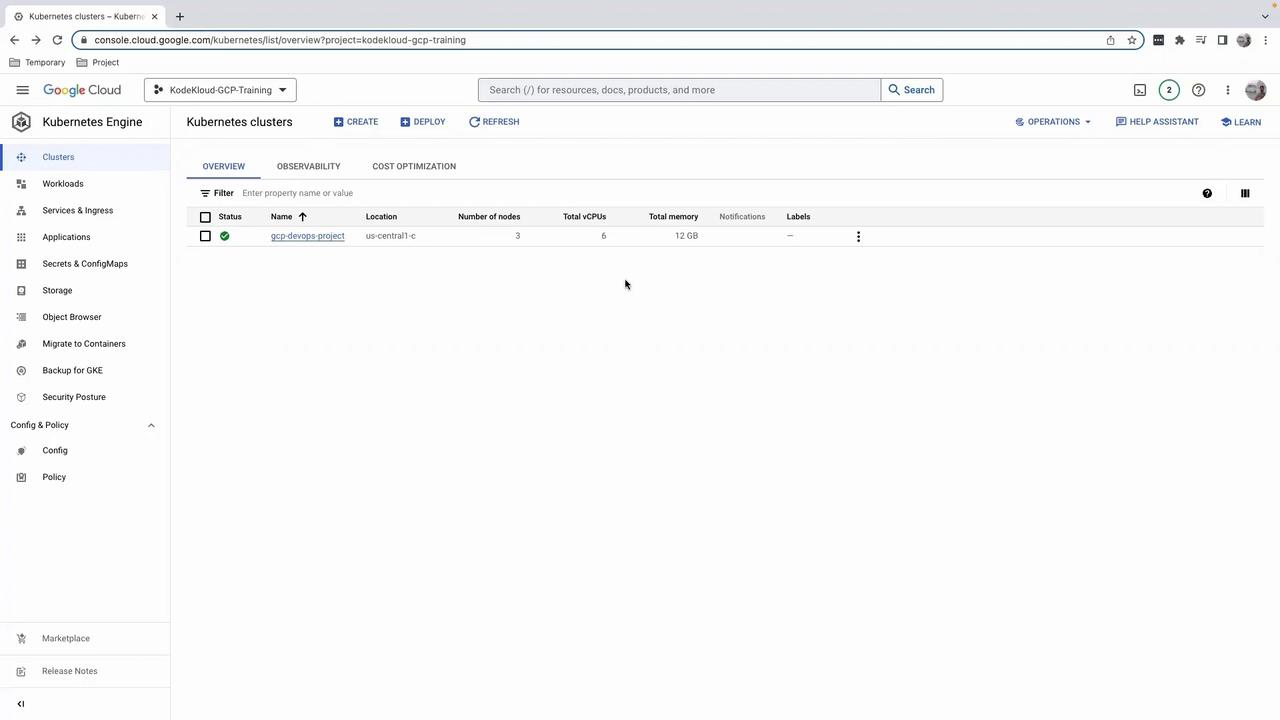
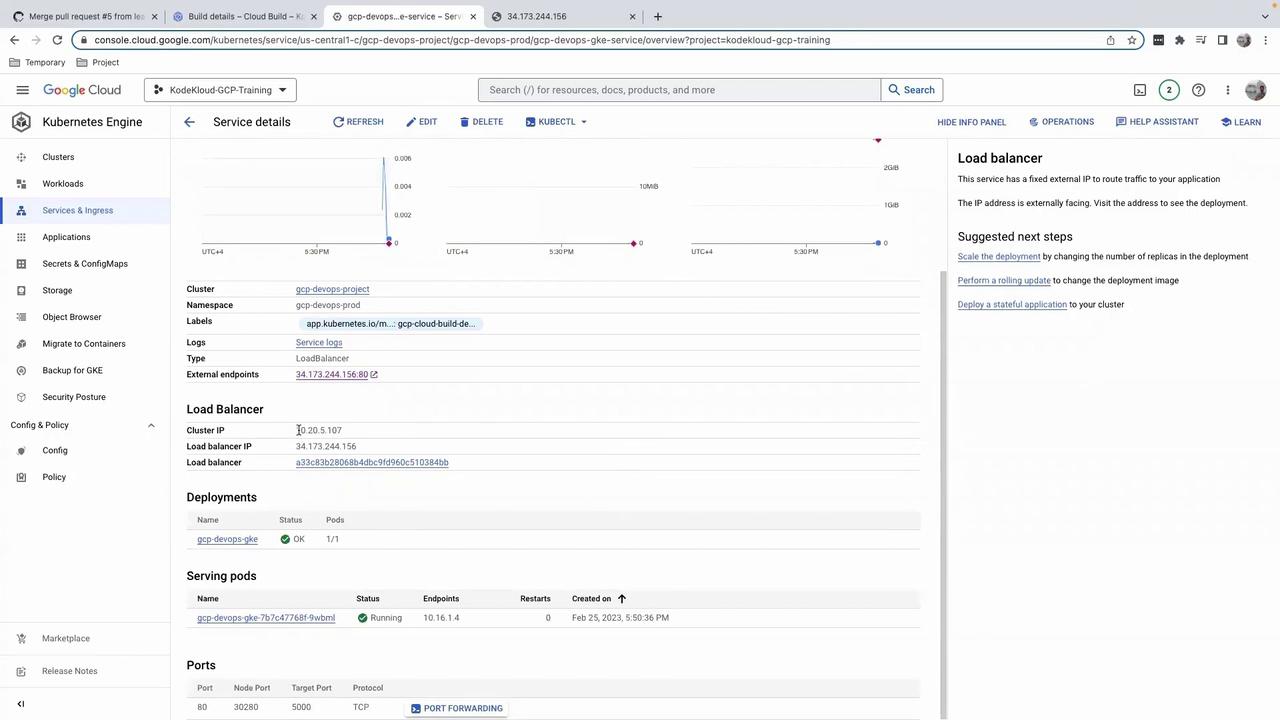
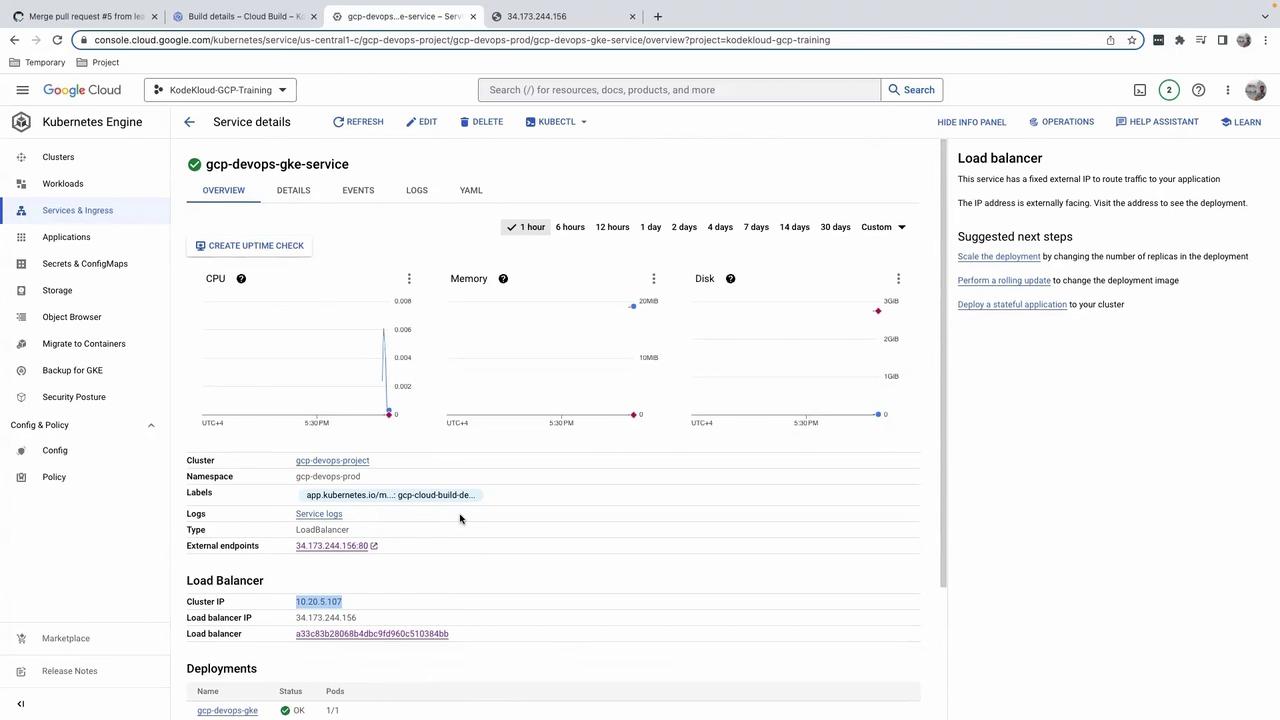
5. Inspect the Service in GKE
Navigate to Kubernetes Engine > Services & Ingress in the Cloud Console. You should see yourgcp-devops-gke-service with an external IP:
cloudbuild.yaml. Stay tuned for the next lesson.