feature/sign-up. Once the feature is complete and thoroughly tested, the next step is to integrate the changes into the master branch using Git’s merge functionality.
Before merging, ensure your local repository is up-to-date to minimize merge conflicts.
Step-by-Step Merge Process
-
Switch to the Master Branch
Start by switching to themasterbranch: -
Merge the Feature Branch
Next, merge the feature branch (feature/sign-up) intomaster:
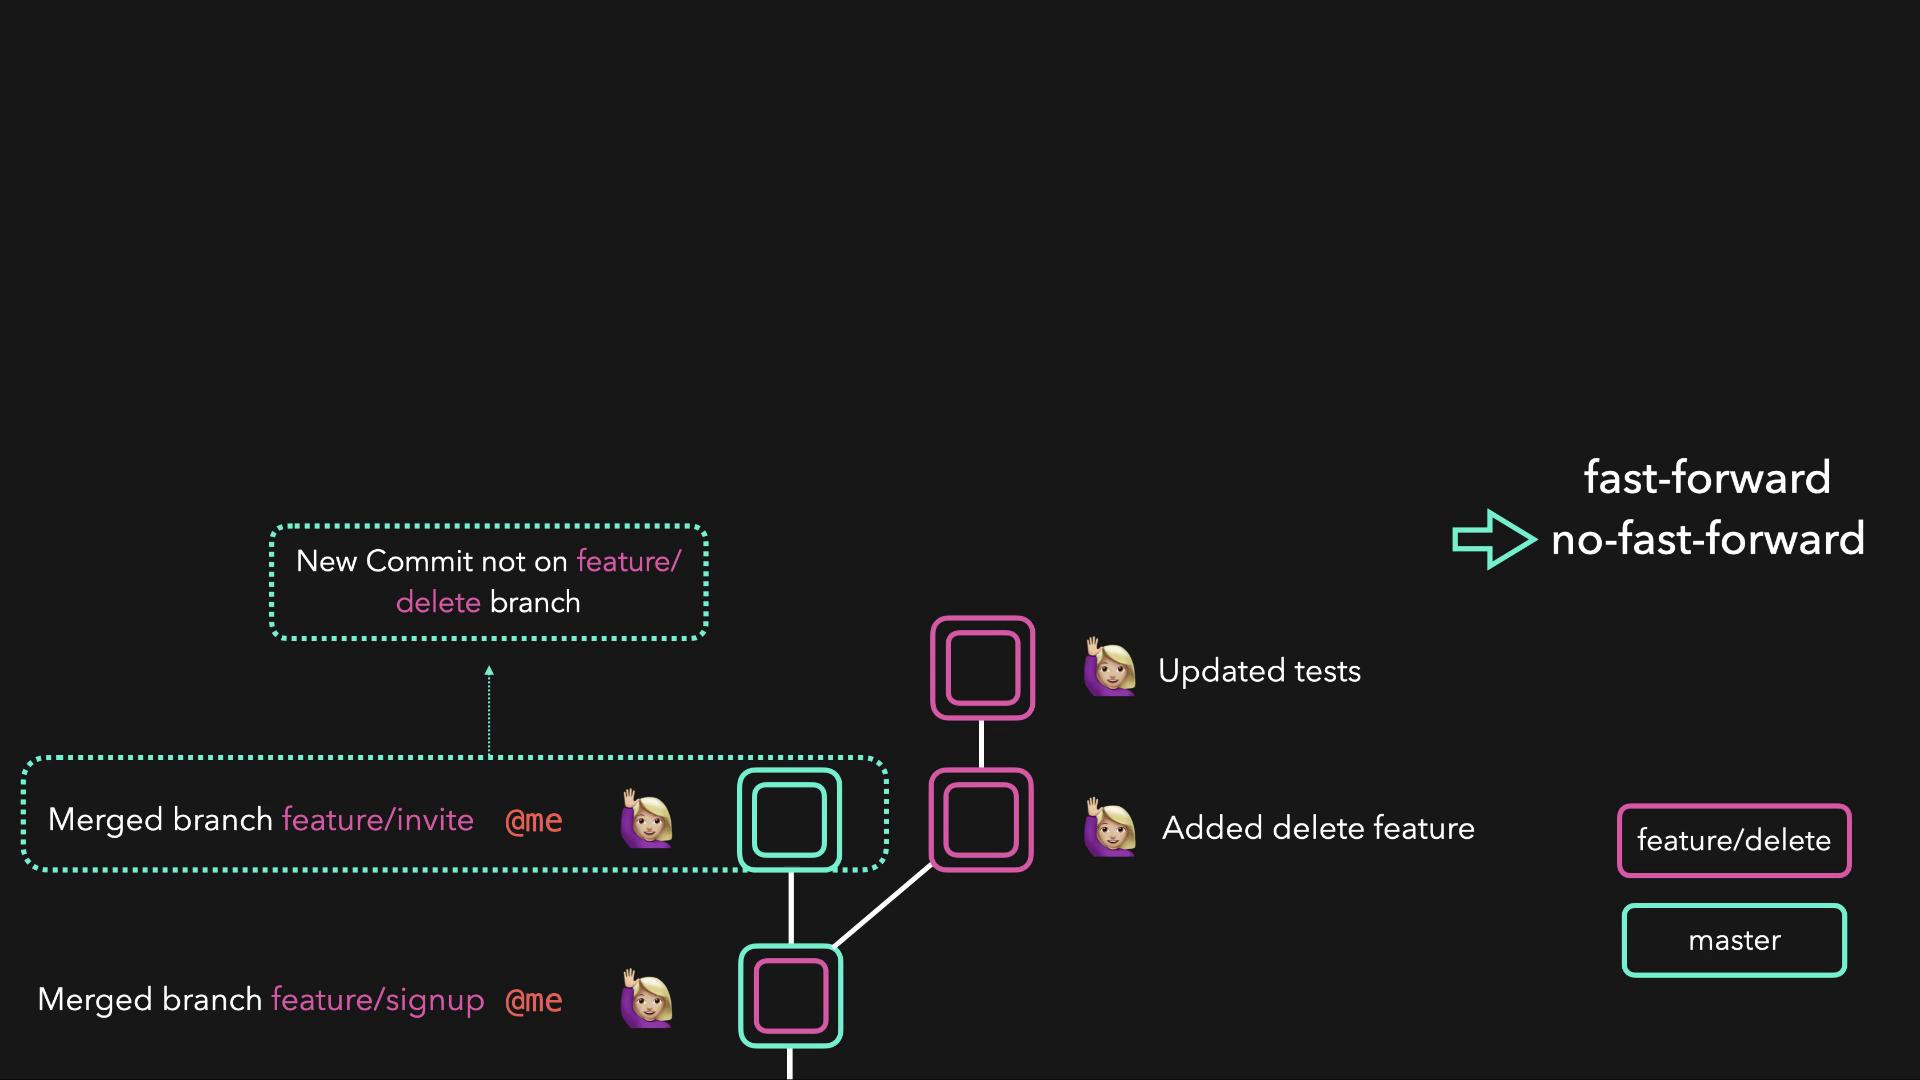
Fast-forward Merge
A fast-forward merge occurs when the current branch (master) has no additional commits relative to the feature branch (feature/sign-up). In this case, Git simply moves the branch pointer forward to incorporate all the new commits, integrating the changes directly without creating a new commit.
No Fast-forward Merge
A no fast-forward merge is applied when themaster branch has unique commits that are not part of the feature branch. In this scenario, Git creates a new merge commit that records the integration of both branches, featuring two parent commits—one from master and one from feature/sign-up.
After a successful merge—whether fast-forward or no fast-forward—the
master branch will contain all the changes from the feature branch.