This article explains Git branches, their importance for version control, and how to create and manage them effectively.
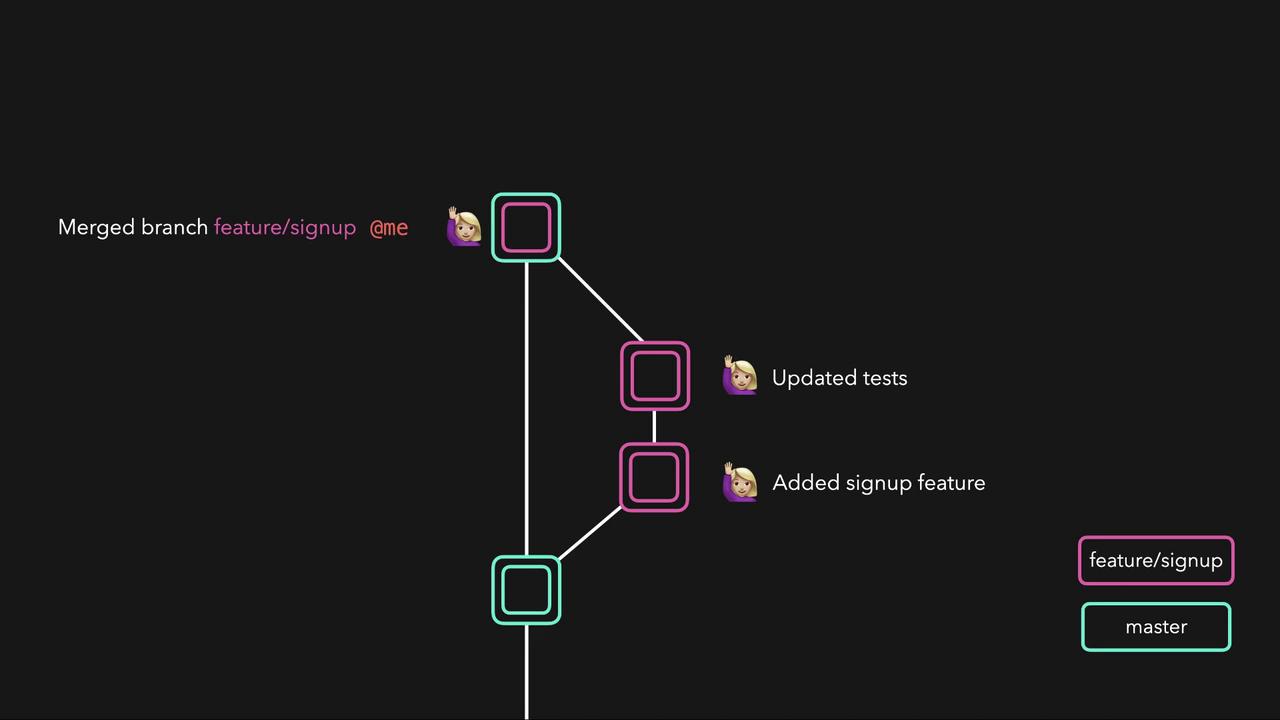
In this lesson, we explain the concept of Git branches and why they are essential for effective version control. Branches allow you to work on new features, fix bugs, or experiment safely without affecting the production code. When you initialize a Git repository, the default branch is typically called “master” (or “main”). As your project grows and your team collaborates, using branches becomes a best practice for isolating changes until they are ready to be merged.For example, when a new developer joins the project to work on a new feature, instead of modifying the production branch directly, you create a separate branch for their work. Once the feature is complete and well-tested, it can be merged back into the production branch, ensuring a clean and stable codebase.A Git branch is essentially a pointer referring to the latest commit on that branch. You might create a branch like “feature/forward/signup” for a new signup feature and later merge it into the master branch upon completion.
To create a new branch in Git, you can use the git checkout -b command followed by the branch name. For instance, if developer Sarah needs her own branch, you would run:
(master)$ git checkout -b sarahSwitched to a new branch 'sarah'(sarah)$
To list all branches and check your current branch, use:
$ git branch
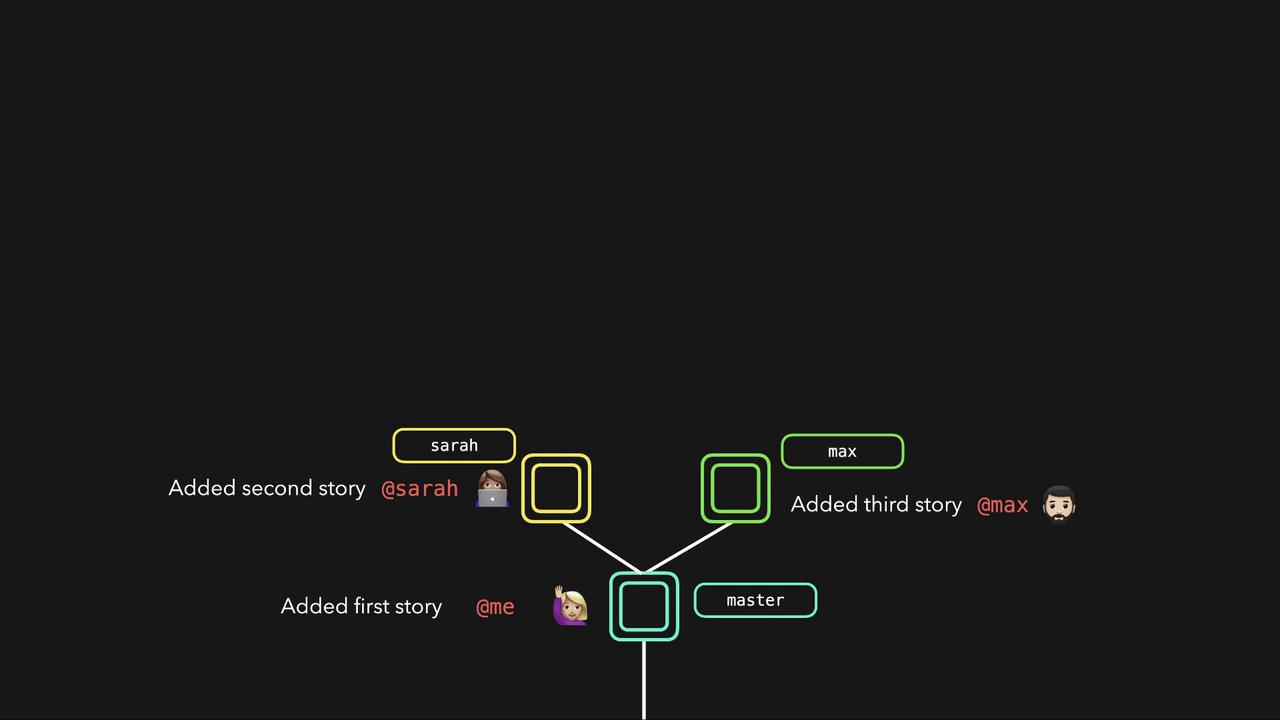
At this point, if you have branches like “master” and “develop,” they may reference the same commit until new commits are made.Suppose Sarah adds a new story and commits her changes on the “sarah” branch. These changes only affect her branch, leaving the “master” branch untouched (with master being one commit behind Sarah’s branch).If another developer, Max, joins the project to work on a third story, it’s best practice for him to create his own branch as well. Even if he starts on the master branch, creating a separate branch named “max” helps keep his changes isolated. When Max commits his work, only his branch reflects the new changes, while both the “sarah” and “master” branches remain unchanged.
Below are some common Git commands for managing branches:
# Create a new branch named 'sarah'$ git branch sarah# Switch to an existing branch called 'sarah'$ git checkout sarah# Create a new branch named 'max' and switch to it immediately$ git checkout -b max
The git checkout -b command is a shorthand that creates and switches to a new branch with one step. To delete a branch, you can use:
In Git, HEAD is a reference to your current location in the repository. It always points to the latest commit on the branch you are working on. Changing branches moves the HEAD pointer to the tip of the target branch:
$ git checkout master
The HEAD pointer is crucial for tracking the state of your work. Understanding how HEAD moves during commits and branch switches helps you navigate the repository more effectively.