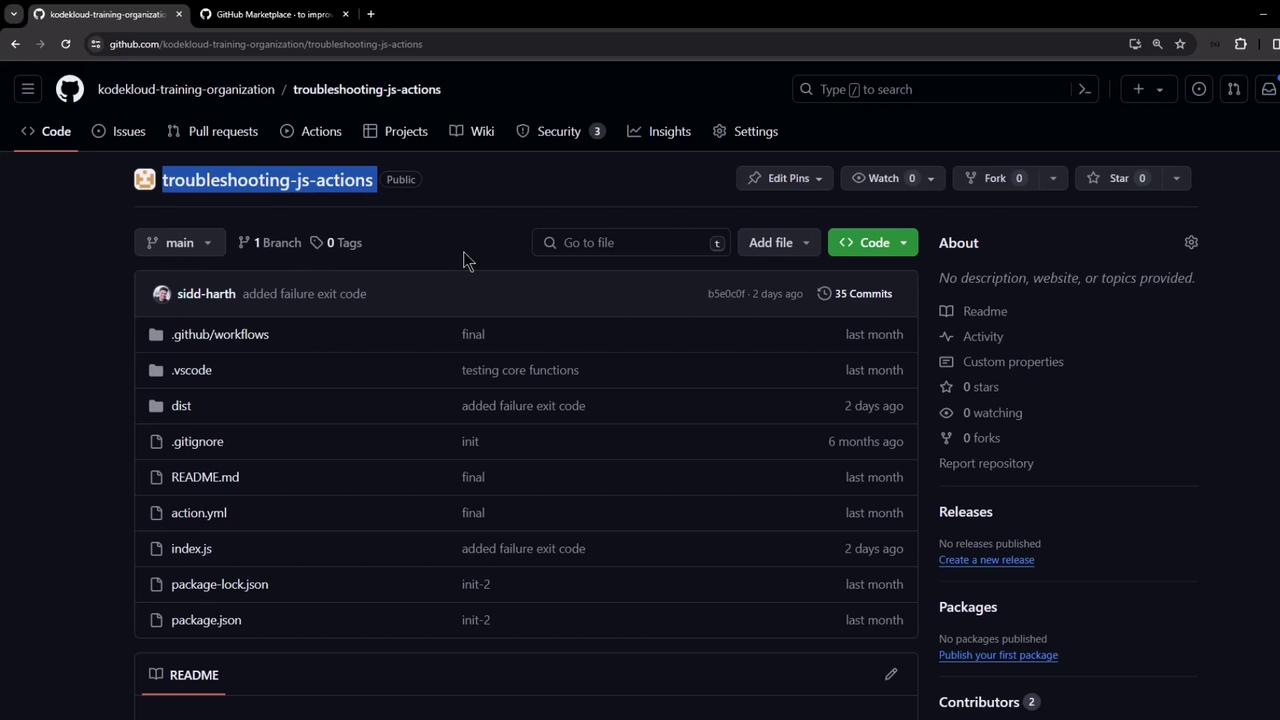
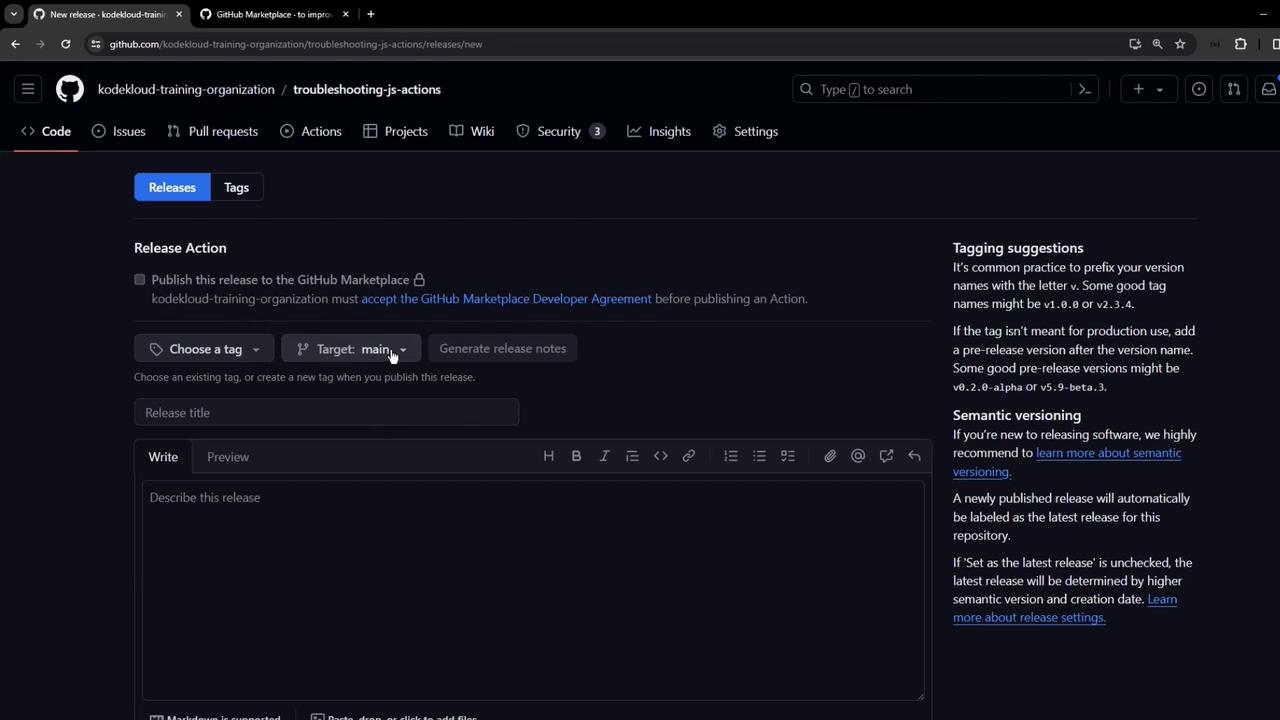
1. Manual Release Workflow
Before automation, releases were created by hand:- Navigate to Releases in your repo.
- Select an existing tag or create a new one.
- Choose the target branch.
- Write release notes and publish.
2. Choosing an Action
GitHub’s Actions Marketplace provides community-maintained workflows. A search for “release” surfaces many options. We’ll use the popularsoftprops/action-gh-release action:
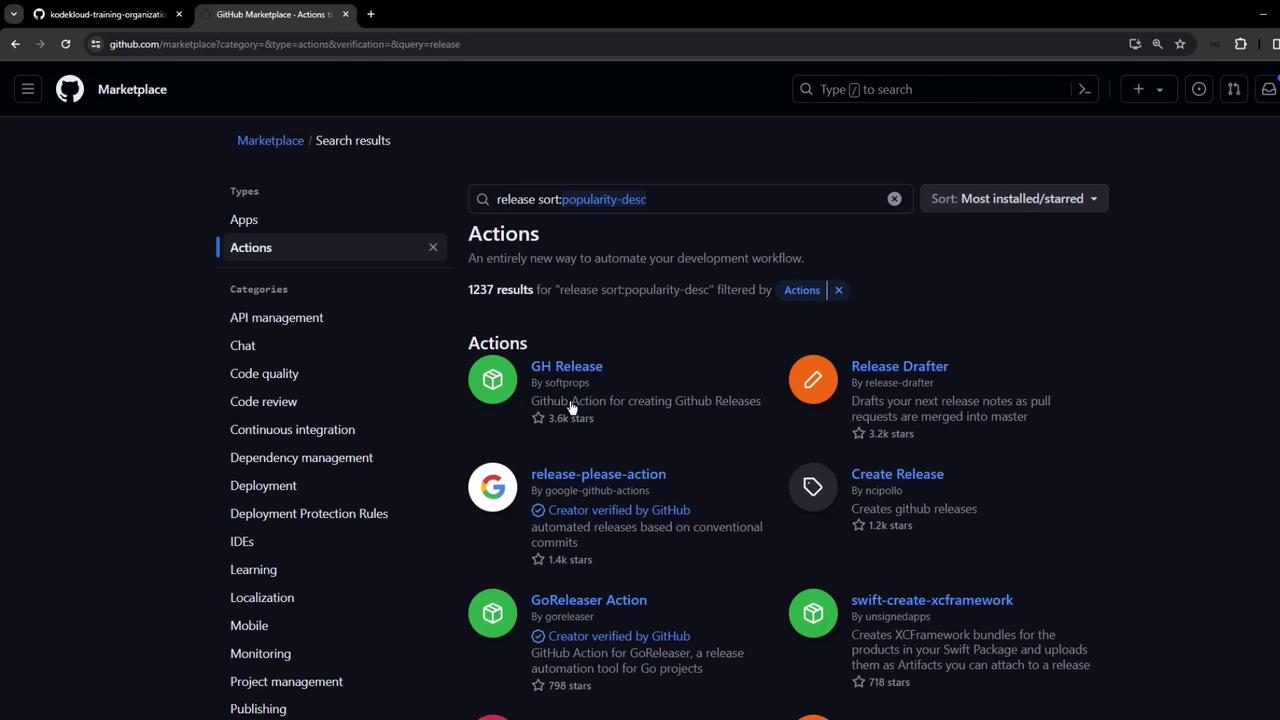

Whysoftprops/action-gh-release?
- Automatically creates releases from tags
- Supports asset uploads
- Handles prerequisites (permissions, checks)
3. Minimal Workflow Example
Below is the simplest setup: trigger on semver tags starting withv and create a release.
Use tag patterns to control when the workflow runs:
| Pattern | Matches |
|---|---|
v*.*.* | v1.0.0, v2.3.4, etc. |
* | All tags |
4. Adding Assets to Your Release
To upload build artifacts (e.g., binaries, docs), extend the workflow:5. Implementing the Auto-Release Workflow
- Clone your repo and open it in VS Code.
- Create a new workflow file at
.github/workflows/autorelease.yaml.
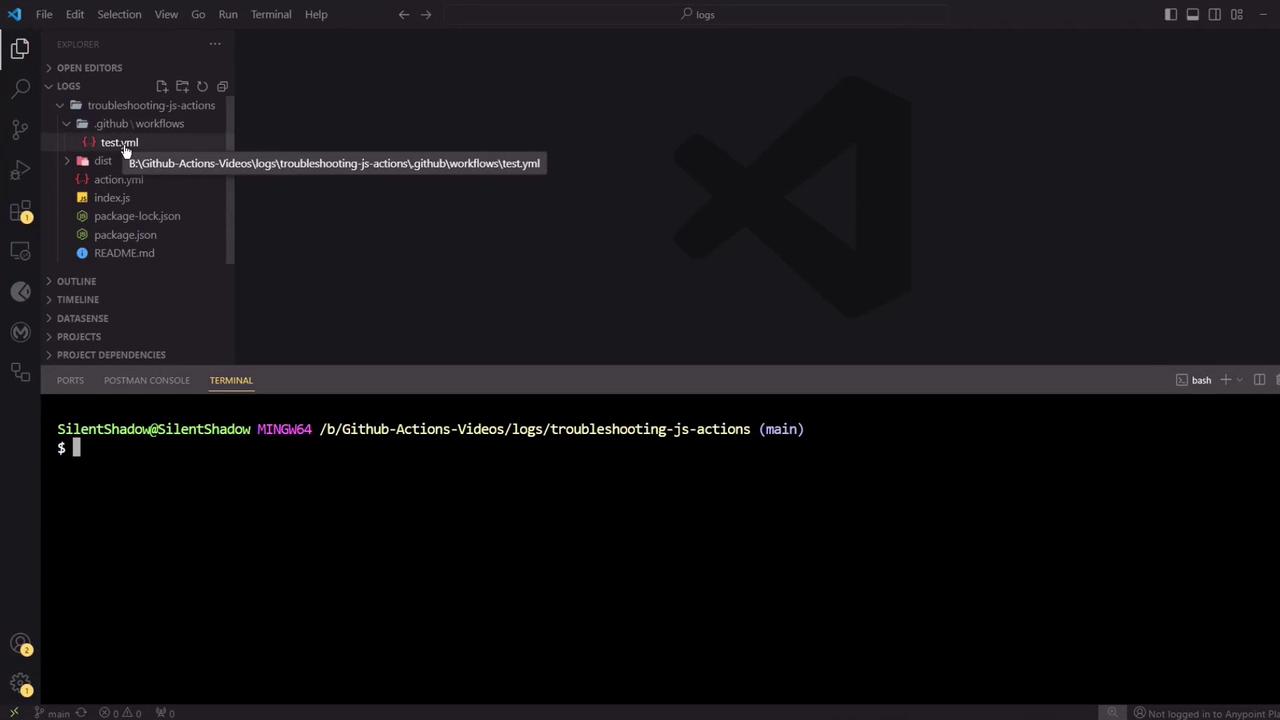
- Paste the following content:
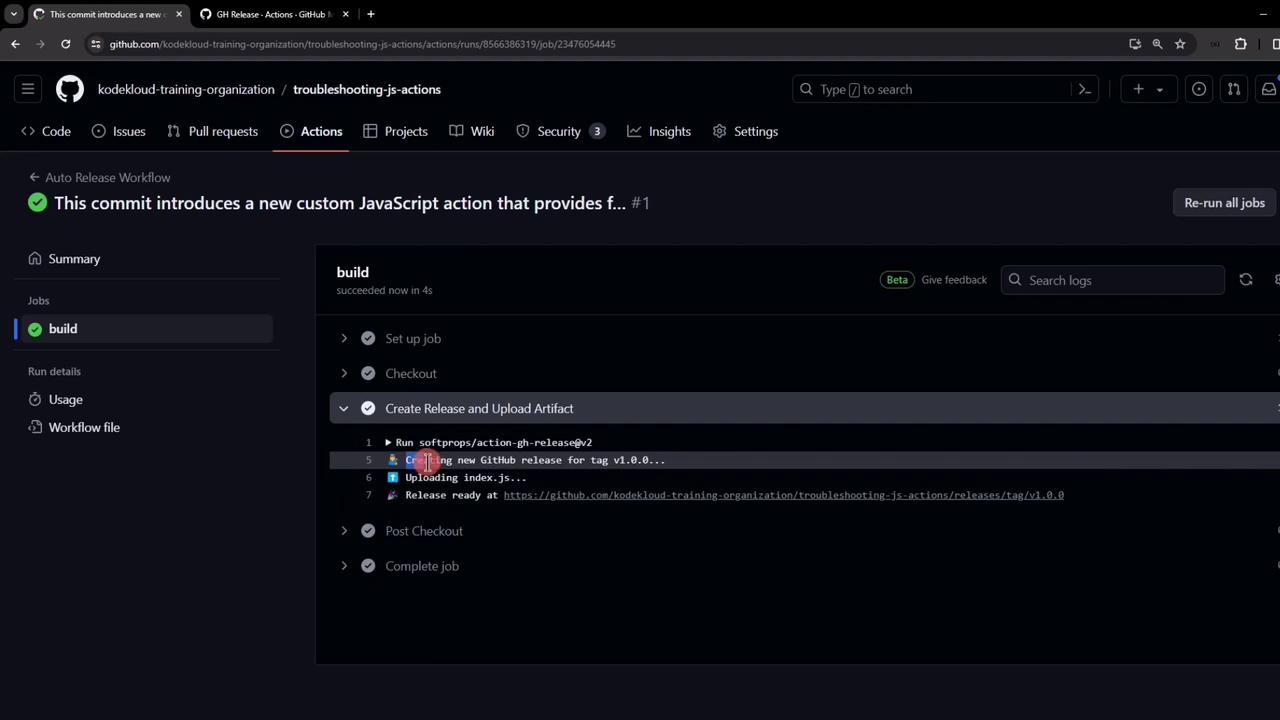
The workflow needs
Without it, the release step will fail.
contents: write permission to publish releases and upload assets.Without it, the release step will fail.
6. Commit, Tag, and Push
7. Verify the Workflow
Navigate to the Actions tab and look for Auto Release Workflow: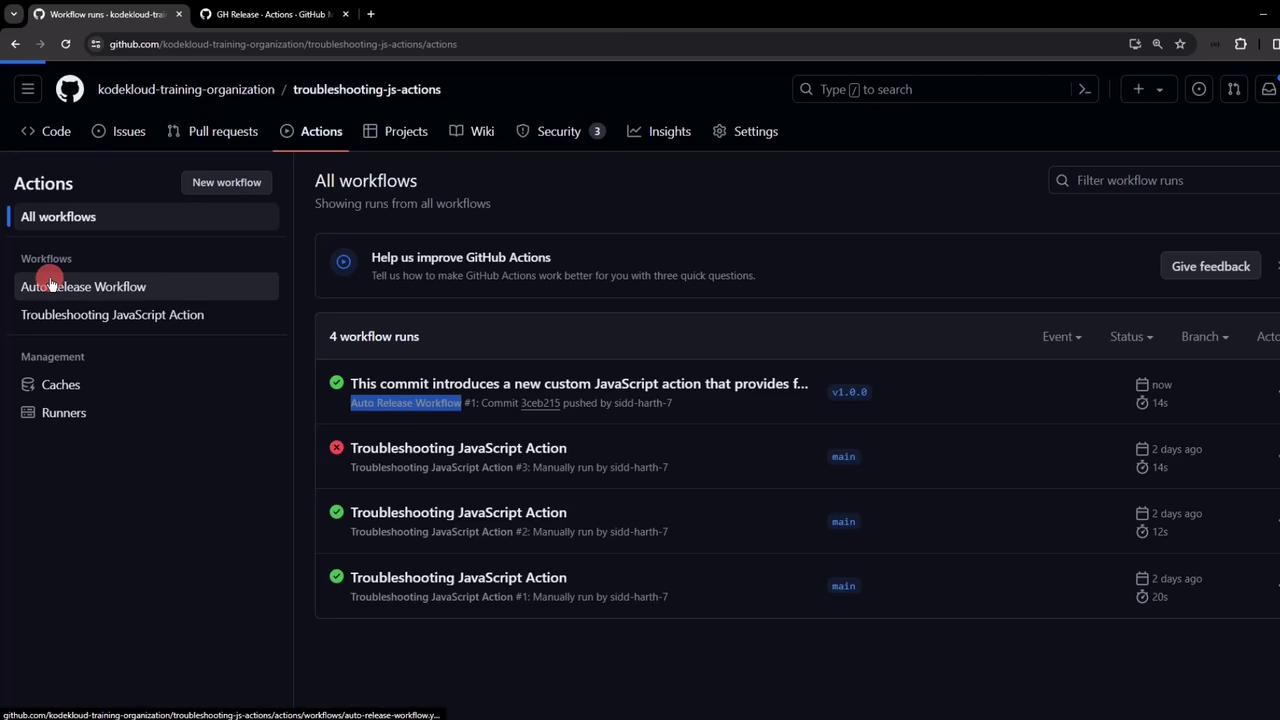
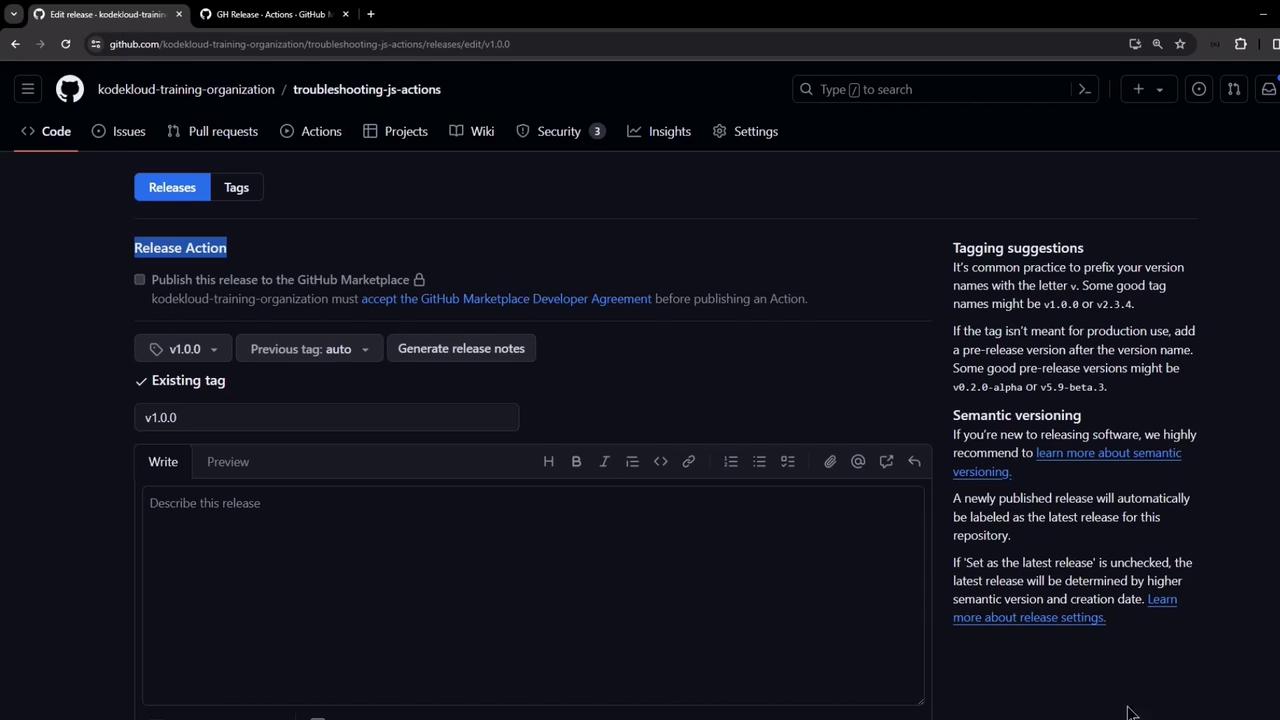
8. Review and Publish Your Release
After execution, go to Releases. You’ll see:- A new release named
v1.0.0 - Release notes from your git commit message
index.jsattached under Assets
References
- GitHub Actions Documentation
- GitHub Actions Marketplace
- softprops/action-gh-release
- Semantic Versioning