GitHub Actions Certification

GitHub Actions Core Concepts

Create and Run Workflow

Automate your CI/CD pipeline by defining workflows that build, test, and deploy your code on every push. In this tutorial, you’ll set up a simple GitHub Actions workflow from scratch using the GitHub.dev editor and VS Code’s Actions extension.

StepDescription
1Create a new GitHub repository
2Open it in the GitHub.dev online editor (VS Code Web)
3Install the GitHub Actions extension
4Author your first workflow file
5Commit, push, and trigger the workflow
6View, debug, and fix issues in your workflow runs

Step 1: Create a New Repository

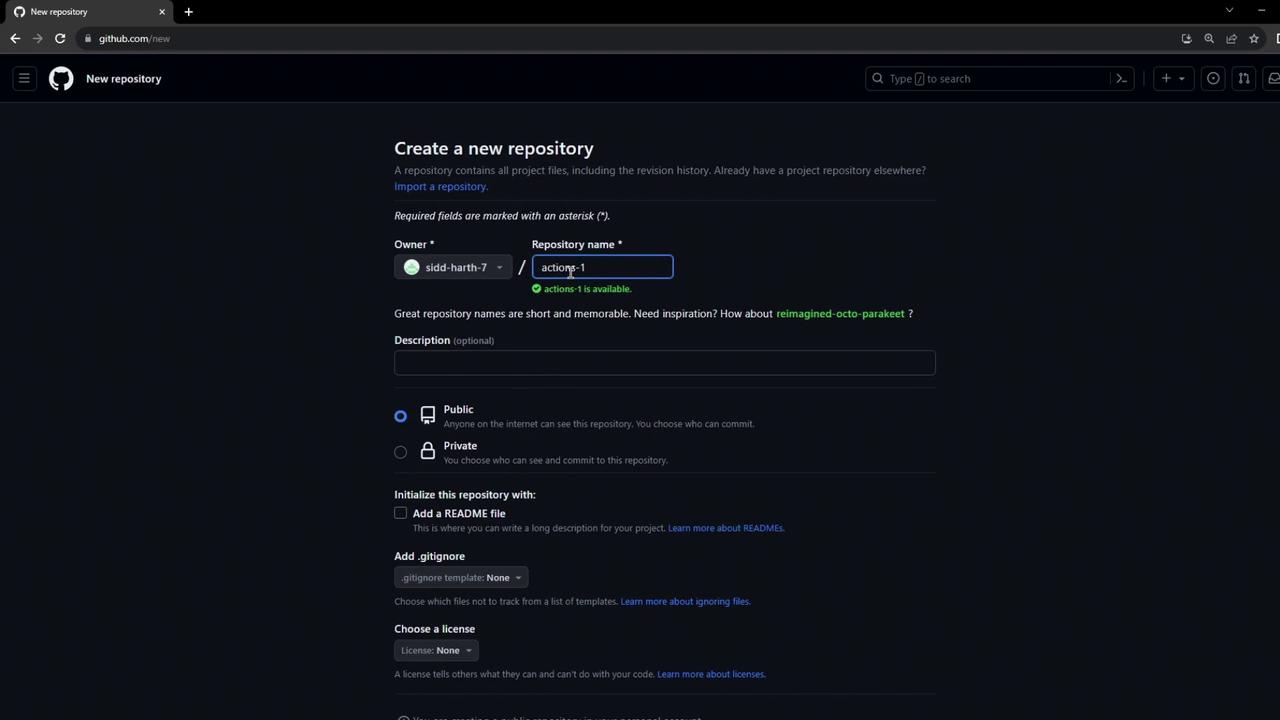
  1. Sign in to GitHub and click New.
  2. Name the repository actions-1, set it to Public, and initialize with a README.
  3. Click Create repository to finish.

The image shows a GitHub page for creating a new repository, with fields for the repository name, description, visibility options, and initialization settings.

Step 2: Open in Visual Studio Code (GitHub.dev)

In your repo’s URL, replace github.com with github.dev to launch the VS Code–style online editor:

https://github.dev/your-username/actions-1

The image shows a GitHub repository page with the name "actions-1" and an initial commit. The repository is public and has no stars, forks, or releases.

Tip

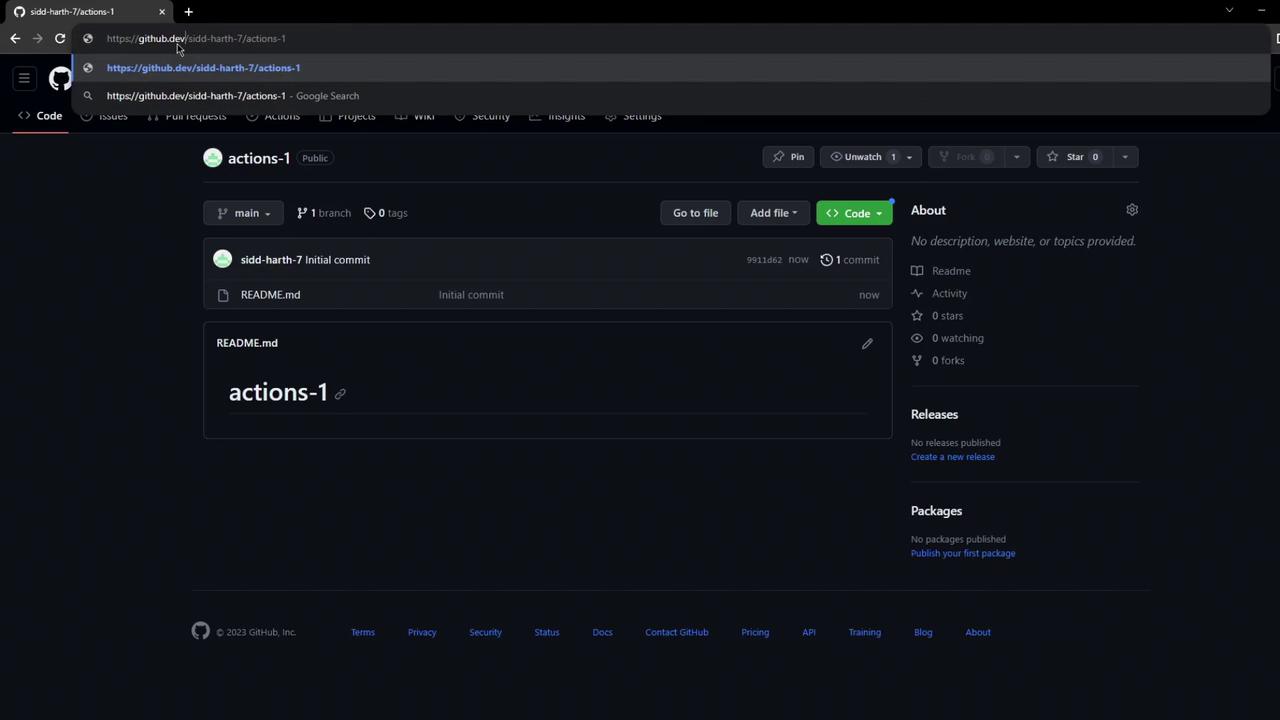
GitHub.dev provides the full VS Code keybindings and interface in your browser—no local install required.

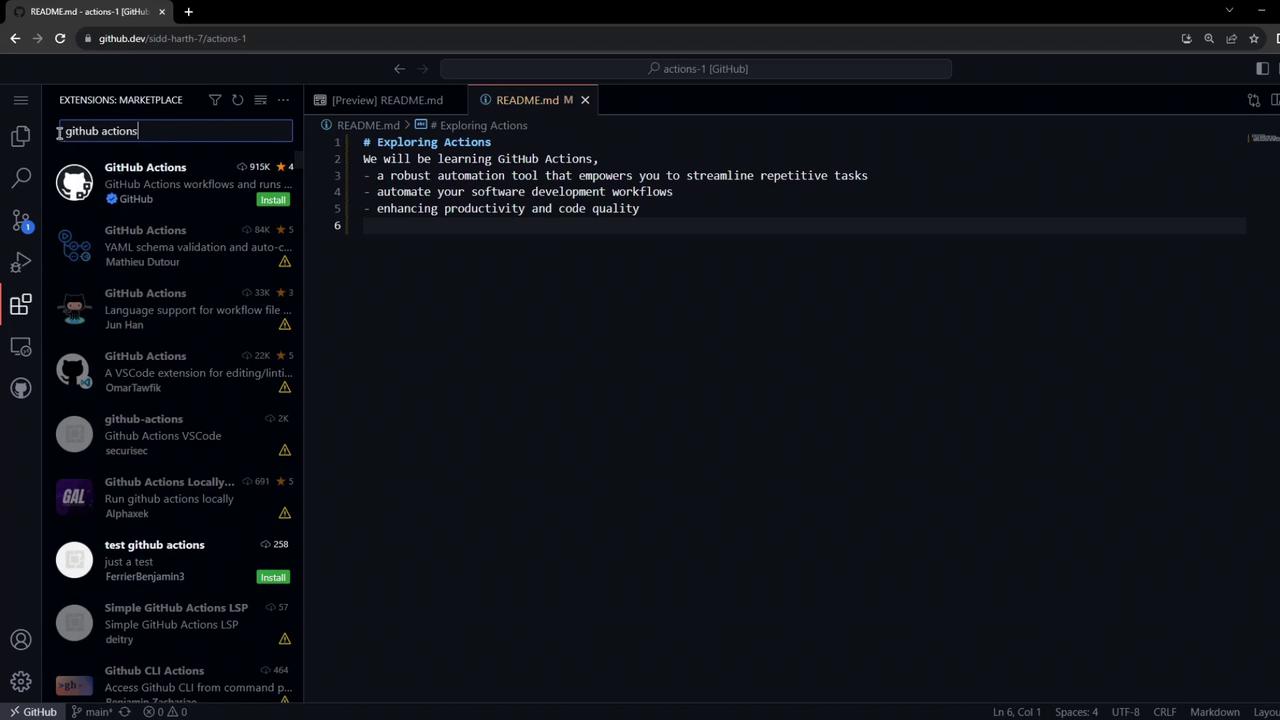
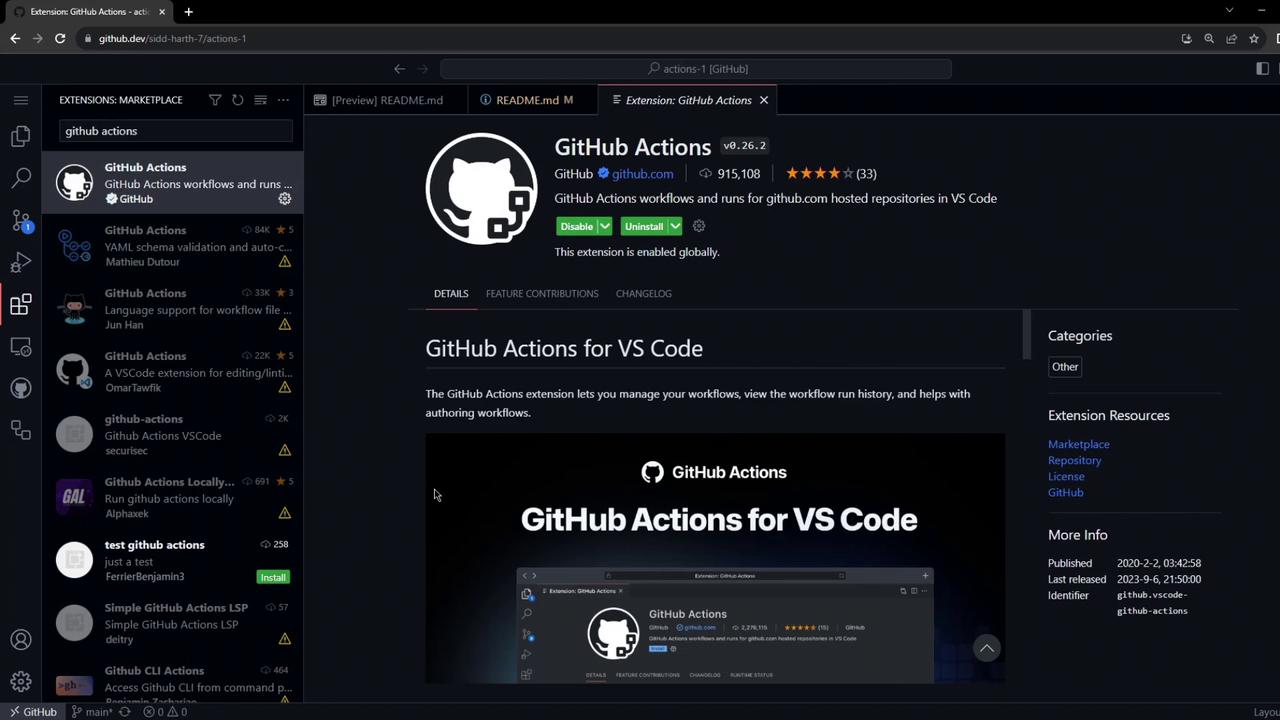
Step 3: Install the GitHub Actions Extension

  1. Open the Extensions pane (⇧⌘X or Ctrl+Shift+X).
  2. Search for GitHub Actions and install the official extension.
  3. Enjoy syntax validation, autocompletion, and inline error checking for .yml workflows.

The image shows a code editor with a README.md file open, discussing GitHub Actions, alongside a sidebar displaying a list of GitHub Actions extensions.

The image shows the GitHub Actions extension page in Visual Studio Code, detailing its features and options to disable or uninstall it.

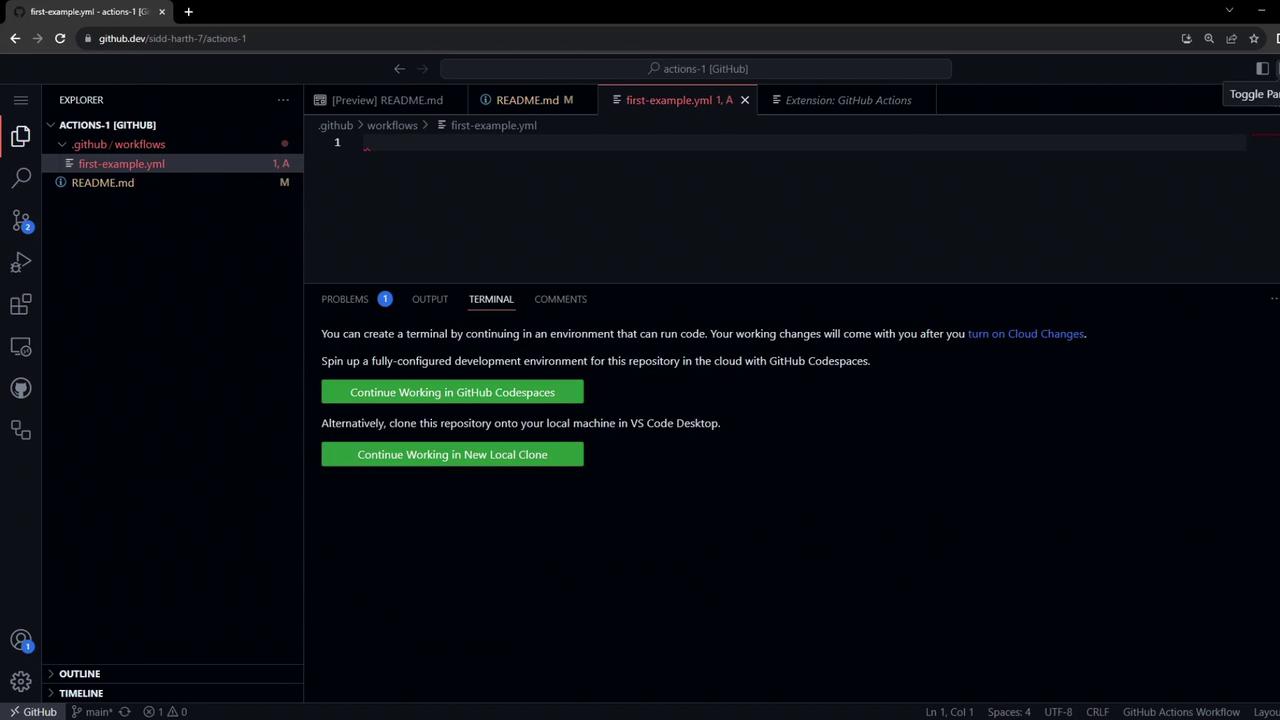
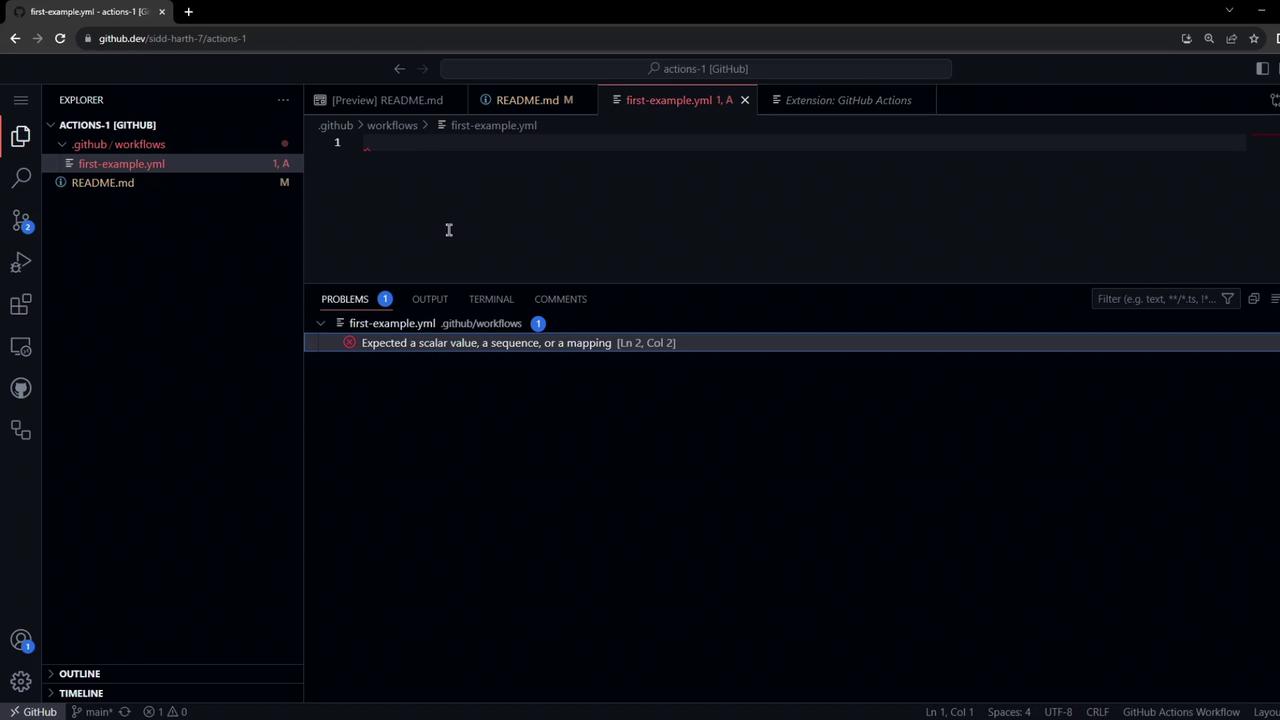
Step 4: Create the Workflow File

In the Explorer, add a .github/workflows folder and create firstexample.yml:

The image shows a GitHub.dev interface with a file explorer open, displaying a YAML file and a README file. There are options to continue working in GitHub Codespaces or clone the repository locally.

Paste the following workflow definition:

name: My First Workflow
on: push

jobs:
  first_job:
    runs-on: ubuntu-latest
    steps:
      - name: Welcome message
        run: echo "My first GitHub Actions Job"
      - name: List files
        run: ls
      - name: Read file
        run: cat README.md

Save the file—VS Code will validate the YAML against the Actions schema.

The image shows a Visual Studio Code interface with a YAML file open, displaying a problem message about an expected scalar value. The file is part of a GitHub repository, and the problem is highlighted in the "Problems" tab.

Step 5: Commit and Push the Workflow

git add .github/workflows/firstexample.yml
git commit -m "Add first workflow"
git push

Because the workflow triggers on push, GitHub will immediately enqueue a run.

Step 6: View the Workflow Run

  1. On GitHub, select the Actions tab.
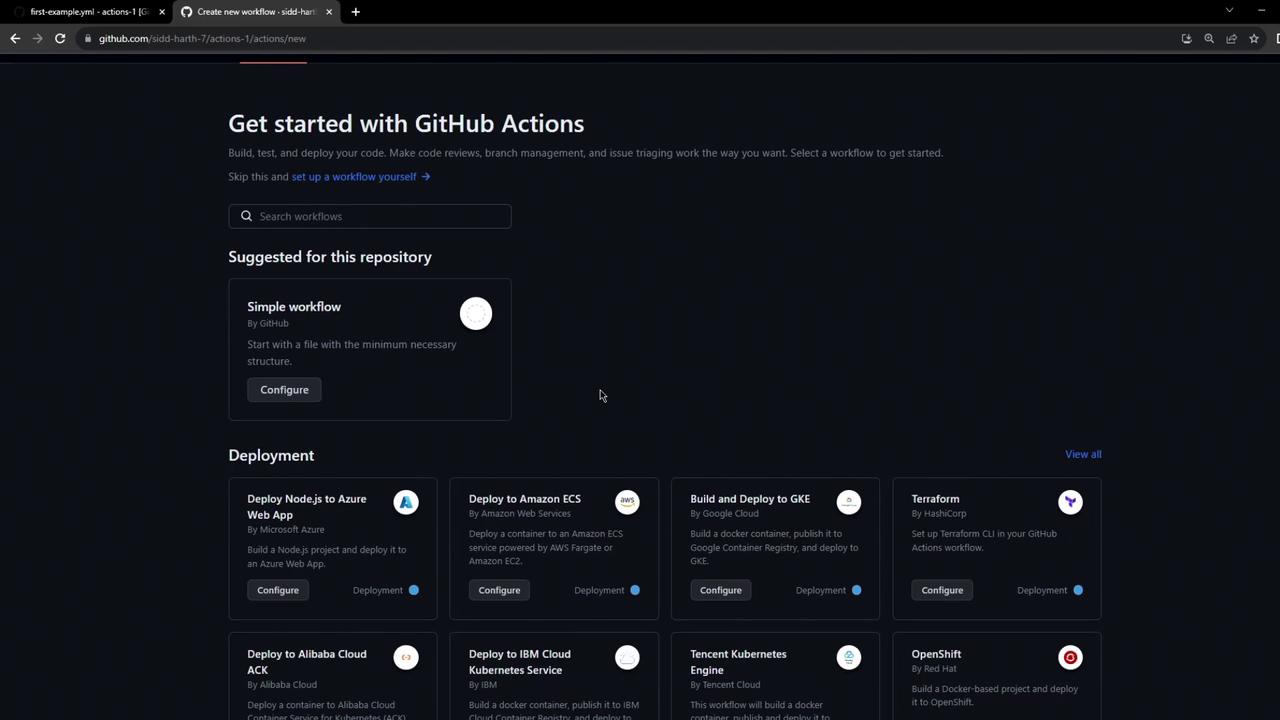
  2. Locate My First Workflow in the list.
  3. Explore starter workflows for other languages or cloud deployments.

The image shows a GitHub Actions setup page with options for configuring workflows, including deployment to various cloud services like Azure, Amazon ECS, and Google Cloud.

Click your workflow to see its status:

The image shows a GitHub Actions interface with a failed workflow run named "first workflow" and a job called "first_job" that completed with an error.

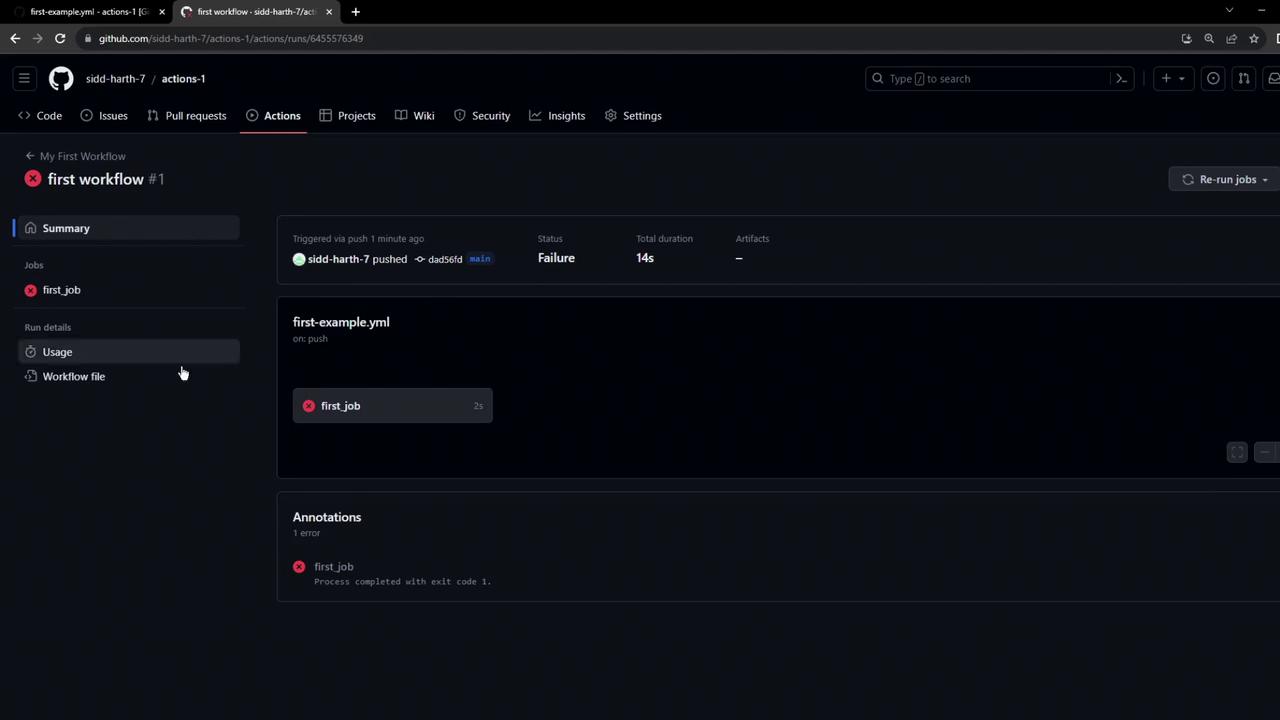
Step 7: Inspect and Debug the Job

Open the job logs to review each step. You’ll see setup messages followed by your custom commands:

The image shows a GitHub Actions workflow interface with a failed job named "first_job," displaying setup details and logs.

Warning

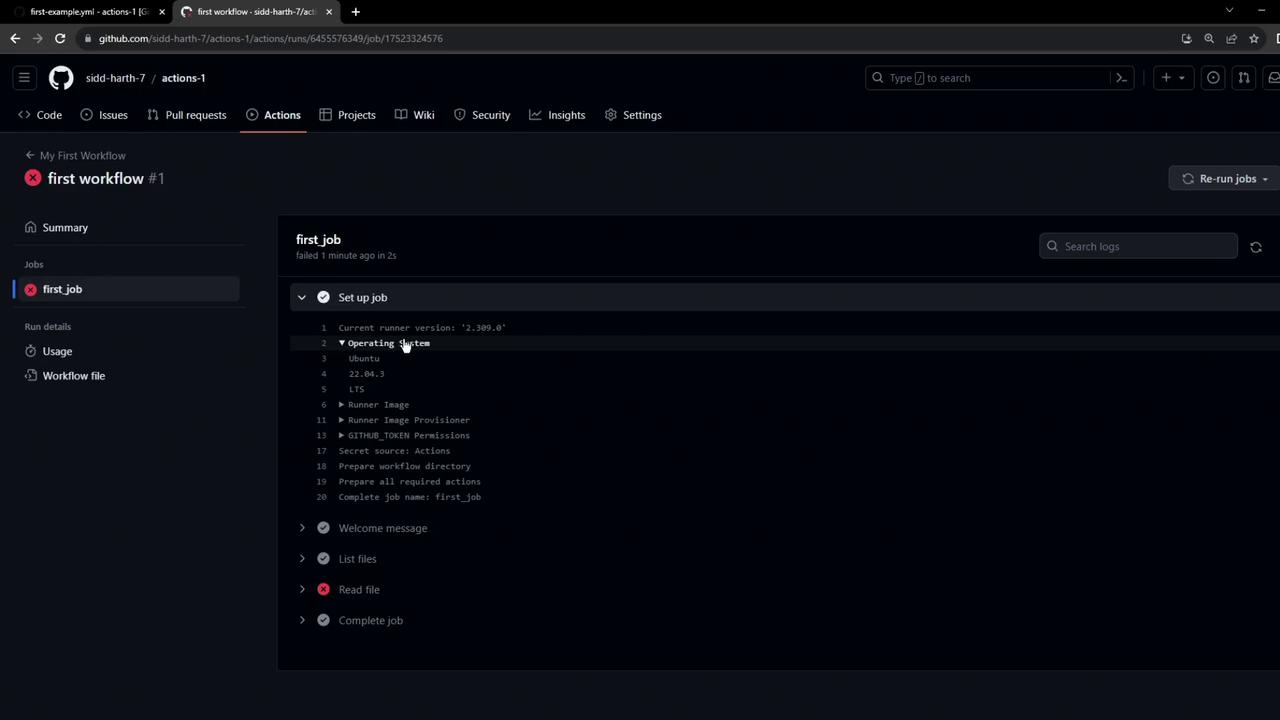
By default, the runner does not check out your repository. Without your code present, the ls and cat commands will fail.

Fixing the Checkout Step

To resolve missing files, insert the official checkout action at the top of your steps:

steps:
  - name: Checkout repository
    uses: actions/checkout@v3
  # ...rest of your steps

This ensures your workflow has access to the project files before running commands.

What's Next?

  • Explore advanced GitHub Actions triggers.
  • Integrate matrix builds, secrets, and environment variables.
  • Deploy to cloud services using official actions for AWS, Azure, or GCP.

Watch Video

Watch video content

Previous
Create Explore GitHub Account