HashiCorp Certified: Vault Operations Professional 2022
Configure Access Control
Demo Namespace
In this lesson, you’ll work with Vault namespaces using both the CLI and UI. We assume Vault Enterprise 1.11 is running locally, unsealed, and you’re authenticated as root.
Prerequisites
- Vault Enterprise 1.11 installed and unsealed
roottoken available
Listing and Creating Namespaces via CLI
List existing namespaces:
vault namespace listIf none exist, you’ll see:
No namespaces foundCreate a top-level namespace named
hcvop:vault namespace create hcvopOutput:
Key     Value
---     -----
id      4clCR
path    hcvop/
Verify it’s listed:
vault namespace listKeys ---- hcvop/
Creating Child Namespaces
Method 1: use the -namespace flag.
vault namespace create -namespace=hcvop certification
Method 2: set VAULT_NAMESPACE:
export VAULT_NAMESPACE=hcvop
vault namespace create training
List the children under hcvop:
vault namespace list
Keys
----
certification/
training/
Return to root:
unset VAULT_NAMESPACE
vault namespace list
Keys
----
hcvop/
Exploring Namespaces in the UI
Fetch your root token if needed:
vault token lookup
- Open the Vault UI.
- Log in with your root token.
- Click the Namespaces dropdown—you’ll see
hcvop/listed:

- Select
hcvop, re-enter your token, then switch between itscertificationandtrainingchild namespaces.
Enabling Secrets Engines in a Child Namespace
Target hcvop/certification in your shell:
export VAULT_NAMESPACE=hcvop/certification
vault secrets list
Enable AWS and KV v2:
vault secrets enable aws
vault secrets enable -path=certification-kv kv-v2
Confirm:
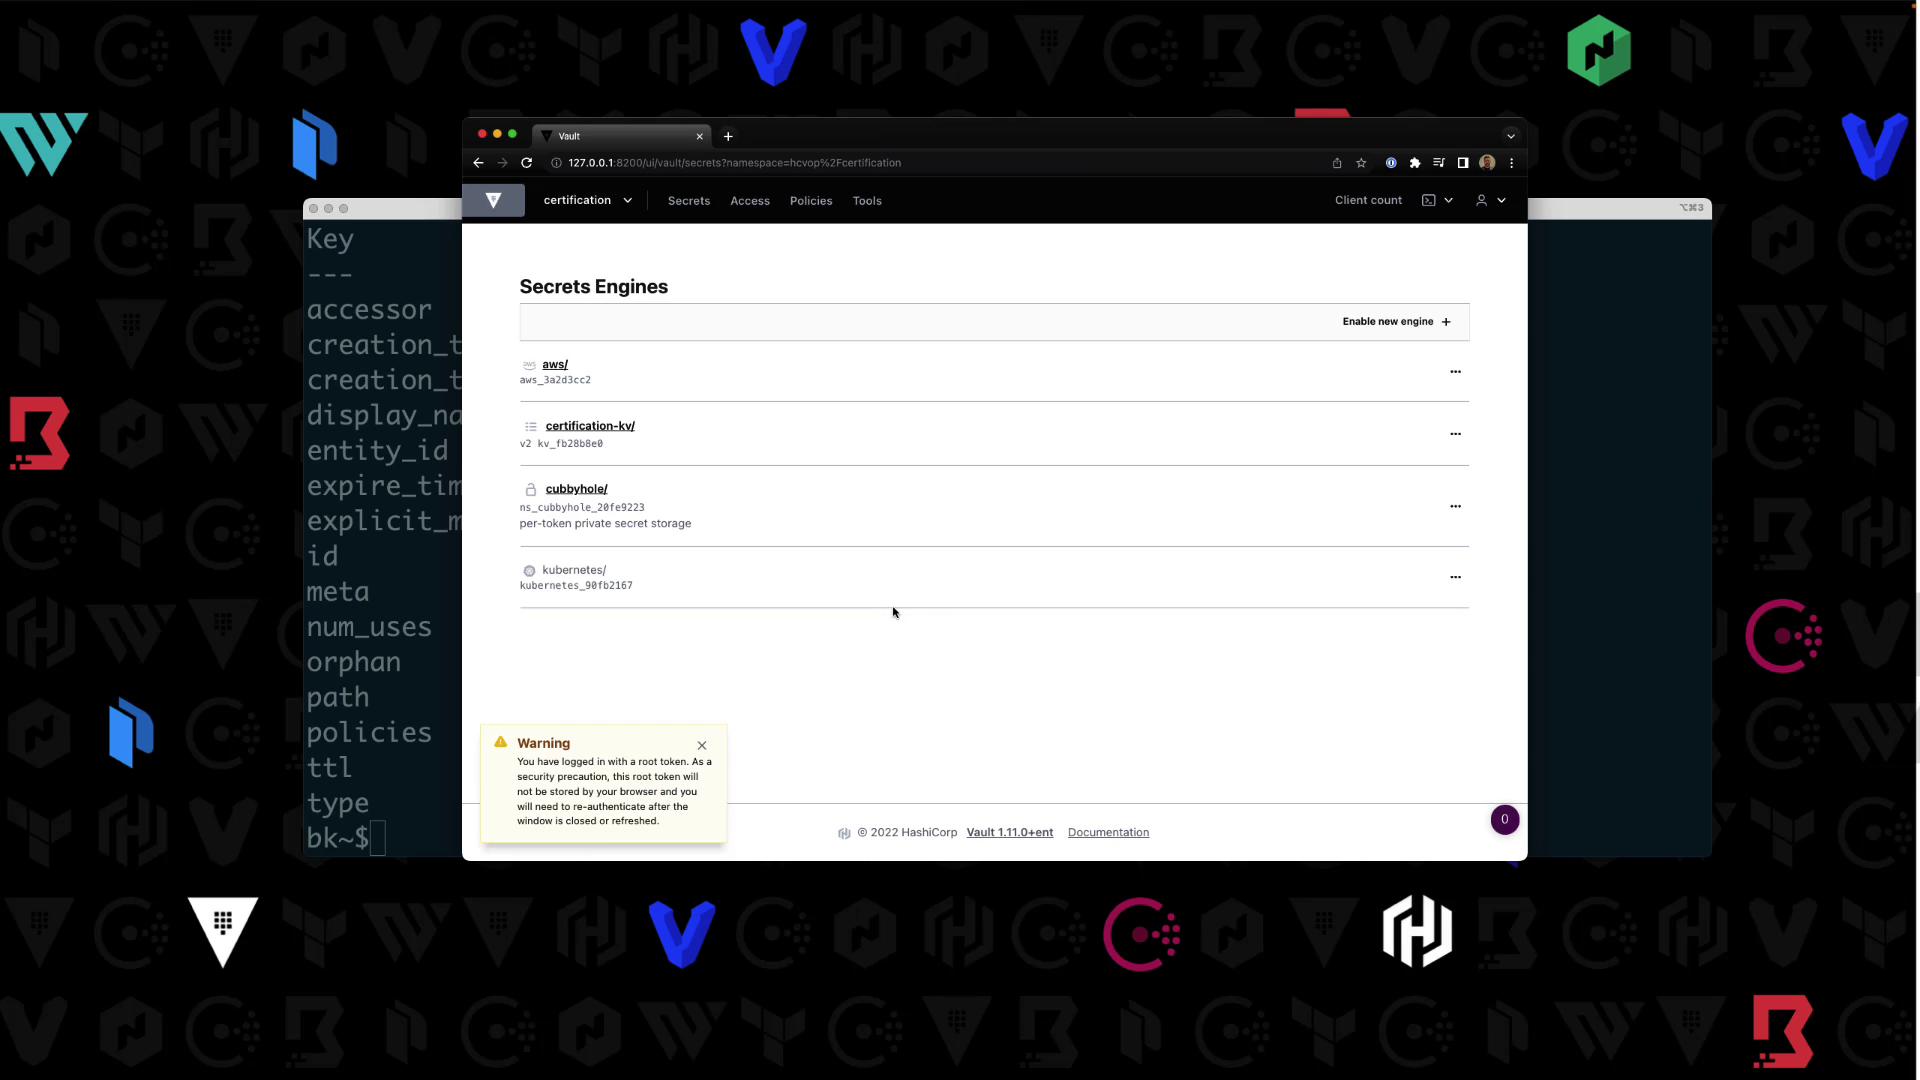
vault secrets list
| Path | Type | Description |
|---|---|---|
| aws/ | aws | AWS credential management |
| certification-kv/ | kv | Key/Value secrets engine v2 |
| cubbyhole/ | ns_cubbyhole | Per-token private secret storage |
| identity/ | ns_identity | Identity store |
| sys/ | ns_system | System control & debugging |
In the UI under Secrets, you’ll see your enabled engines:
Writing a Policy in a Namespace
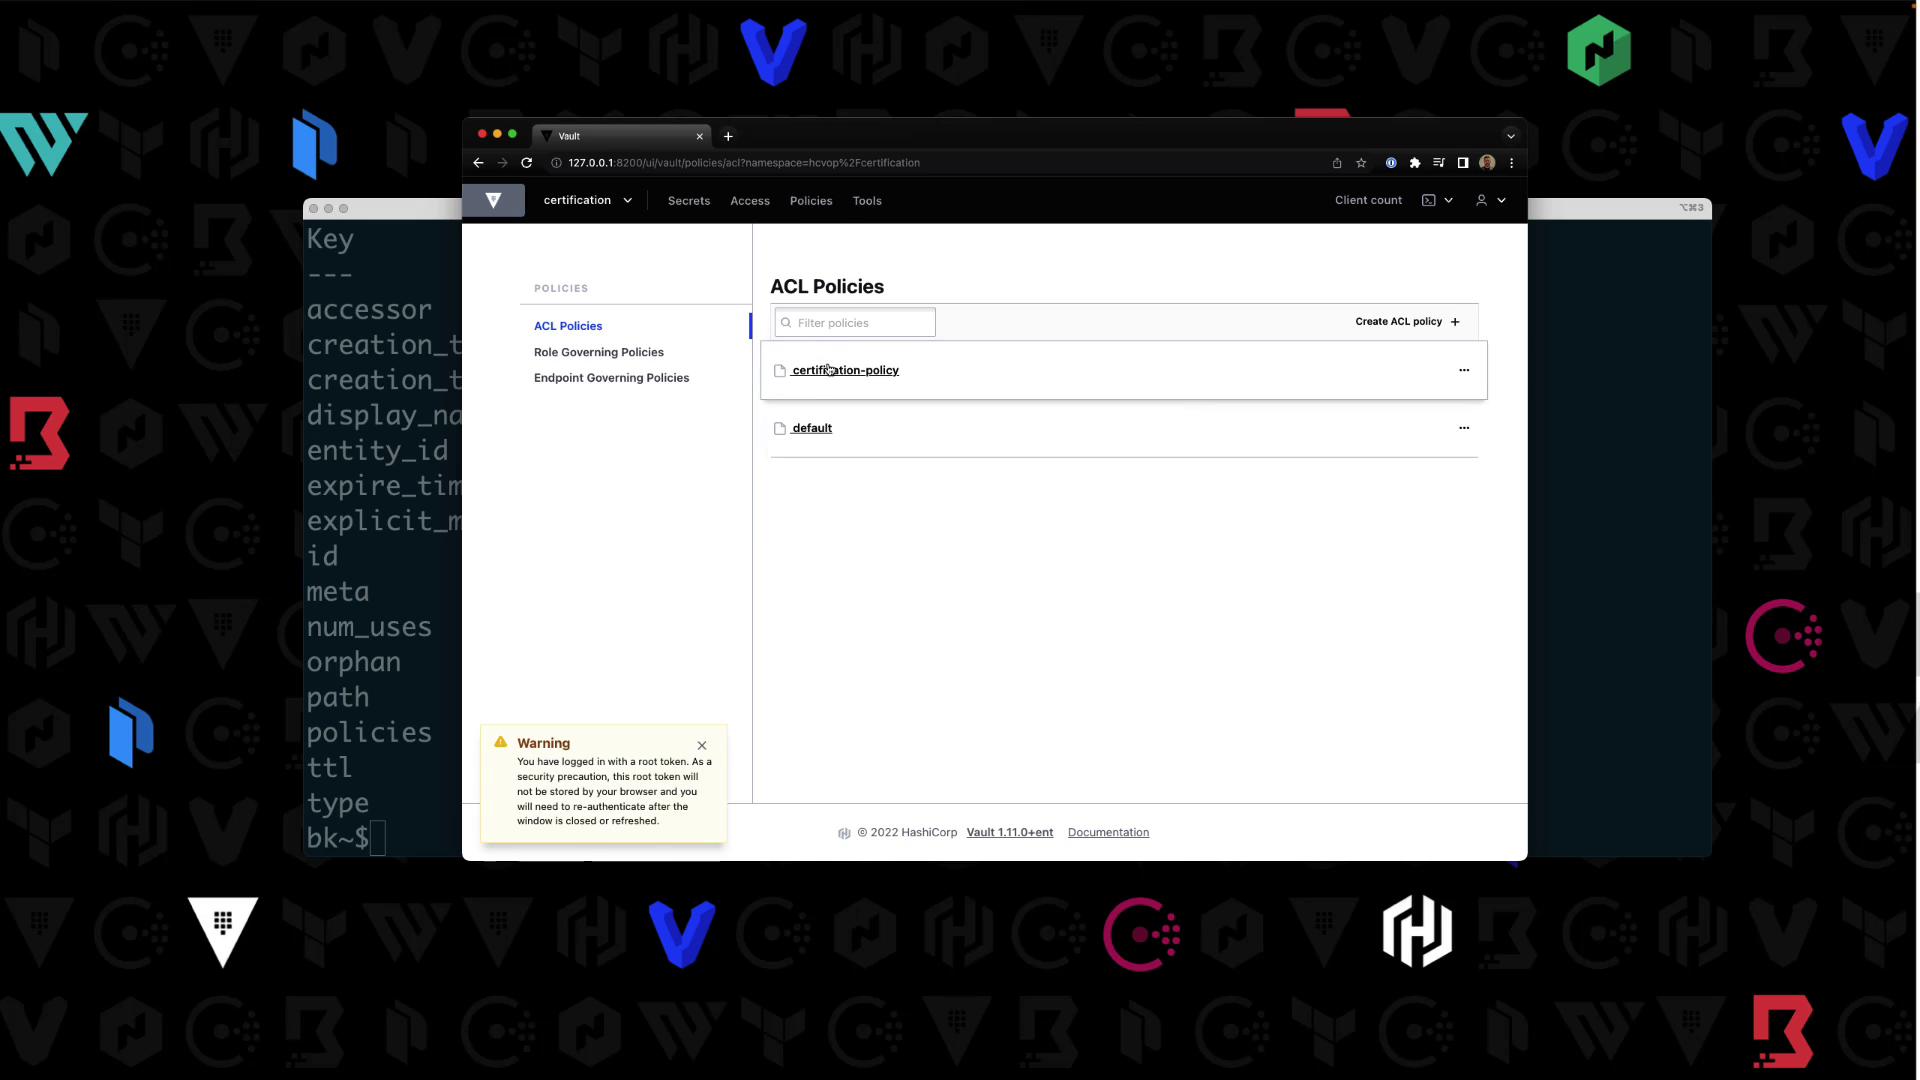
Still in hcvop/certification, write certification-policy:
vault policy write certification-policy -<<EOF
path "certification-kv/*" {
  capabilities = ["read","create","update","delete","list"]
}
EOF
Success! In the UI under Access > Policies, you’ll see your new policy:
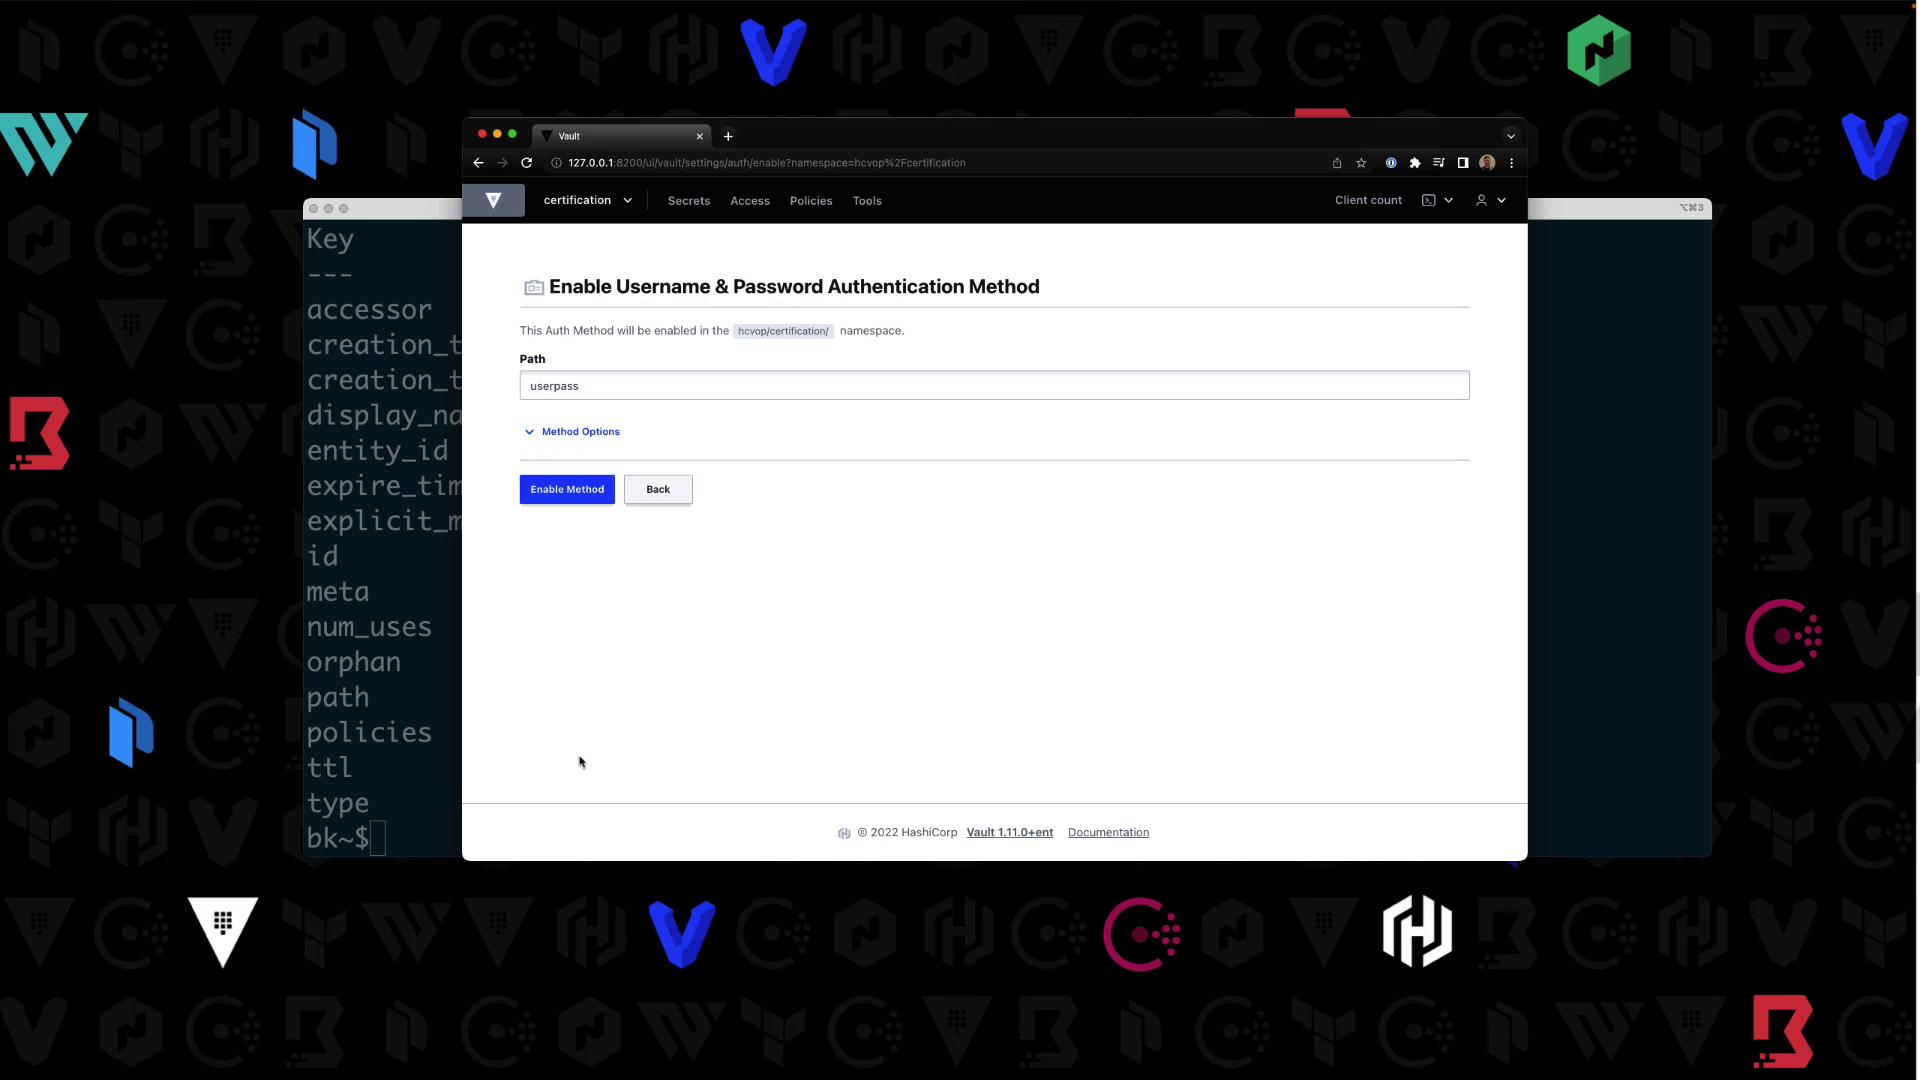
Enabling Userpass Authentication
Note
Authentication methods are namespace-specific. Confirm your context is hcvop/certification.
- In the UI, navigate to Auth > Enable new method.
- Select Username & Password, then click Enable:
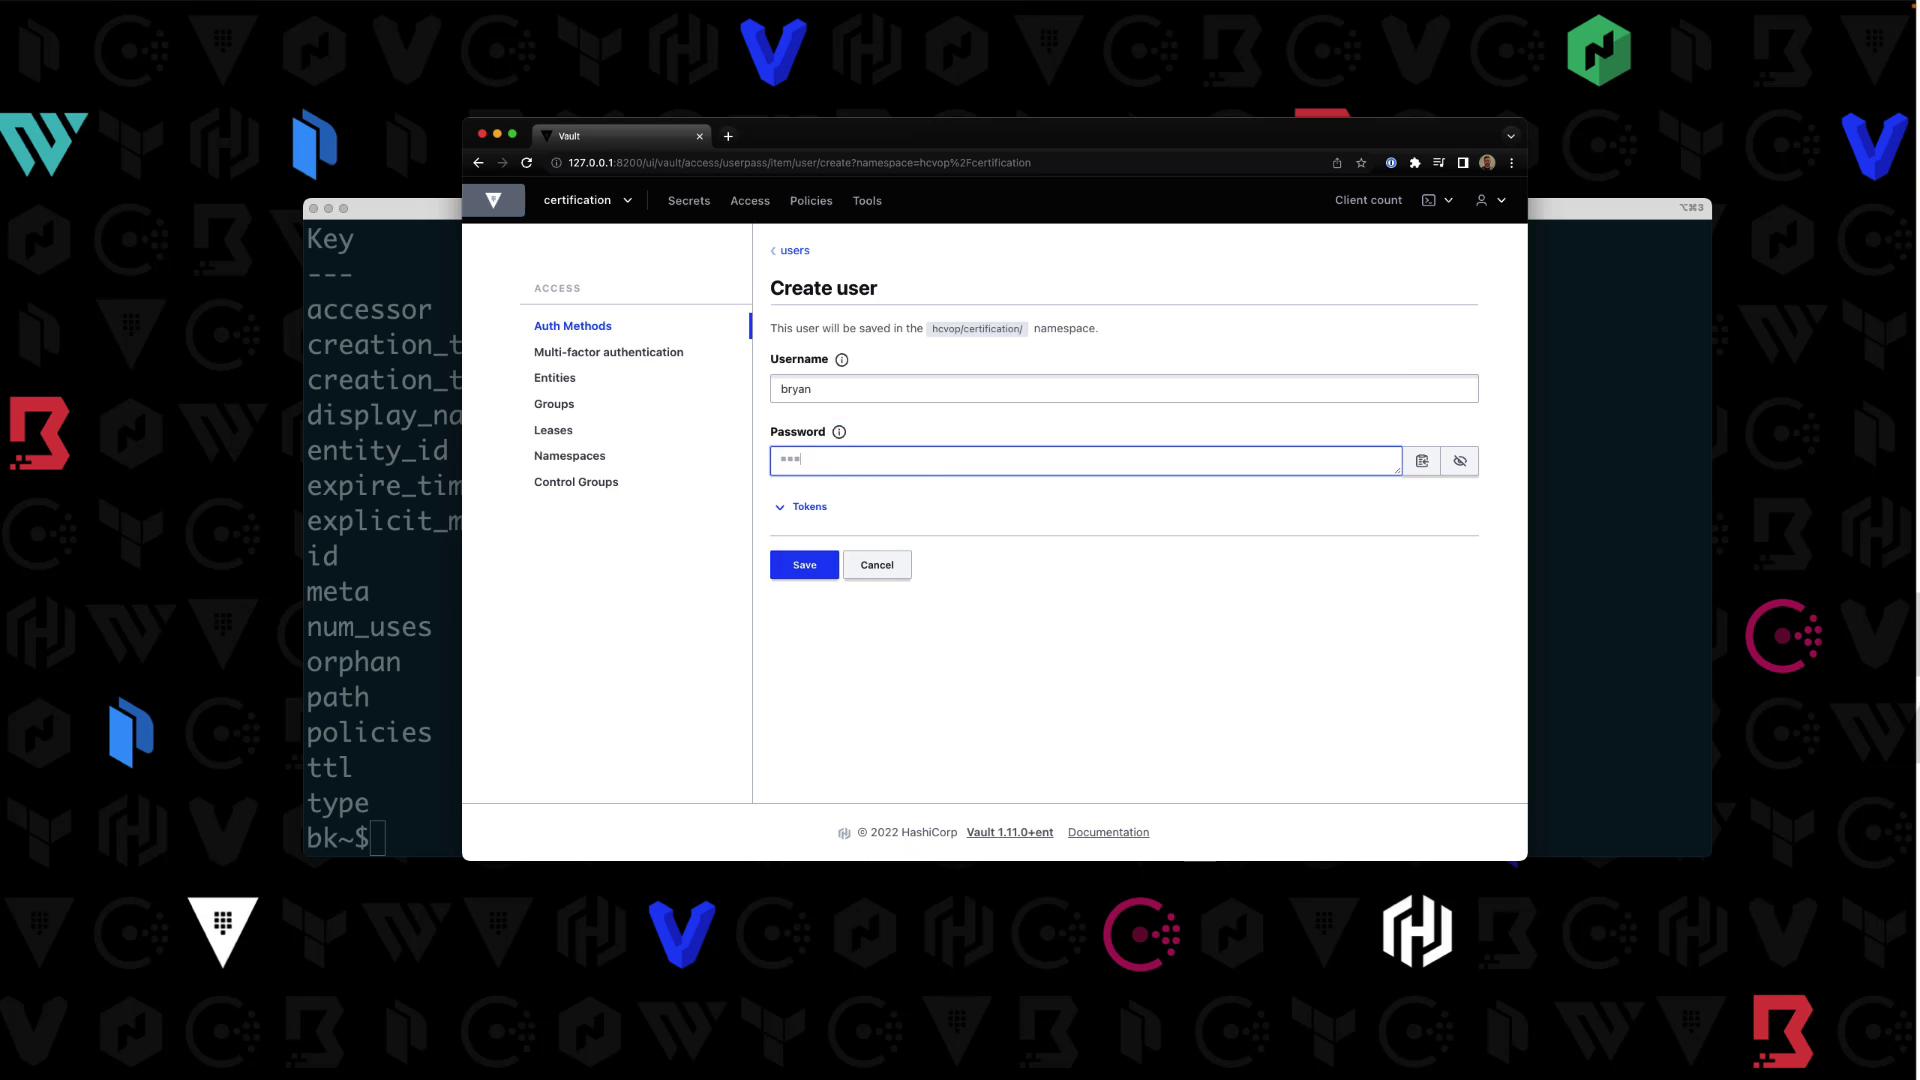
- Create a user
Bryanwith passwordHCVOPand attachcertification-policy:
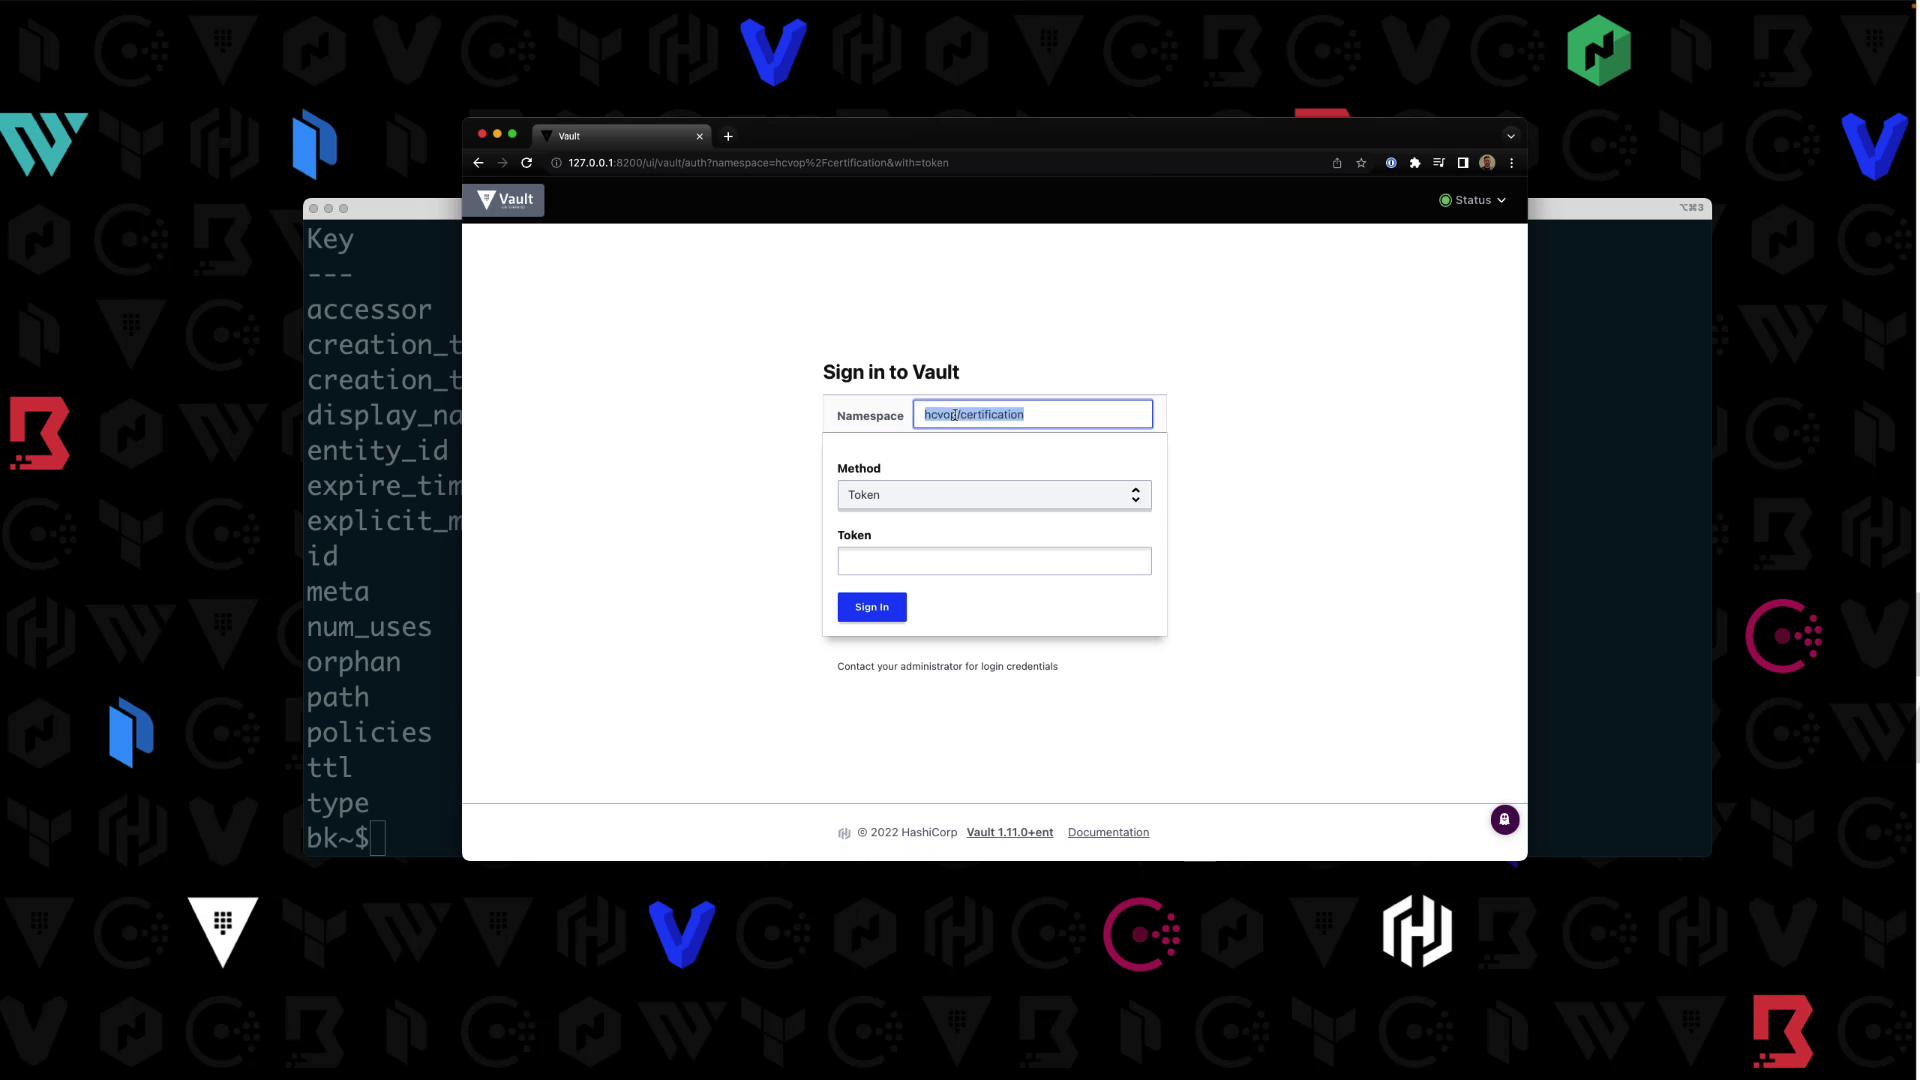
Logging in as the New User
Log out of the root session. On the UI login page:
- Namespace:
hcvop/certification - Method: Username & Password
- Credentials:
Bryan/HCVOP
You’ll see only the certification-kv/ engine. Other paths (e.g., aws/) will return an authorization error:
Extending the Policy
To allow users to list policies:
vault policy write certification-policy -<<EOF
path "certification-kv/*" {
  capabilities = ["read","create","update","delete","list"]
}
path "sys/policies/*" {
  capabilities = ["read","list"]
}
EOF
After re-login, visit Access > Policies to confirm.
Summary
You can target a namespace in two ways:
- Add
-namespace=<ns>to your Vault commands - Export
VAULT_NAMESPACE=<ns>
Namespaces let you organize and isolate Vault resources for different teams, applications, or environments.
Learn more: Vault Namespaces
Watch Video
Watch video content
Practice Lab
Practice lab