The Cubbyhole engine is automatically enabled at the
cubbyhole/ path. It cannot be disabled, relocated, or instantiated multiple times.
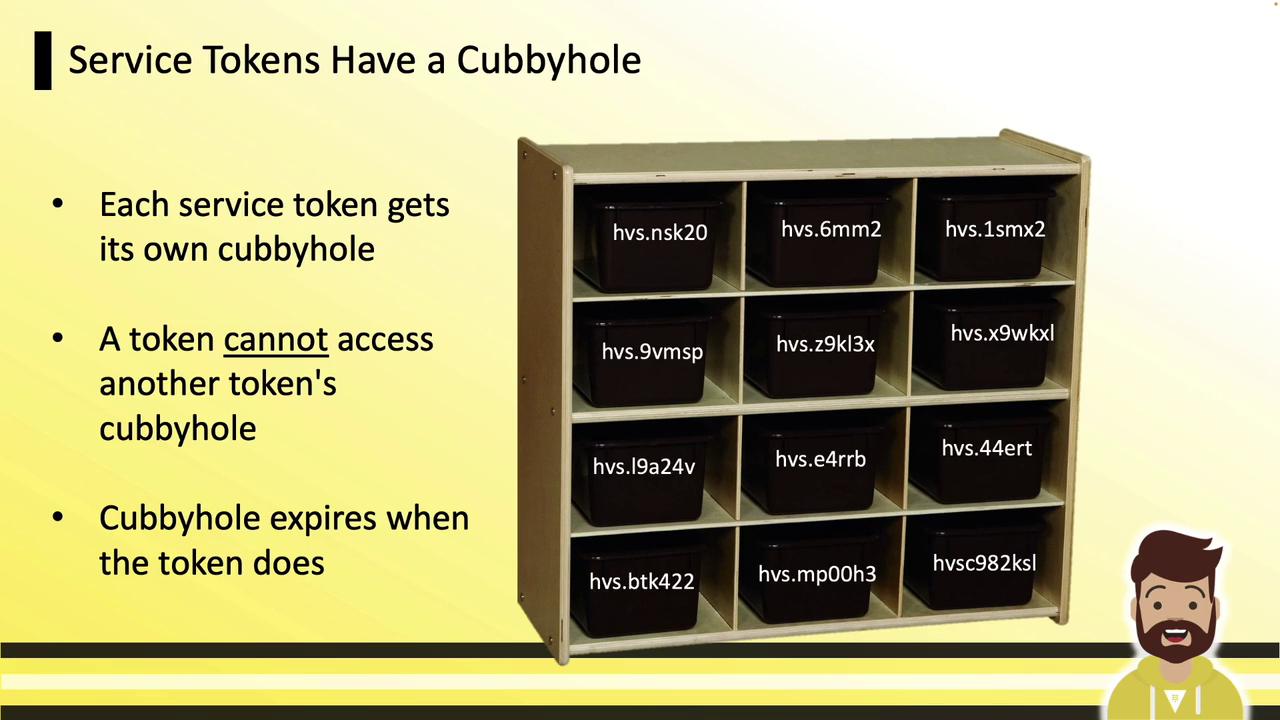
Viewing and Using Cubbyhole
You don’t need to enable Cubbyhole—it’s always available. Verify it with:CLI: Write and Read
Use KV v1–style commands:API: Write and Read
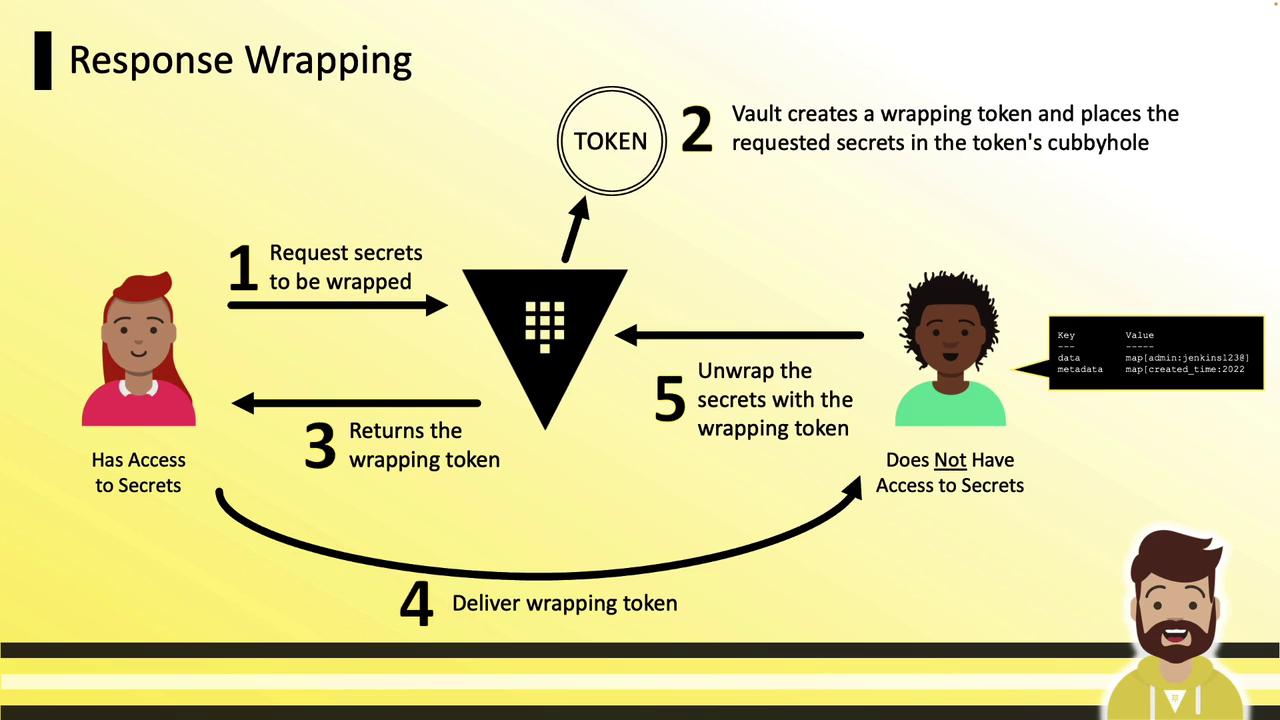
Using the HTTP API:Response wrapping lets you transmit secrets securely over untrusted channels (e.g., email, chat). Instead of sending raw data, Vault issues a wrapping token, stores the secret in that token’s cubbyhole, and returns only the token. The recipient unpacks it to retrieve the secret.
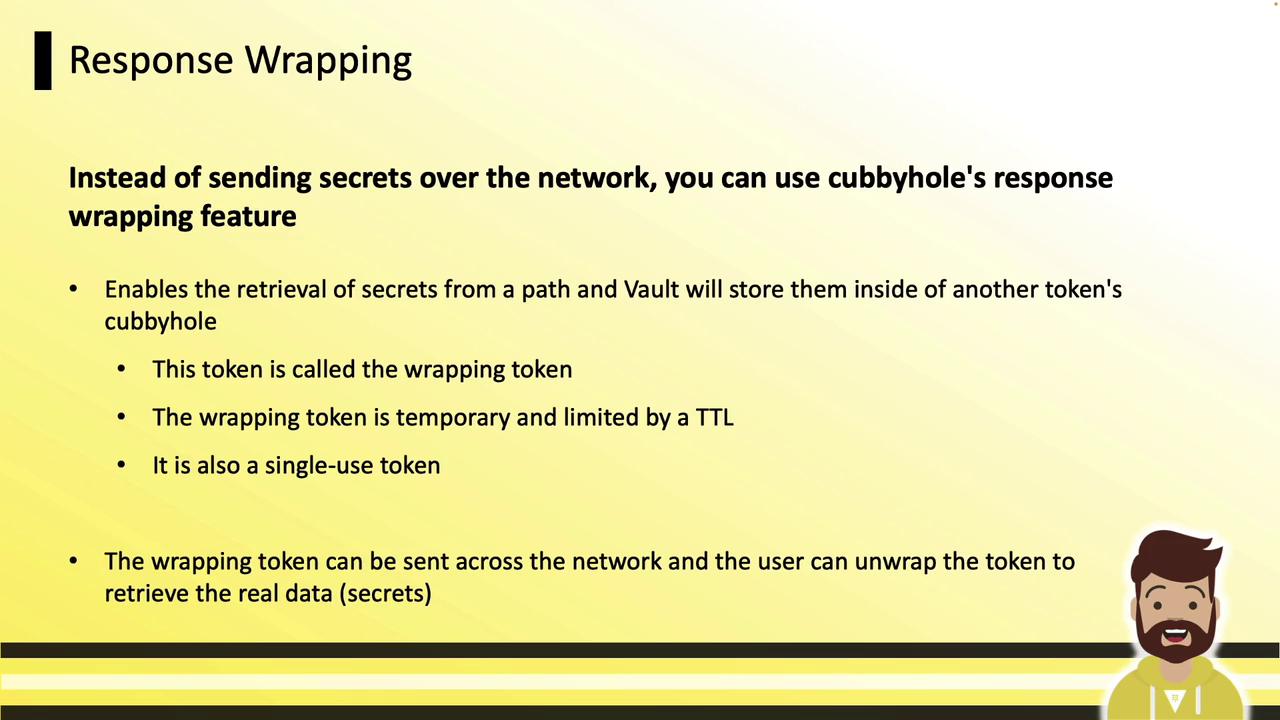
Workflow Overview
- Requester asks Vault for a secret.
- Vault returns a wrapping token instead of the secret data.
- Vault stores the secret in the wrapping token’s cubbyhole.
- Requester shares the wrapping token over any channel.
- Recipient unwraps the token to fetch the secret.
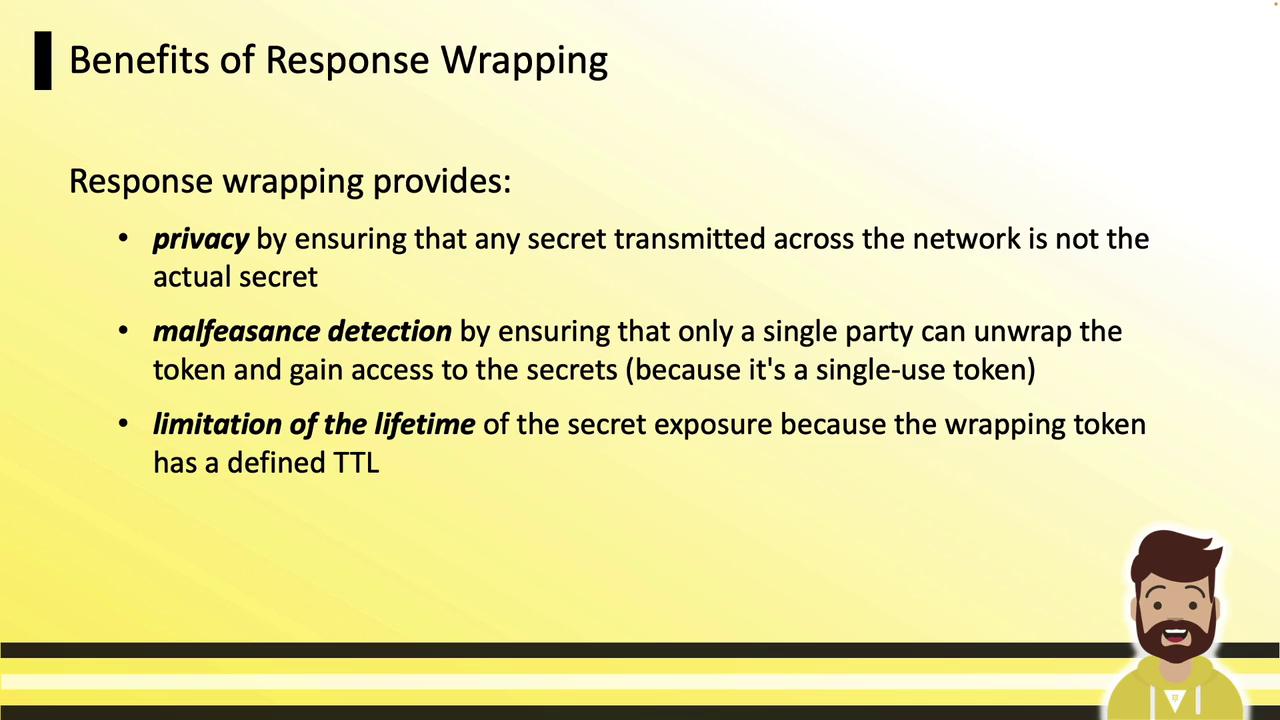
Benefits
| Benefit | Description |
|---|---|
| Privacy | Only the wrapping token crosses the network. |
| Malfeasance Detection | Single-use tokens prevent multiple unwrappings. |
| Lifetime Limitation | Tokens expire quickly (e.g., default TTL of 60 seconds). |
CLI: Wrapping a Secret
Use the-wrap-ttl flag on any read command. For example, wrapping a KV secret:
Inspecting the Wrapping Token
creation_ttl, expire_time, num_uses, and the original path.
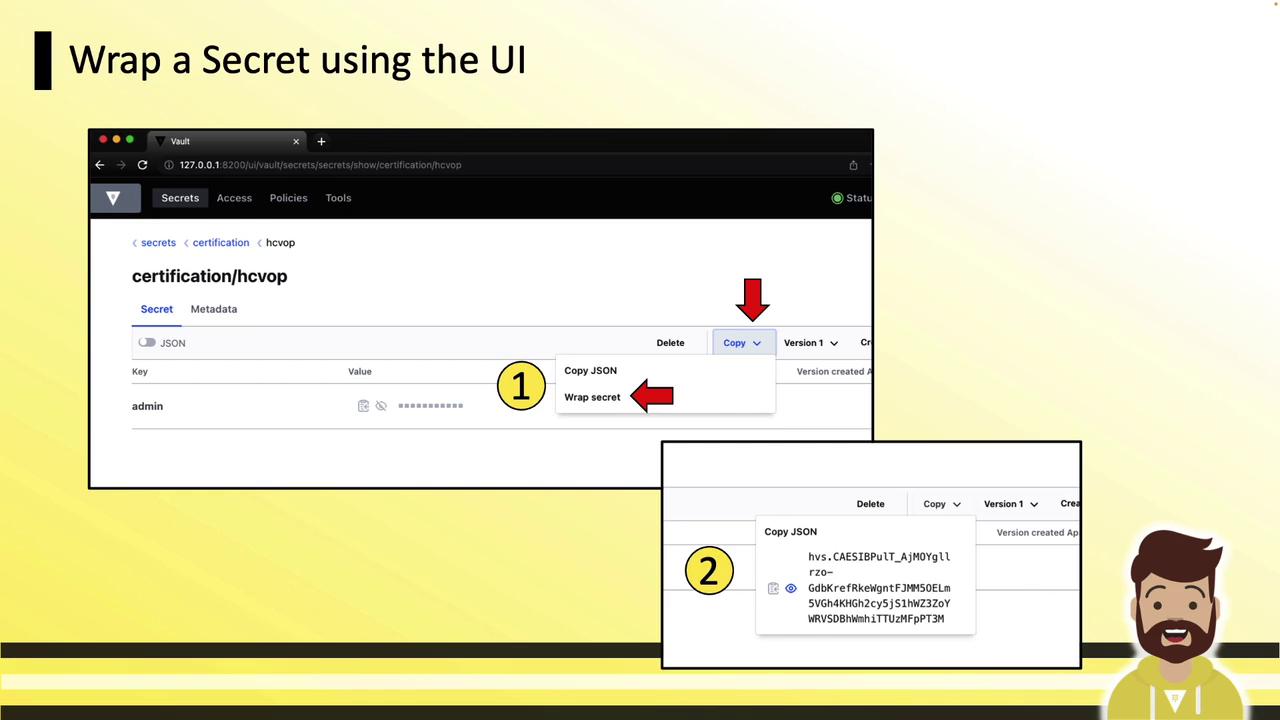
UI: Wrapping a Secret
In the Vault UI:- Navigate to the desired secret.
- Click Copy, then Wrap Secret.
- The wrap token appears in the bottom-right panel—copy and share it.
CLI: Unwrapping a Secret
UI: Unwrapping a Secret
In the UI, go to Tools » Unwrap, paste your wrapping token, then click Unwrap Data. The secret fields will display in the panel.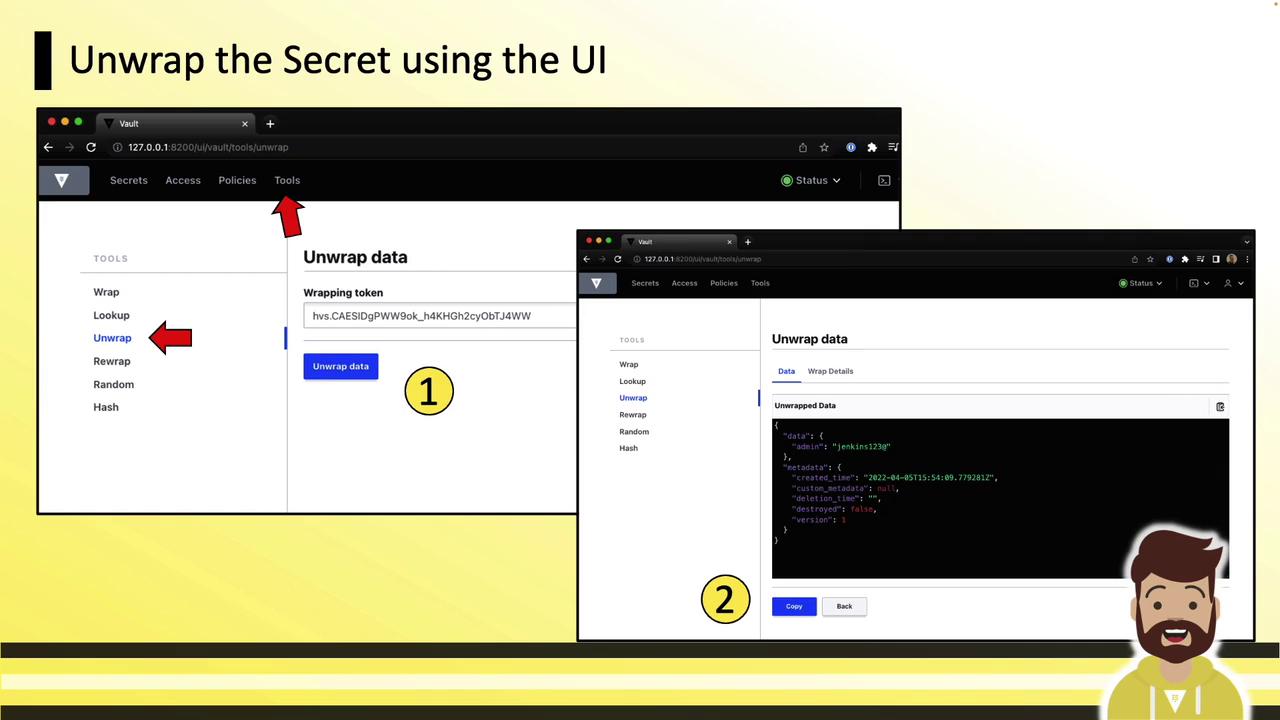
Cubbyhole and response wrapping are key patterns for securely sharing static or dynamic credentials without exposing them directly. By sending only a single-use token with a short TTL, you ensure secrets remain protected until the moment of unwrapping.