1. Install Packer
Download and install Packer for your platform. See the official guide for detailed instructions:https://developer.hashicorp.com/packer/downloads On macOS:
2. (Optional) VS Code HCL Extension
For better HCL syntax highlighting in VS Code, search for HCL in the Extensions Marketplace.
3. Create the Packer Template
Create a file namedaws-ubuntu.pkr.hcl. Packer HCL templates require the .pkr.hcl extension.
3.1 Declare Required Plugins
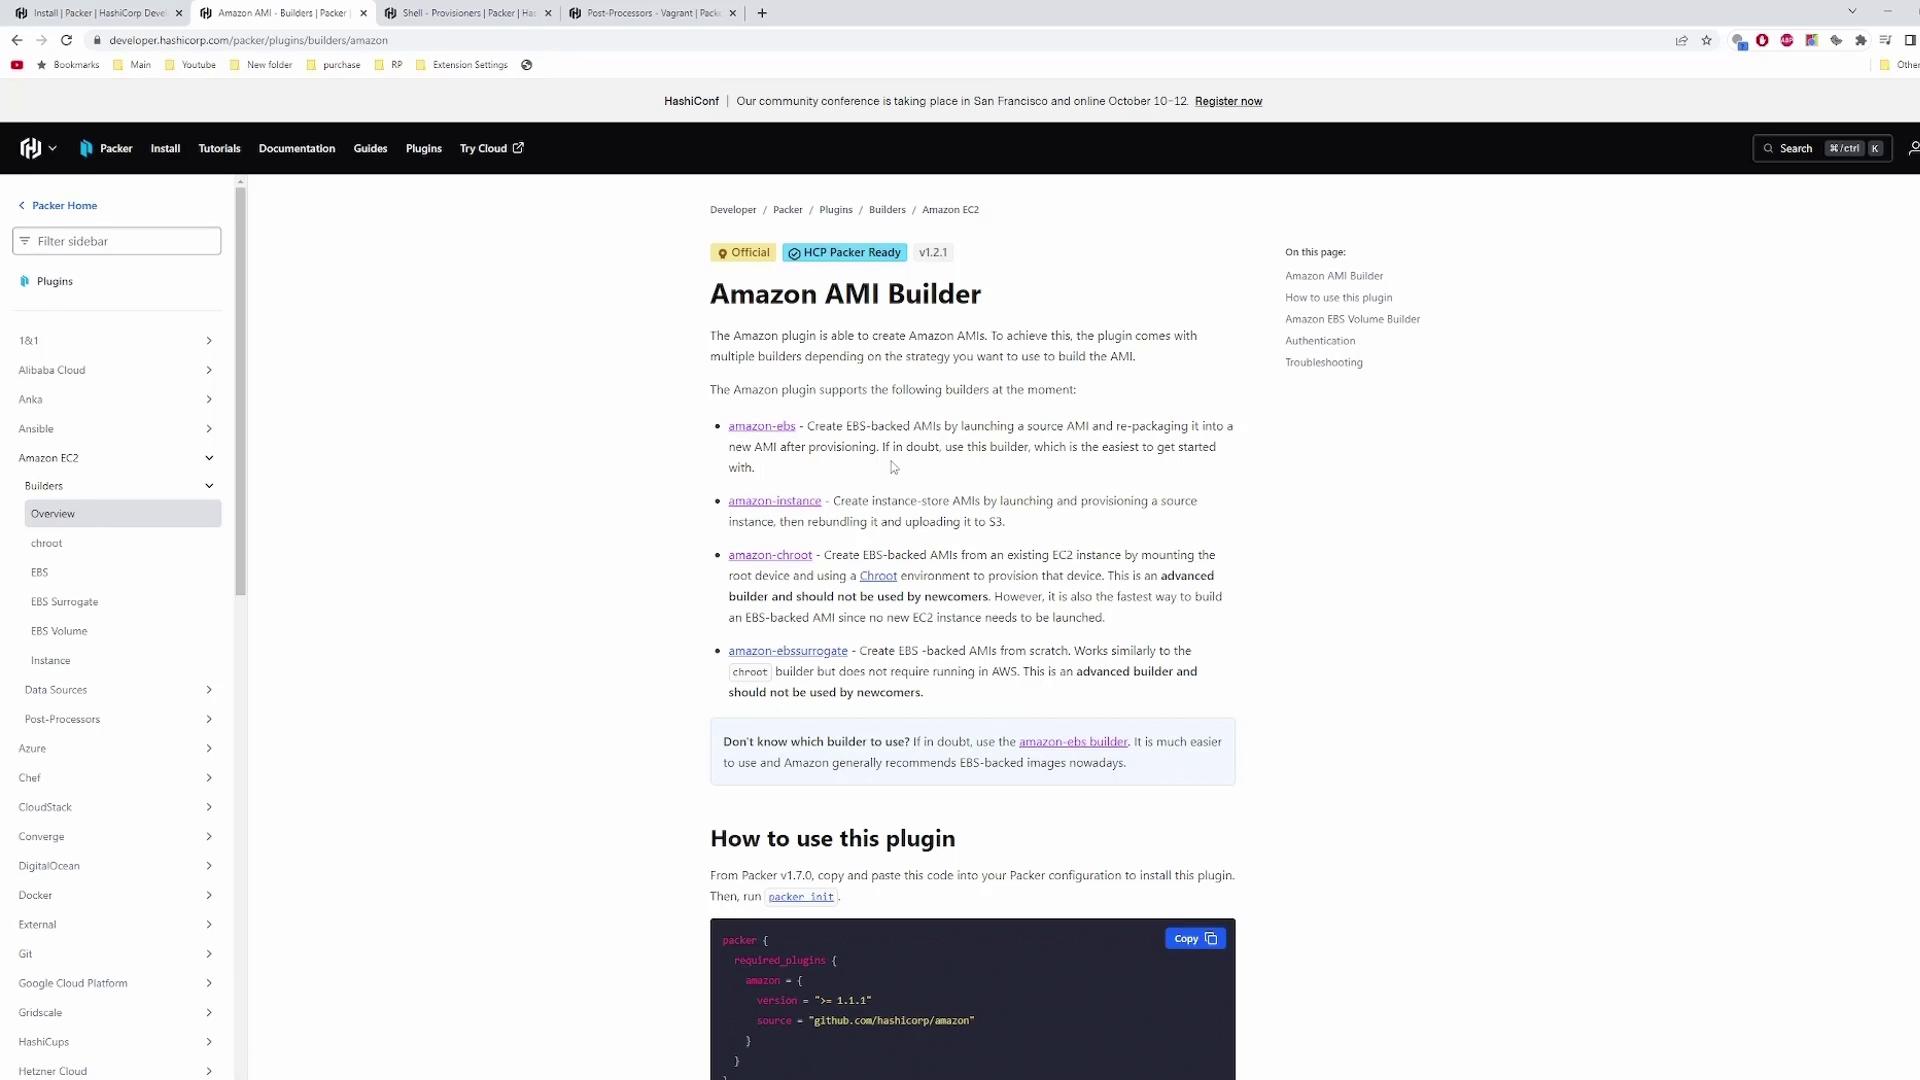
Every Packer template must list its plugins. For AWS, include theamazon builder plugin:
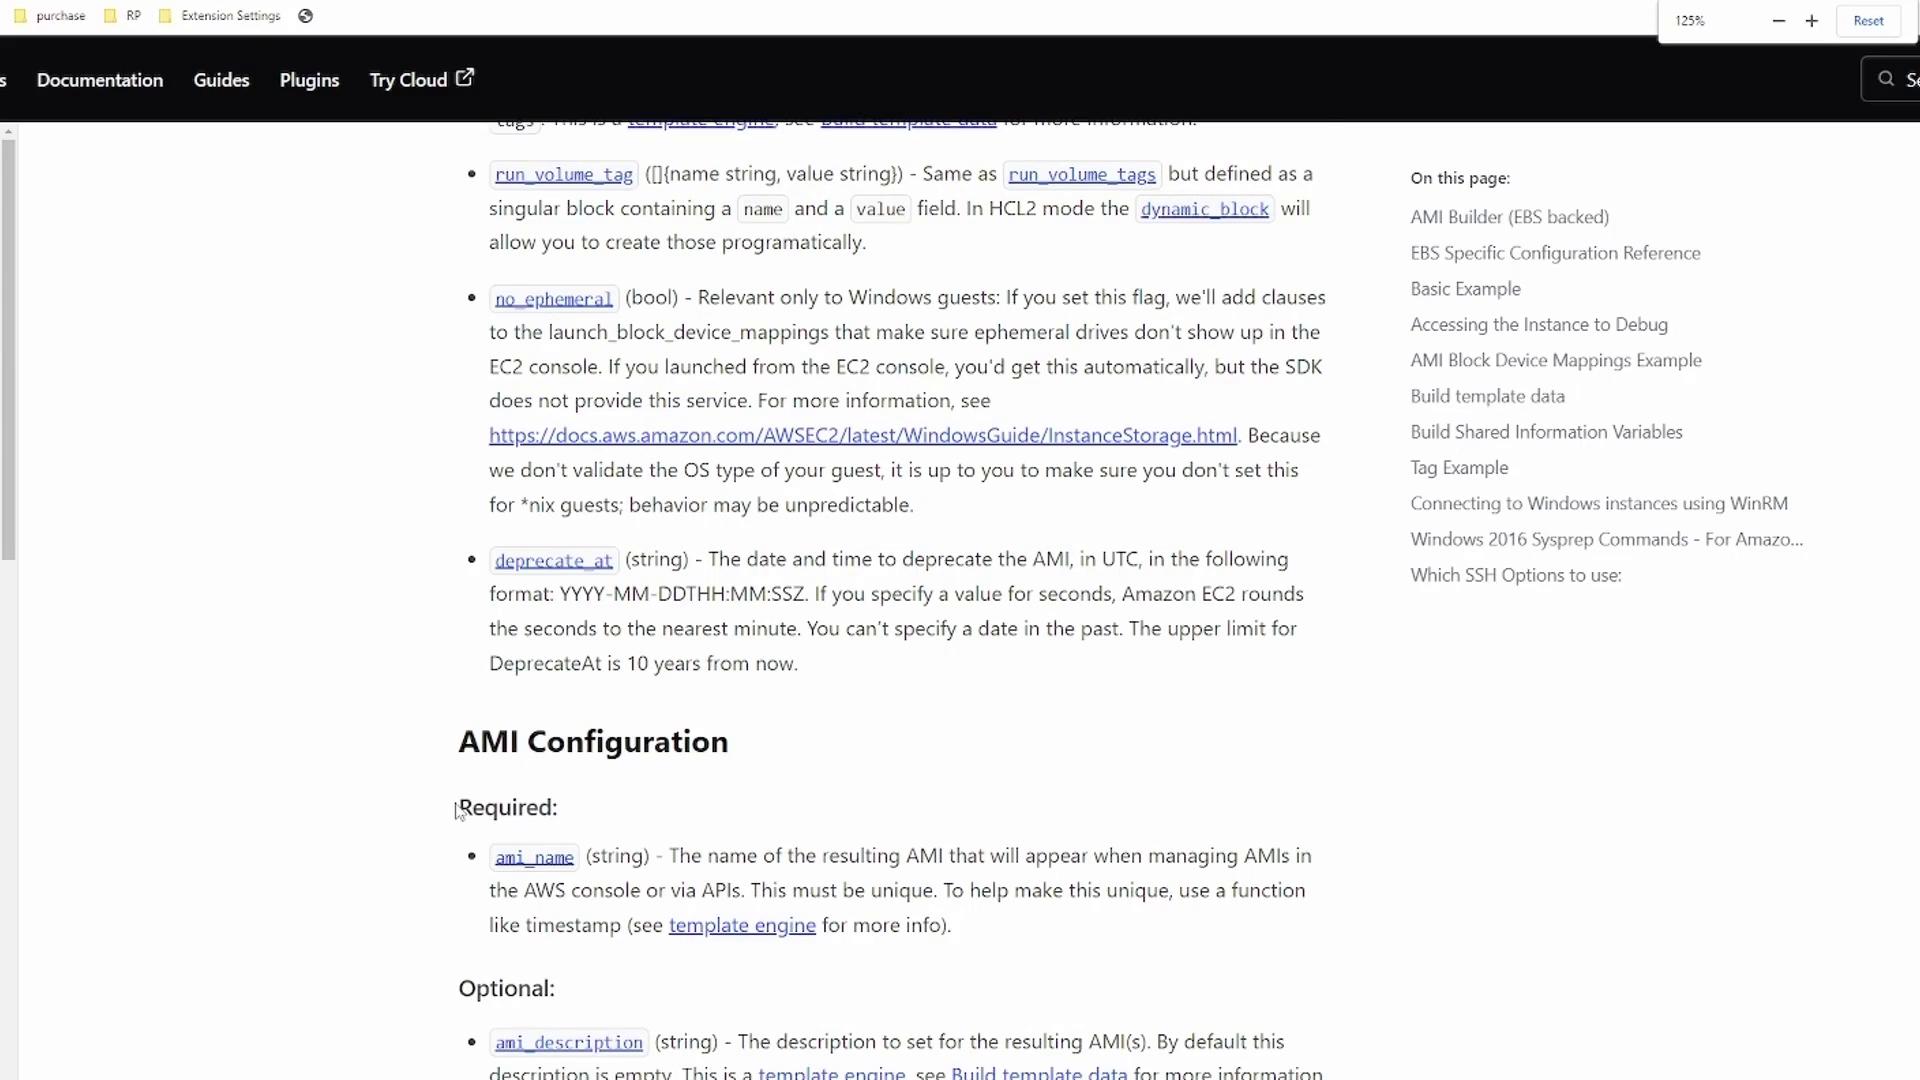
3.2 Configure the Amazon EBS Builder
Use theamazon-ebs source to create an EBS-backed AMI. Refer to the Amazon AMI Builder plugin documentation for a full list of options.
Do not commit AWS credentials in your template. Use environment variables or an IAM role with least-privilege permissions instead.
Find the Ubuntu
source_ami ID under EC2 > AMIs in your AWS Console after selecting your region.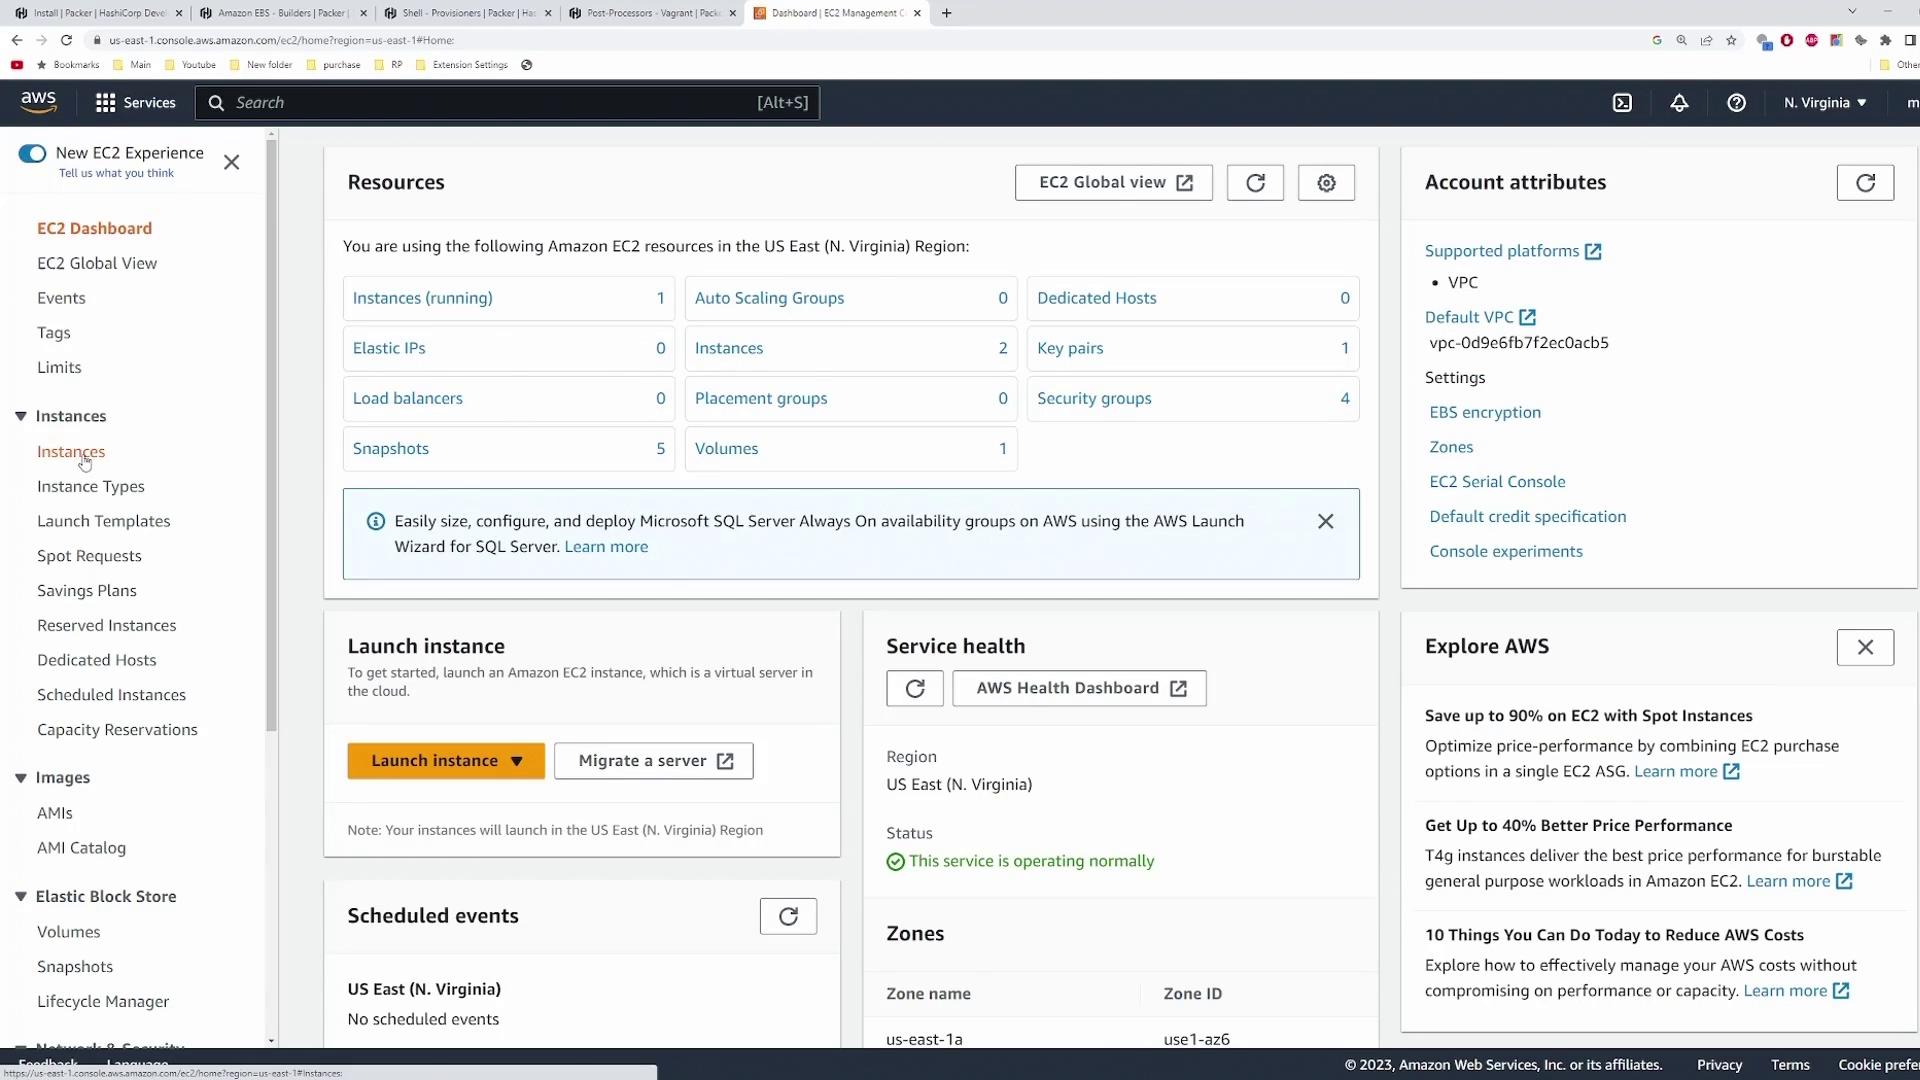
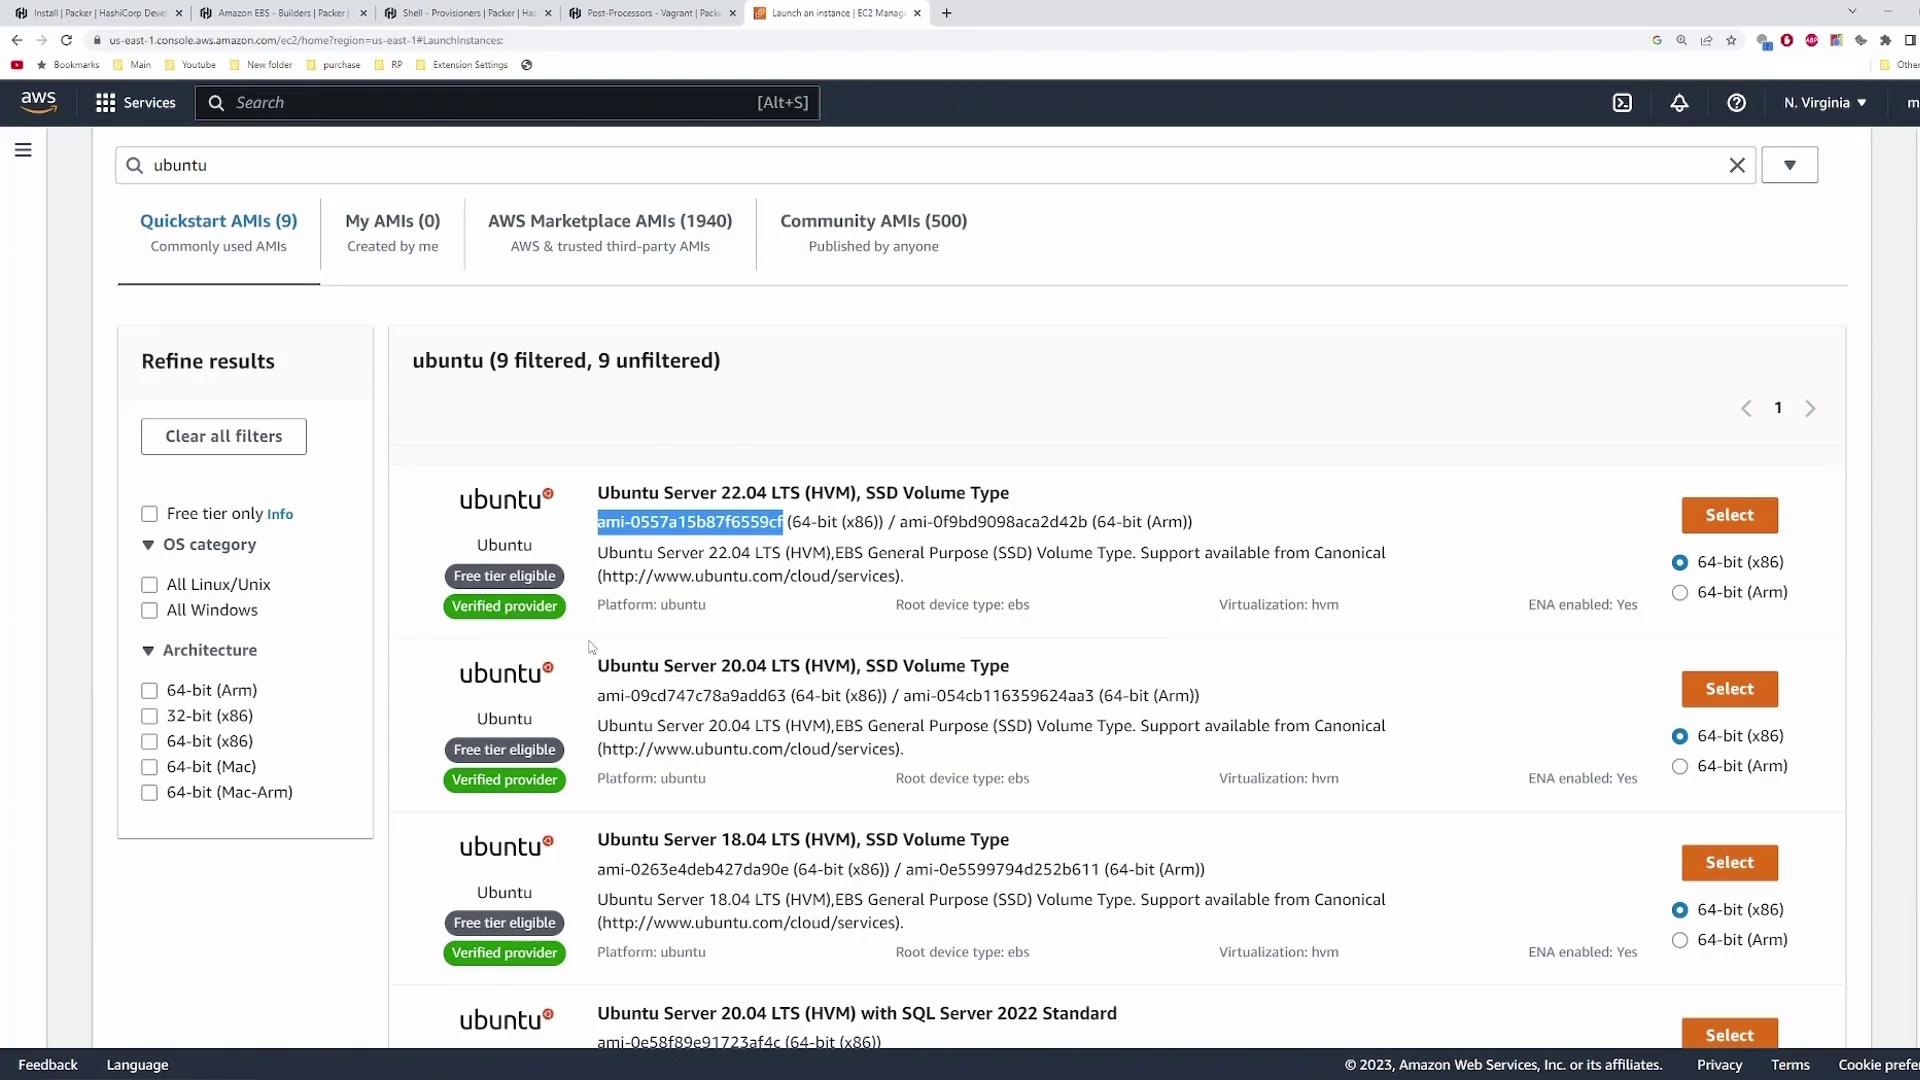
<YOUR_SOURCE_AMI_ID> in your template once you’ve copied it.
4. Build, Provision, and Post-Process
Add abuild block that references your amazon-ebs source and provisions the instance:
| Component | Purpose | Example Configuration |
|---|---|---|
| shell | Installs Nginx and configures UFW | provisioner "shell" { ... } |
| vagrant | Packages the image as a Vagrant box | post-processor "vagrant" {} |
| compress | Archives the box output (.box file) | post-processor "compress" {} |
5. Initialize, Format & Validate
Execute these commands in the directory containingaws-ubuntu.pkr.hcl:
| Command | Description |
|---|---|
packer init . | Install required plugins |
packer fmt . | Reformat HCL for readability |
packer validate . | Verify template syntax and configuration |
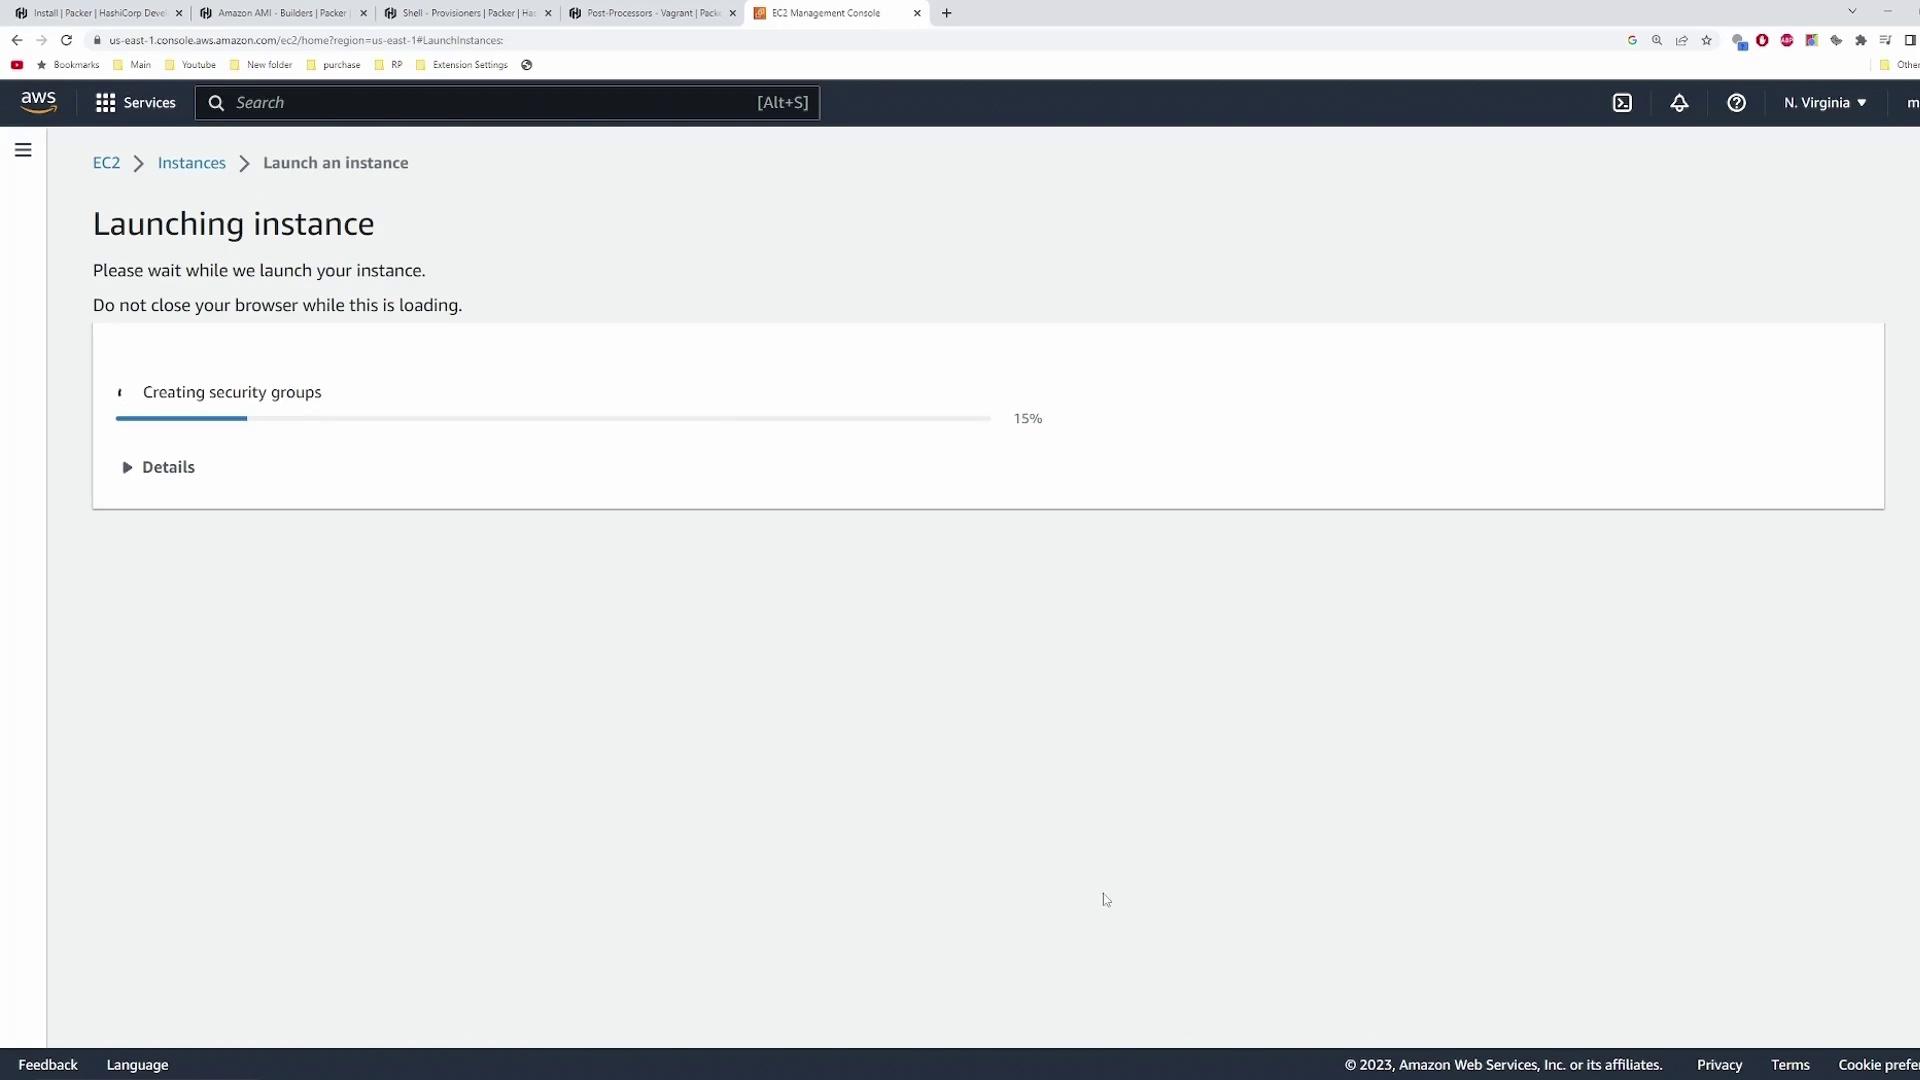
6. Build the AMI
Run the build:7. Verify the AMI
In the AWS Console, locate the AMI named my-first-packer-image. Launch a new EC2 instance, ensure the security group allows HTTP/HTTPS, and wait for provisioning: