In this guide, you’ll learn how to integrate Terraform Cloud with GitHub to manage infrastructure across development, staging, and production environments. You will:Documentation Index
Fetch the complete documentation index at: https://notes.kodekloud.com/llms.txt
Use this file to discover all available pages before exploring further.
- Create
developmentandstagingbranches in GitHub - Configure a shared Terraform Cloud variable set for AWS credentials
- Point the development workspace to the
developmentbranch - Provision a staging workspace on the
stagingbranch - Trigger and verify runs in each workspace
- Create a production workspace on the
mainbranch - Confirm all workspaces and their run statuses
- A Terraform Cloud organization and Terraform CLI installed.
- A GitHub repository (
clumsy_bird) containing your Terraform configurations.
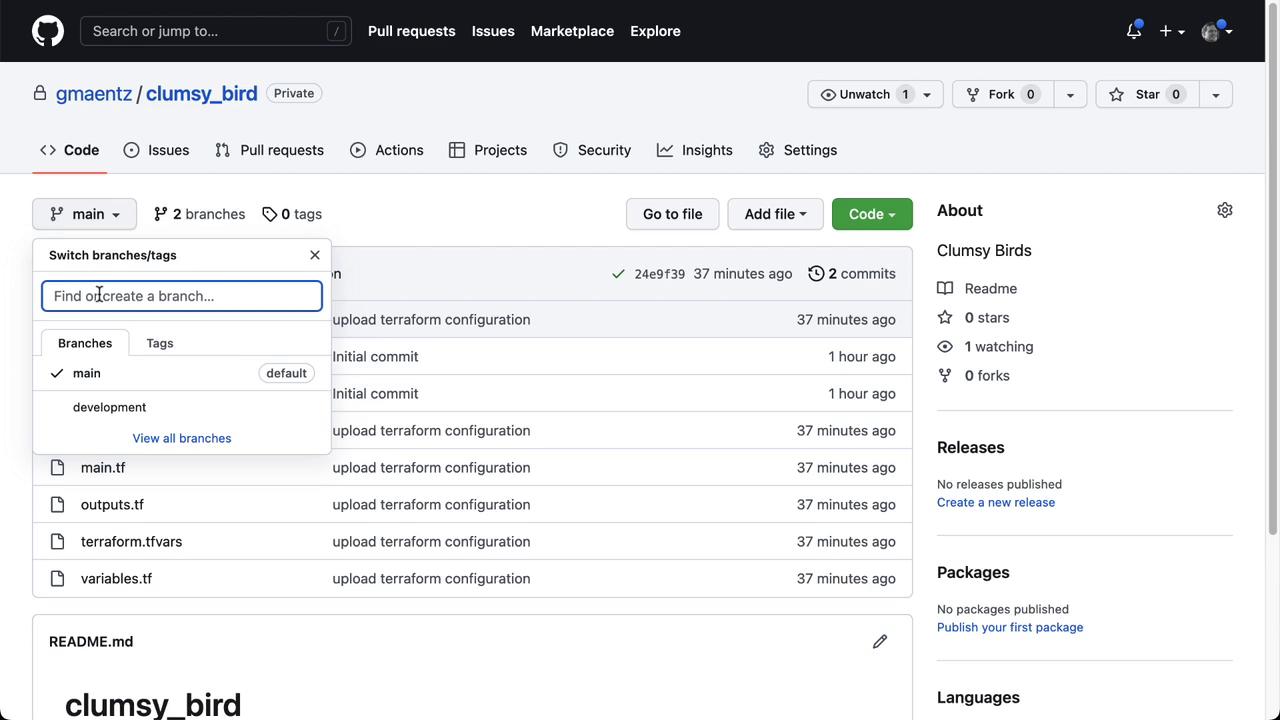
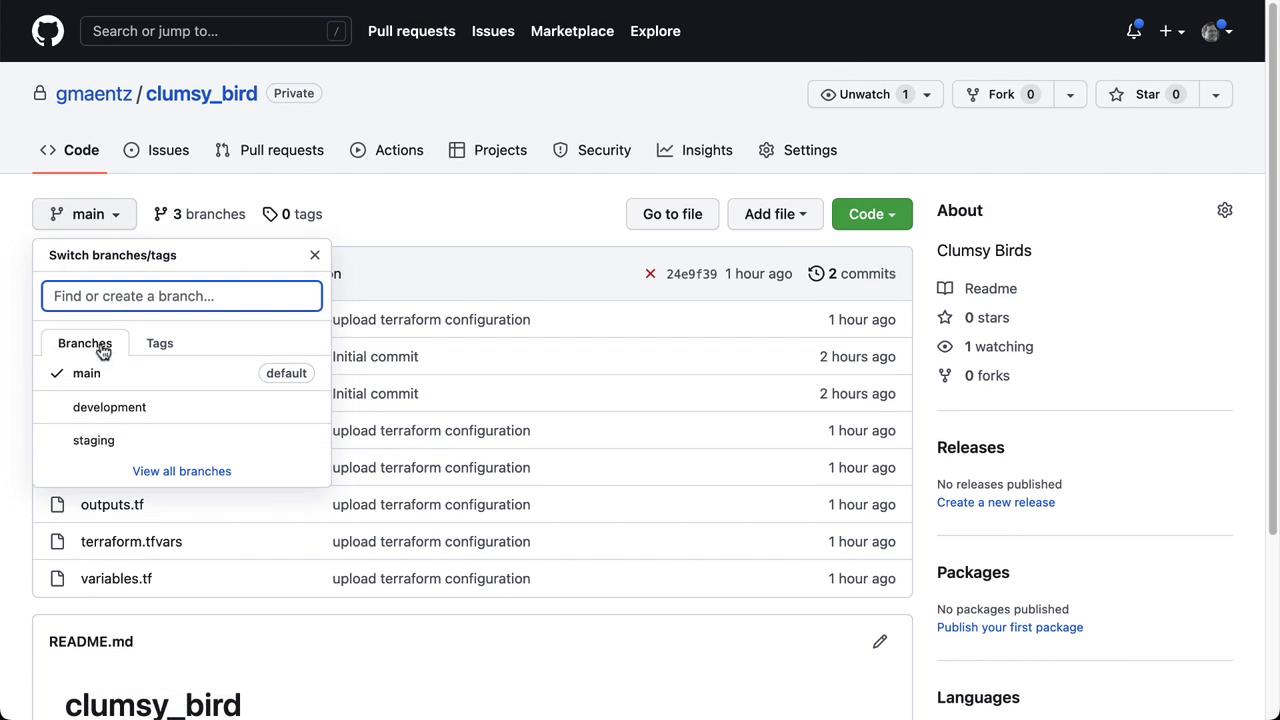
1. Create Development and Staging Branches
Clone your GitHub repository, then create and push the feature branches:development and staging branches.
2. Configure a Terraform Cloud Variable Set
In Terraform Cloud, navigate to Organization Settings → Variable Sets and create or verify a set containing:| Variable Name | Category | Description |
|---|---|---|
AWS_ACCESS_KEY_ID | Environment Variable | Your AWS access key |
AWS_SECRET_ACCESS_KEY | Environment Variable | Your AWS secret key |
Never commit AWS credentials to Git. Always use Terraform Cloud variable sets or Vault for secret management.
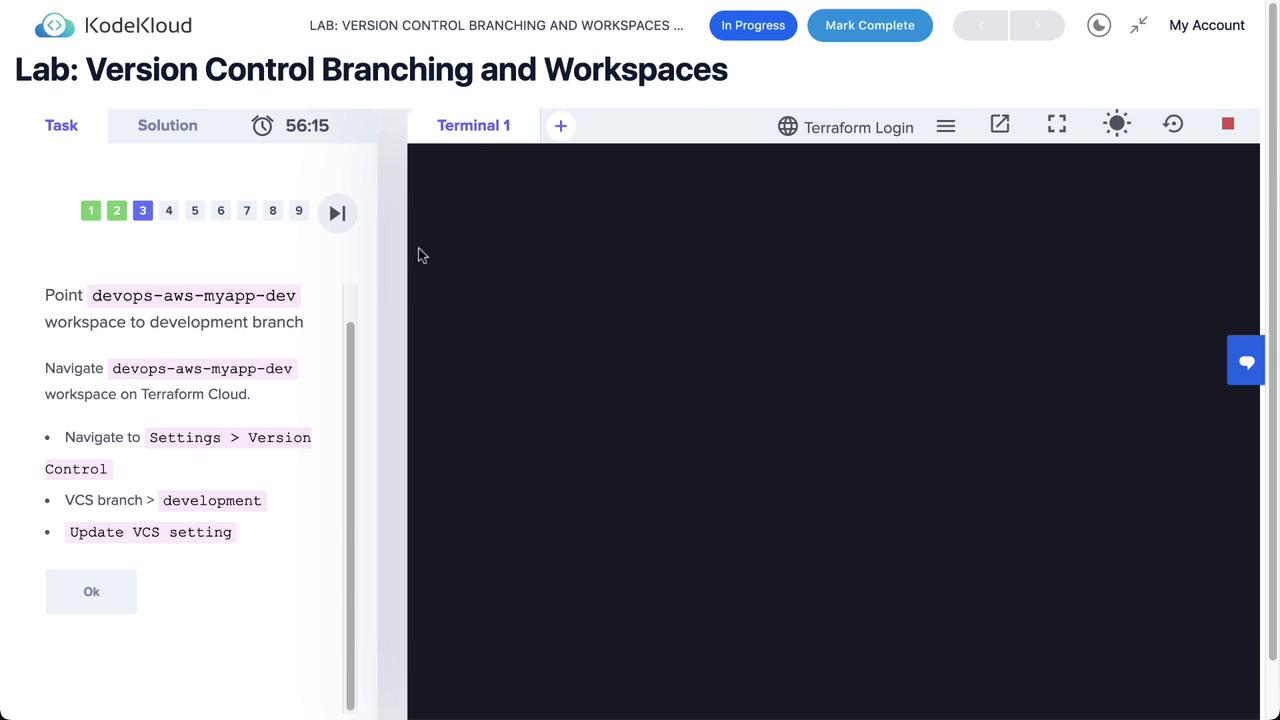
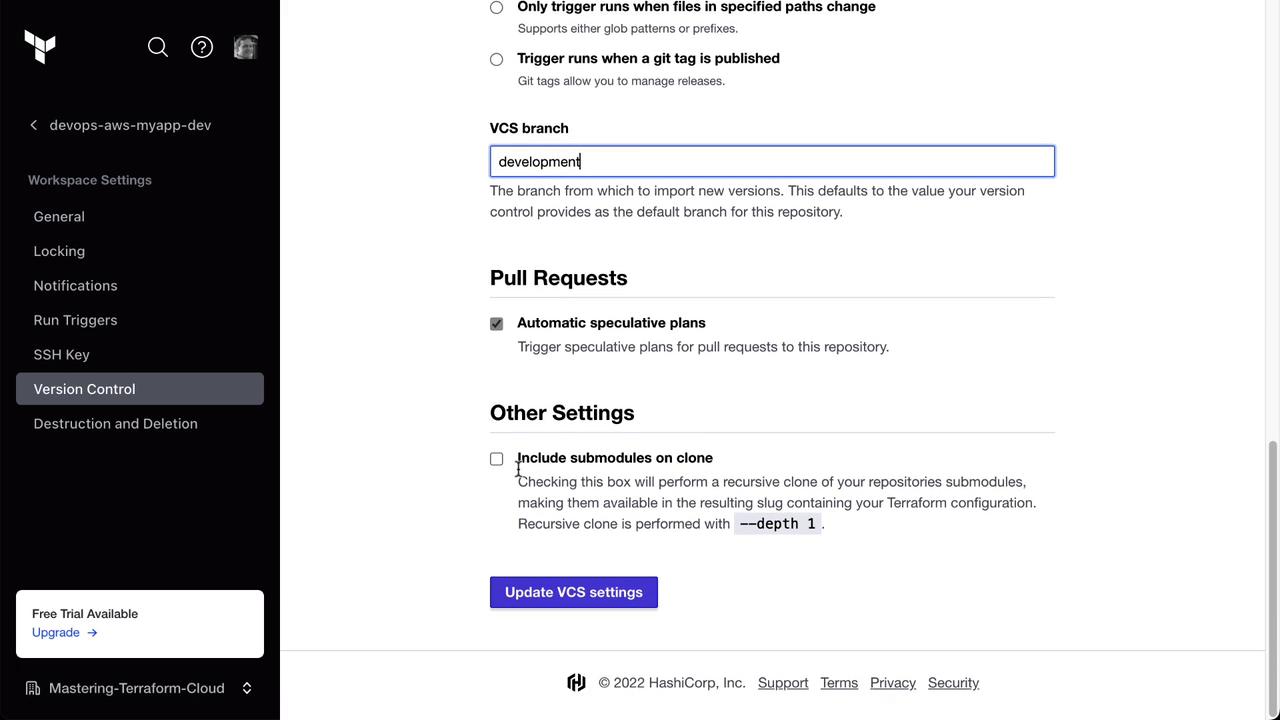
3. Update the Development Workspace
- Open the devops-aws-myapp-dev workspace in Terraform Cloud.
- Go to Settings → Version Control.
- Change VCS Branch to
developmentand Save.
development branch:

4. Create the Staging Workspace
- In Terraform Cloud, select Workspaces → New Workspace.
- Choose Version Control Workflow and connect to
gmaentz/clumsy_bird. - Configure the workspace:
| Setting | Value |
|---|---|
| Name | devops-aws-myapp-staging |
| VCS Branch | staging |
| Auto Apply | Enabled |
| Automatic Speculative Plans | Enabled |
- (Optional) Add Terraform variables for environment context:


5. Trigger Manual Runs
To validate both environments:- Development: Open devops-aws-myapp-dev and click Start new run.
- Staging: Open devops-aws-myapp-staging and click Start new run.
Auto Apply simplifies continuous delivery, but manual runs offer more control for production-critical changes.
6. Create the Production Workspace
Repeat the workspace creation steps for production:| Setting | Value |
|---|---|
| Name | devops-aws-myapp-prod |
| VCS Branch | main |
| Auto Apply | Enabled (or Manual per policy) |
| Always Trigger Runs | Enabled |
- Workspaces → New Workspace → Version Control
- Select
gmaentz/clumsy_birdand set VCS Branch tomain. - Add the same Terraform variables (
prefix,project,environment = "production").
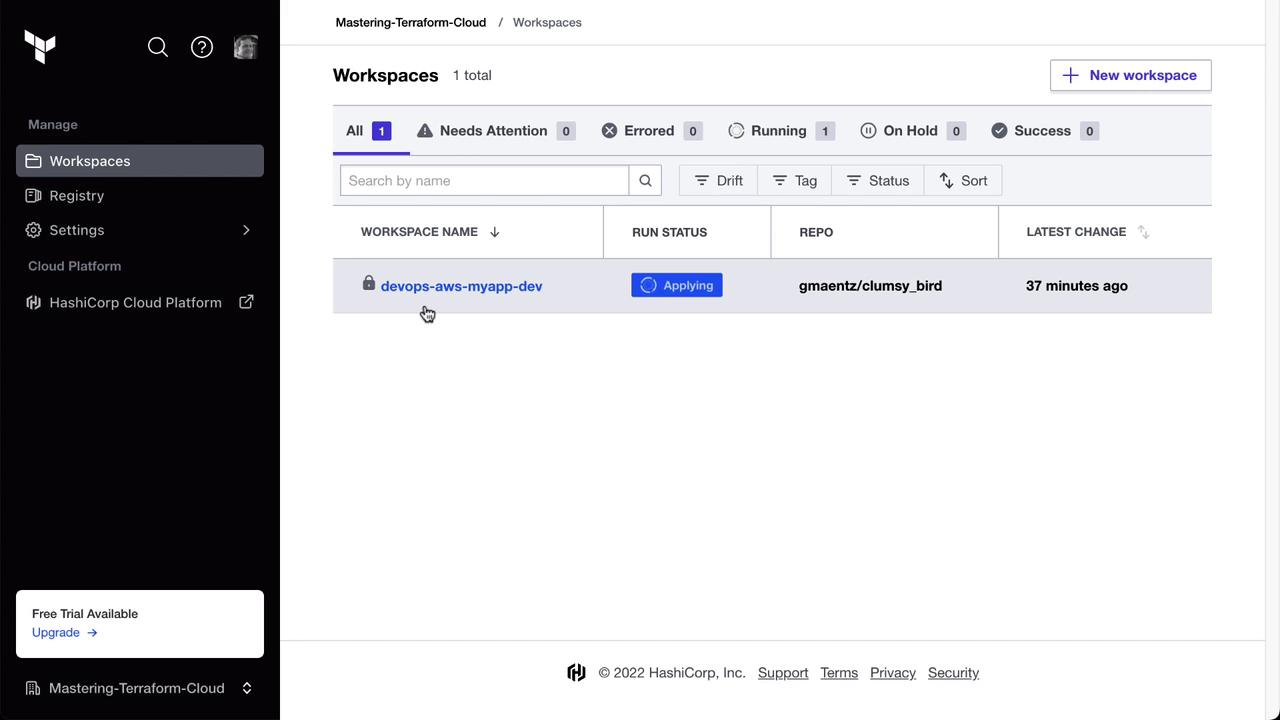
7. Verify All Workspaces
Head to Workspaces overview. You should see all three environments configured:| Workspace Name | Branch | Status |
|---|---|---|
| devops-aws-myapp-dev | development | Applied |
| devops-aws-myapp-staging | staging | Applied |
| devops-aws-myapp-prod | main | Pending / Applied |

References
- Terraform Cloud Version Control Workflow
- Git Branching Strategies
- Managing Variables in Terraform Cloud