This guide explains how to add a Jenkinsfile to the Solar System repository for enabling CI/CD automation.
This guide demonstrates how to configure a Jenkinsfile in the Solar System repository to enable CI/CD. Previously, a GITHUB organization folder was set up in Jenkins, which successfully discovered repositories containing a Jenkinsfile. Since the Solar System repository did not include a Jenkinsfile, it was not picked up by Jenkins, and the corresponding webhook was missing.
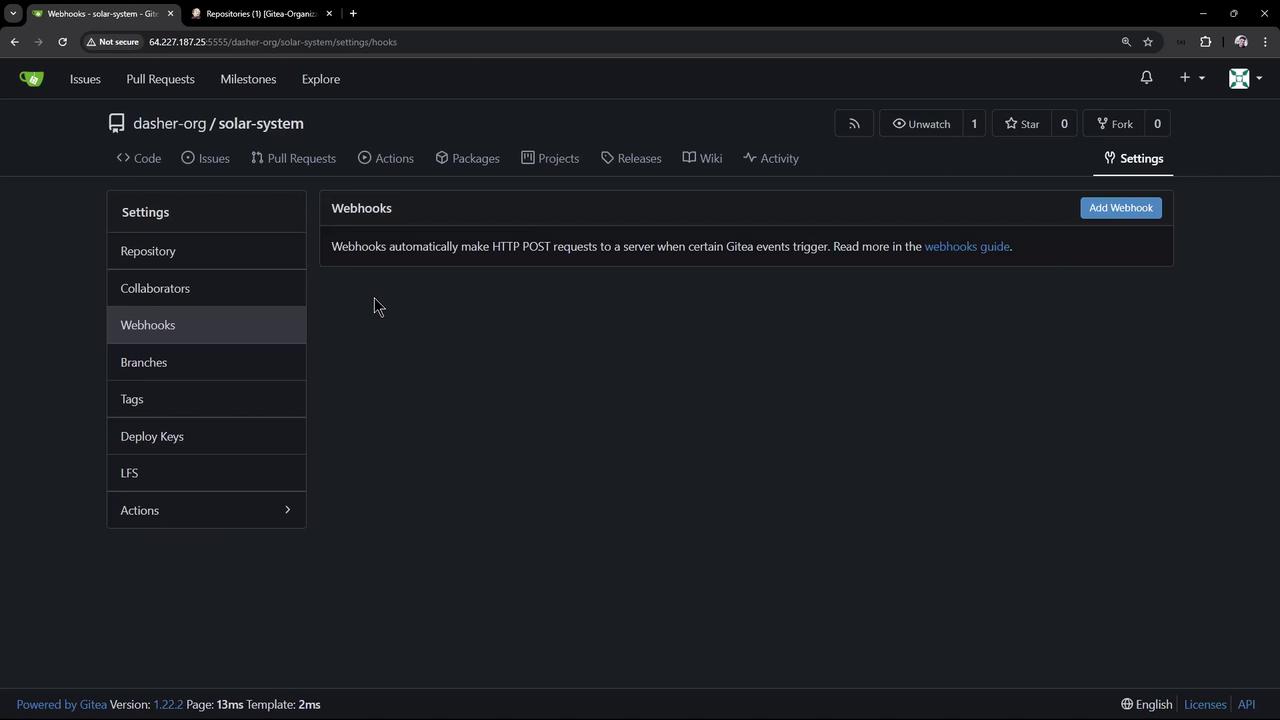
When you check the repository settings under webhooks, no webhook is present:
Adding a Jenkinsfile to the repository allows Jenkins to automatically detect and trigger builds using webhooks. This setup ensures that every branch with a Jenkinsfile receives its own pipeline job.
In your project explorer, create a file named Jenkinsfile and add the following pipeline definition. This simple pipeline prints the Node.js and npm versions using a shell step:
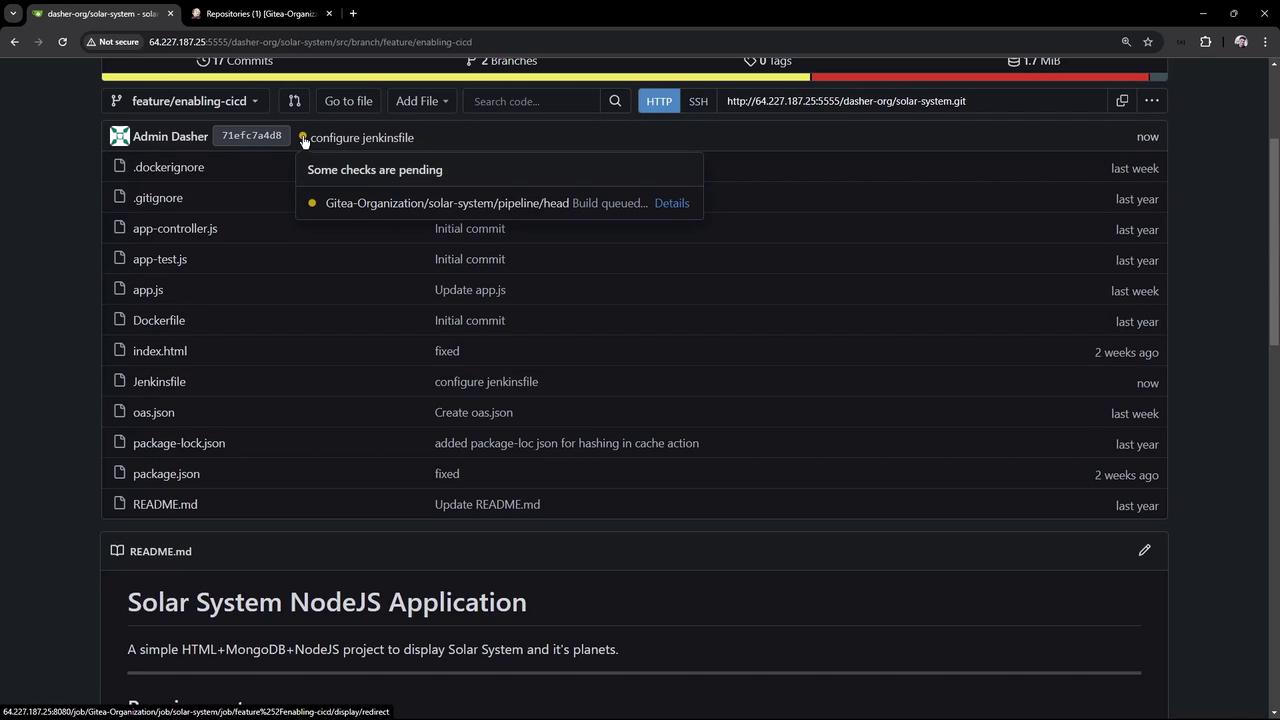
Open the Jenkins UI and navigate to the Solar System repository. Verify that the feature/enabling-cicd branch is recognized and the Jenkinsfile is detected. You will be able to see the branch details and pipeline execution history.
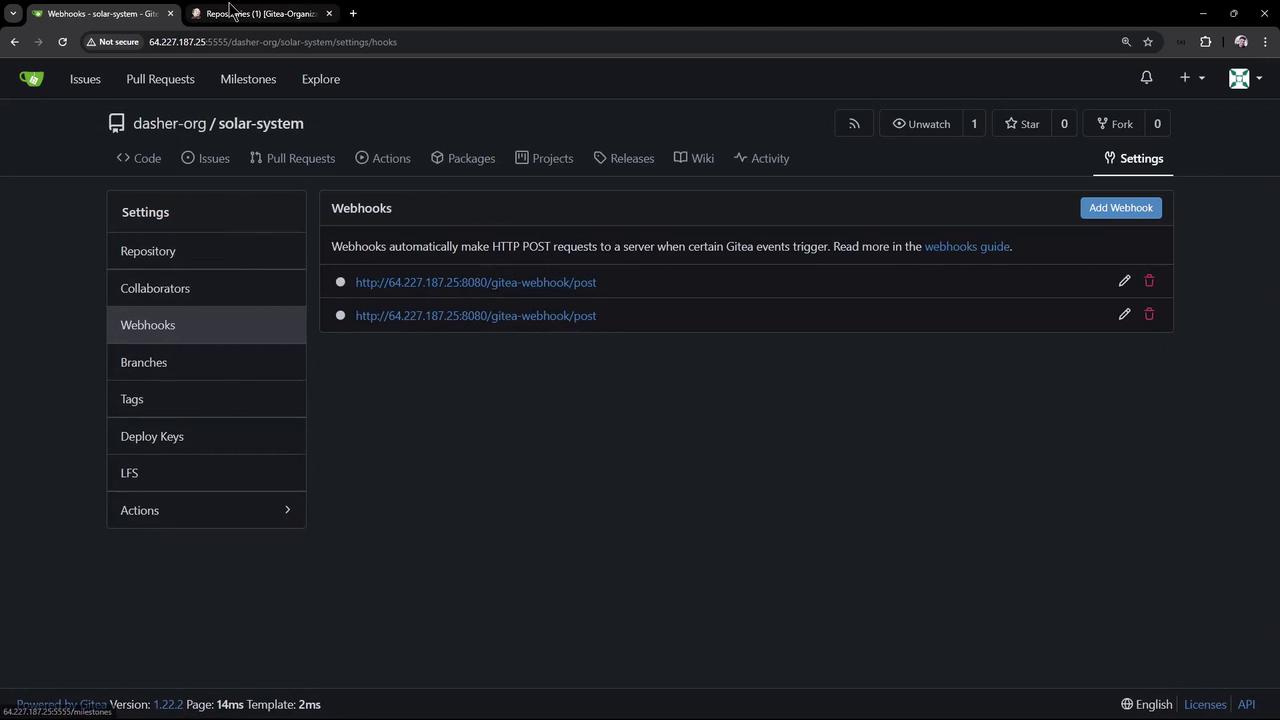
Inspect the webhook settings to confirm the creation of webhooks:
The Jenkins organization folder project scans repositories and branches. For example, during the scan, Jenkins evaluates whether a branch contains a Jenkinsfile:
Copy
Checking repository parameterized-pipeline-job-initProposing parameterized-pipeline-job-initLooking up repository dasher-org/parameterized-pipeline-job-initChecking branches...Checking branch main 'Jenkinsfile' foundMet criteria1 branches were processed (query completed)Checking repository solar-systemProposing solar-systemLooking up repository dasher-org/solar-systemChecking branches...Checking branch main 'Jenkinsfile' not foundDoes not meet criteria1 branches were processedChecking pull requests...0 pull requests were processed3 repositories were processed[Mon Sep 23 07:23:10 UTC 2024] Finished organization scan. Scan took 1.8 secFinished: SUCCESS
A subsequent scan confirms that the feature branch meets the criteria:
Copy
Checking repository parameterized-pipeline-job-initProposing parameterized-pipeline-job-initLooking up repository dasher-org/parameterized-pipeline-job-initChecking branches...Checking branch main 'Jenkinsfile' foundMet criteria1 branches were processed (query completed)Checking repository solar-systemProposing solar-systemLooking up repository dasher-org/solar-systemChecking branches...Checking branch feature/enabling-cicd 'Jenkinsfile' foundMet criteria1 branches were processed (query completed)3 repositories were processed[Mon Sep 23 07:40:50 UTC 2024] Finished organization scan. Scan took 1.9 secFinished: SUCCESS
After the Jenkinsfile is detected, Jenkins creates a job for the Solar System repository on the feature/enabling-cicd branch. The pipeline checks out the source code from SCM and executes the defined stage:
The stage runs a shell script to print the Node.js version and npm version. The output is similar to:
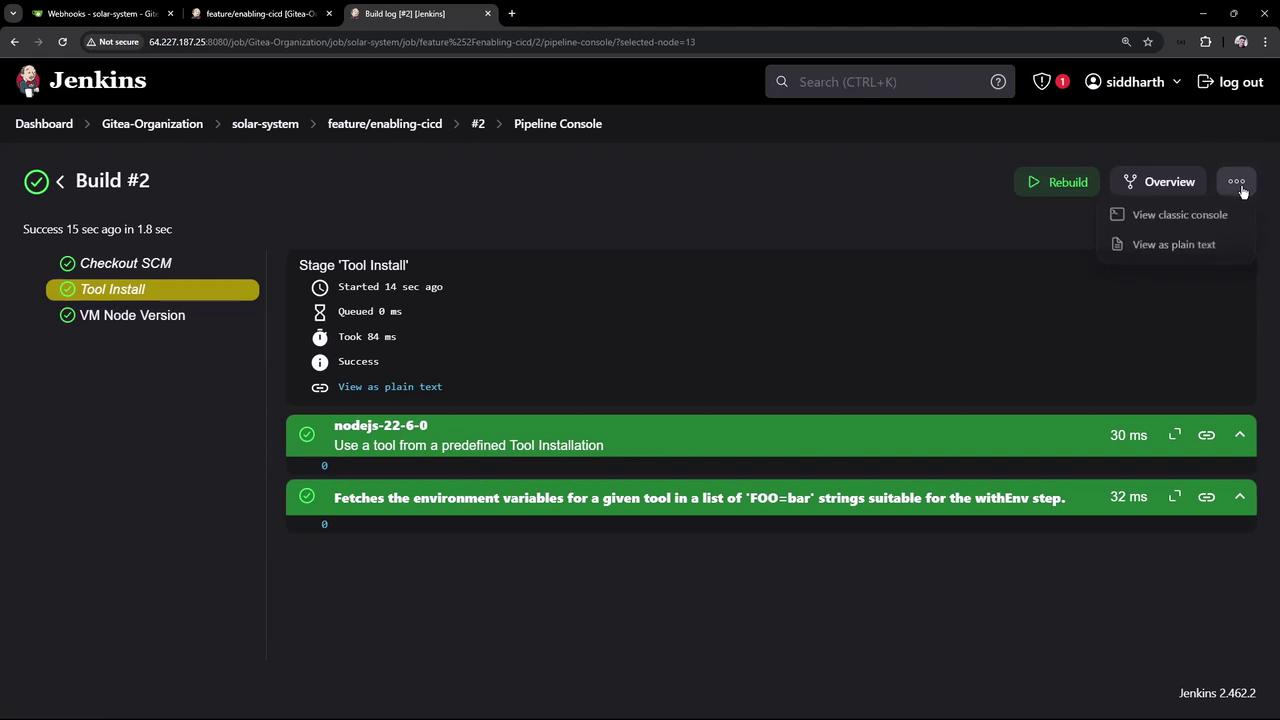
To utilize a specific Node.js installation configured in Jenkins, update the Jenkinsfile with the tool configuration. Replace the existing pipeline definition with the updated version below:
Commit and push the changes. When the build is triggered, you will see output indicating that the pipeline uses Node.js version 22.6.0:
Copy
+ node -vv22.6.0+ npm -v10.8.2
With this configuration, the Solar System repository demonstrates how the Jenkins organization folder scans and creates jobs automatically for any branch containing a Jenkinsfile.
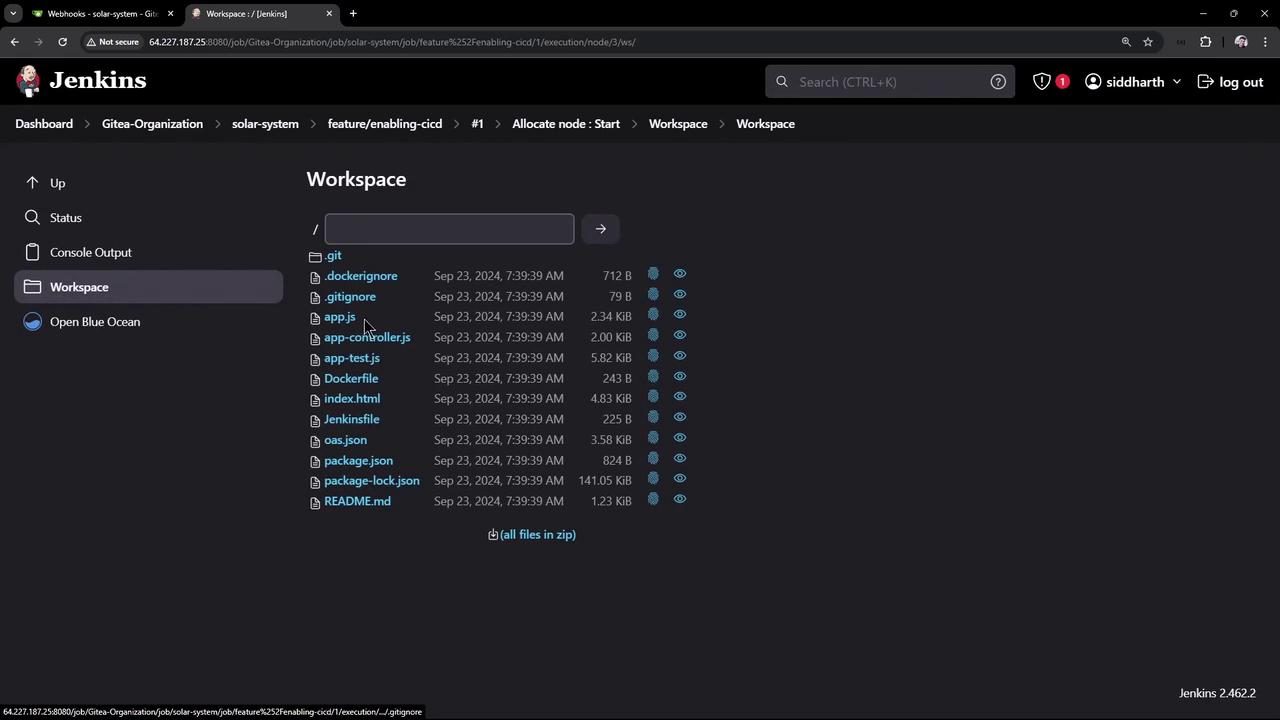
Additionally, you can review the Jenkins workspace to see the list of checked-out files:
In the next session, we will enhance the pipeline further by installing the necessary dependencies and expanding the configuration beyond this basic setup. This foundational lesson illustrates how Jenkins automatically discovers and configures pipelines for branches with a Jenkinsfile, streamlining your CI/CD process.Thank you for following along.