Learn to use Jenkins Organization Folder project type for efficient project management and automation with GitHub repositories.
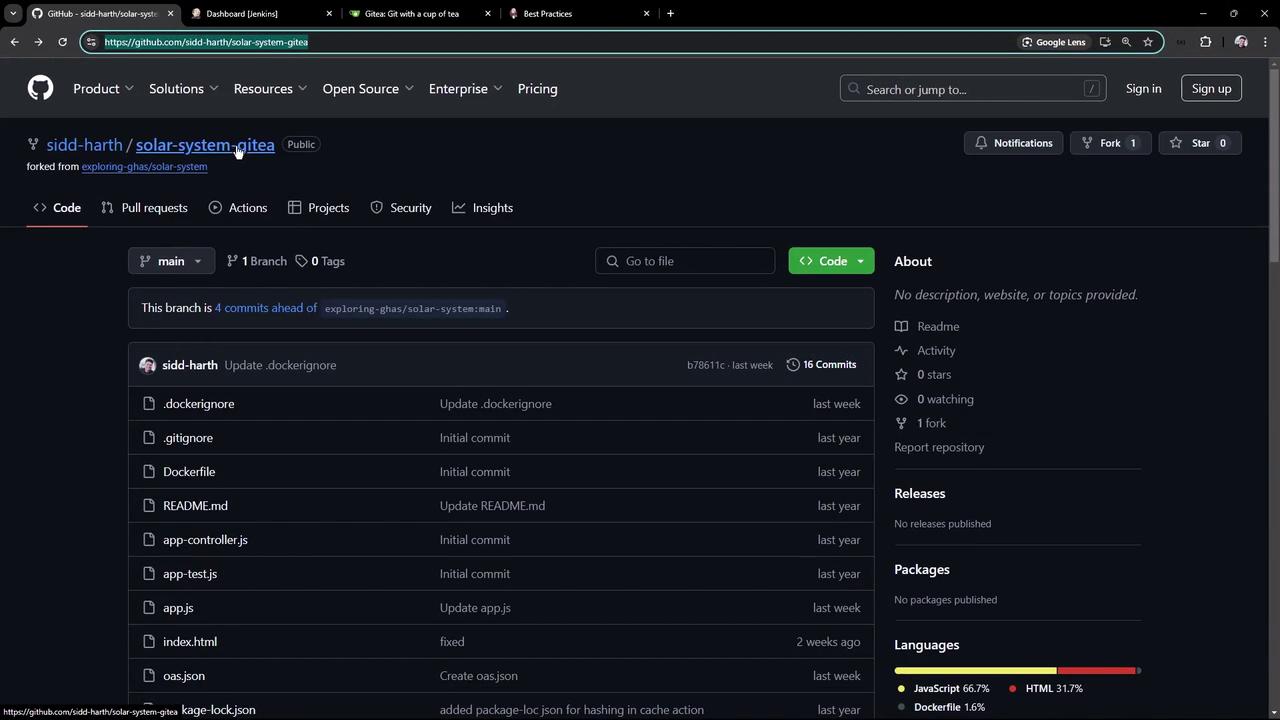
In this lesson, you will learn how to use the Jenkins Organization Folder project type. Previously, you worked with freestyle and pipeline projects. Now, we will migrate and manage projects efficiently using an organization folder.Before creating the project, you’ll need to import a repository. We start by migrating the Solar System repository from GitHub to your Gitea instance.
Copy the repository endpoint from GitHub and sign in to your Git client as the Git admin.
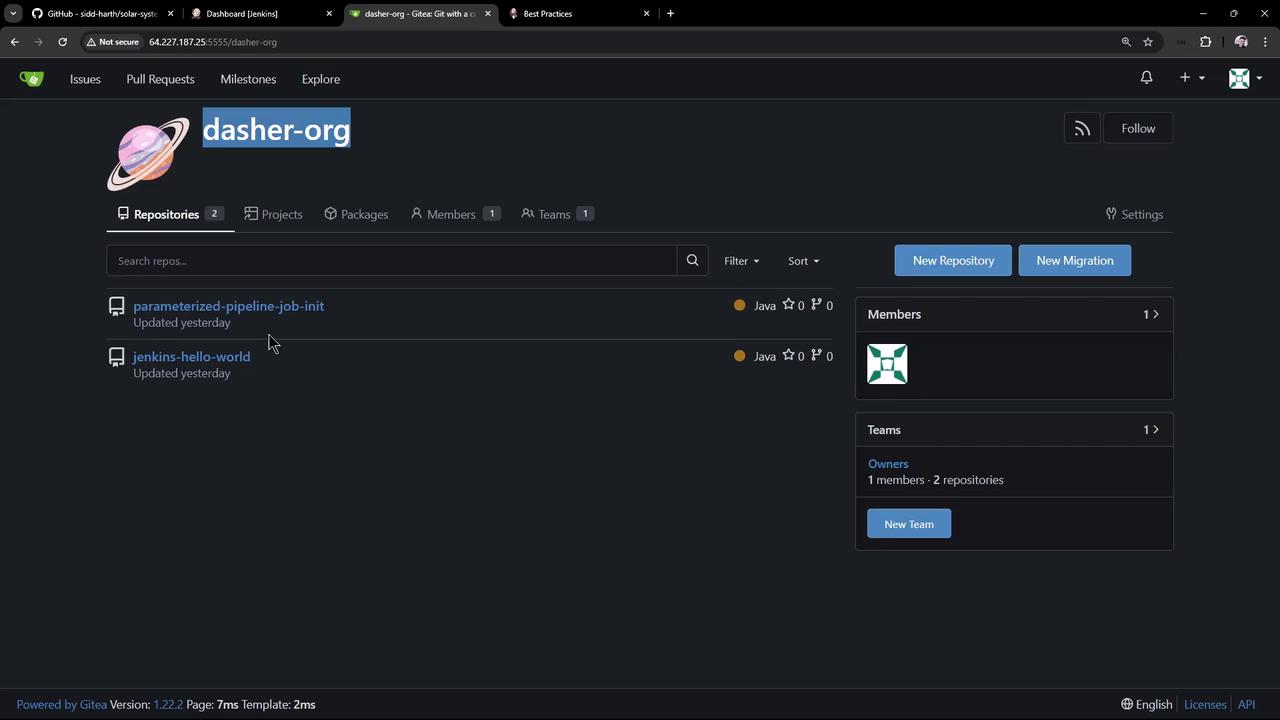
Within the Dasher organization (refer to our Jenkins For Beginners course), navigate to the migration section and import the Solar System repository. Click the plus icon and select “New Migration.”
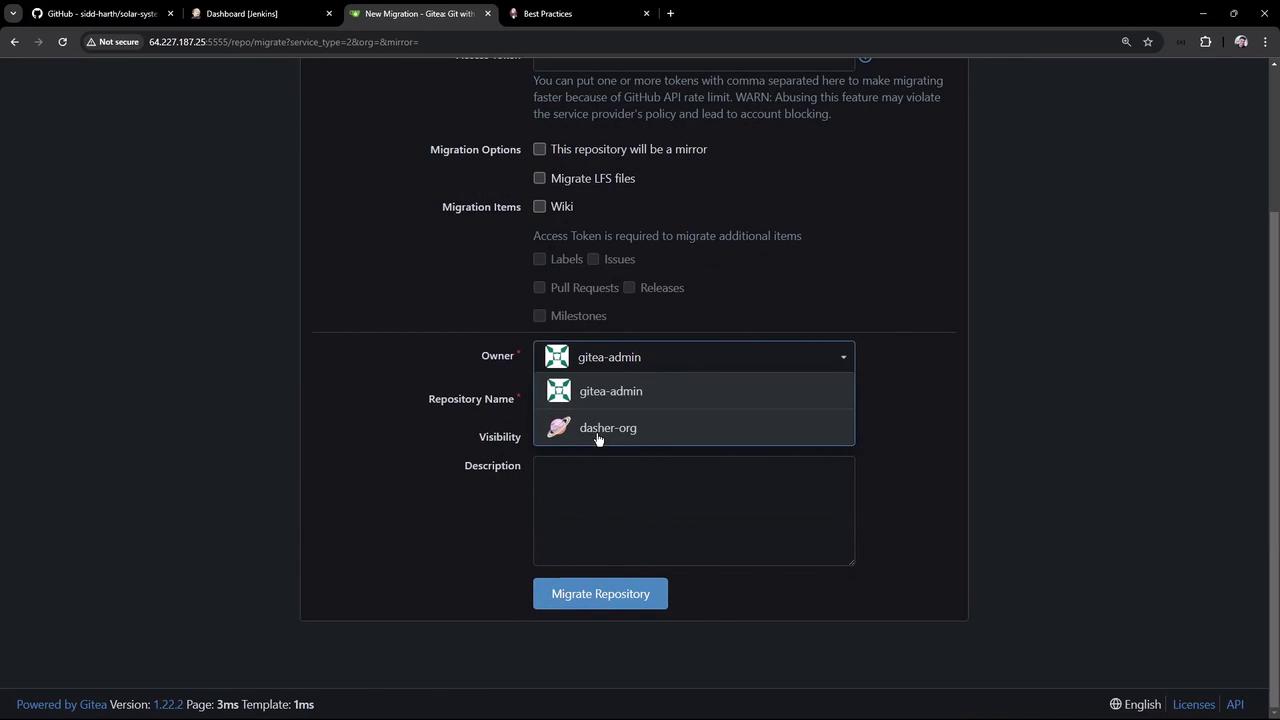
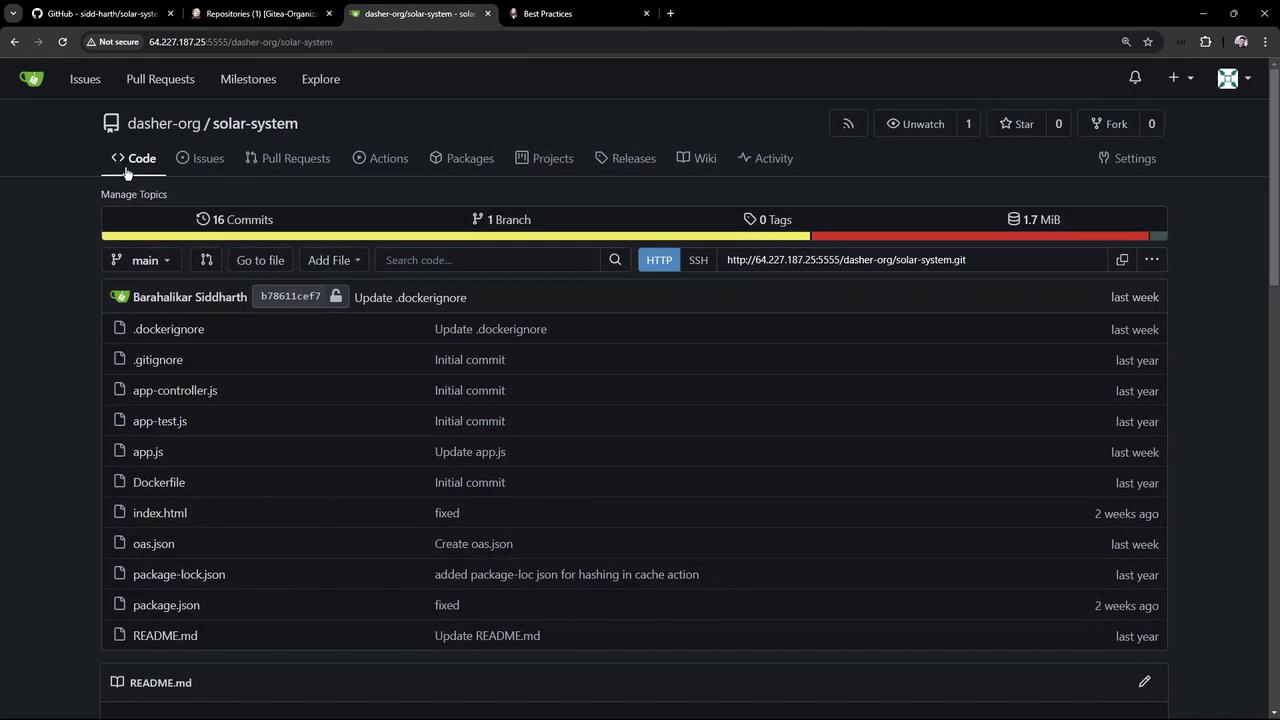
Choose “New Migration,” select GitHub as the source, and paste the endpoint. Set the owner to “dasher-org” and name the repository “solar-system.”
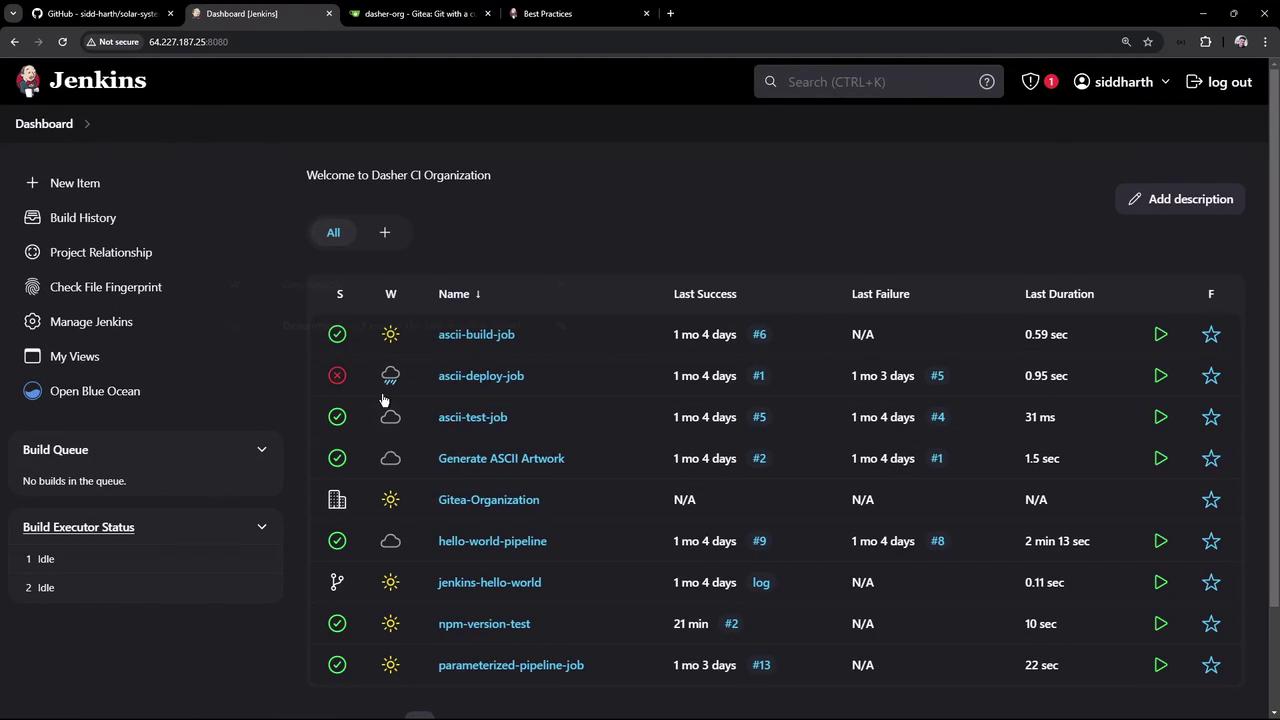
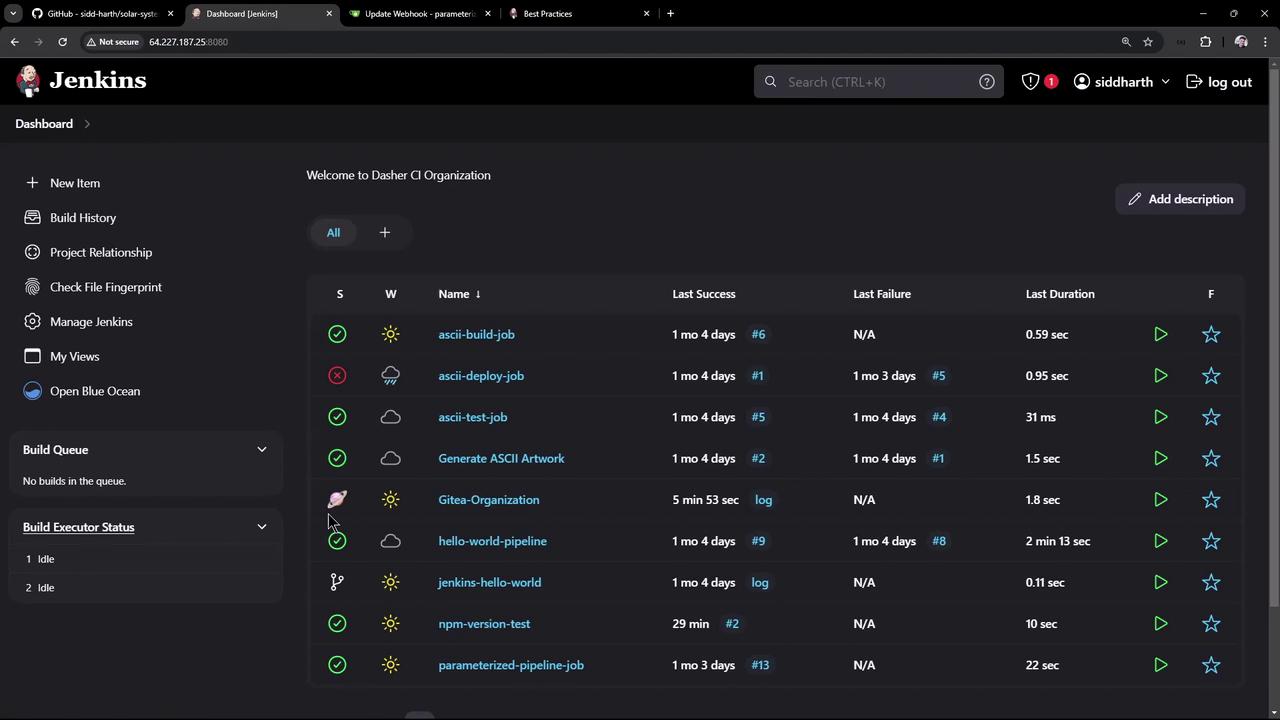
After starting the migration, wait a few seconds until the repository appears with the other repositories in your Git organization. While pipeline jobs for the other two repositories were created manually, manually creating a job for this repository in Jenkins would be inefficient, especially when new branches or repositories are added frequently.
Instead of manually creating pipelines via the Jenkins dashboard, we will automate the process using multi-branch or organization folder pipelines. These automatically detect, update, and delete jobs based on the repositories present in your SCM.
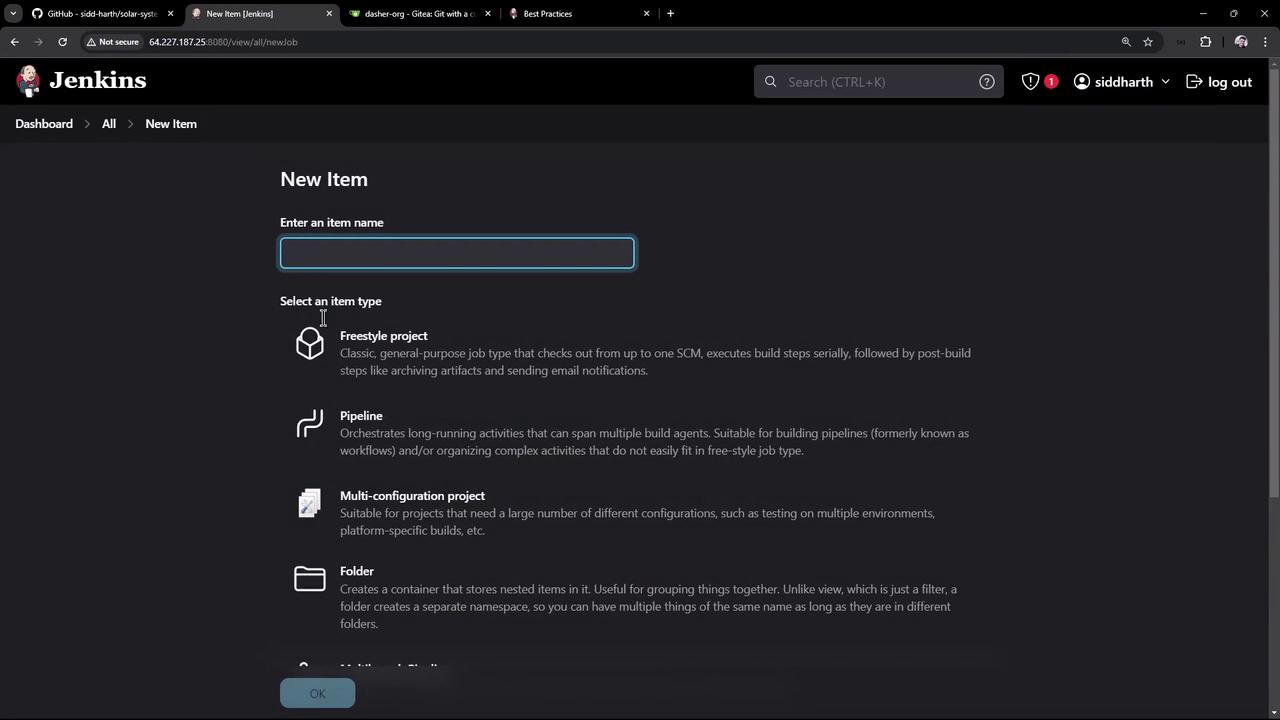
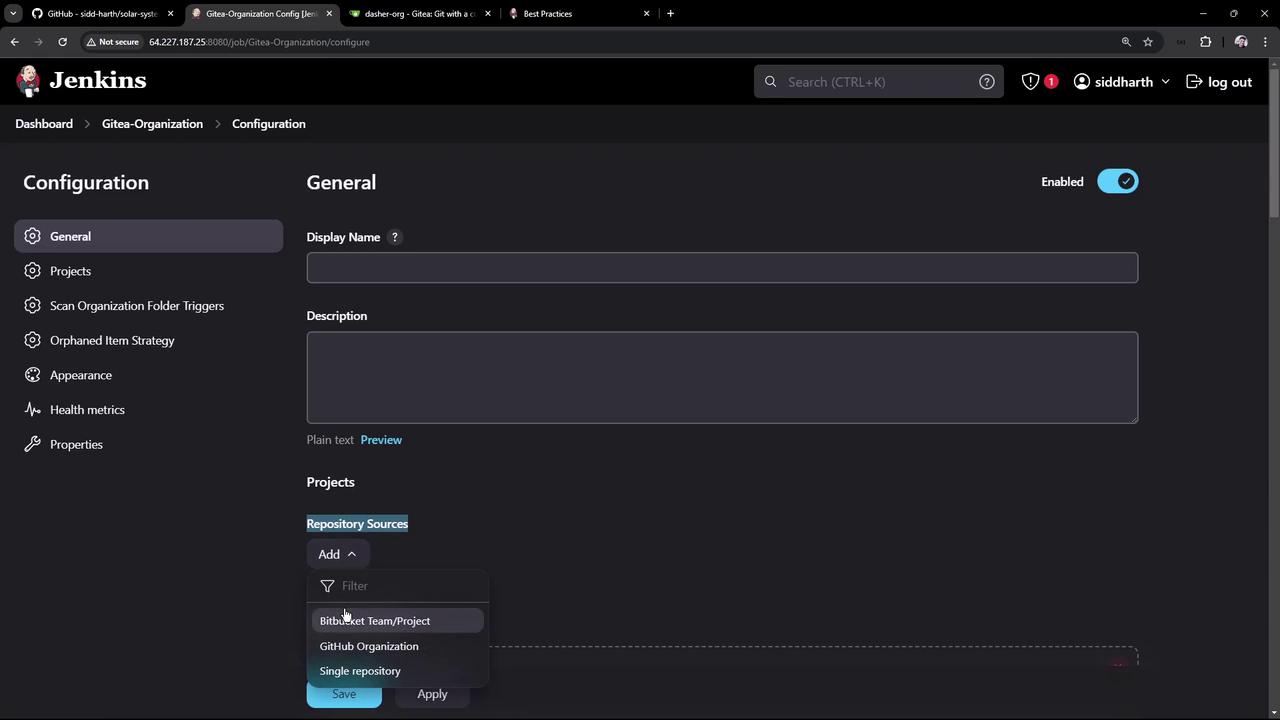
If you choose the multi-branch or organization folder pipeline option, Jenkins will automatically detect new repositories, branches, and pull requests. For GitHub-hosted repositories, the organization folder project type is the most efficient solution. In this lesson, we create an organization folder named “GitHub organization.”After clicking OK for the organization folder project, set the repository source. Click on “Add” and choose the GitHub organization option. By default, you may see only Bitbucket team and single repository sources. If the GitHub option is missing, install the GitHub plugin first.
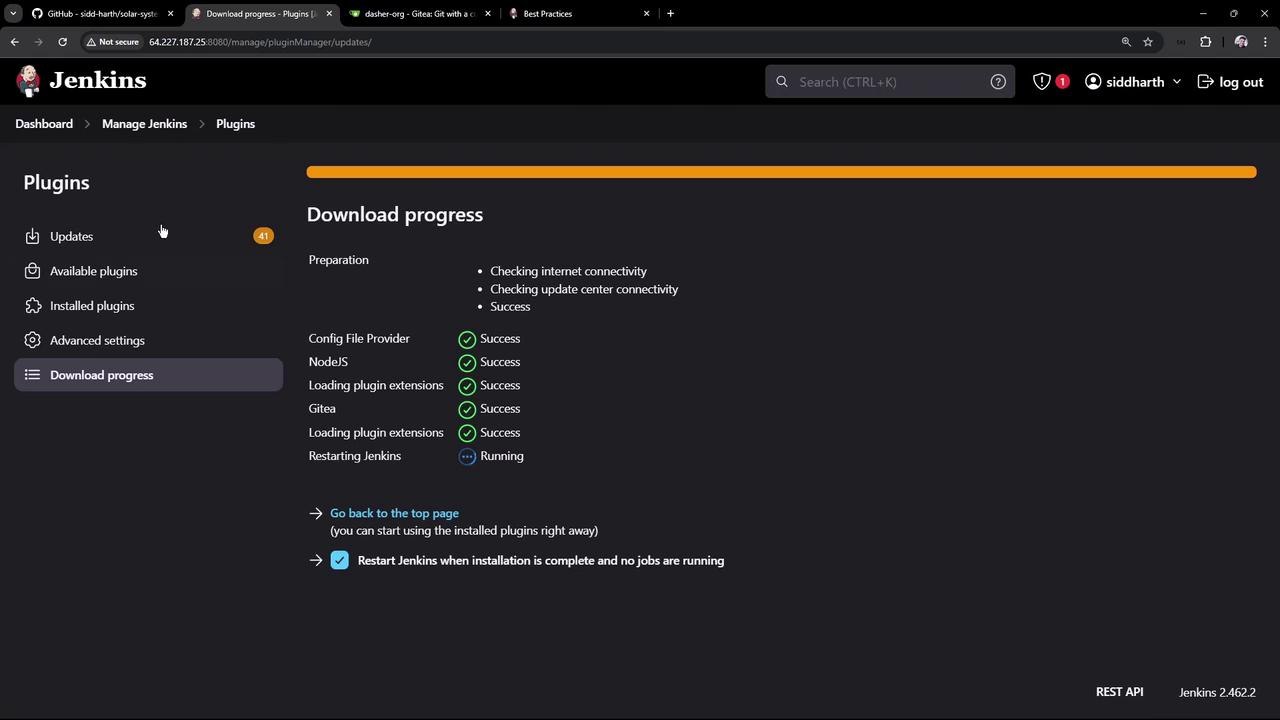
Proceed to Manage Jenkins → Manage Plugins. Locate the GitHub plugin (recently updated) and install it. Enable the restart option, and once Jenkins restarts, log in again to verify that the GitHub plugin is active.
Next, configure your GitHub server within Jenkins:
Go to Manage Jenkins → System.
Search for “GitHub” and add a new GitHub server.
Provide a name (e.g., “GitHub server”) and the URL of your GitHub instance.
Jenkins will automatically detect the server version (for example, “powered by GitHub version 1.22.2”).
Enable “Managed Hooks” to allow Jenkins to automatically create webhooks for every project on the server.
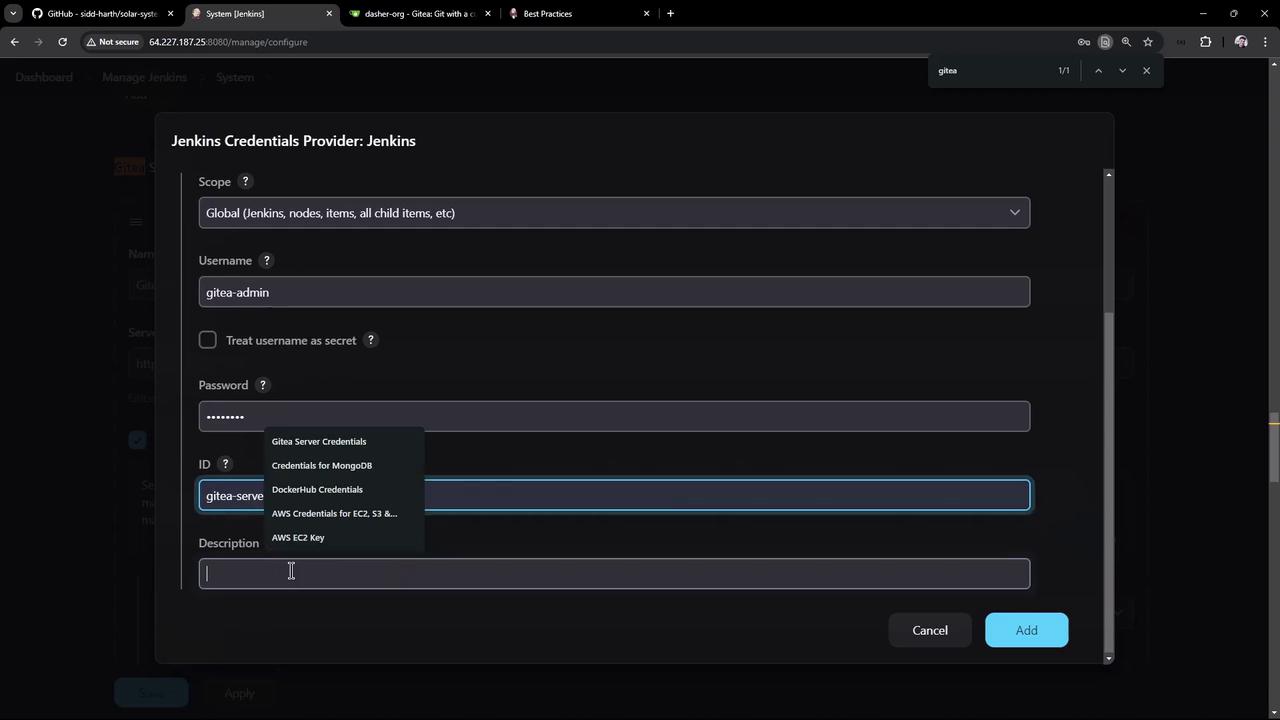
Before saving the configuration, add global credentials in Jenkins:
Use the “Username with Password” type.
Enter “GitHub admin” as the username and provide the corresponding password.
Name the credentials (for example, “GitHub server creds”) and add an optional description.
After applying the changes, return to the dashboard and open the configuration for your “GitHub organization” project.
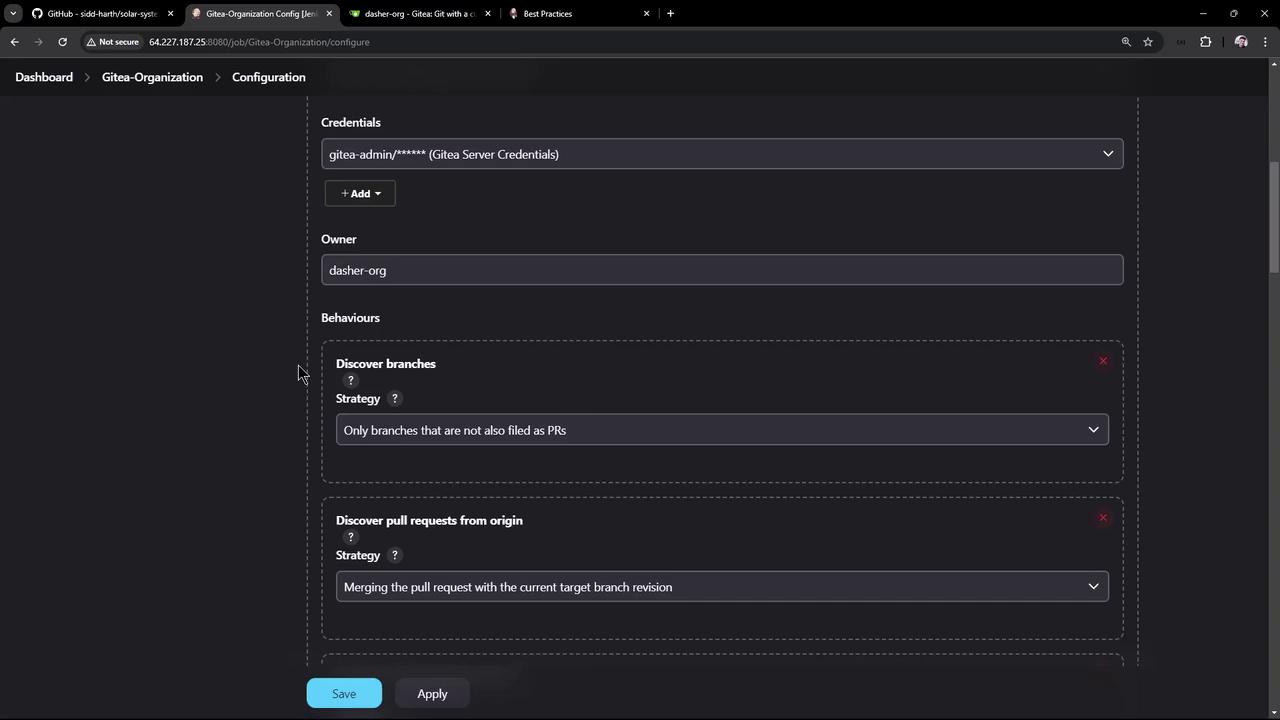
In the repository source section, select “GitHub organization.” The server field should auto-populate as “GitHub server” and select the corresponding credentials “GitHub admin.” Specify the owner (in our example, “dasher-org”) and leave the other options like branch and pull request discovery at their defaults. The default behavior is to search for a file named “Jenkinsfile” in the repository root; if found, a pipeline job is automatically created. If your repository uses a custom path for the Jenkinsfile, specify that path in the configuration.
Save the configuration. Jenkins will scan the organization and create job specifications based on the repositories it finds. The console output will indicate which repositories meet the criteria for a pipeline job (i.e., those containing a Jenkinsfile in the root directory).Below is an example of the console log output after a scan:
Copy
Checking repository parameterized-pipeline-job-initProposing parameterized-pipeline-job-initLooking up repository dasher-org/parameterized-pipeline-job-initChecking branches...Checking branch main'Jenkinsfile' foundMet criteria1 branches were processed (query completed)Checking repository solar-systemProposing solar-systemLooking up repository dasher-org/solar-systemChecking branches...Checking branch main'Jenkinsfile' not foundDoes not meet criteria1 branches were processedChecking pull requests...0 pull requests were processed3 repositories were processed[Mon Sep 23 07:23:10 UTC 2024] Finished organization scan. Scan took 1.8 secFinished: SUCCESS
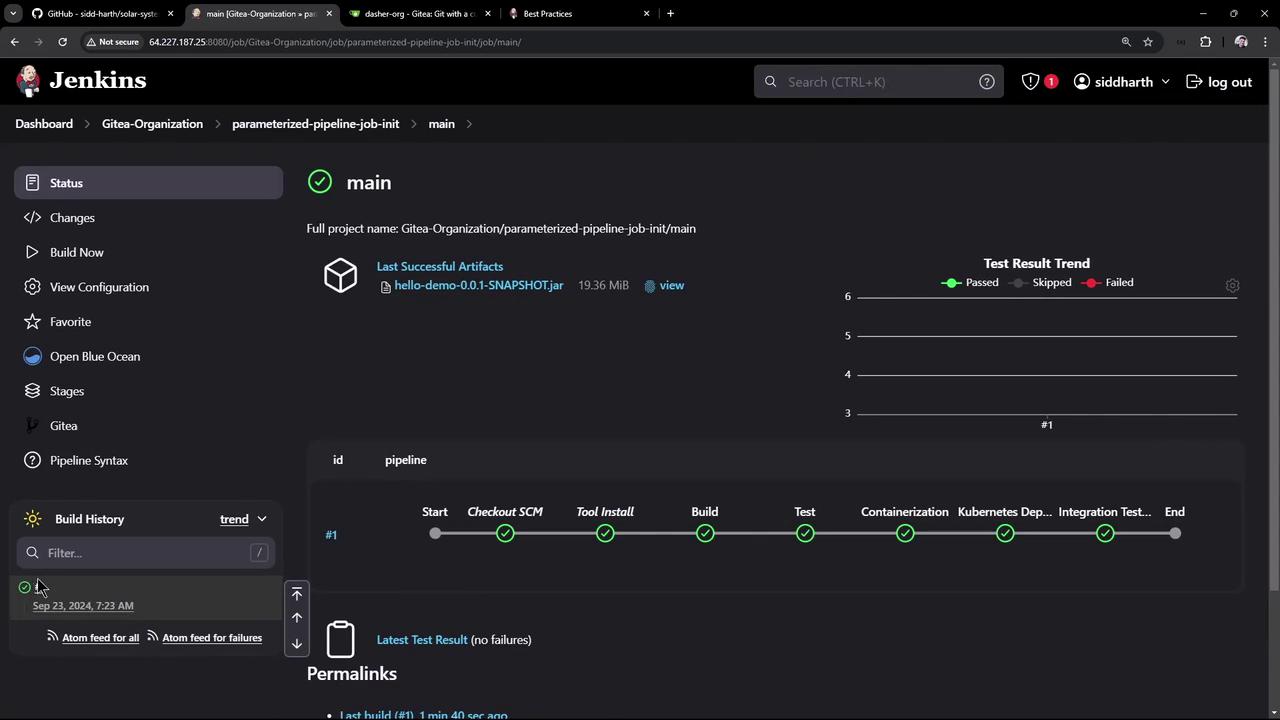
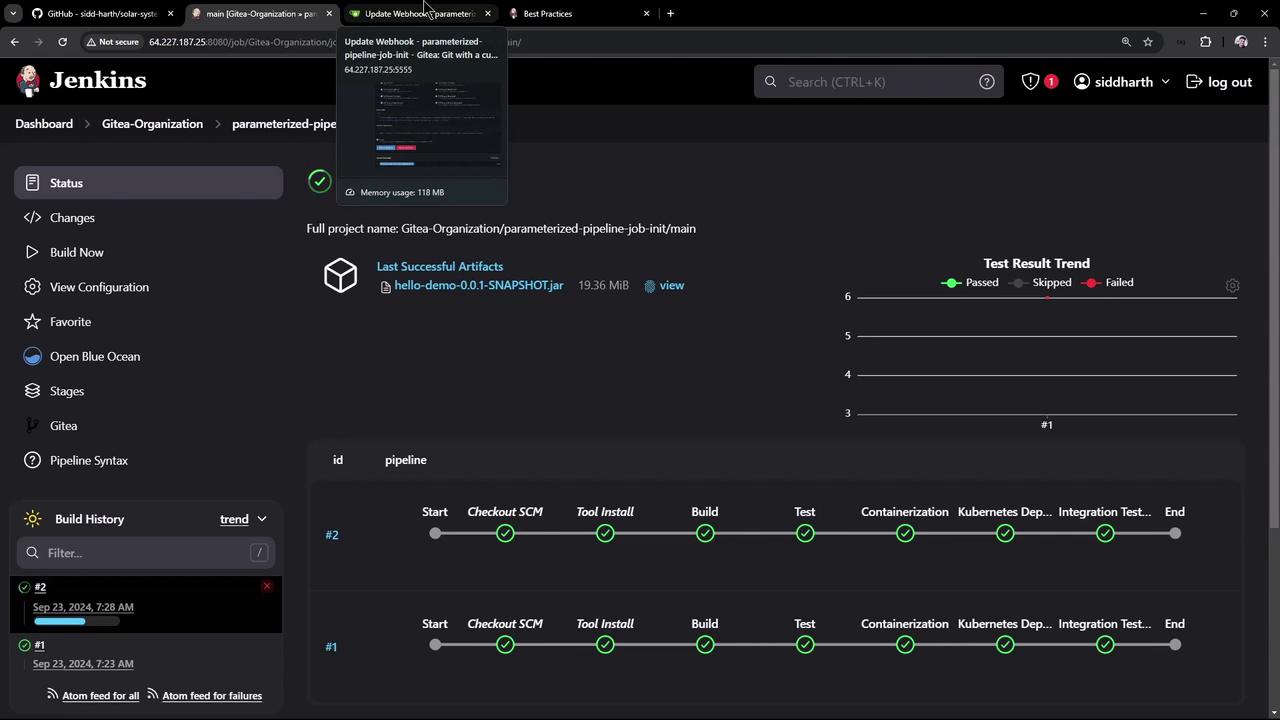
In the above log, Jenkins detected that the repository “parameterized-pipeline-job-init” contains a Jenkinsfile on the main branch, so it meets the criteria. The Solar System repository did not include a Jenkinsfile, so no job was created for it. For the parameterized pipeline job, multiple branches (such as main and test) were detected, and each will run its corresponding pipeline as defined in the Jenkinsfile.
As an additional check, open the parameterized pipeline job to view pipelines for both the main and test branches. The repository also features the standard GitHub icon with detailed repository information.
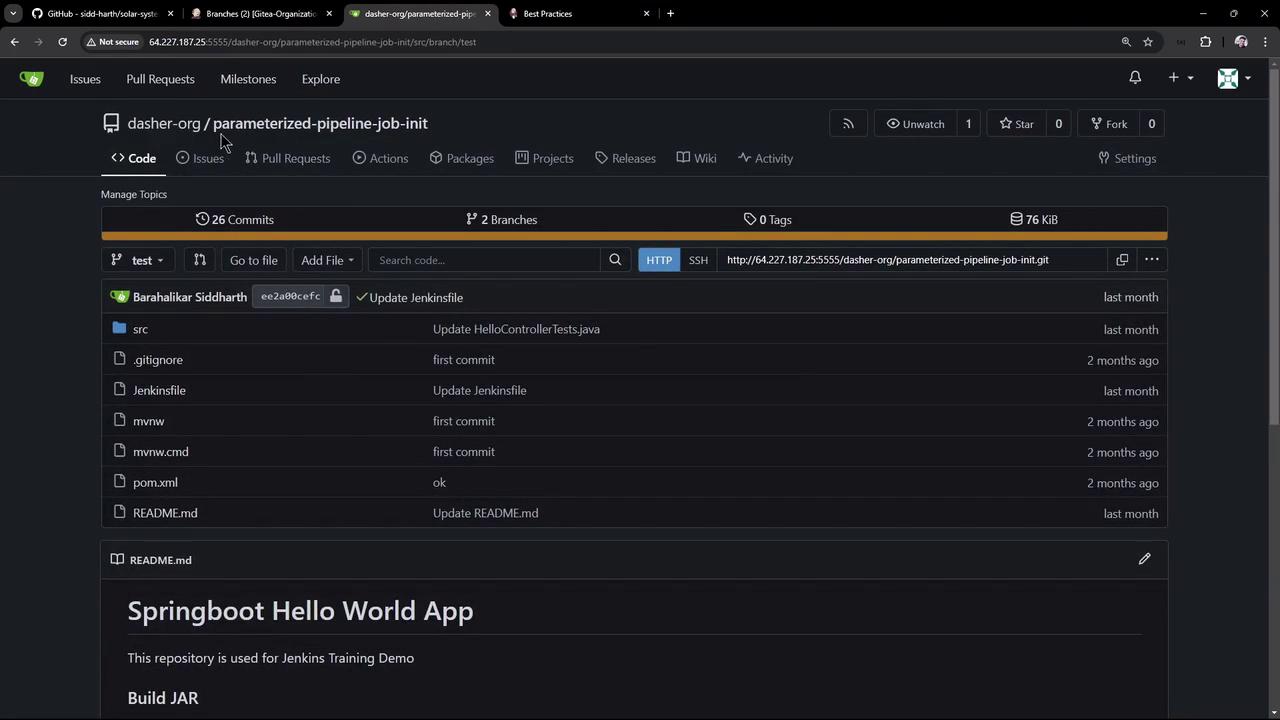
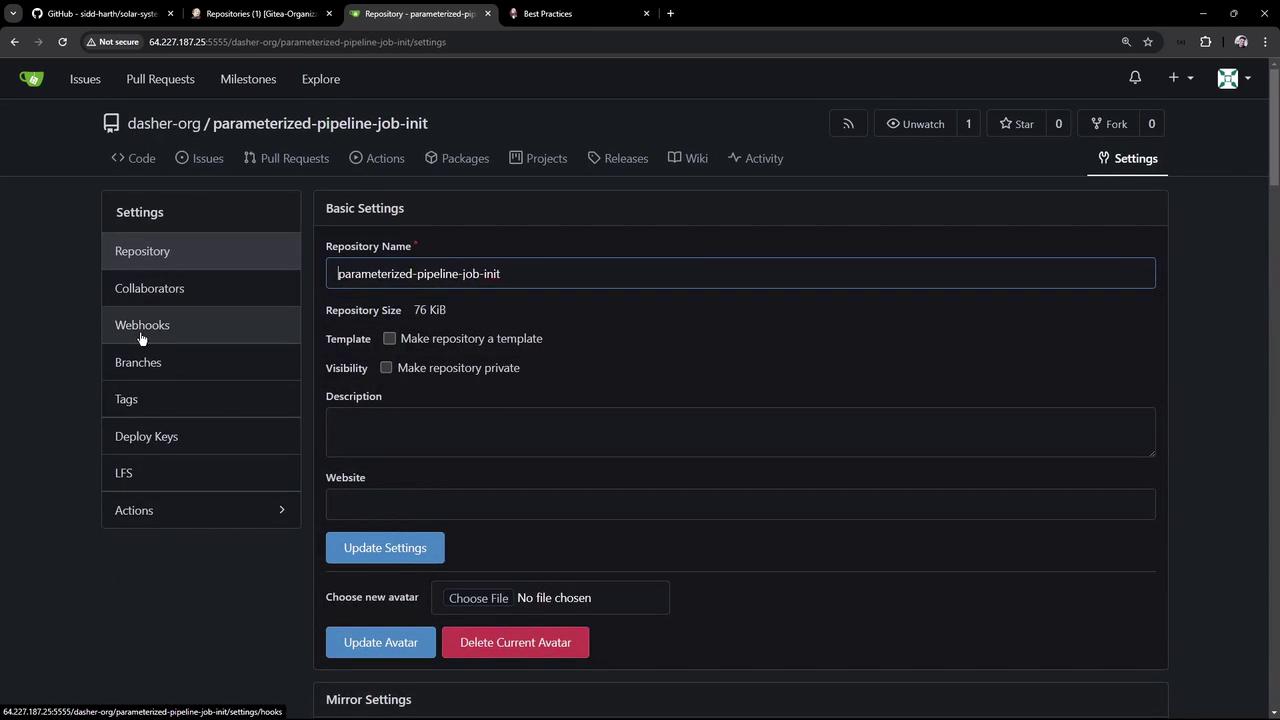
When you inspect the repository settings in Gitea, notice that Jenkins has automatically added a webhook. This webhook is configured as follows:
HTTP POST method
Content type: application/json
Points to the IP address and port of your Jenkins instance (e.g., /gitlab-webhook/post)
Triggers on events like branch/tag creation, pushes, pull requests, and other repository events
For instance, if you edit the README file in the main branch of the “parameterized-pipeline-job-init” repository, commit and push the change, the webhook will trigger Jenkins. You can verify this by checking the recent delivery status in the repository’s webhook settings.
Upon pushing the change, Jenkins will initiate a new build for the affected branch, demonstrating the automated workflow between your SCM and Jenkins.
This automation minimizes manual configuration and ensures that any new repository, branch, or pull request containing a Jenkinsfile will automatically have an associated Jenkins pipeline job, whether created, updated, or deleted.In the next lesson, we will create a Jenkinsfile for the Solar System repository and observe how the Organization Folder project picks up changes automatically.Thank you.