Jenkins Pipelines
Setting Up CI Pipeline
InstallSetup NodeJS Build Tool
In this lesson, we will explore how to set up and use Node.js within Jenkins. We begin by verifying that Node.js is available on the Jenkins host and then configure Jenkins to utilize a dedicated Node.js installation via the Node.js plugin.
Verifying Node.js and npm on the Host
Assuming Jenkins is already installed, log into the Jenkins host. In an earlier configuration from the Jenkins For Beginners course, a repository was present. Since the repository is no longer needed, remove it with the following commands:
root@jenkins-controller-1 in solar-system-gitea on 📦 main (!) via 🦕 v20.16.0
> ls
Dockerfile  README.md  app-controller.js  app-test.js  app.js  coverage  index.html  node_modules  oas.json  package-lock.json  package.json  test-results.xml
root@jenkins-controller-1 in solar-system-gitea on 📦 main (!) via 🦕 v20.16.0
> cd ..
root@jenkins-controller-1 in ~
> rm -rf solar-system-gitea/
After removing the repository, verify the Node.js and npm versions installed on the host:
root@jenkins-controller-1 in ~
> node -v
v20.16.0
root@jenkins-controller-1 in ~
> npm -v
10.8.1
Jenkins is running on the same virtual machine. To confirm the Jenkins service status, use:
root@jenkins-controller-1 in ~
> systemctl status jenkins
● jenkins.service - Jenkins Continuous Integration Server
   Loaded: loaded (/usr/lib/systemd/system/jenkins.service; disabled; preset: enabled)
   Active: active (running) since Sat 2024-09-21 20:03:51 UTC; 1 day 10h ago
 Main PID: 60100 (java)
    Tasks: 52 (limit: 4658)
   Memory: 832.1M (peak: 880.0M)
      CPU: 4min 55.594s
   CGroup: /system.slice/jenkins.service
           └─60100 /usr/bin/java -Djava.awt.headless=true -jar /usr/share/java/jenkins.war --webroot=/var/cache/jenkins/war --httpPort=8080
Since Node.js and npm are available on the host, Jenkins jobs can execute Node.js commands (such as node -v and npm -v) without any additional configuration.
Testing Node.js Availability with a Freestyle Project
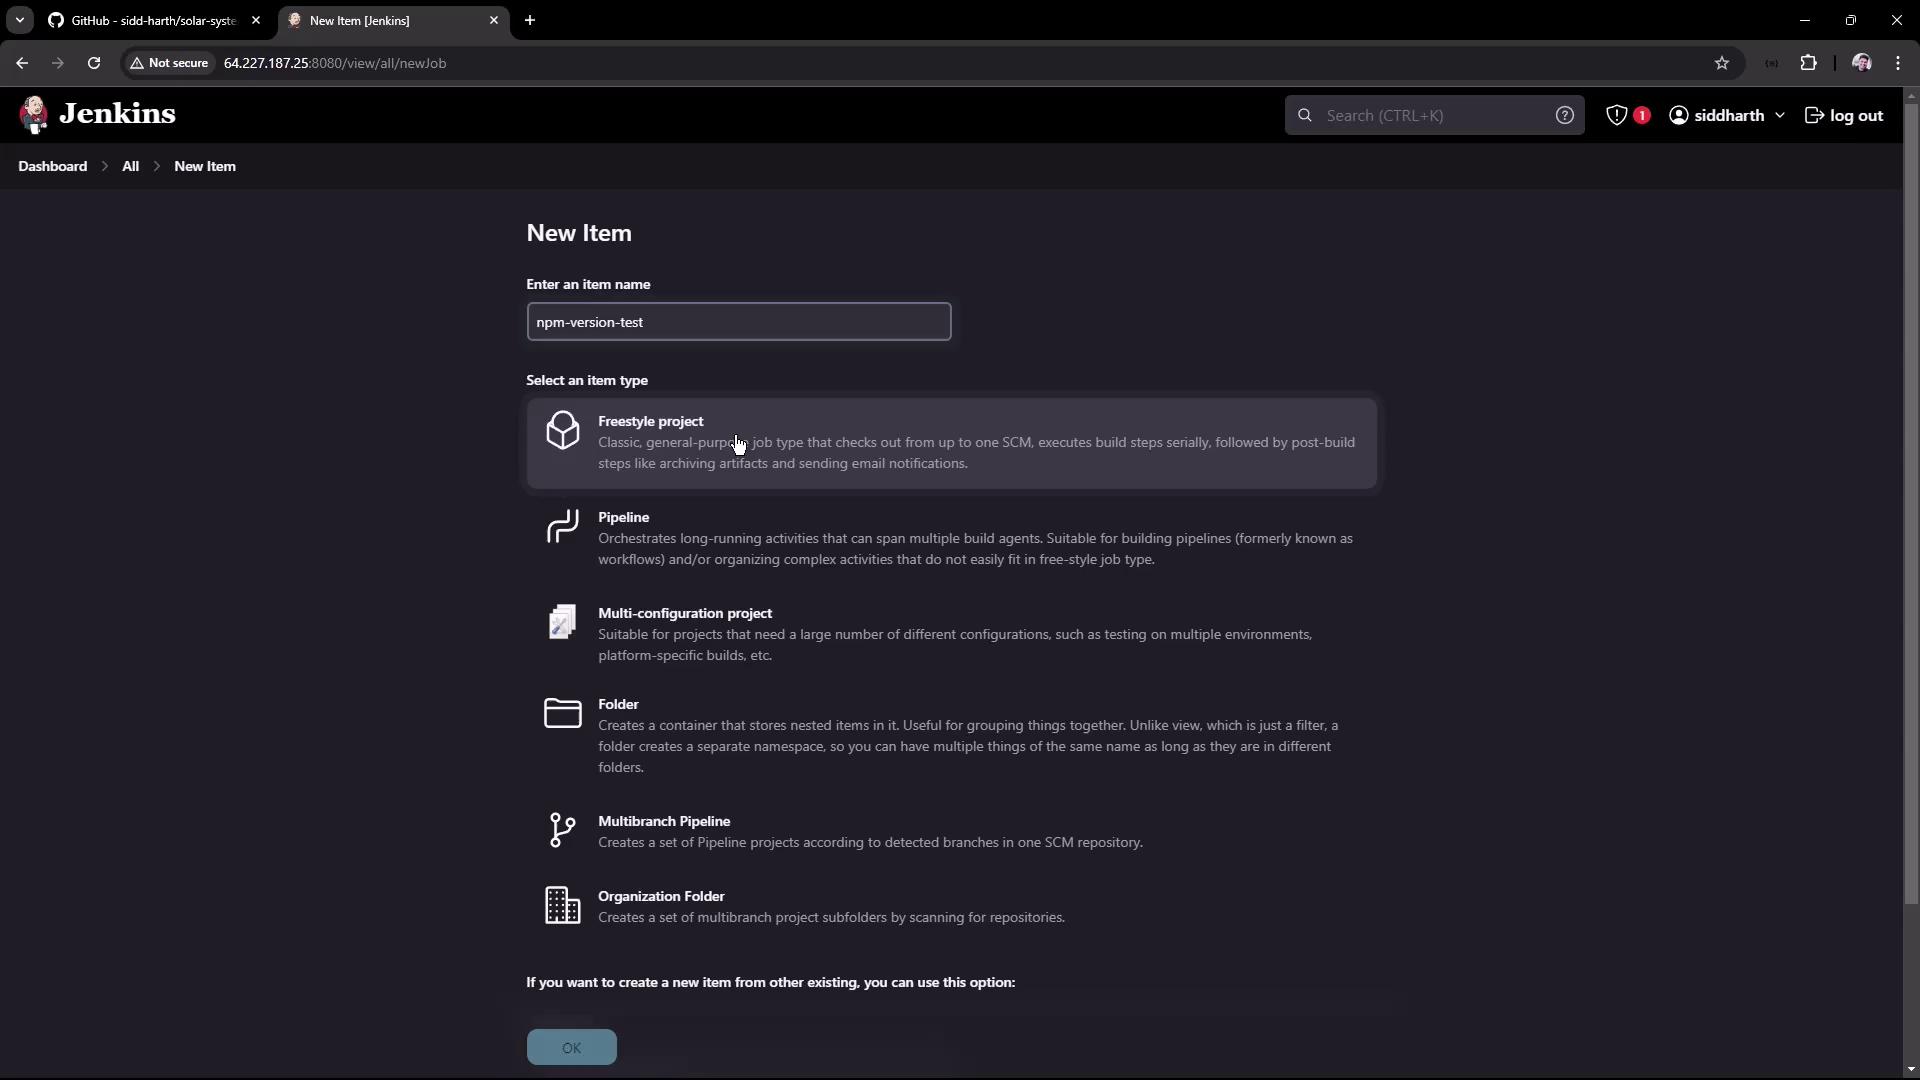
To test the Node.js installation, create a new Freestyle project in Jenkins. For demonstration, we will name the project "npm-version-test" (alternatively, "Node.js-version-test" is acceptable).
- In Jenkins, click on New Item and select Freestyle project.
- Name the project "npm-version-test" and click OK.
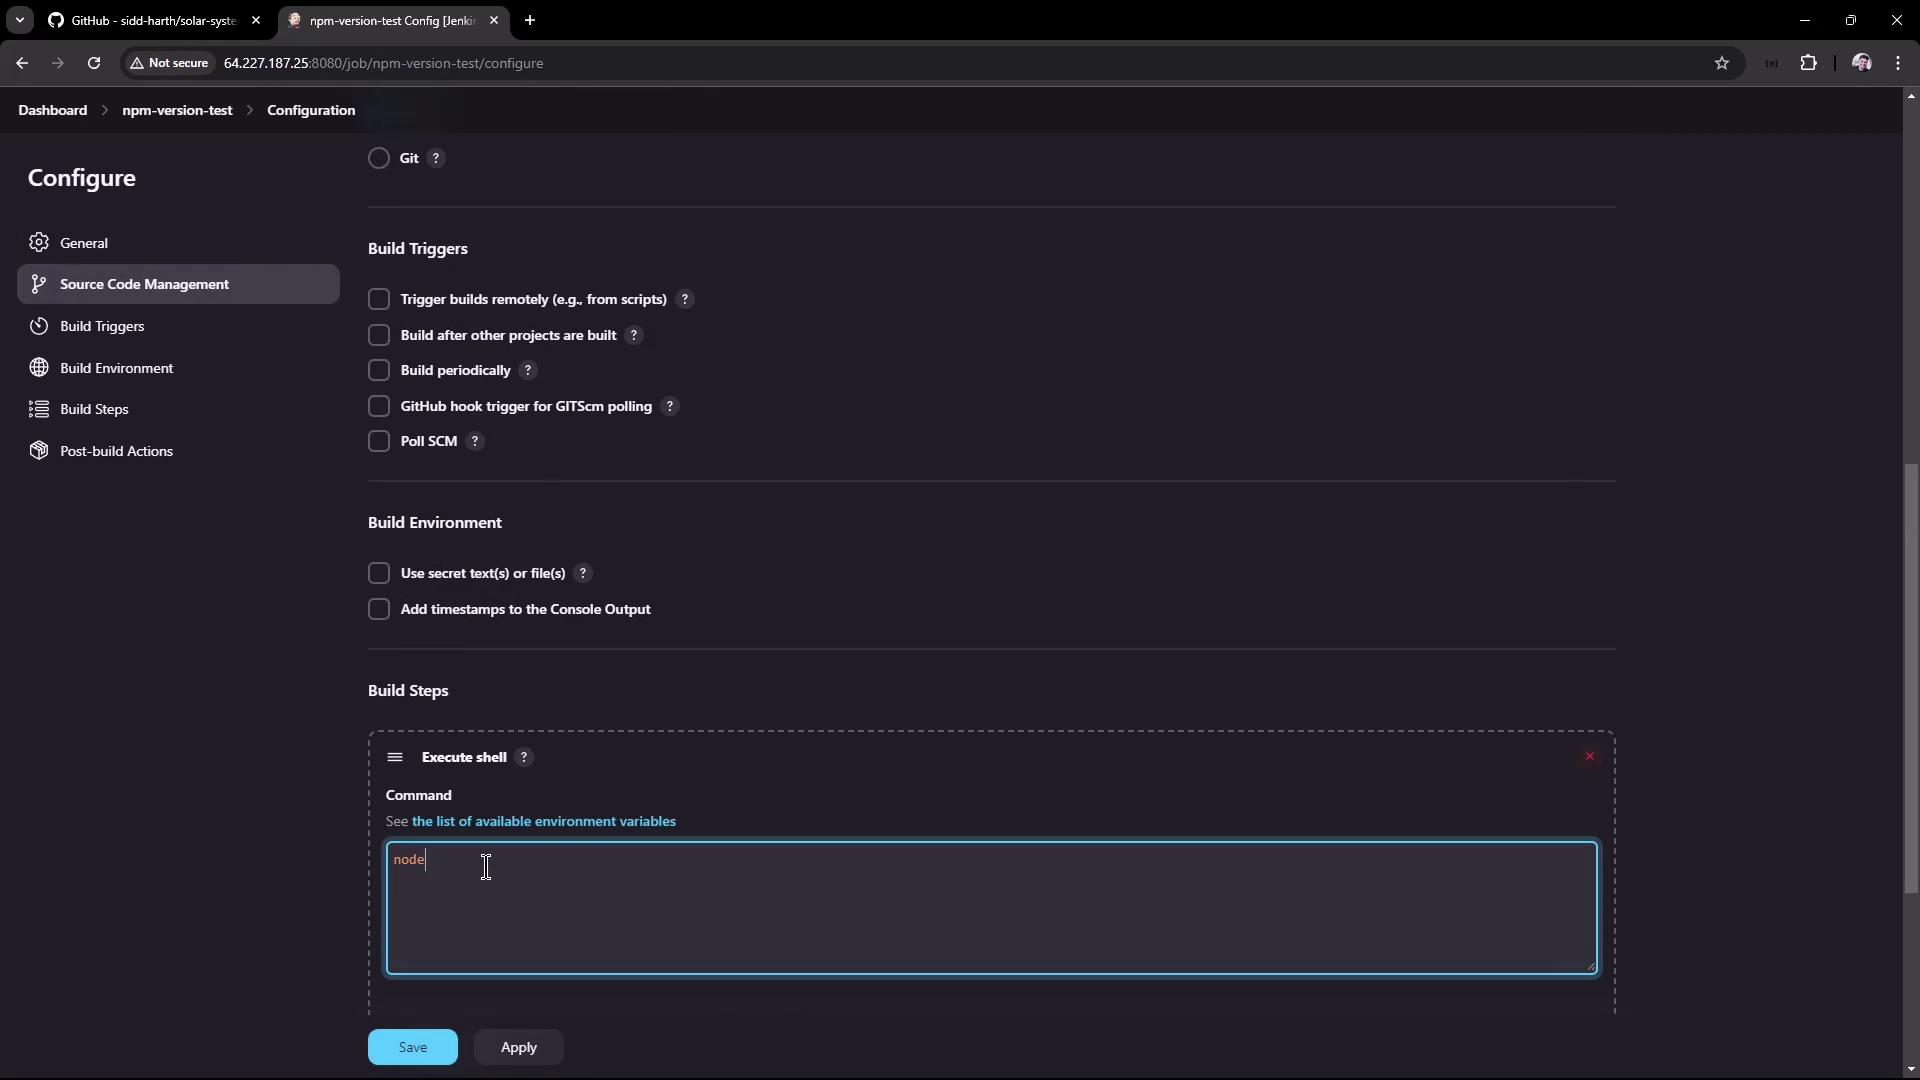
In the project configuration, add a build step of type Execute shell and enter the following commands:
node -v
npm -v
Save the configuration and trigger the build. A successful build will output the Node.js and npm versions as obtained from the host installation.
The build output should display:
+ node -v
v20.16.0
+ npm -v
10.8.1
Finished: SUCCESS
Note that because Jenkins is running on the same host where Node.js is installed, it uses the host-installed versions. In many environments, however, your Jenkins pipeline or jobs might run on an agent that does not have Node.js pre-installed.
Configuring a Dedicated Node.js Installation in Jenkins
To accommodate scenarios where the agent lacks Node.js, you can configure a dedicated Node.js build tool within Jenkins.
Installing the Node.js Plugin
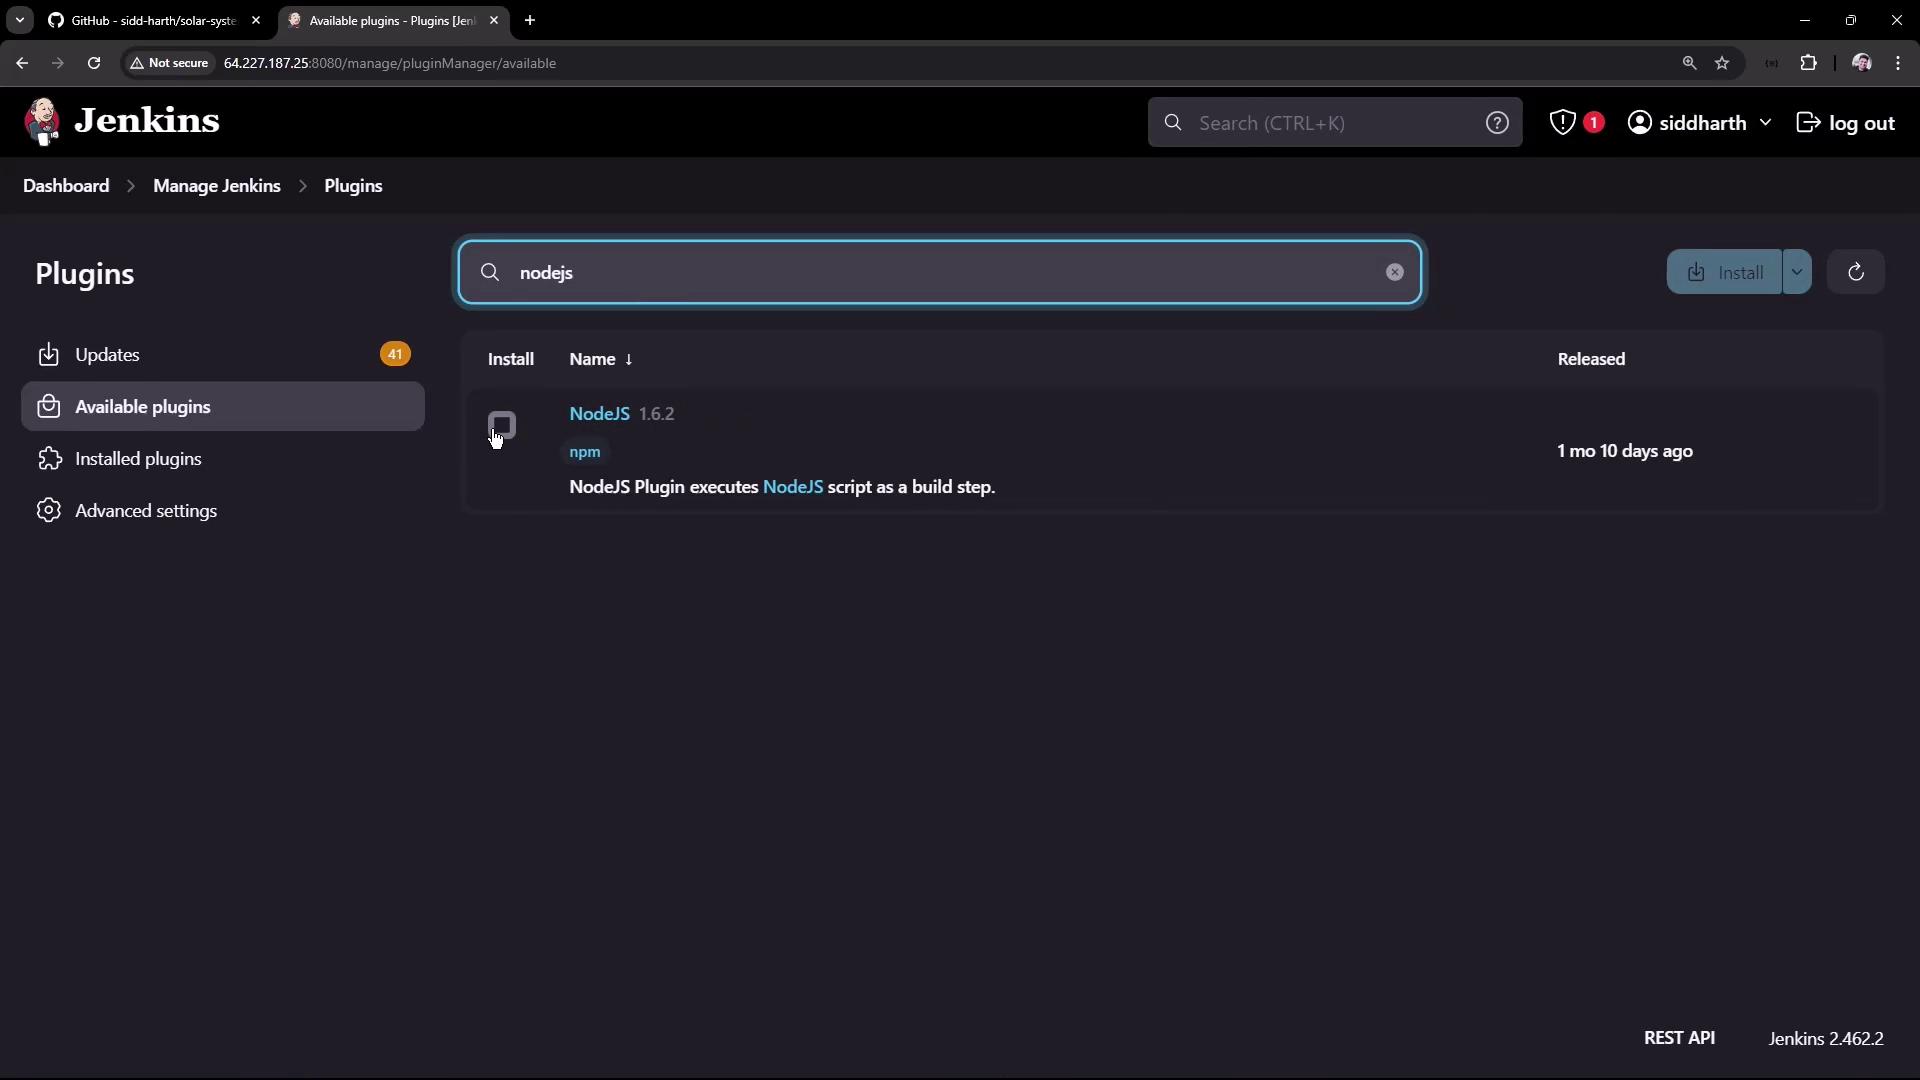
- Navigate to Manage Jenkins → Manage Plugins.
- Under the Available tab, search for "NodeJS". Locate the NodeJS plugin (version 1.6.2 at the time of recording) and install it.
Be patient as Jenkins installs the plugin and reloads the plugin extension.
Configuring the Node.js Tool
After installing the plugin, a new option for Node.js installations appears under Manage Jenkins → Global Tool Configuration (or Manage Jenkins Tools). To configure a Node.js installation, follow these steps:
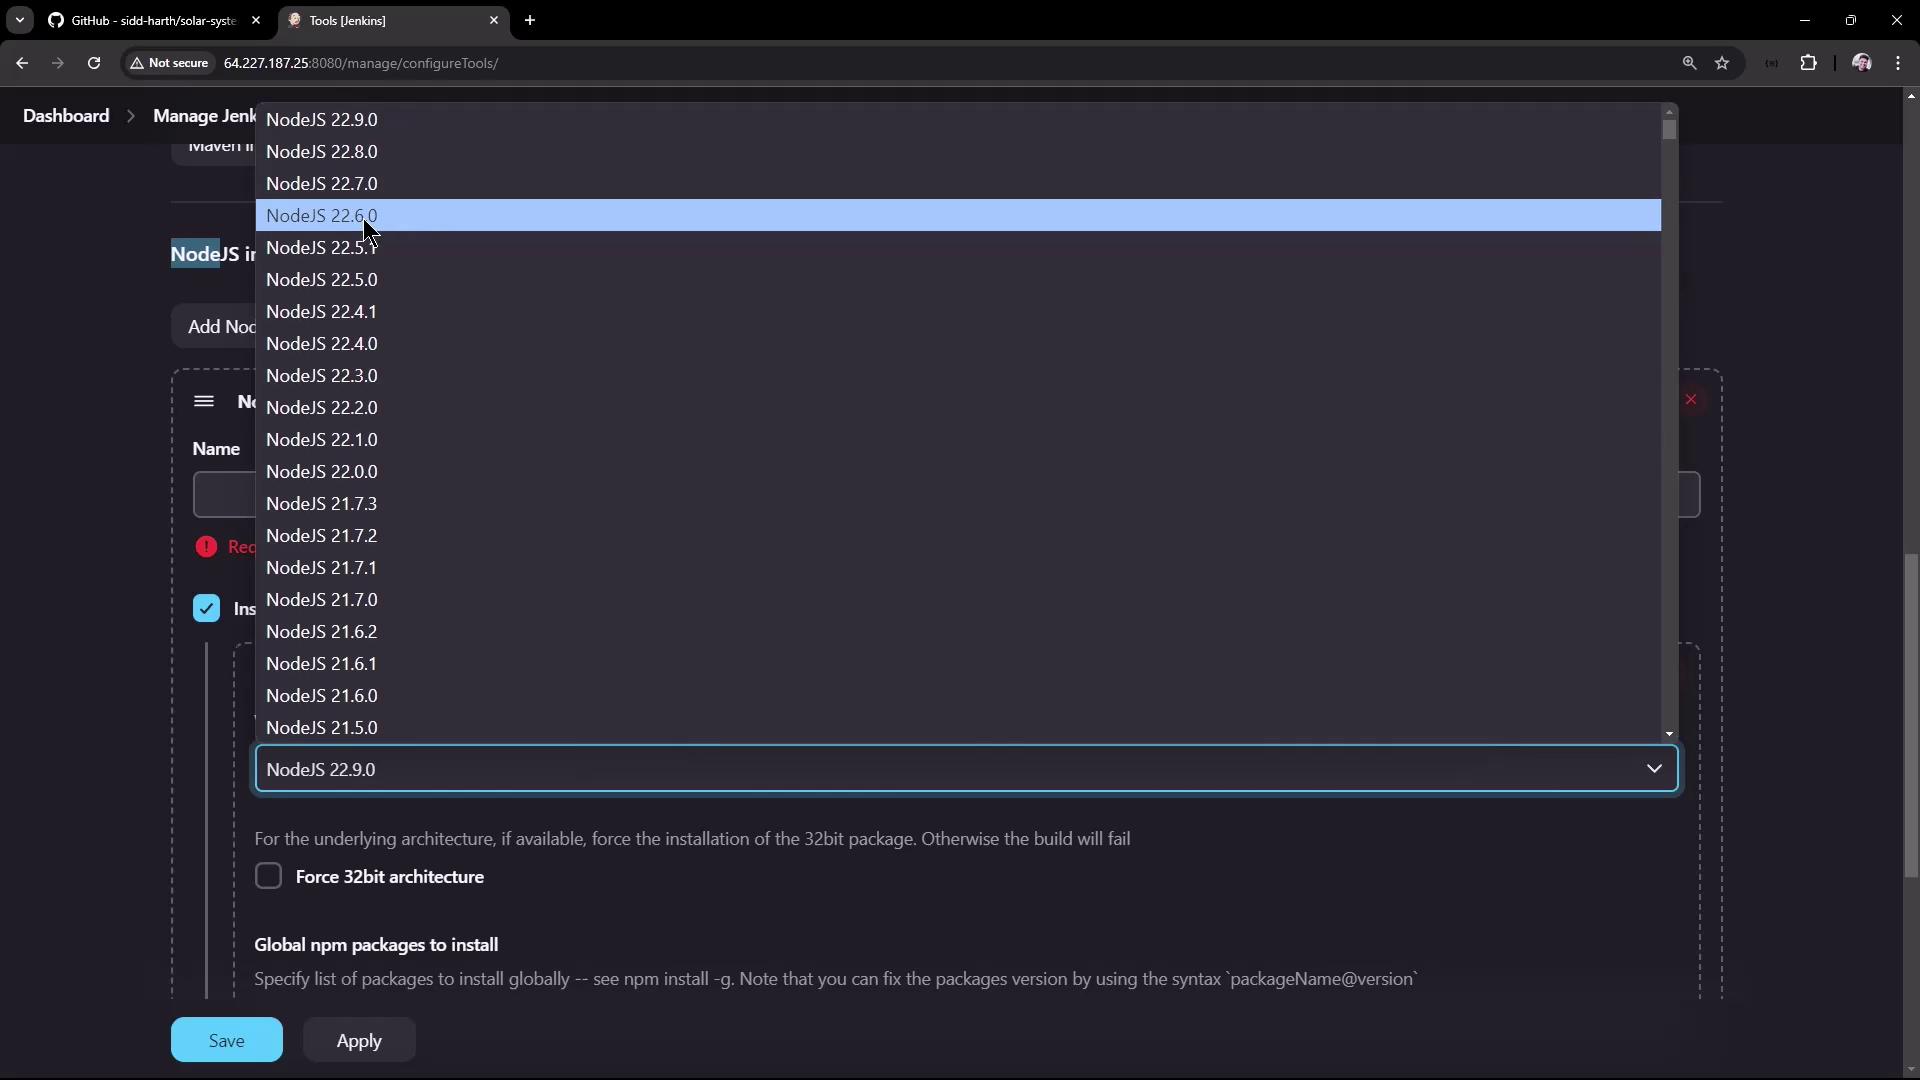
- Locate the Node.js installations section.
- Click to add a new Node.js installation; for example, name it "Node.js 22.6.0" to represent the intended version.
- Select the installation method (typically "Install automatically" from Node.js.org) and leave the default settings intact.
- Save the configuration.
Using the Node.js Tool in a Jenkins Job
Return to your "npm-version-test" Freestyle project to update its configuration to use the newly configured Node.js tool:
In the project configuration, scroll down to the Build Environment section.
Check the option labeled "Provide Node & npm bin/ folder to PATH" (or a similarly named option, depending on your Jenkins version).
Select the Node.js installation you just configured.
Retain the build step containing the commands:
node -v
npm -v
Save the configuration and rebuild the project.
During the build, Jenkins will first download and install the specified Node.js version—if it isn’t already installed—and then use that installation. The build log might display the following messages:
Unpacking https://nodejs.org/dist/v22.6.0/node-v22.6.0-linux-x64.tar.gz to /var/lib/jenkins/tools/hudson.plugins.nodejs.tools.NodeJSInstallation/nodejs-22-6-0 on Jenkins
[npm-version-test] $ /bin/sh -xe /tmp/jenkins11644918605421431225.sh
+ node -v
v22.6.0
+ npm -v
10.8.2
Finished: SUCCESS
Note
The first build used the host-installed Node.js (version 20.16.0), while the second build used the Jenkins-provided installation (version 22.6.0). This flexibility allows you to choose between using the system environment or a dedicated Node.js tool installation.

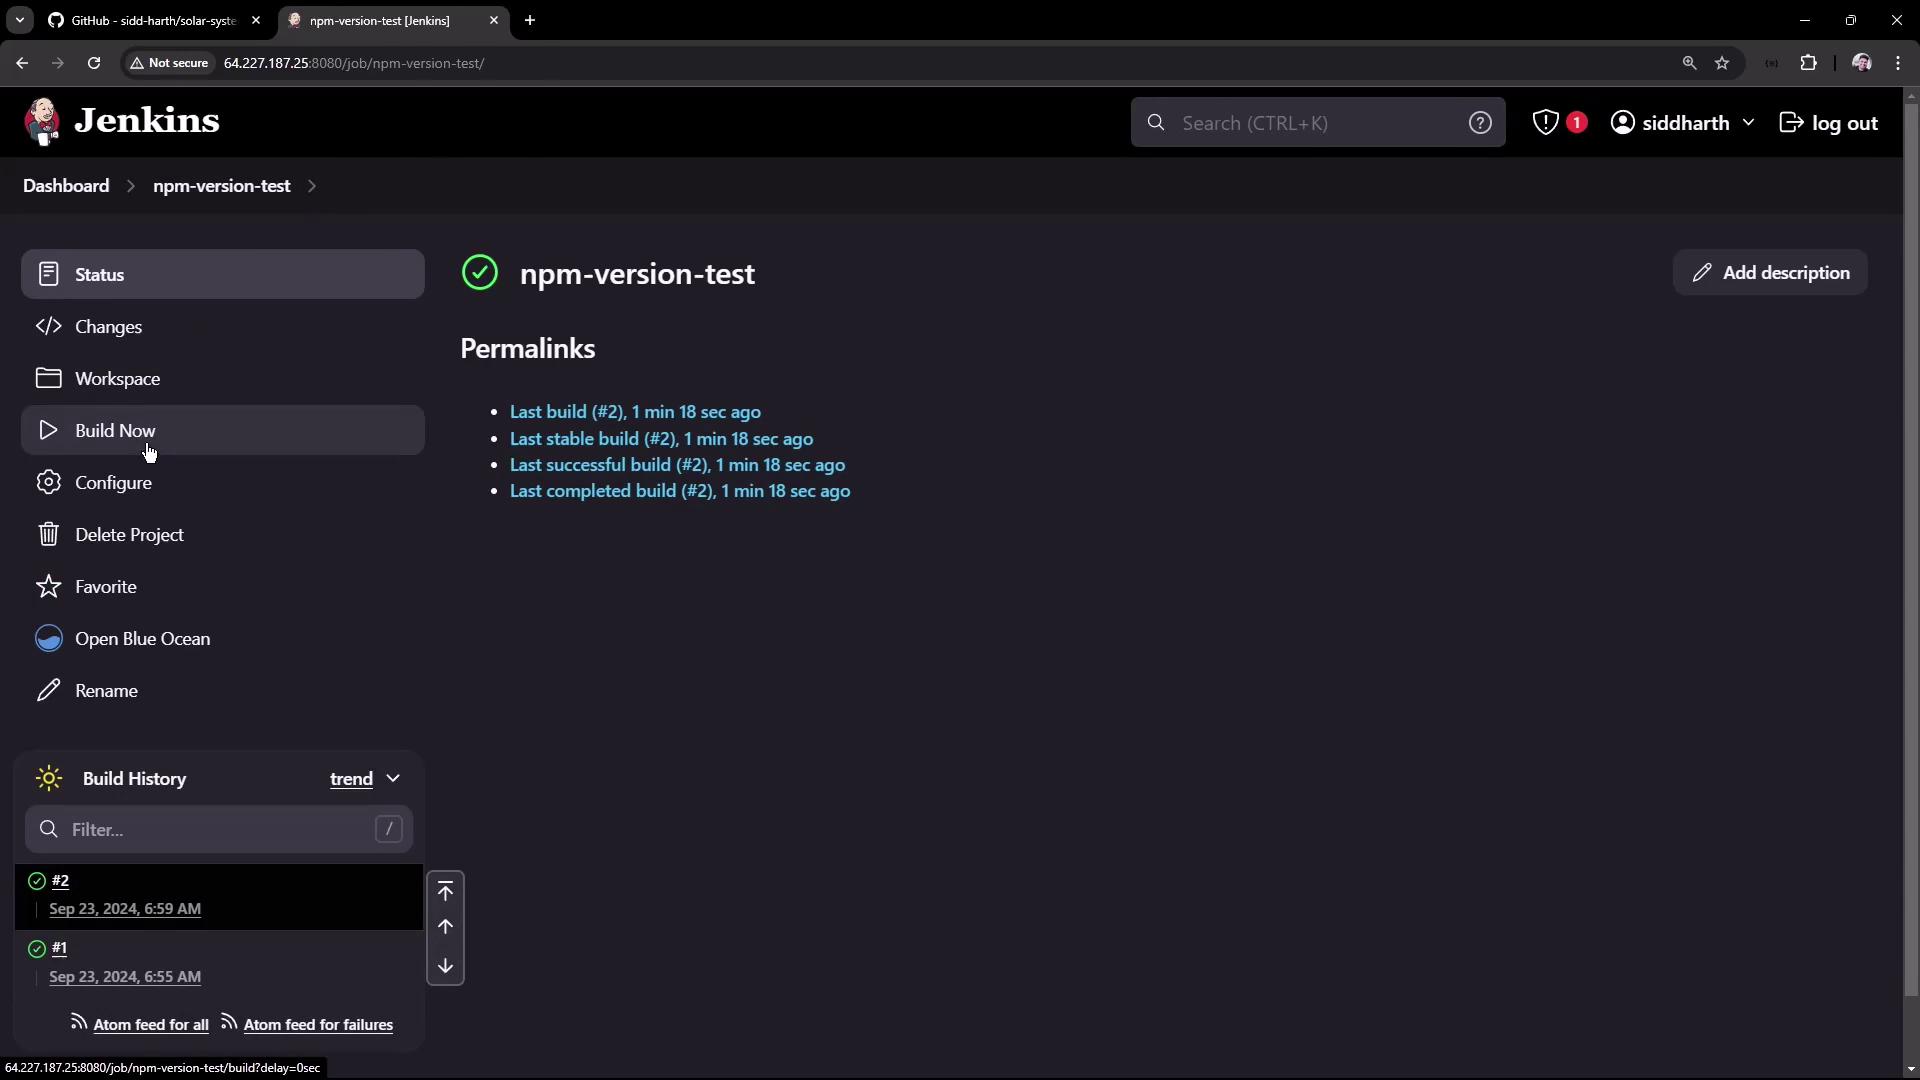
Finally, monitor the Jenkins dashboard for build history and project status:
This lesson demonstrated how to verify that Node.js is installed on the Jenkins host and how to configure a dedicated Node.js installation using the Node.js plugin. This approach provides the flexibility needed in environments where the agent might not have Node.js pre-installed. Happy building!
Watch Video
Watch video content