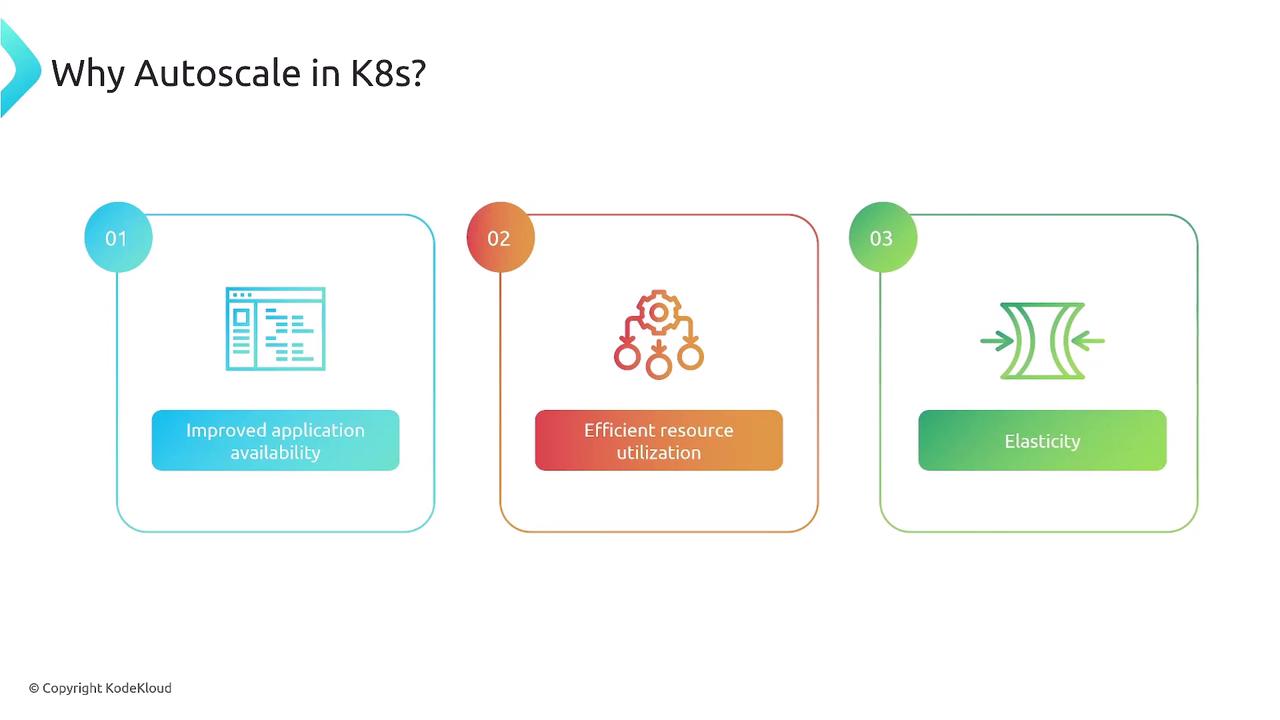
Benefits of Autoscaling
- Cost Savings
Autoscaling prevents overprovisioning by scaling down idle resources, reducing your cloud spend. - Improved Availability
Automatically adds capacity during peak traffic—perfect for flash sales or feature launches. - Efficient Resource Utilization
Matches compute to workload, avoiding crashes from insufficient capacity and idle infrastructure. - True Elasticity
Adapts to unpredictable workloads without manual effort, a hallmark of cloud-native design. - Fault Tolerance & Recovery
Distributes load and replaces unhealthy resources to maintain resilience. - Simplified Operations
Frees your team from firefighting infrastructure so they can focus on building features.
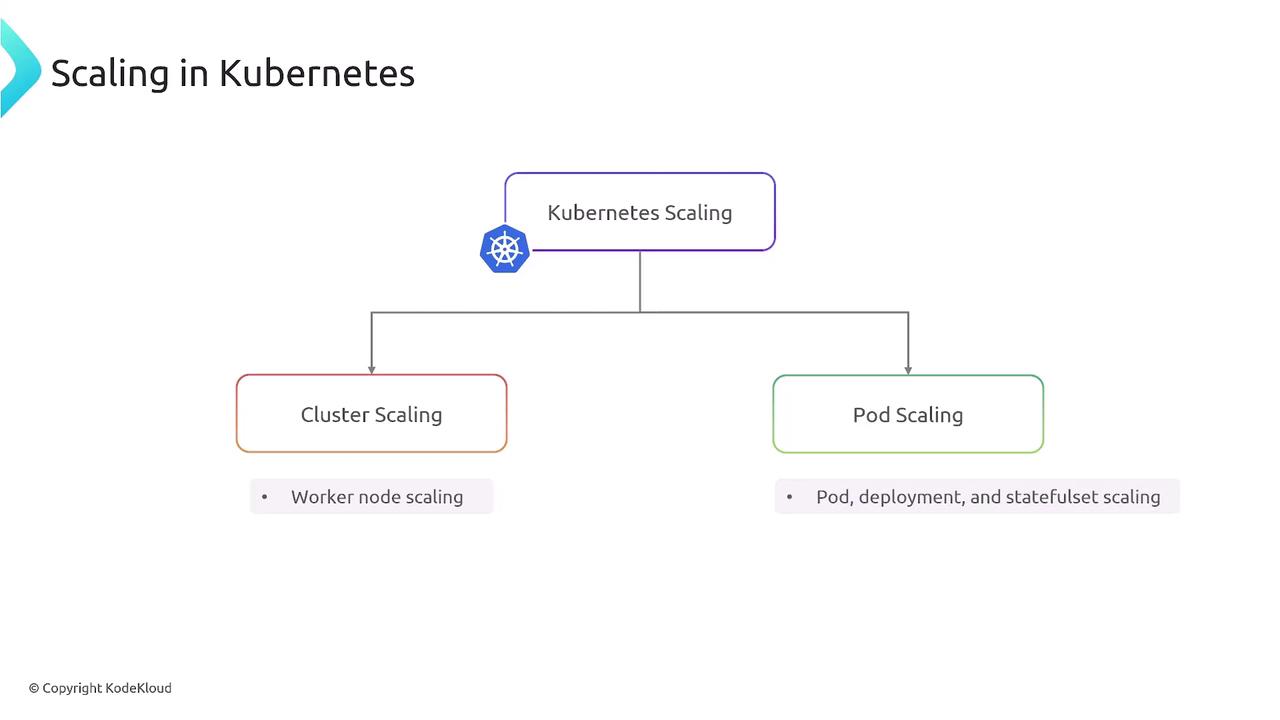
Autoscaling Components in Kubernetes
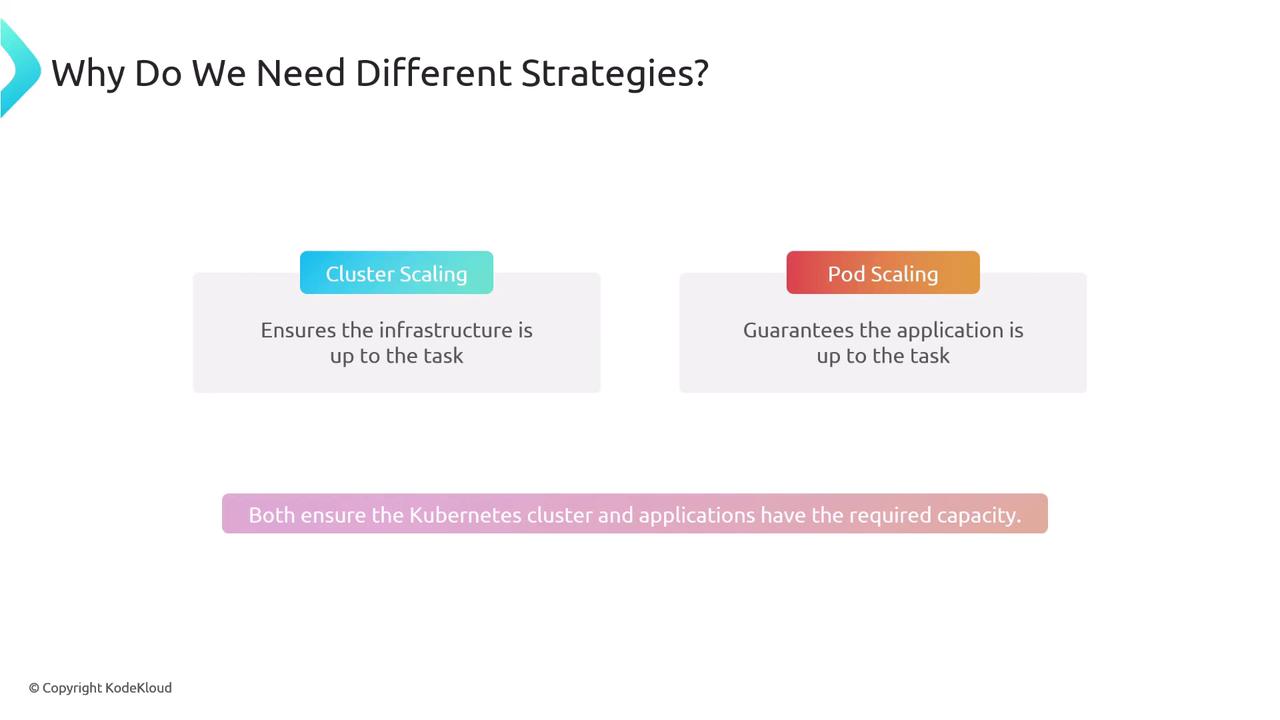
Kubernetes offers two primary autoscaling layers:- Cluster Scaling adjusts the number of worker nodes (VMs).
- Pod Scaling modifies the replica count or resource requests of your applications.
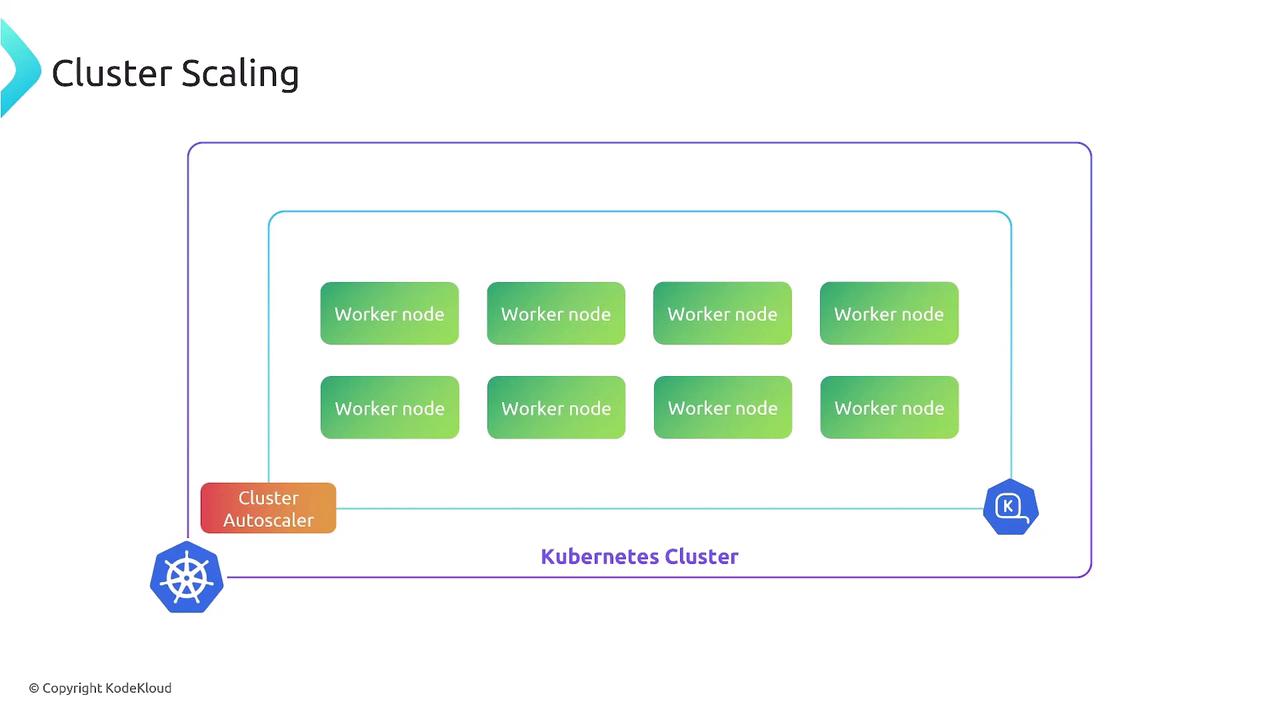
Cluster Scaling
Cluster scaling manages your node pool size to ensure there’s enough CPU, memory, disk, or GPU capacity for all Pods. Kubernetes’ Cluster Autoscaler inspects pending Pods and resource requests, then adds or removes VMs accordingly.Make sure your cloud provider permissions (IAM roles) are configured so the autoscaler can spin up or tear down nodes.
Core Autoscaling Tools
| Autoscaler | Purpose | Documentation |
|---|---|---|
| Cluster Autoscaler (CA) | Scale VMs based on pending Pods | GitHub |
| Horizontal Pod Autoscaler | Scale Pod replicas by CPU/memory | Kubernetes |
| Vertical Pod Autoscaler | Adjust Pod resource requests/limits | Kubernetes |
| KEDA | Event-driven scaling from external sources | KEDA |
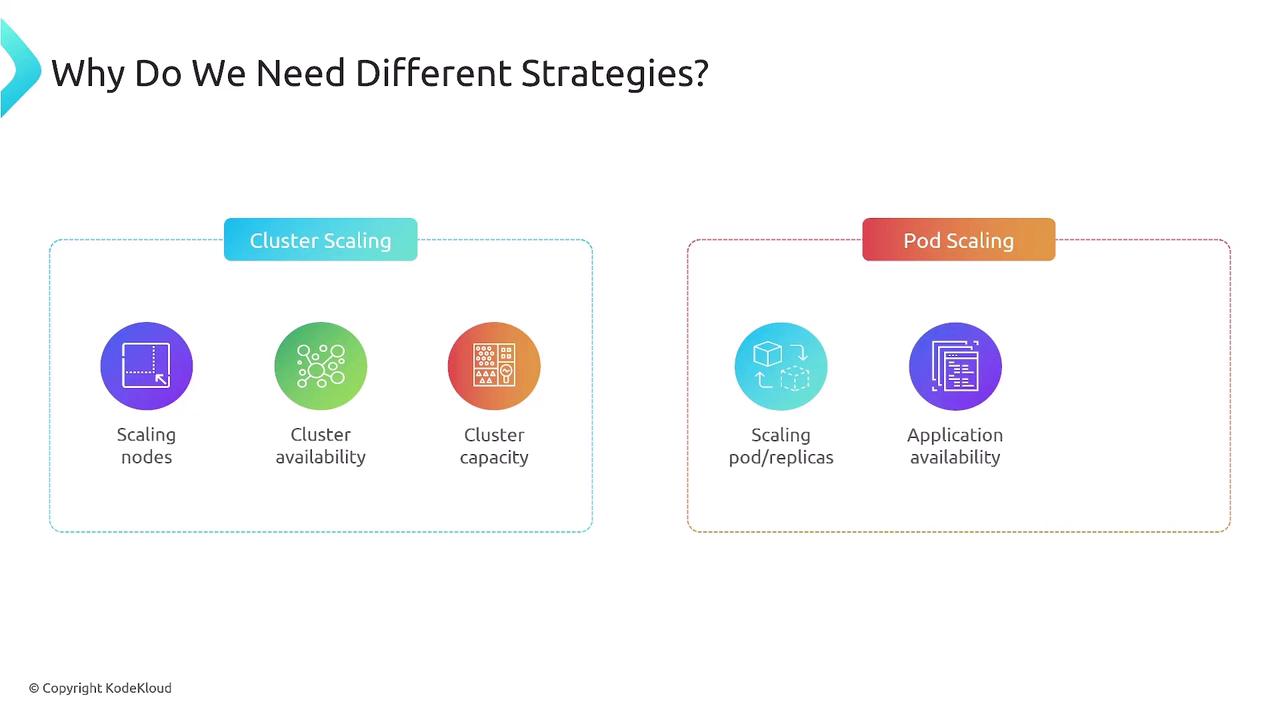
Pod Scaling vs. Cluster Scaling
| Aspect | Cluster Scaling | Pod Scaling |
|---|---|---|
| What it adjusts | Number of worker nodes (VMs) | Number of Pods or resource settings |
| Primary impact | Infrastructure capacity | Application concurrency and throughput |
| Key benefits | Ensures node-level resources | Ensures right replica count & sizing |
Bringing It All Together
Effective Kubernetes autoscaling leverages both cluster and pod strategies:- Cluster Autoscaler maintains sufficient node capacity.
- Pod Autoscalers (HPA/VPA/KEDA) tailor application replicas and resource requests.
In the next lesson, we’ll dive into hands-on configurations for HPA, VPA, and Cluster Autoscaler, complete with best practices and troubleshooting tips.