Microsoft Azure Security Technologies (AZ-500)

Secure Azure solution with Azure Active Directory

Manage users with Azure AD groups

In this guide, we explore how to manage Azure Active Directory groups. Building on our previous work with Azure AD users, we now dive into the different group types and membership options available in Azure AD, along with step-by-step instructions for creating and managing groups in the Azure portal.


Group Types

Azure AD supports two primary group types:

  1. Security Groups
    Security groups function like virtual fortresses that simplify access and permission management. They enable you to bundle users together based on roles, streamlining authentication and resource management.

  2. Microsoft 365 Groups
    These groups are designed for collaboration. In addition to security features, they provide shared resources such as inboxes, calendars, files, SharePoint sites, OneDrive, and more. Choose Microsoft 365 groups when you need group membership combined with robust collaboration tools.

Select security groups if your goal is to manage user access. Opt for Microsoft 365 groups if you require collaborative environments along with user management.


Membership Types

Azure AD offers three types of group membership assignments:

1. Assigned Membership

With assigned membership, users are added to groups manually. For example, a new employee can be added to a designated HR group. The user remains in the group until manually removed or deleted. While this method is straightforward, it requires ongoing administrative intervention for role changes or reassignment.

2. Dynamic User Membership

Dynamic user groups update their membership automatically based on predefined rules using user attributes such as job title, department, or manager. For instance, if you set a rule to include all users with a manager named "Chris," any new employee with that manager will be added automatically. If their manager changes, the rule triggers their removal. This automation keeps group membership current without manual updates.

3. Dynamic Device Membership

Dynamic device groups work similarly but are based on device-specific attributes like device type, operating system, or device version. Note that dynamic device membership is available only in security groups because devices typically do not require collaboration tools such as SharePoint or shared mailboxes. Use this option when you need to group devices for policy applications, like grouping older Windows 10 machines for targeted notifications.

The image shows a user interface for managing user accounts in Azure Active Directory, displaying group types and assignment types. It includes a list of groups with details like name, object ID, and group type.


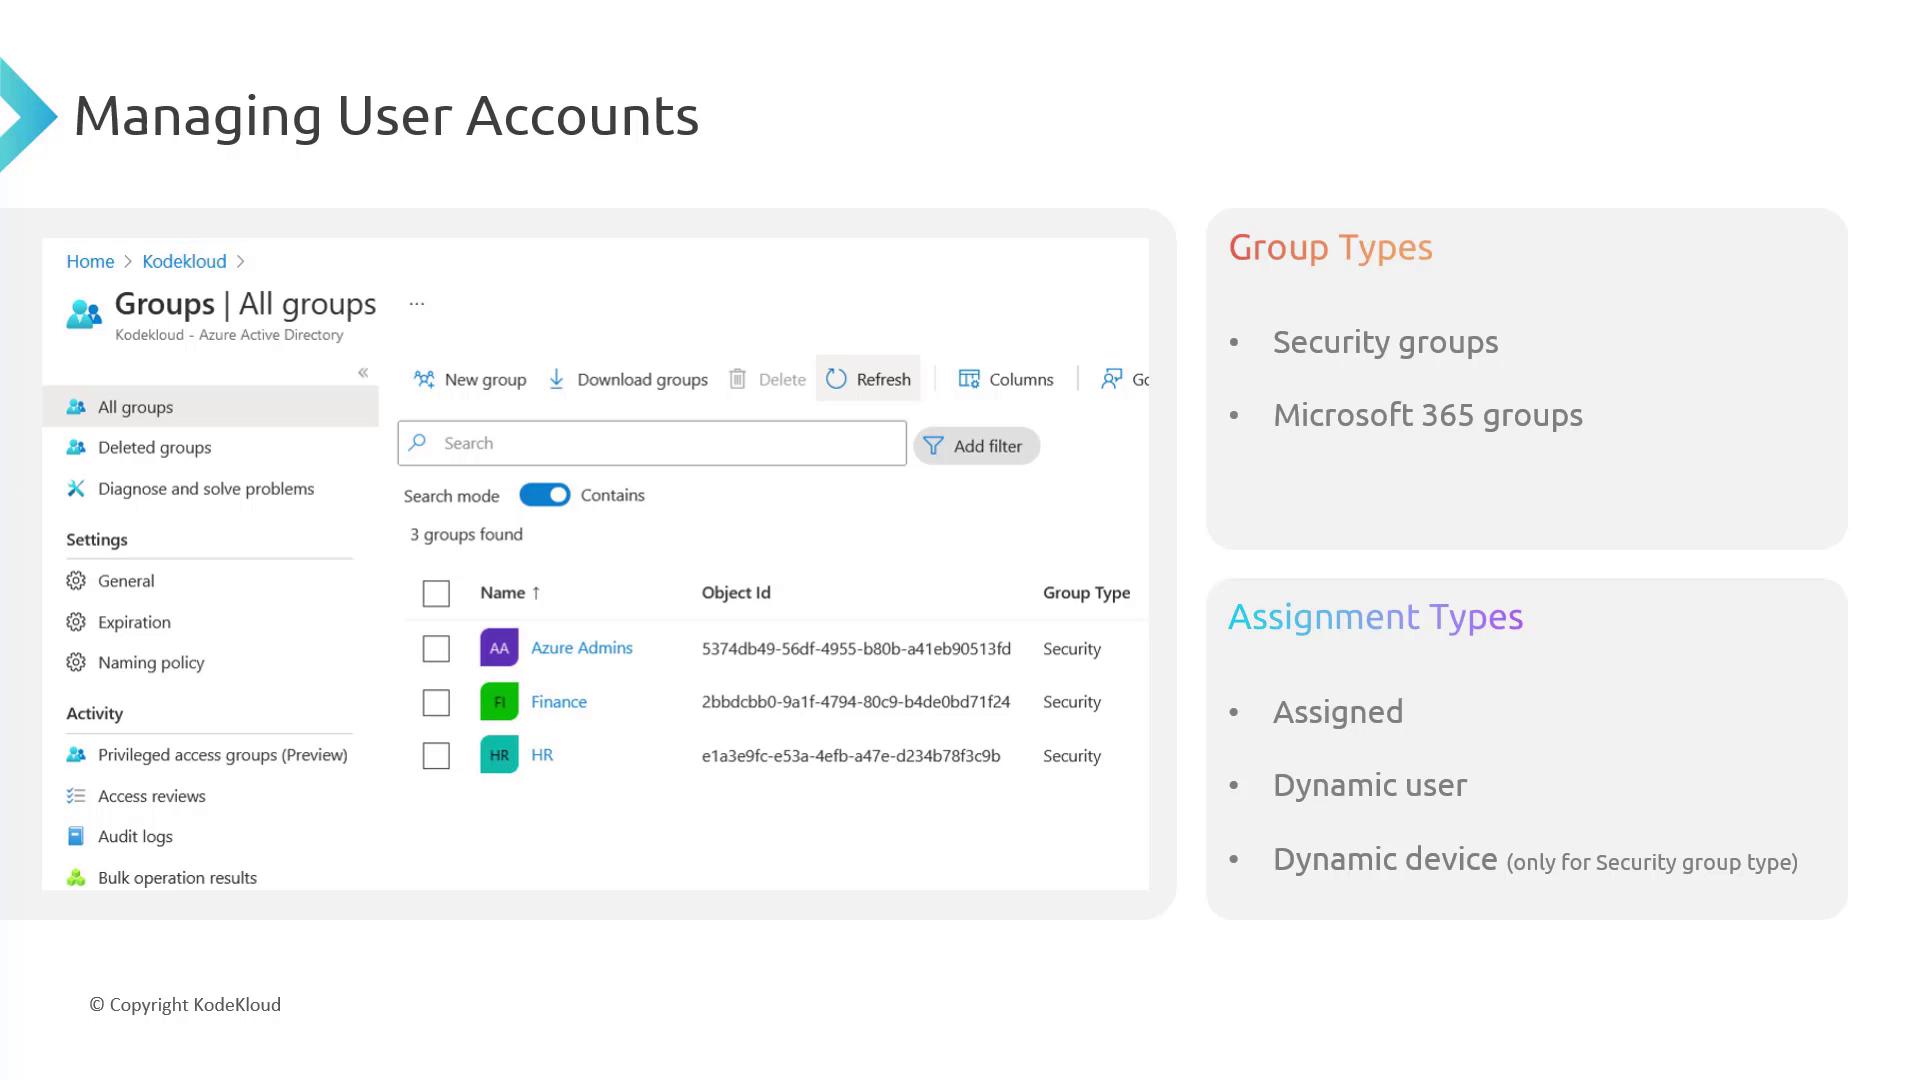
Creating Groups in the Azure Portal

To create groups, navigate to Azure Active Directory in the Azure portal, then select Groups (located below Users).

The image shows the Microsoft Azure portal, specifically the overview page for "Kodekloud" in Azure Active Directory, displaying basic information and alerts.

Click Groups to initiate the creation of a new group. The default option is set to Security. Switching to Microsoft 365 groups will prompt you to provide a group email address. For demonstration, we will create both security and Microsoft 365 groups.

It is best practice to use descriptive names for groups. Clear naming conventions help avoid confusion as the number of groups increases.

The image shows a Microsoft Azure interface for creating a new group, with fields for group type, name, description, and membership type.

Note

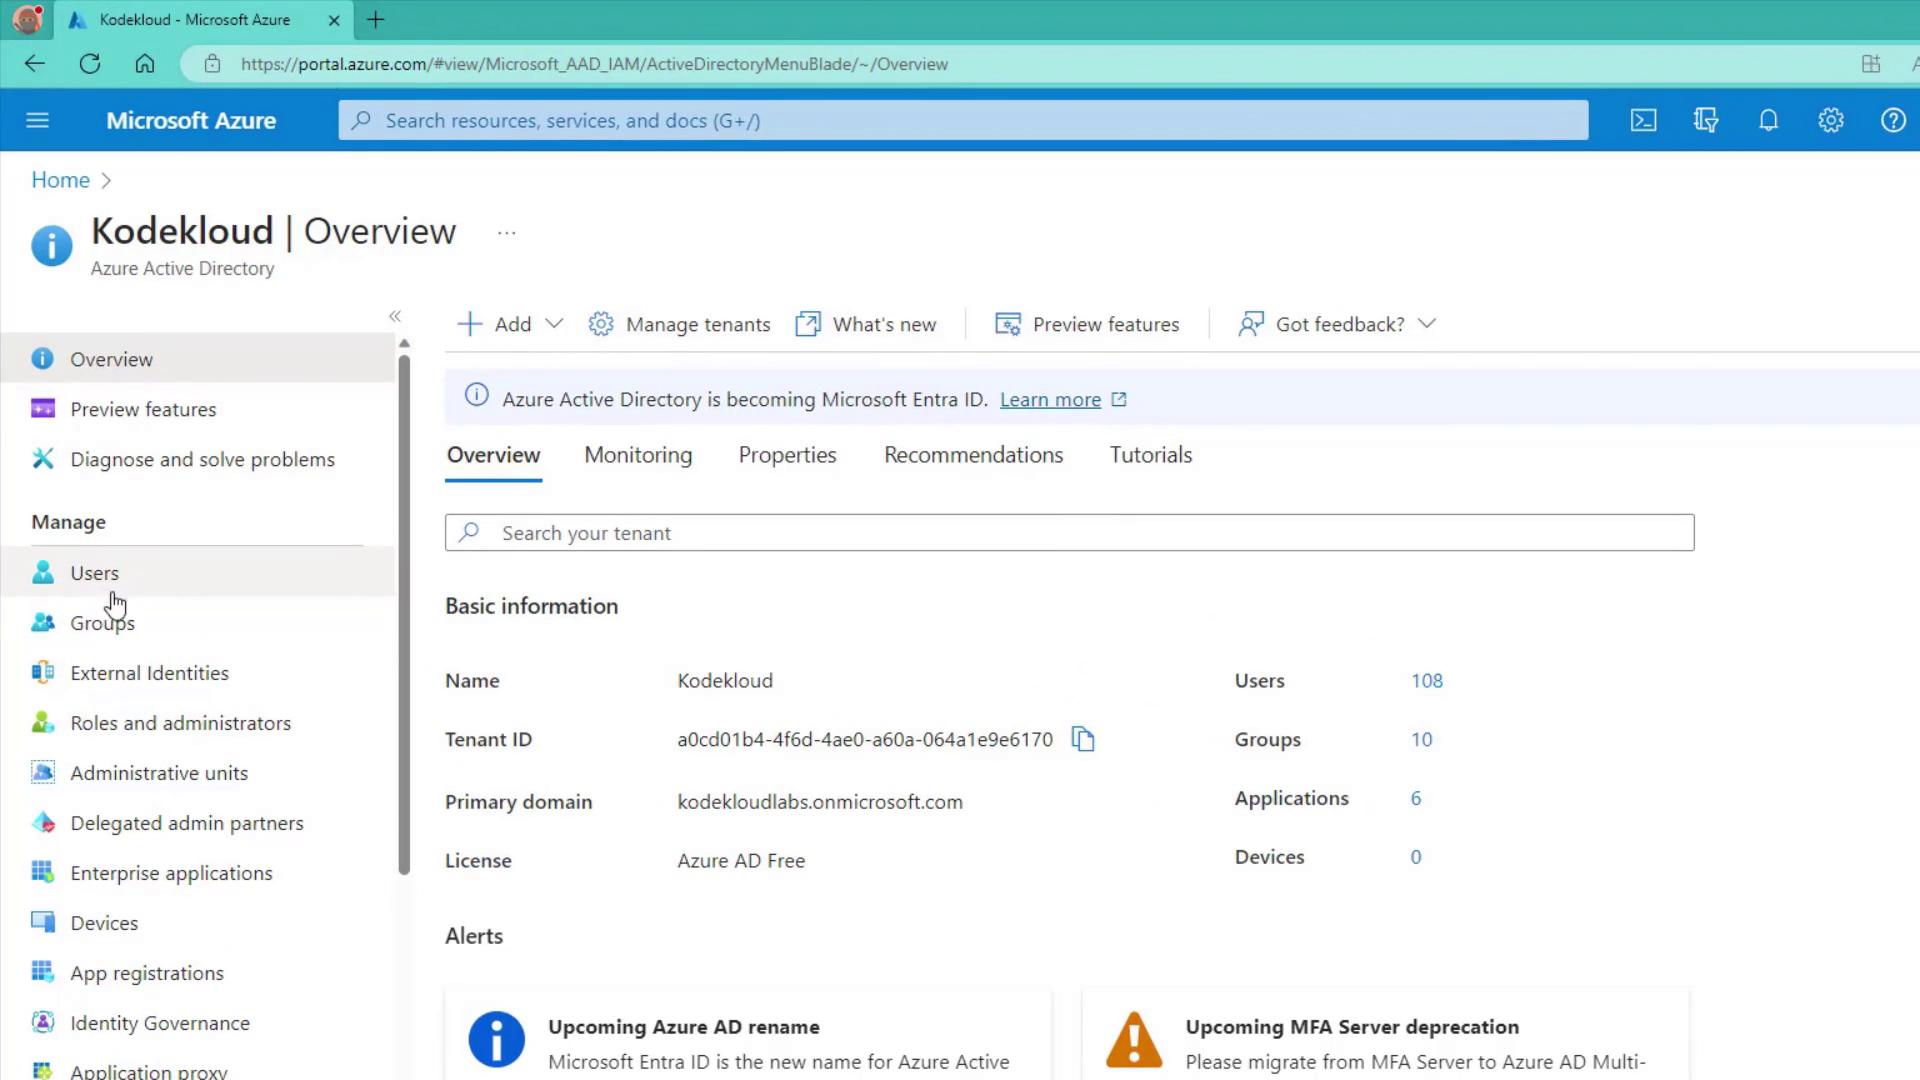
The dynamic membership option may not be available if you do not have the required license. To enable dynamic groups, ensure you have an appropriate P1 or P2 license. In the Azure portal, navigate to Azure Active Directory > Licenses > License features and search for "dynamic" to view available features. New tenants might also activate a free trial (typically 30 to 90 days).


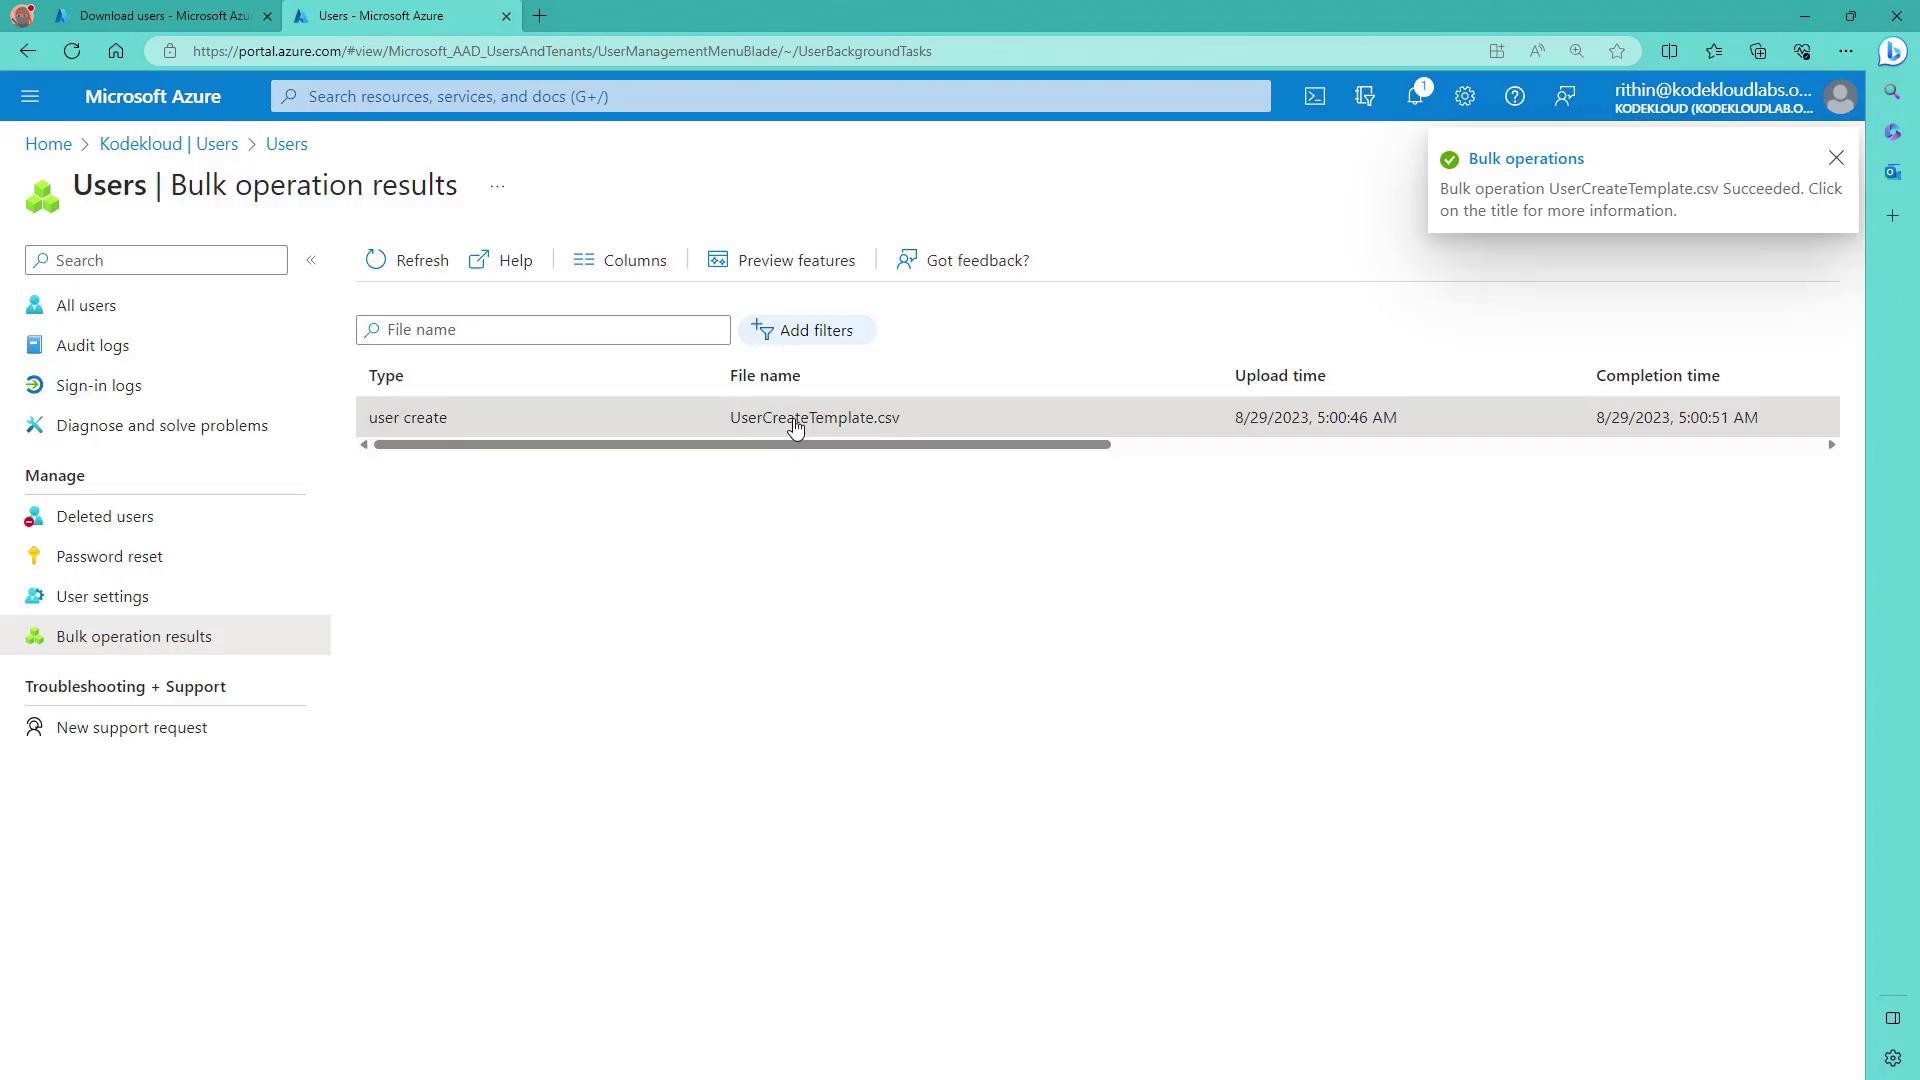
Bulk User Operations

Before testing group features, verify that your tenant contains test users. Bulk user creation is an efficient way to achieve this:

  1. Download Existing Users
    In the source tenant, download all user data. If you’re familiar with bulk operations, you can skip the detailed steps; otherwise, follow along.

    The image shows a Microsoft Azure portal displaying a list of users in the "Users" section, with options to manage and download user data. A sidebar indicates a successful download of user information in a CSV file.

  2. Modify the CSV File
    Open the CSV file in Excel and update the User Principal Name (UPN) as needed—using the find and replace tool—to ensure it aligns with the new tenant's domain.

  3. Bulk Create Users in the New Tenant
    In the new tenant, navigate to Azure Active Directory > Users > Bulk create. Download the provided template and complete the required fields:

    • Name
    • User Principal Name (UPN)
    • Initial Password
    • Block sign-in (specify whether the account is enabled)

    Remove any unneeded guest user entries. Once the CSV template is updated, save and upload it. The bulk operation's results, including links to detailed logs, will be displayed.

    The image shows a Microsoft Azure portal displaying the results of a bulk user creation operation, with a notification indicating the success of the operation using a CSV file.

After the upload, confirm that users are available in the new tenant by checking the UPN domain (for example, ending with .labs for the lab tenant).


Testing Groups

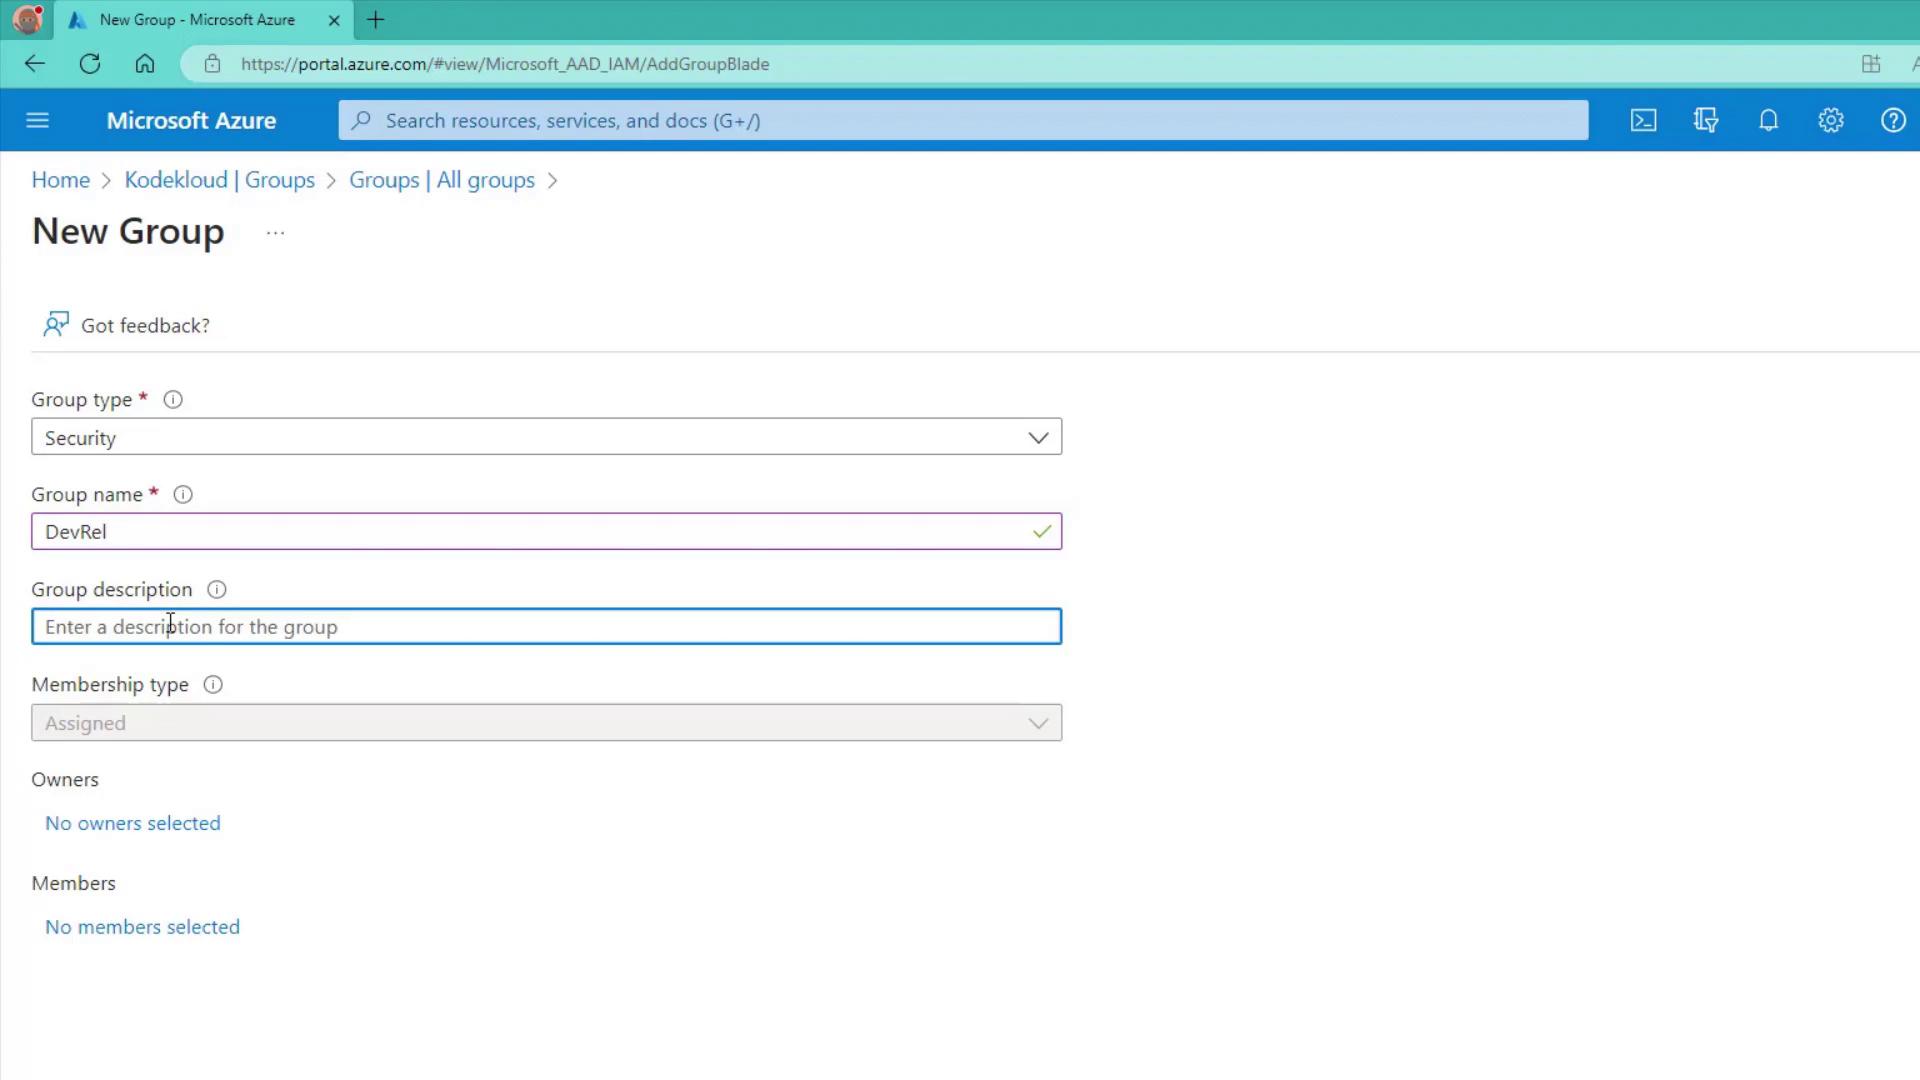
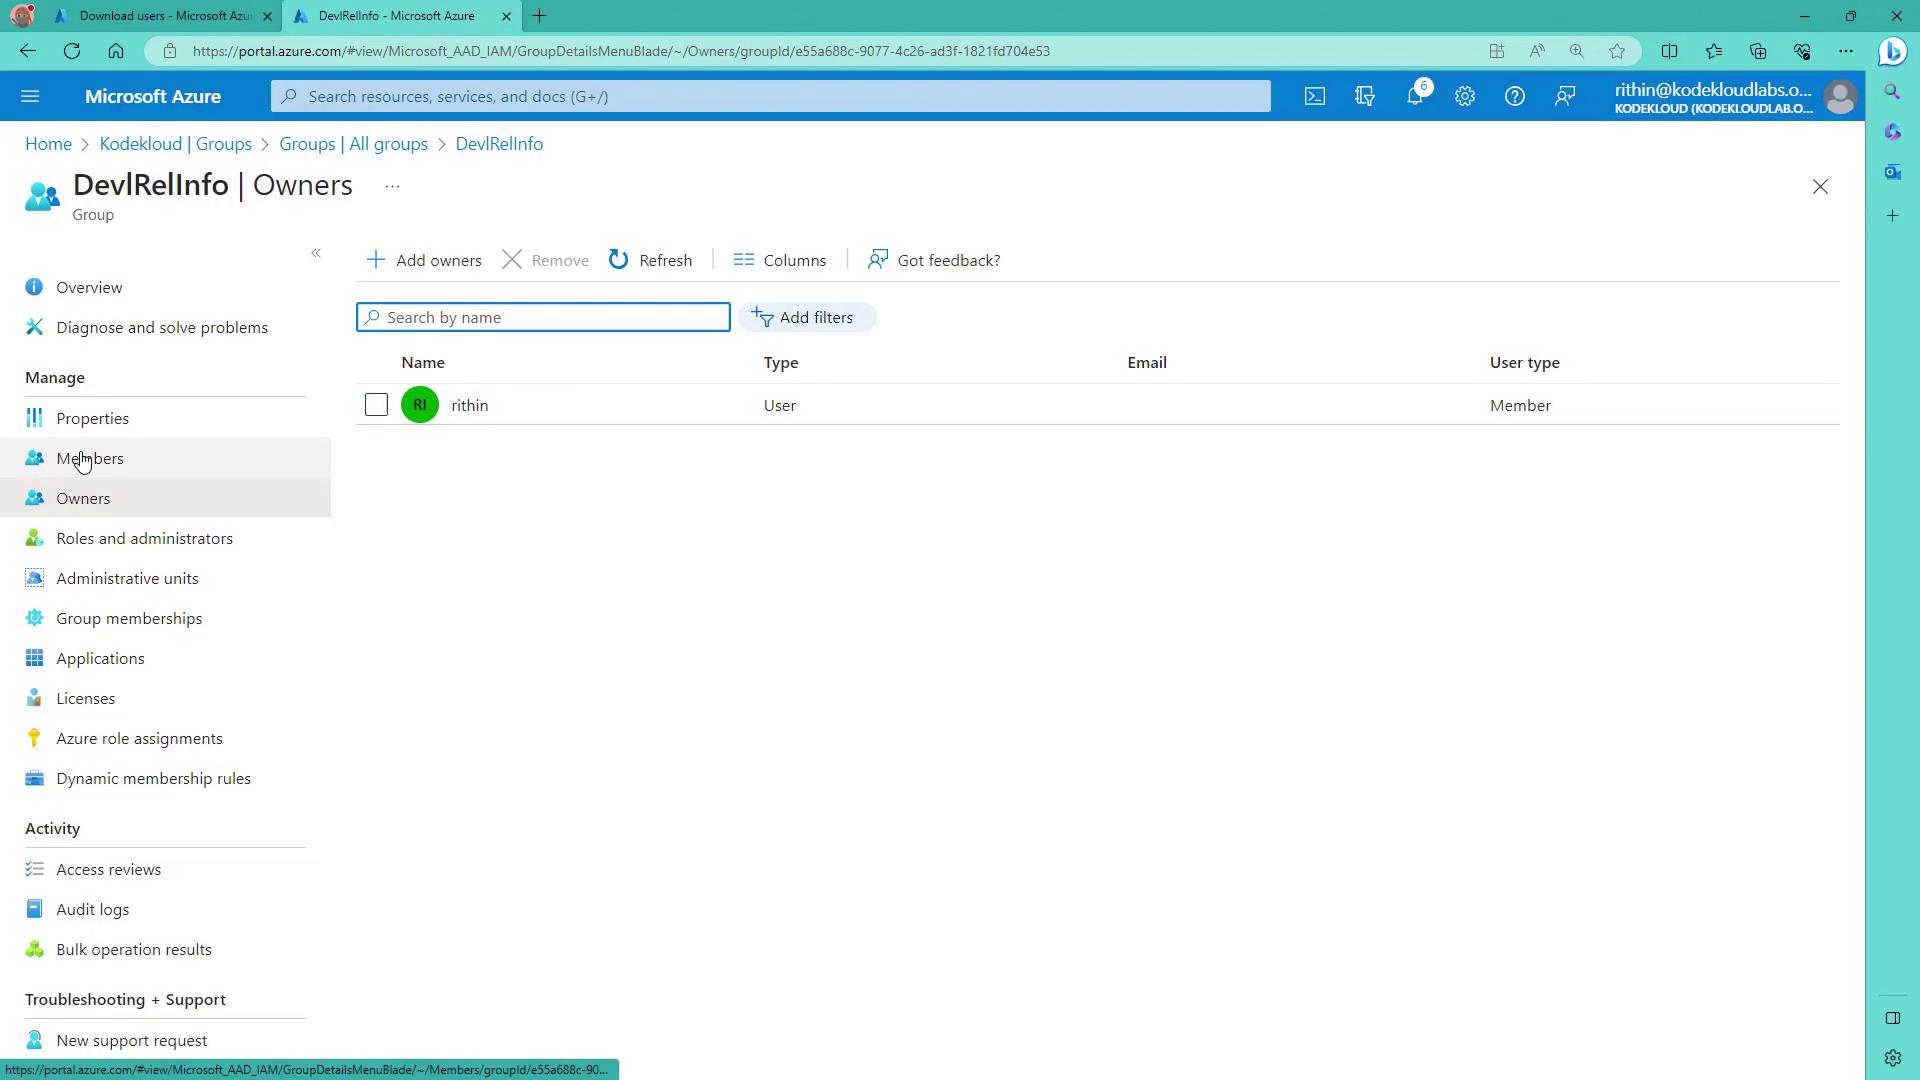
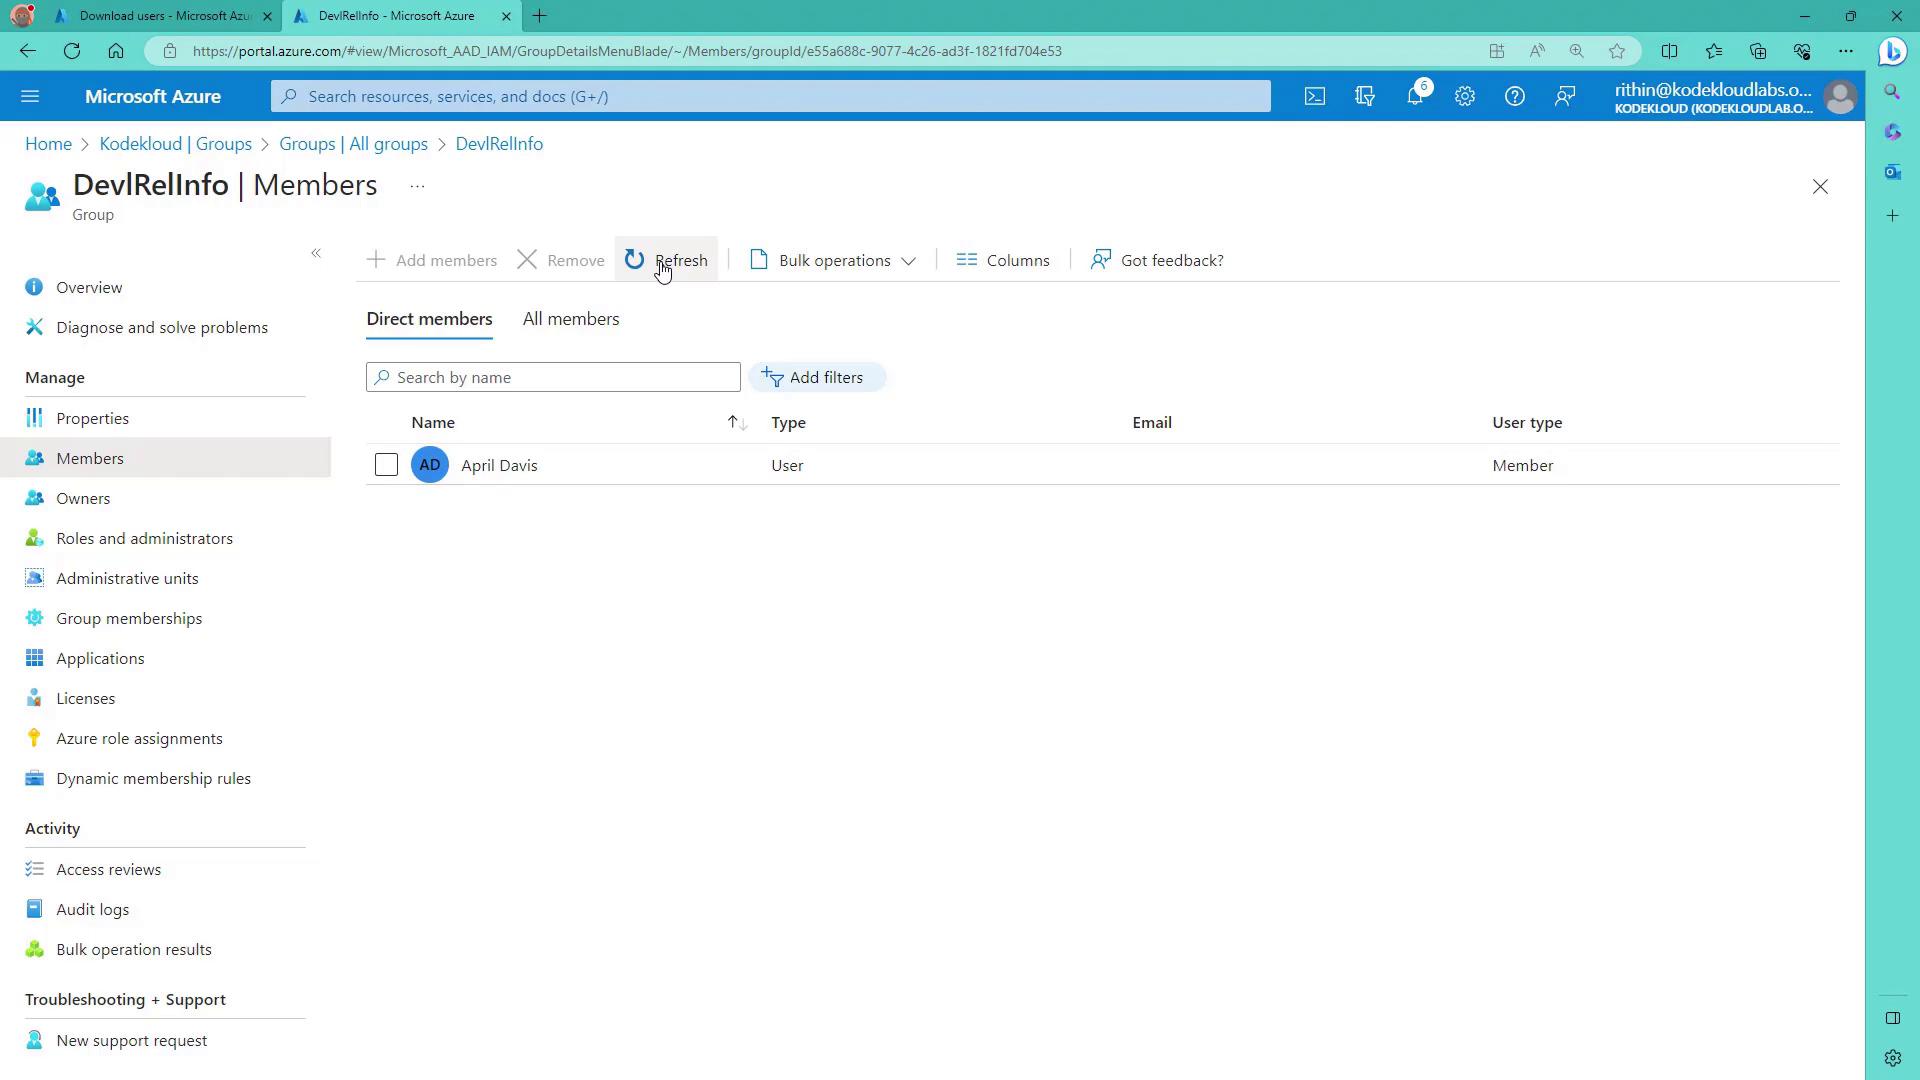
Creating an Assigned Membership Group

  1. Navigate to Groups in the Azure portal.
  2. Create a new group with the following details:
    • Name: DevRel
    • Description: Developer Relations

Since this is a security group with assigned membership, members can be added manually. Azure AD role assignments can also be performed. Additionally, you can designate group owners to delegate management.

The image shows a Microsoft Azure portal page for creating a new group, with fields for group type, name, description, and membership type. The group name is "DevRel" and the description is "Developer Rel."

After creation, review the group details to see information on membership, nested groups (if any), and device counts.

The image shows a Microsoft Azure portal page displaying details of a group named "DevRel" with information about its membership type, source, type, object ID, and creation date. It also includes sections for managing properties, members, and activity logs.

Creating a Dynamic User Group

Next, create a dynamic Microsoft 365 group called DevRelInfo. This group will include a designated group email address (e.g., [email protected]) and will use a dynamic membership rule instead of manual additions.

Click on the dynamic query option and configure a rule based on user attributes. For example, to include users whose department equals "DevRel," enter the following expression:

(user.department -eq "DevRel")

You can refine the rule by adding conditions, such as ensuring the account is enabled:

(user.department -eq "DevRel") and (user.accountEnabled -eq Yes)

Note: Only one instance of the dynamic query is required; duplicate code blocks have been removed for clarity. After entering the rule, click Save and Create. The group initially has no members—it may take up to five minutes for the dynamic rule to evaluate and update membership.

To test the dynamic rule, edit existing users’ attributes by setting their department to "DevRel". After several refreshes, these users should appear as members of the DevRelInfo group.

The image shows a Microsoft Azure portal interface for configuring dynamic membership rules, with options to select properties, operators, and values for rule creation.

Review the group details to verify that the group owner (usually the creator) is listed and that dynamic membership is updated automatically as user attributes match or no longer match the rule.

The image shows a Microsoft Azure portal page displaying the "DevRelInfo" group with a list of owners. The interface includes options to manage properties, members, and roles, with one user listed as a member.

The image shows a Microsoft Azure portal page displaying the members of a group named "DevRelInfo," with one member listed as "April Davis."

You can validate the dynamic rule by clicking Validate Rules. For example, if you modify a user’s department to a value such as HR or Finance, that user will be removed automatically from the group. Additionally, if you try to add a user manually (like Fenton) and their department value does not match (e.g., "devrel" in lowercase), they will not be added.


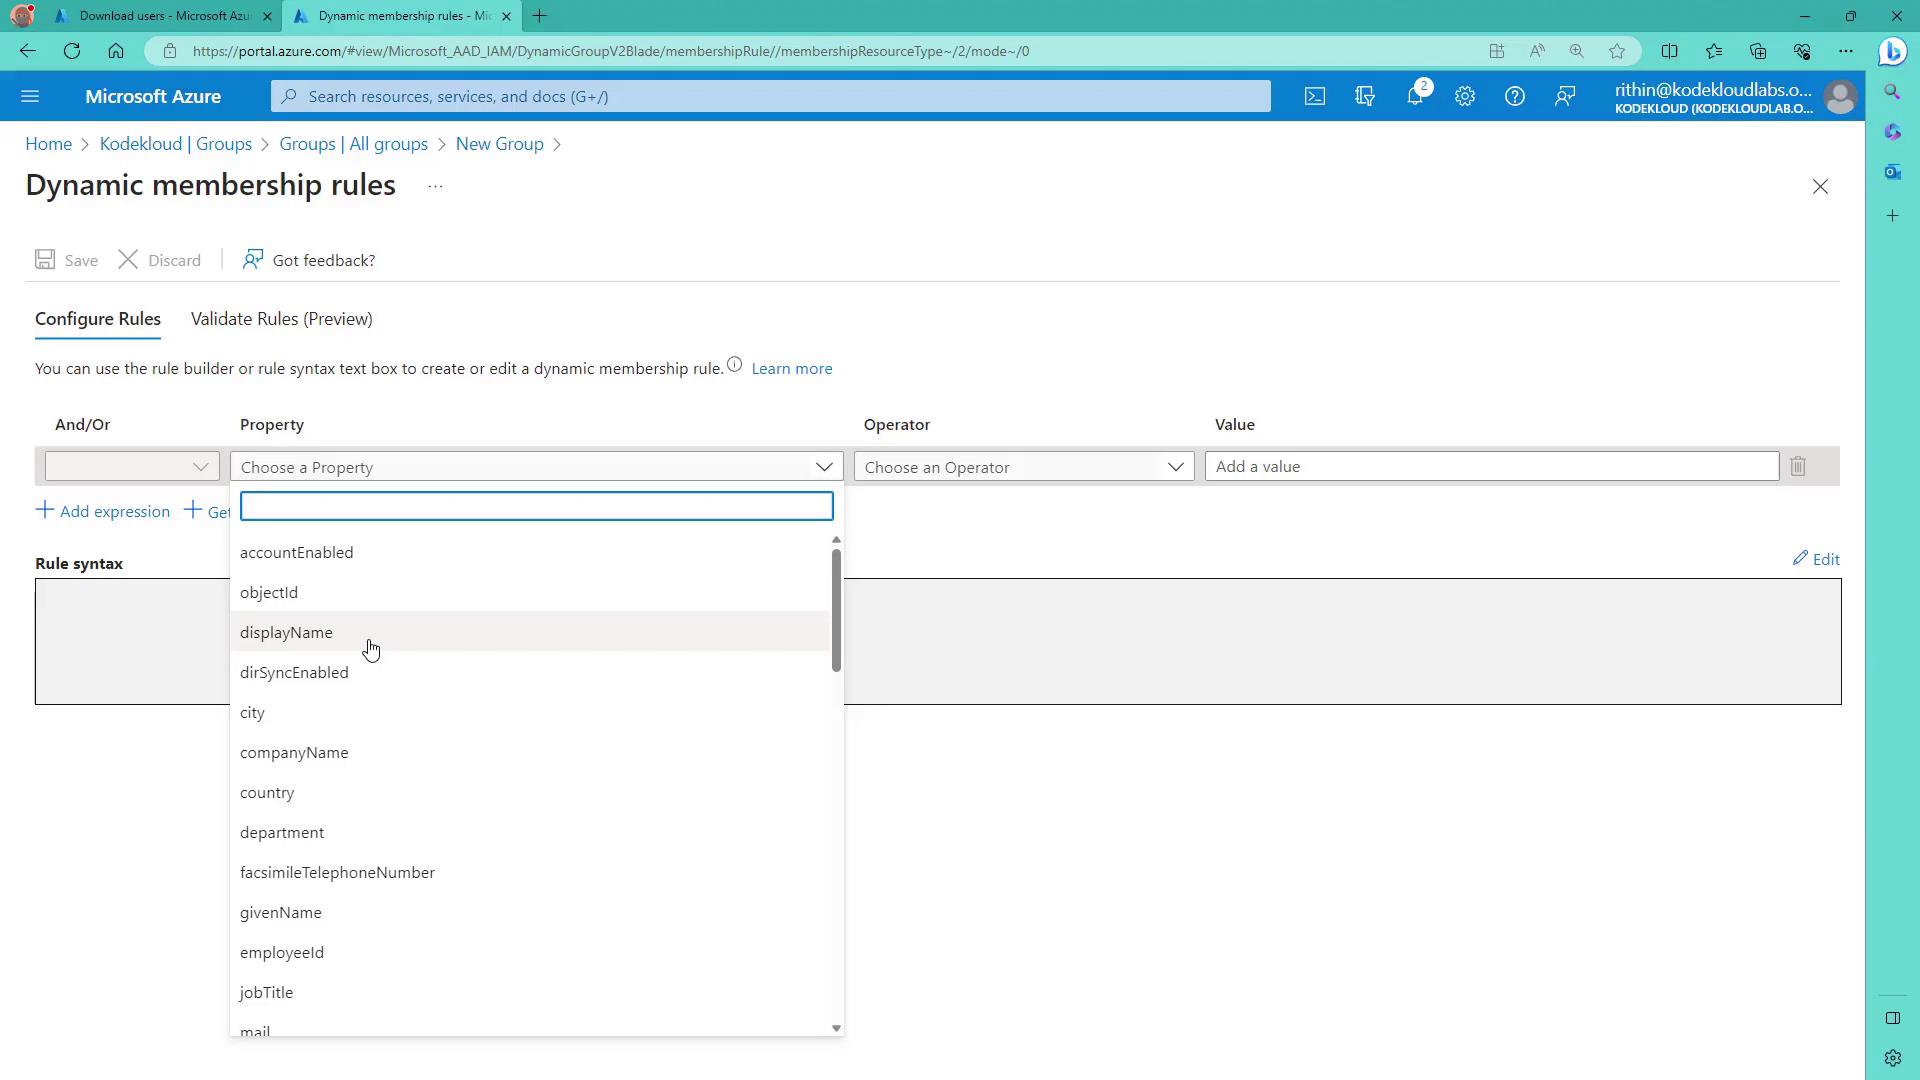
Dynamic Device Groups

Dynamic device groups function in a similar manner to dynamic user groups but use device attributes (such as device model, manufacturer, OS type, and OS version). Note that dynamic device membership is supported only for security groups since devices typically do not require collaborative features.
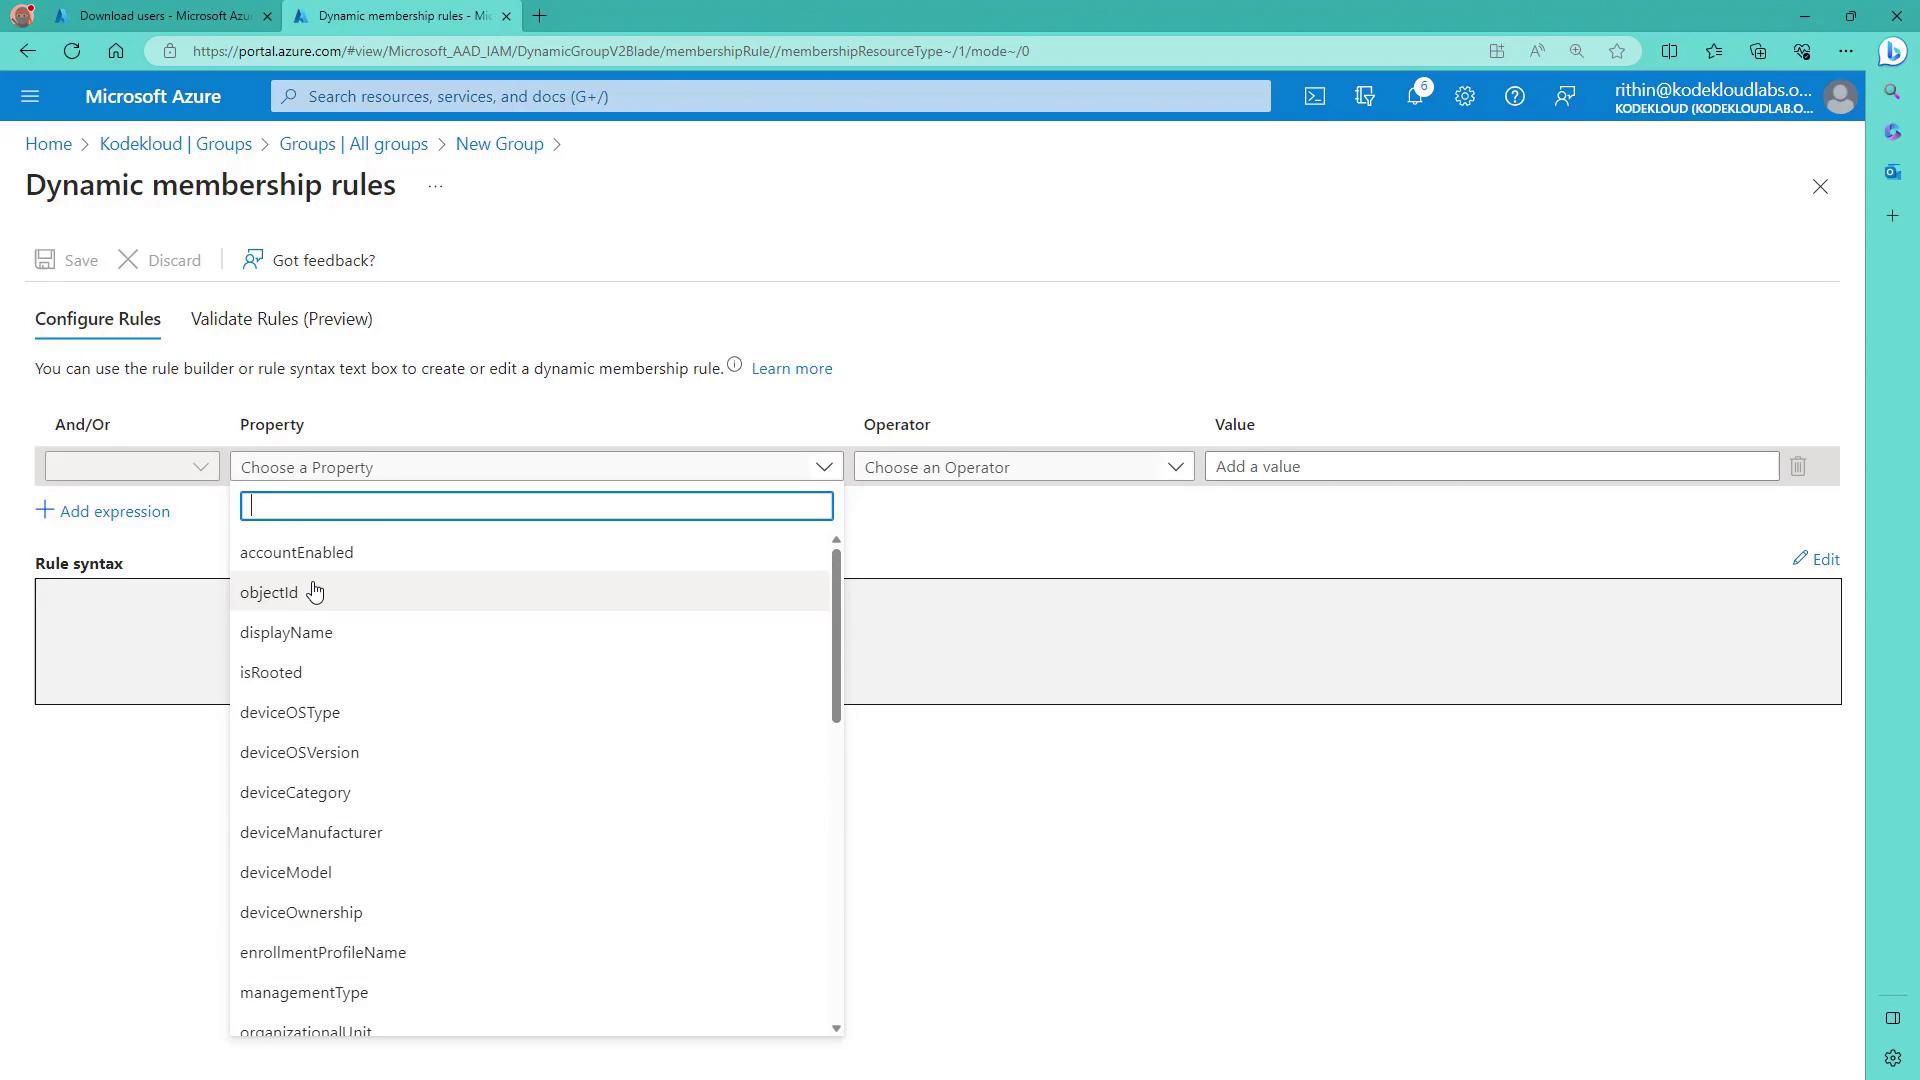
The image shows a Microsoft Azure portal interface for configuring dynamic membership rules, with options to select properties, operators, and values. A dropdown menu is open, displaying various properties like "accountEnabled" and "objectId."

Devices will be automatically added or removed based on the dynamic rule configuration, ensuring that device group membership reflects current device attributes.


Summary

In this article, we covered the following:

  • The differences between Security Groups and Microsoft 365 Groups.
  • Various group membership options, including assigned, dynamic user, and dynamic device memberships.
  • Step-by-step creation, configuration, and validation of groups in the Azure portal using both manual and dynamic membership rules.
  • Bulk user operations to facilitate testing of group functionalities.

Next, we will explore device management in Azure AD.

Thanks for reading this guide!

Learn more about managing Azure Active Directory groups with our related resources:

Watch Video

Watch video content

Previous
Create and manage Azure AD users