Installing Python
Begin by visiting the official Python website and navigating to the Downloads section. The site automatically detects your platform and displays the latest compatible version (for example, Python 3.9.6). Any version after 3.7 is fully supported for this guide. Click the download button to get the installer. Once the download is complete, open the file and follow the installation prompts: click Continue, agree to the license terms, and then click Install. If prompted, enter your password. When you see the confirmation pop-up, Python is successfully installed. Feel free to close the installer and move it to the trash. Next, launch the Terminal by searching for it in the top search bar.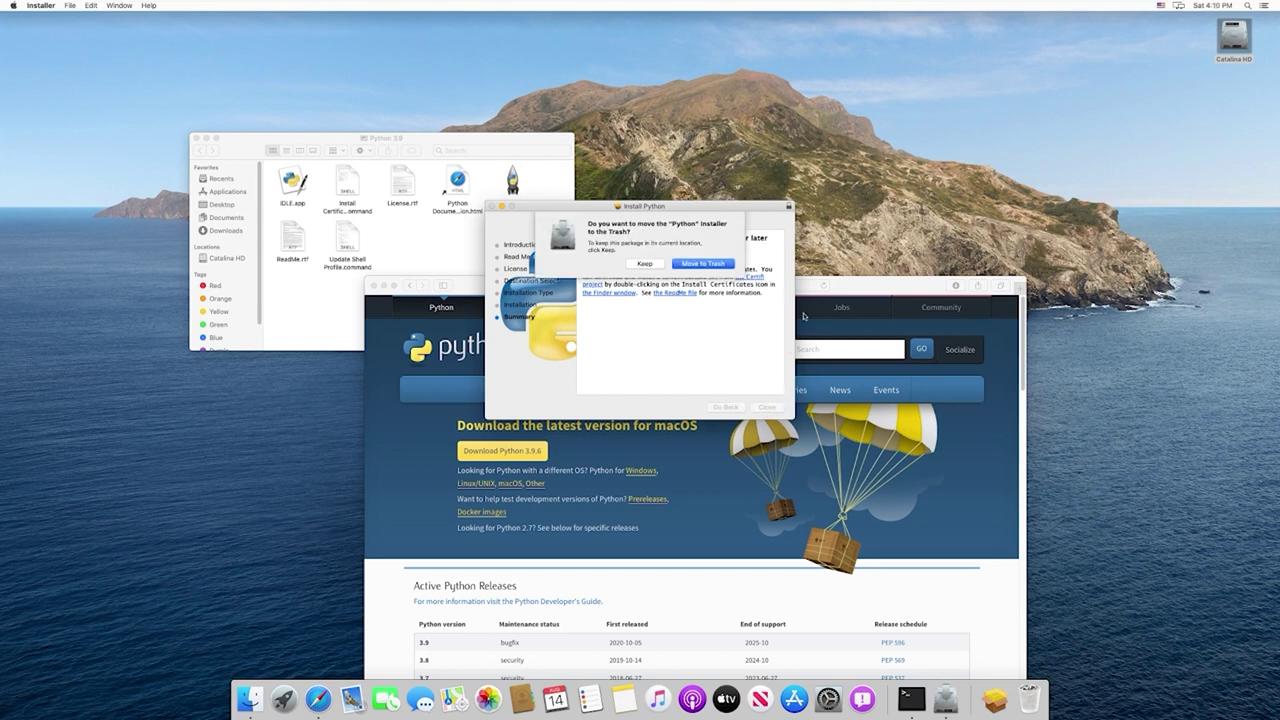
Installing Visual Studio Code
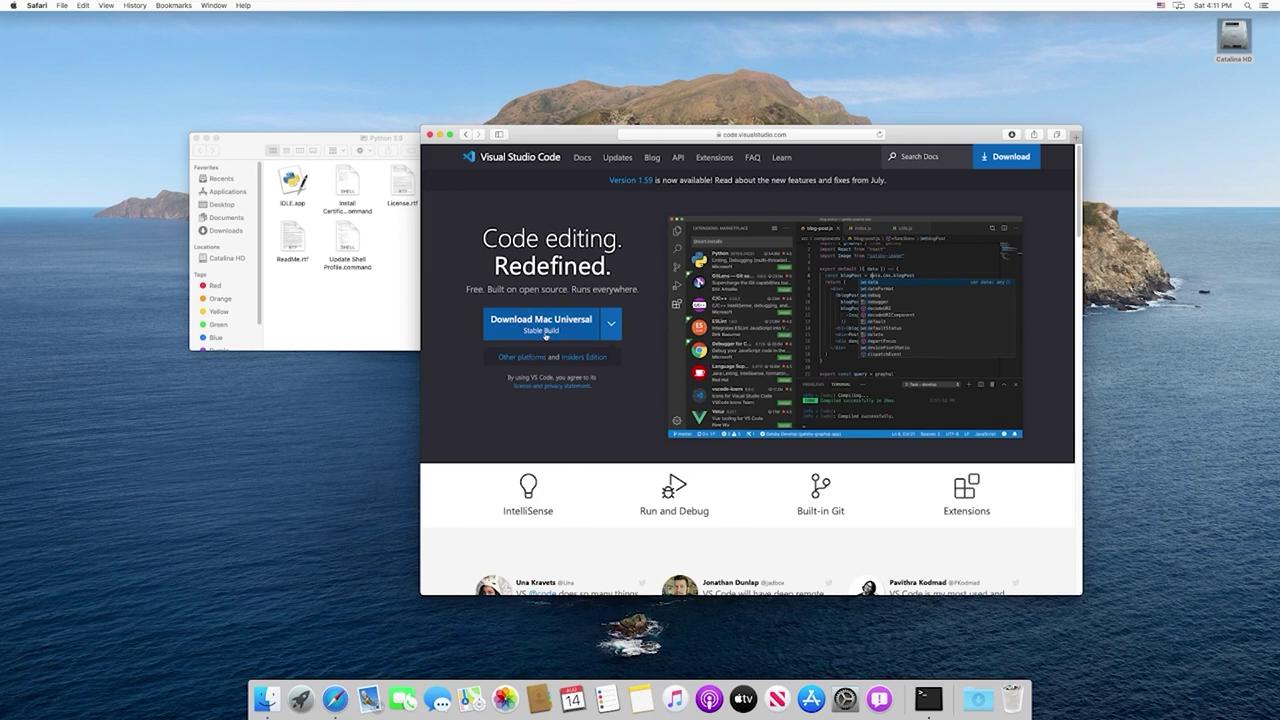
Visual Studio Code (VS Code) is a versatile editor that serves as an Integrated Development Environment (IDE). To install VS Code, follow these steps:- Search for “VS Code” online to visit the official Microsoft Visual Studio Code page.
- The website will auto-detect your operating system. Click on “Download Mac Universal” to download the installer.
- Open the downloaded installer. If a security warning appears, simply click “Open” to proceed.
- Click the Extensions icon (depicted as blocks or squares) in the sidebar.
- Search for “Python” and install the extension provided by Microsoft. This extension delivers valuable features such as linting, IntelliSense, and debugging capabilities.

Setting Up Your Project Folder
Once both Python and VS Code are ready, it’s time to set up your project folder:- In VS Code, choose “Open Folder” from the File menu.
- Navigate to your desired directory (for example, inside your Documents folder), and create a new folder named “FastAPI” to store your project files.
- Open the “FastAPI” folder in VS Code. Initially, the folder will be empty, ready for your project.

On macOS, the Python executable is not named python.exe. If you need to override the default, locate the appropriate Python installation on your system.