Installing Python on Windows
- Open your web browser and search for “Python”. Click the first result to navigate to the official Python website.
- In the Downloads section, locate the latest Python version. At the time of this writing, the version is Python 3.9.6. If a newer version (greater than Python 3.7) is available when you access this guide, download that version.
- Click the Download Python 3.9.6 button. Once the download is complete, run the installer.
- Before clicking the Install button, ensure you select the checkbox labeled “A…
Before clicking the Install button, ensure you select the checkbox labeled “Add Python 3.9 to PATH”. If you miss this step, you might face issues later. In case it’s skipped, you can always uninstall and reinstall Python with the correct settings.
- Accept any User Account Control prompts during installation. When you see the confirmation message that Python was installed successfully, the setup is complete.
-
To verify the installation, open the Command Prompt by searching for it in the Start menu and run the following command:
The command should output the installed Python version (for example, “Python 3.9.6”). If you encounter an error or the command is not recognized, repeat the installation process.

Installing Visual Studio Code
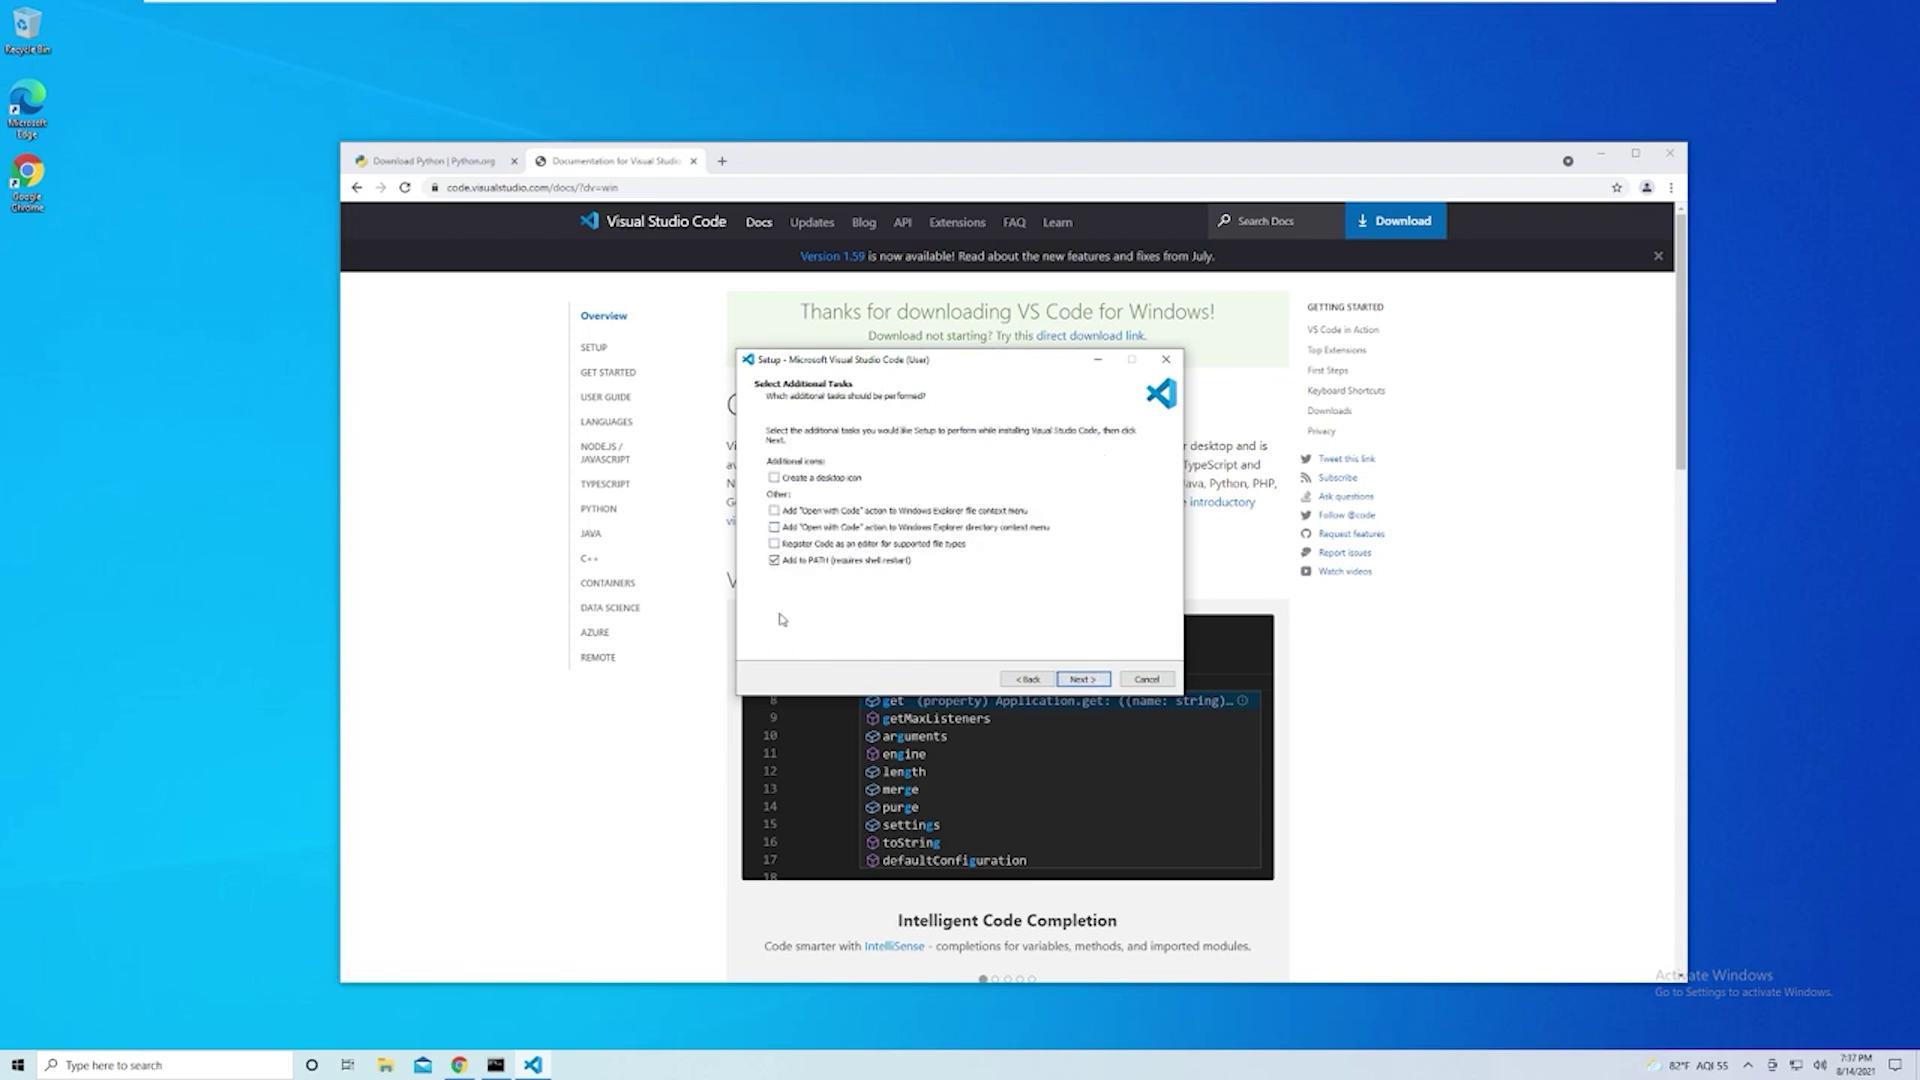
- Open a new browser tab and search for “VS Code”. Navigate to the VS Code download page. The website should auto-detect your operating system and suggest the appropriate download option (select “Download for Windows”). Once the download is complete, run the installer.
- During installation, accept the license agreement and proceed with the default settings by clicking Next until the installation commences. Once complete, VS Code will launch automatically.
Configuring VS Code with the Python Extension
- When VS Code opens, install the Python extension to enable features like IntelliSense, linting, and debugging. Click the Extensions icon (found on the left sidebar) and search for “Python”.
- Locate the first result from Microsoft (look for the star icon) and click Install.
- After installation, close the extension sidebar to return to the main file explorer in VS Code.

Creating Your Project Folder and Testing Environment
- Create a Project Folder
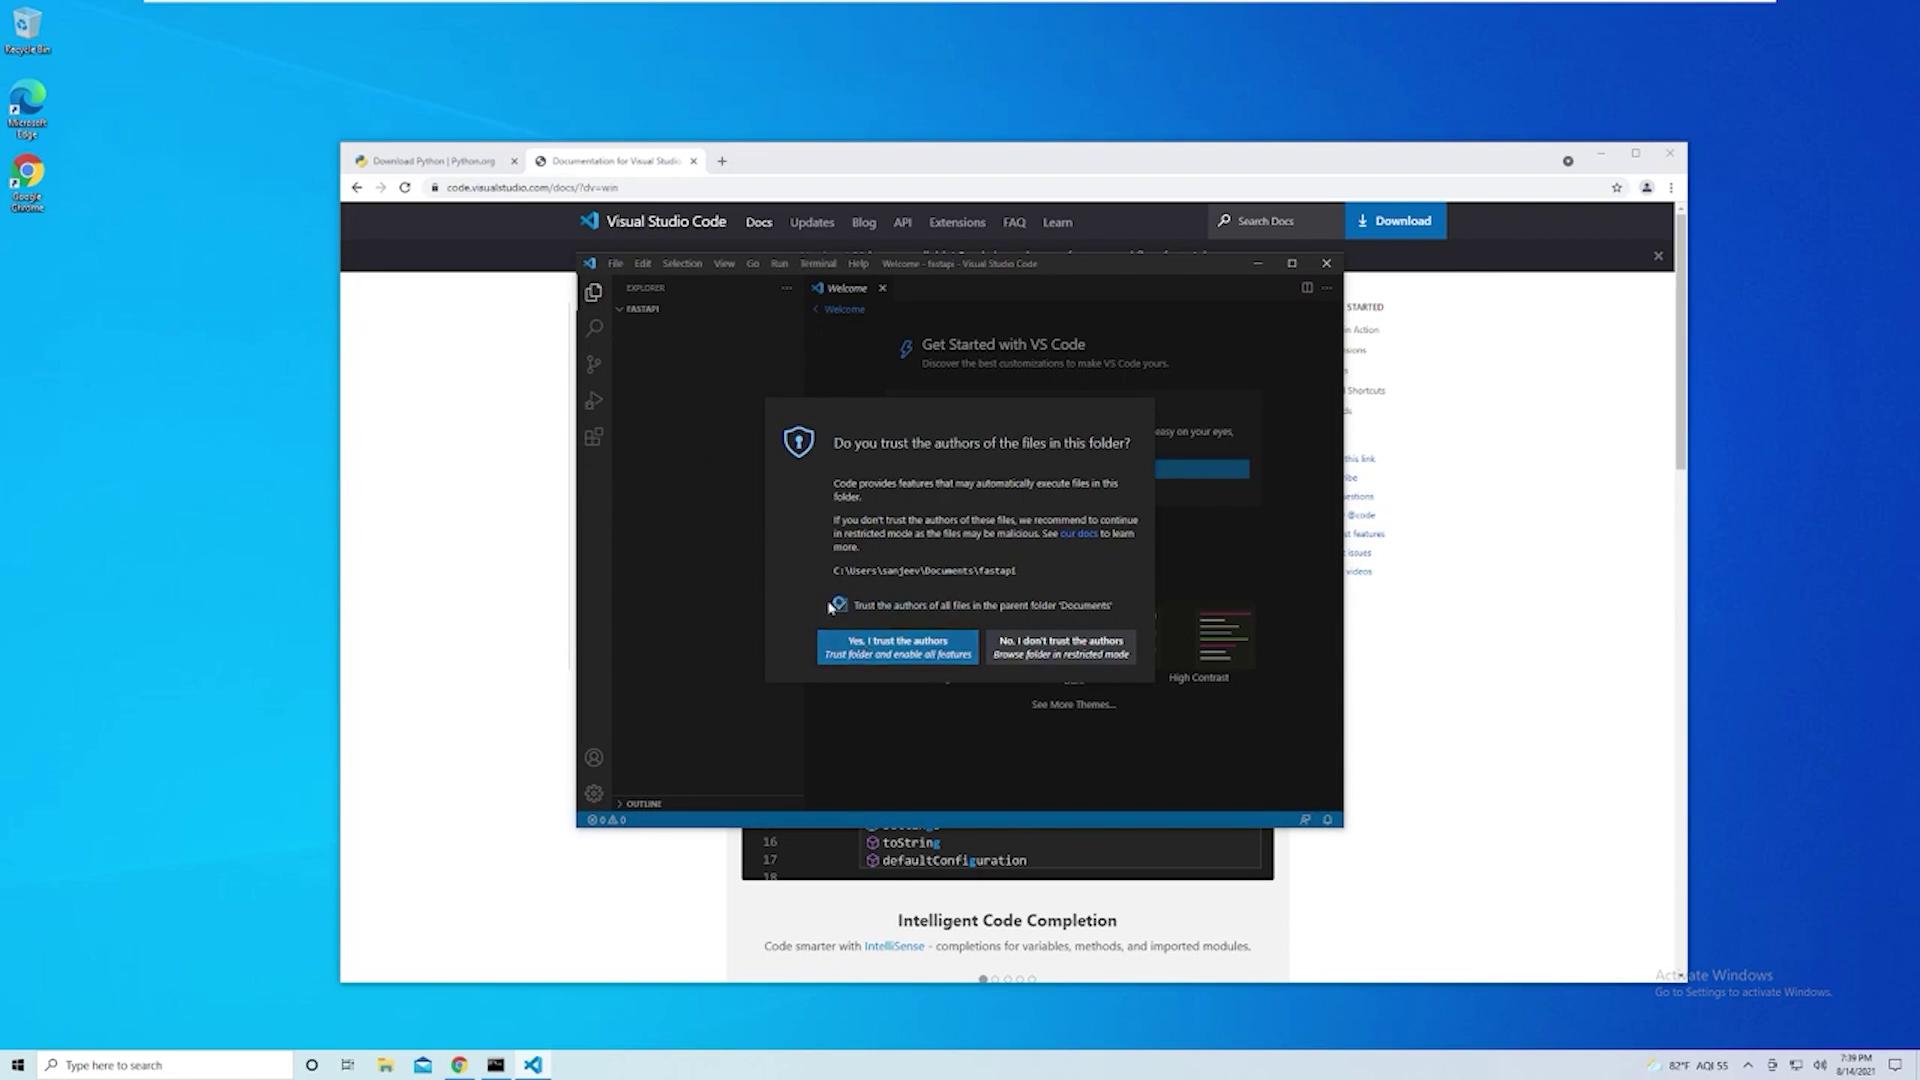
It is considered best practice to organize your application code in a dedicated folder. In VS Code, click on Open Folder and select or create a folder for your project (for example, a folder named “FastAPI” in your Documents). If you receive a security prompt asking if you trust the authors of the files, click Yes. You may close the welcome screen once your project folder is open.
-
Create a New Python File
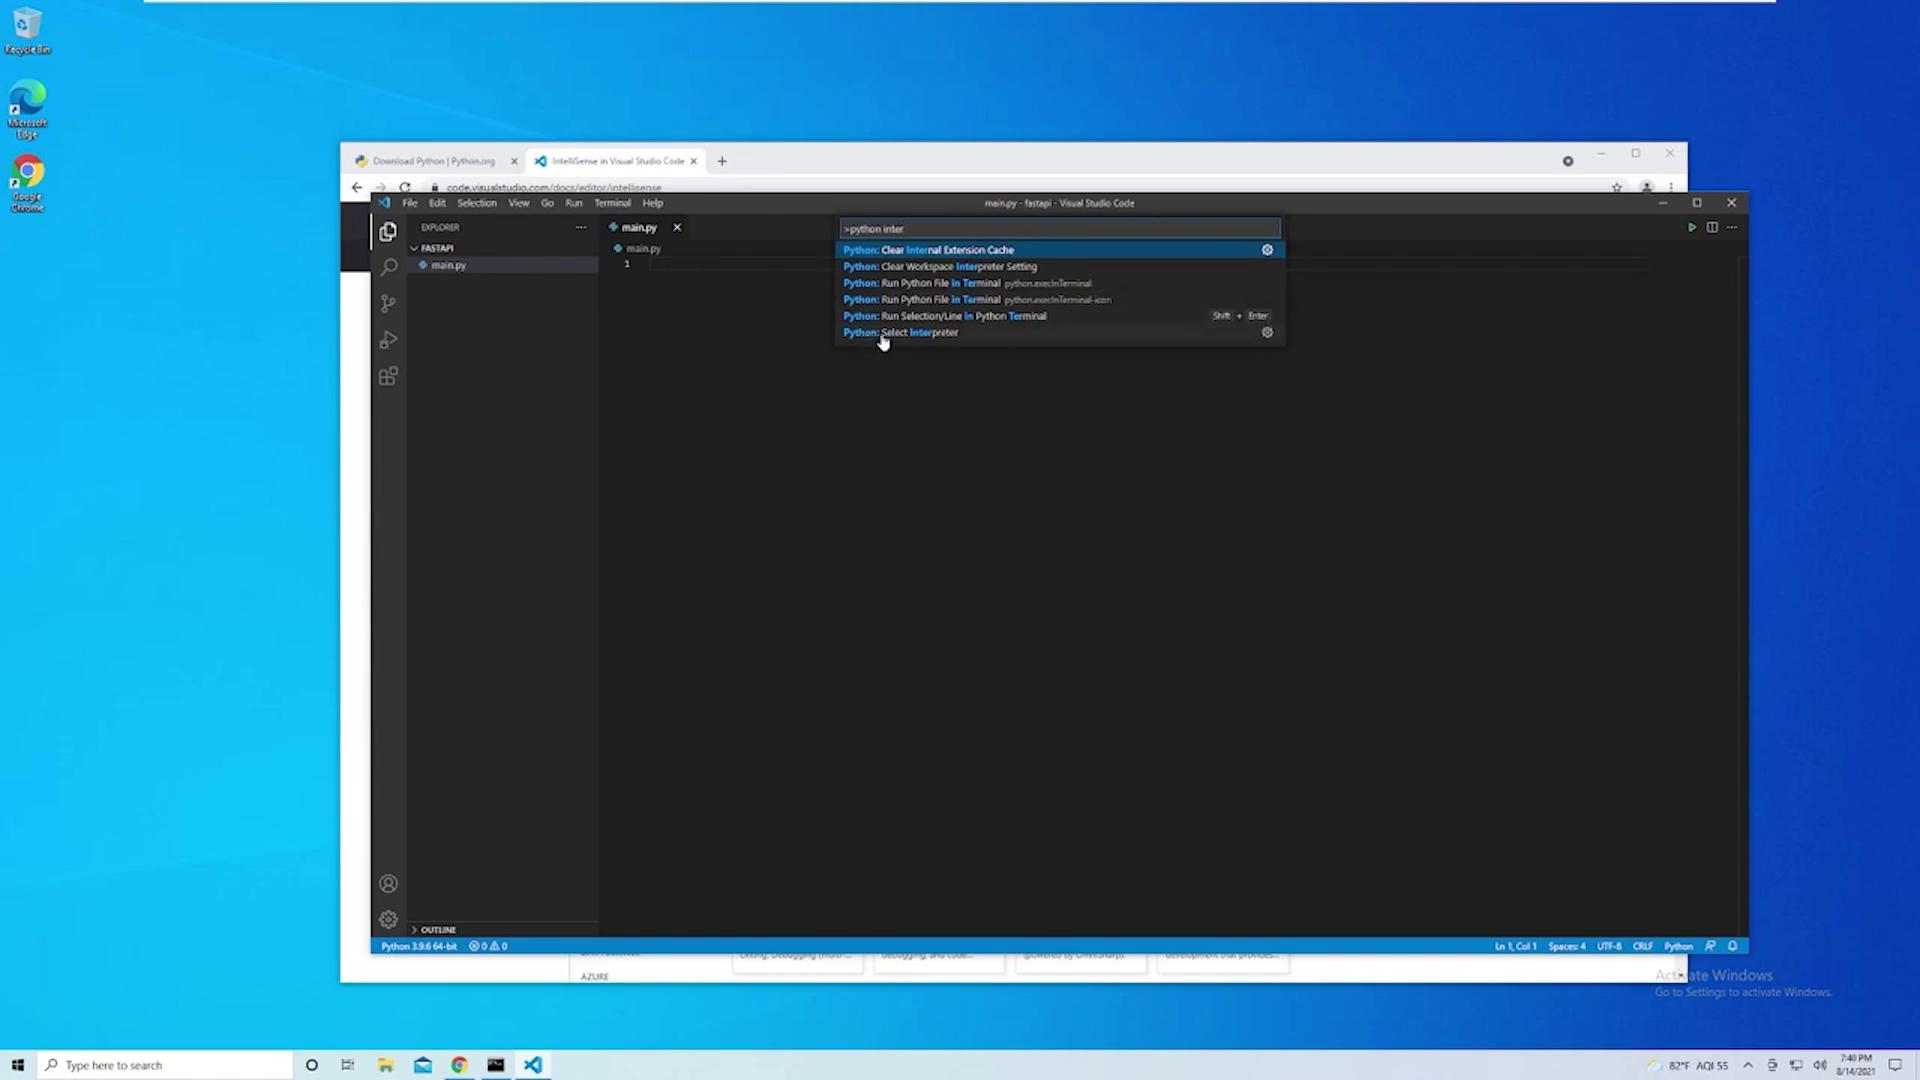
With your project folder open, right-click inside the Explorer pane and choose New File. Name the file main.py. The Python extension will automatically activate and will attempt to locate the correct interpreter (e.g., Python 3.9.6). - If you have multiple Python versions installed and the extension selects the wrong interpreter, you can change it by opening the Command Palette (via View > Command Palette) and searching for “Python: Select Interpreter.” Then, choose Enter interpreter path and provide the correct path to the desired Python version.