
Introduction to CI/CD
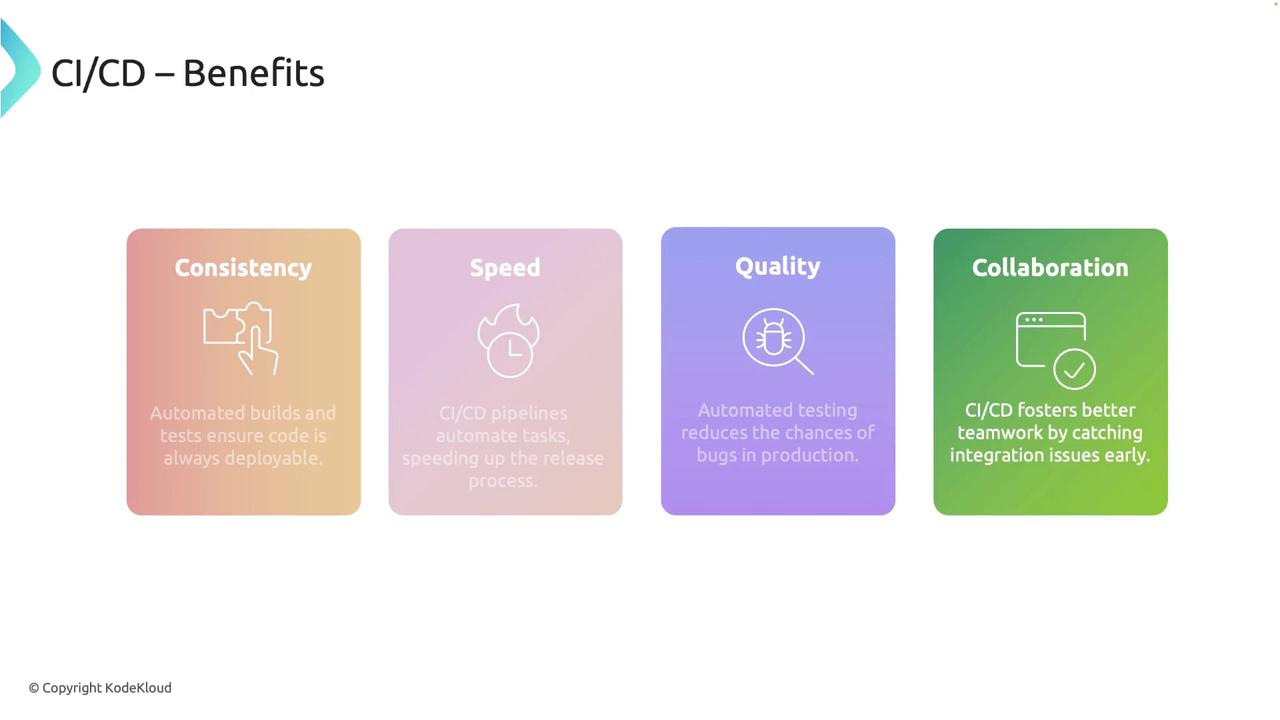
Continuous integration and continuous deployment are essential practices in modern software development. CI ensures that every code change is automatically built and tested, while CD automates the deployment process to production. Key benefits include:- Consistency: Automated builds and tests ensure that your codebase is always deployable.
- Speed: Pipelines accelerate the release process by automating repetitive tasks.
- Quality: Automated tests catch issues early, reducing the likelihood of bugs reaching production.
- Collaboration: CI/CD helps identify integration issues promptly, encouraging a coordinated development environment.
Overview of GitHub Actions
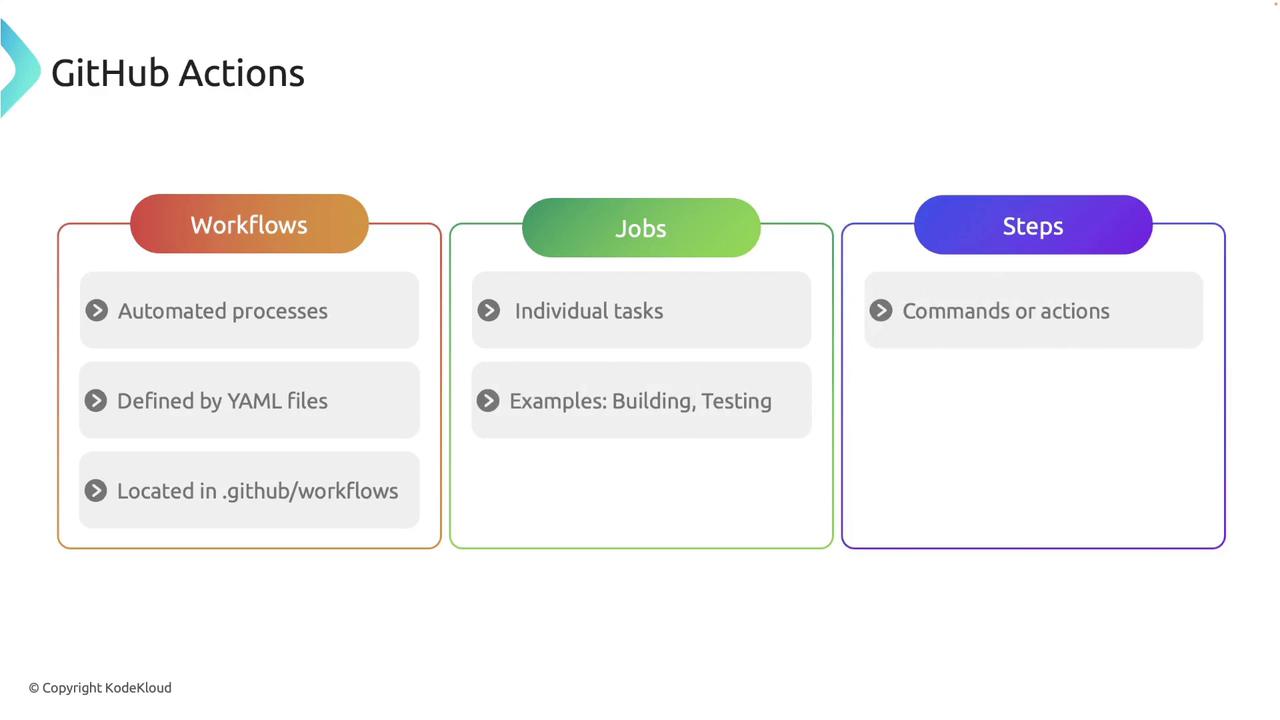
GitHub Actions is an integrated CI/CD platform within GitHub that simplifies the automation of software workflows. With GitHub Actions, you can run tests, build your Rust projects, and deploy applications—all directly from your repository. Key components include:- Workflows: Automated processes defined using YAML files, located in the
.github/workflowsdirectory. - Jobs: Individual tasks within a workflow, such as building or testing the project.
- Steps: The specific commands or actions that make up a job.
Setting Up a Basic CI Workflow
Follow these steps to create a simple CI workflow for your Rust project.1. Initialize Your Git Repository
Start by creating a new GitHub repository or using an existing one. Initialize the repository and add the remote origin with the following commands:2. Create the Workflows Directory
Set up the directory structure required for GitHub Actions:3. Define the Workflow File
Within the.github/workflows folder, create a file named ci.yaml and add the following configuration:
- The pipeline is triggered on every push or pull request.
- Jobs run on the latest Ubuntu environment.
- Steps include checking out the code, setting up Rust, building the project, and running tests.
4. Commit and Push Your Workflow
After setting up your workflow, stage your changes, commit, and push to your main branch:Enhancing the Workflow with Linting and Formatting
For improved code quality, extend your CI workflow to include linting and formatting checks using Clippy and Rustfmt. Update yourci.yaml file as shown below:
- Clippy is installed to identify common issues.
- The project is built and tested.
- Rustfmt checks ensure that your code adheres to standard formatting guidelines.
Best Practices for CI/CD Pipelines
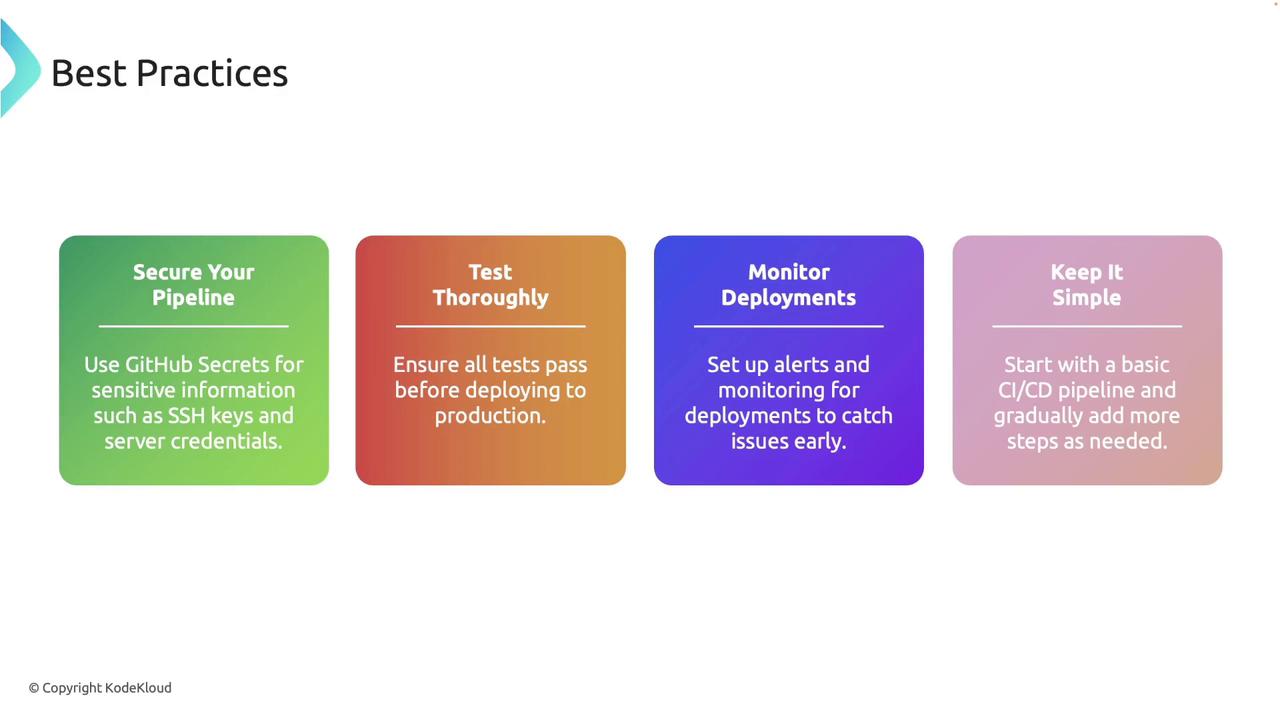
Adopt the following best practices to maintain a robust CI/CD pipeline:- Secure Your Pipeline: Use GitHub Secrets to manage sensitive information, such as SSH keys and credentials.
- Ensure Test Coverage: Always ensure that your tests pass before deploying to production.
- Monitor Deployments: Keep a close watch on deployments to quickly identify and resolve potential issues.
- Start Simple: Begin with a basic pipeline and incrementally add steps as your project evolves.
Following these best practices not only improves the reliability of your deployments but also enhances overall code quality and team collaboration.